


Good morning! Today is my first day back at school with students! Eek! I’m a little nervous because some I have never met before. But I know I have good help in my room and hopefully everything will go smoothly.
I know most people are getting ready for fall, but it is still over 100 degrees here! It’s hard to think about cooler weather projects when it is still so hot! So today is another summer post! It’s pretty simple though. I actually had everything on hand already. I have been wanting to make these for awhile and I finally got it done.
I had some 4 x 4’s (actually 3.25 x 3.25!) in my wood stash and had my husband cut them in various heights. The tallest one is about 13″ tall and the shortest one is about 8″ tall. I also had him taper in the tops on each side. They don’t quite come to a point, but are flat on top. I also drilled a hole, large enough to get some rope through. The diameter of the hole would depend on the type of rope you are using. I picked up some more Waverly Chalk Paint at Walmart, this time in ‘Ocean’, ‘Pumpkin’, and ‘Lagoon.’

I first painted each piece with either Waverly ‘Plaster’ or ‘Mineral.’ 2 of each! I didn’t cover the wood too well, because a real buoy would be worn by the sea and sun.

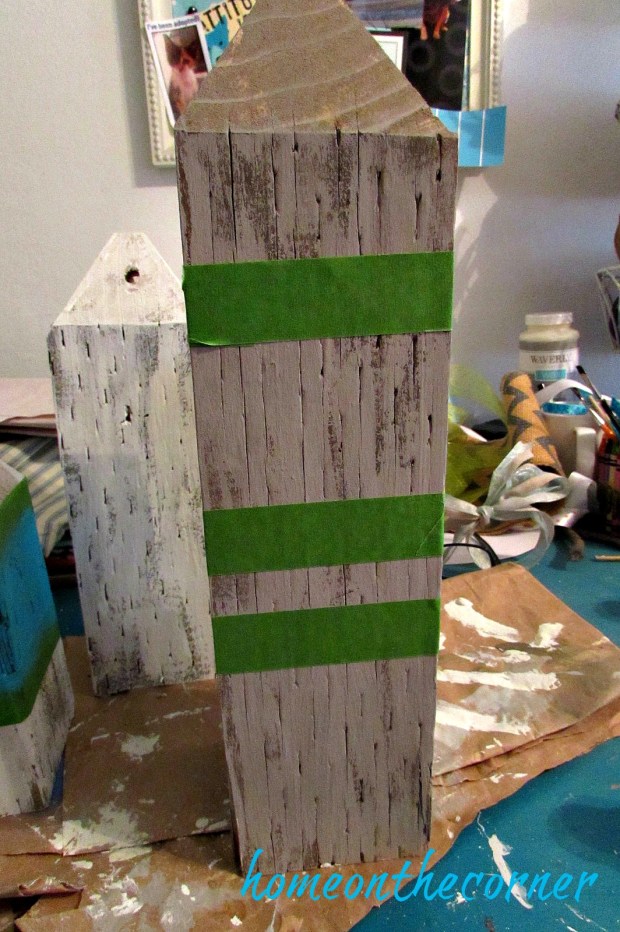
After the paint dried, I used painter’s tape to mark off where I wanted to put the colored stripes. Make sure to really seal the edges of the tape so the paint doesn’t go under and bleed into other areas. Take off the tape soon after the paint starts to dry. I started with the smallest one and decided to paint just one color around the whole thing. This one will be ‘Lagoon.’

I did a variation of the 3 colors on each buoy. This one will be ‘Pumpkin’ and ‘Lagoon.’
After the paint was dry, I sanded the piece all over to give it a rough and worn look. Here is the small one. I love it!!

I took a length of rope, ran it through the hole and tied it at the top. I should have rolled it in the dirt first, so it wasn’t so new looking! I’m sure it will look more worn before long.

I am so pleased with how these turned out!!

I can’t wait to really display them next summer!!


I hope you all have a great week and I will let you know how my first day of school went!!
ps. Redbubble is having another deal! On Monday only, 8/29, you get 15% off the whole site. Use the code CIRCUS15.


This is so cute! I love the aged look ♡
LikeLike
Thanks!!
LikeLike
These are too cute. I love them.Thanks for sharing with us at Family Joy Blog Link Up Party this week. Hope to see you next week.
LikeLike
Thank you so much! have a great week!
LikeLike
I love these! Making my own bouys have been on my ‘to do’ list for quite some time and this has motivated me to get to it. Thanks for sharing this on the Merry Monday link party. Pinned.
LikeLiked by 1 person
They were on my list for a long time too! Can’t wait to see yours!
LikeLike