Easy St. Patrick’s Day Art

Good morning! I was hoping to have this out earlier today, but that just didn’t happen! But this is such an easy project, you can definitely finish it in time for St. Patrick’s Day! Also, it could easily be changed for other holidays, like Easter, which is just around the corner!

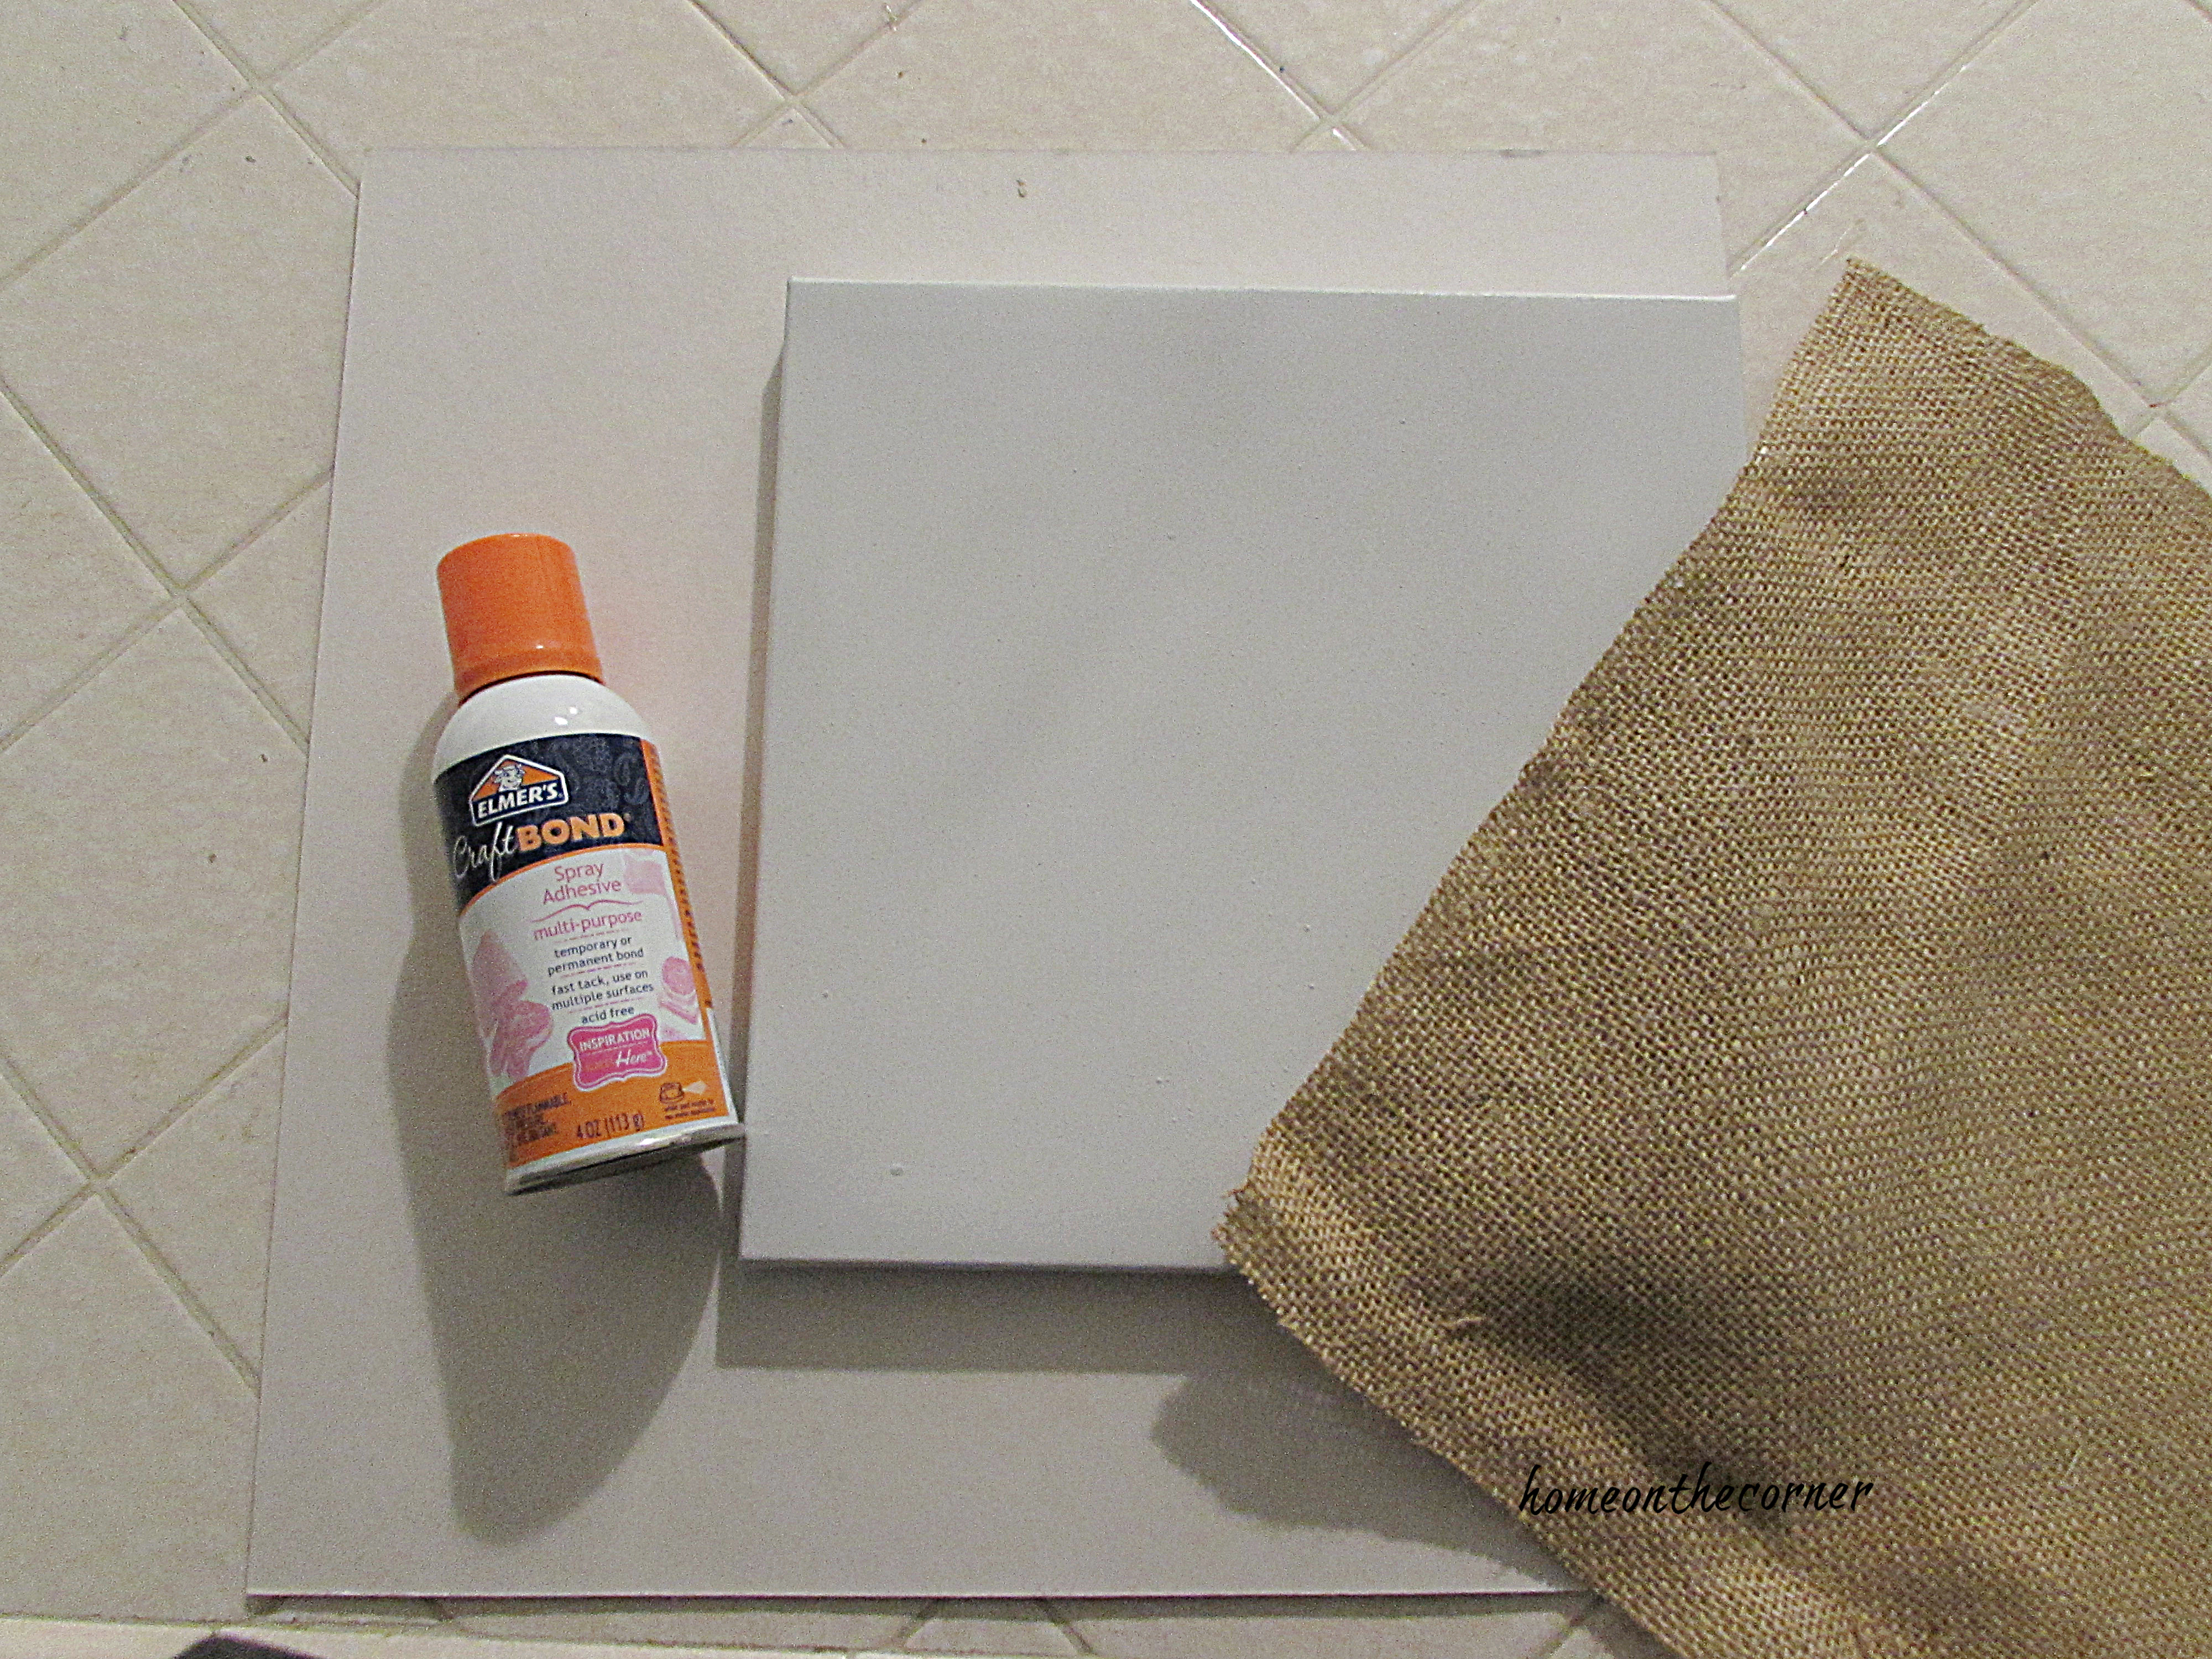
I started out with an old canvas I had. This actually had a picture on it and I painted it, but picking one up from the store is super easy. I also had some burlap squares on hand.

I cut the burlap a little larger than the canvas so that I had enough burlap to wrap around the sides. I did iron my piece too. 🙂

I used Elmer’s Craft Bond, which is a spray to attach my burlap. I sprayed it on the front and sides of the canvas and then laid the burlap on top and smoothed it out.

I folded in the corners as tight as I could and used hot glue to secure them.

Now I have nice smooth surface!

I dug through my fabric and found two green ones I thought would work. You could also use scrapbook paper or a thick wrapping paper.

I printed out two different sizes of shamrocks I found on a Google search. Then I cut them out and laid them on the burlap until I found the way the right layout.

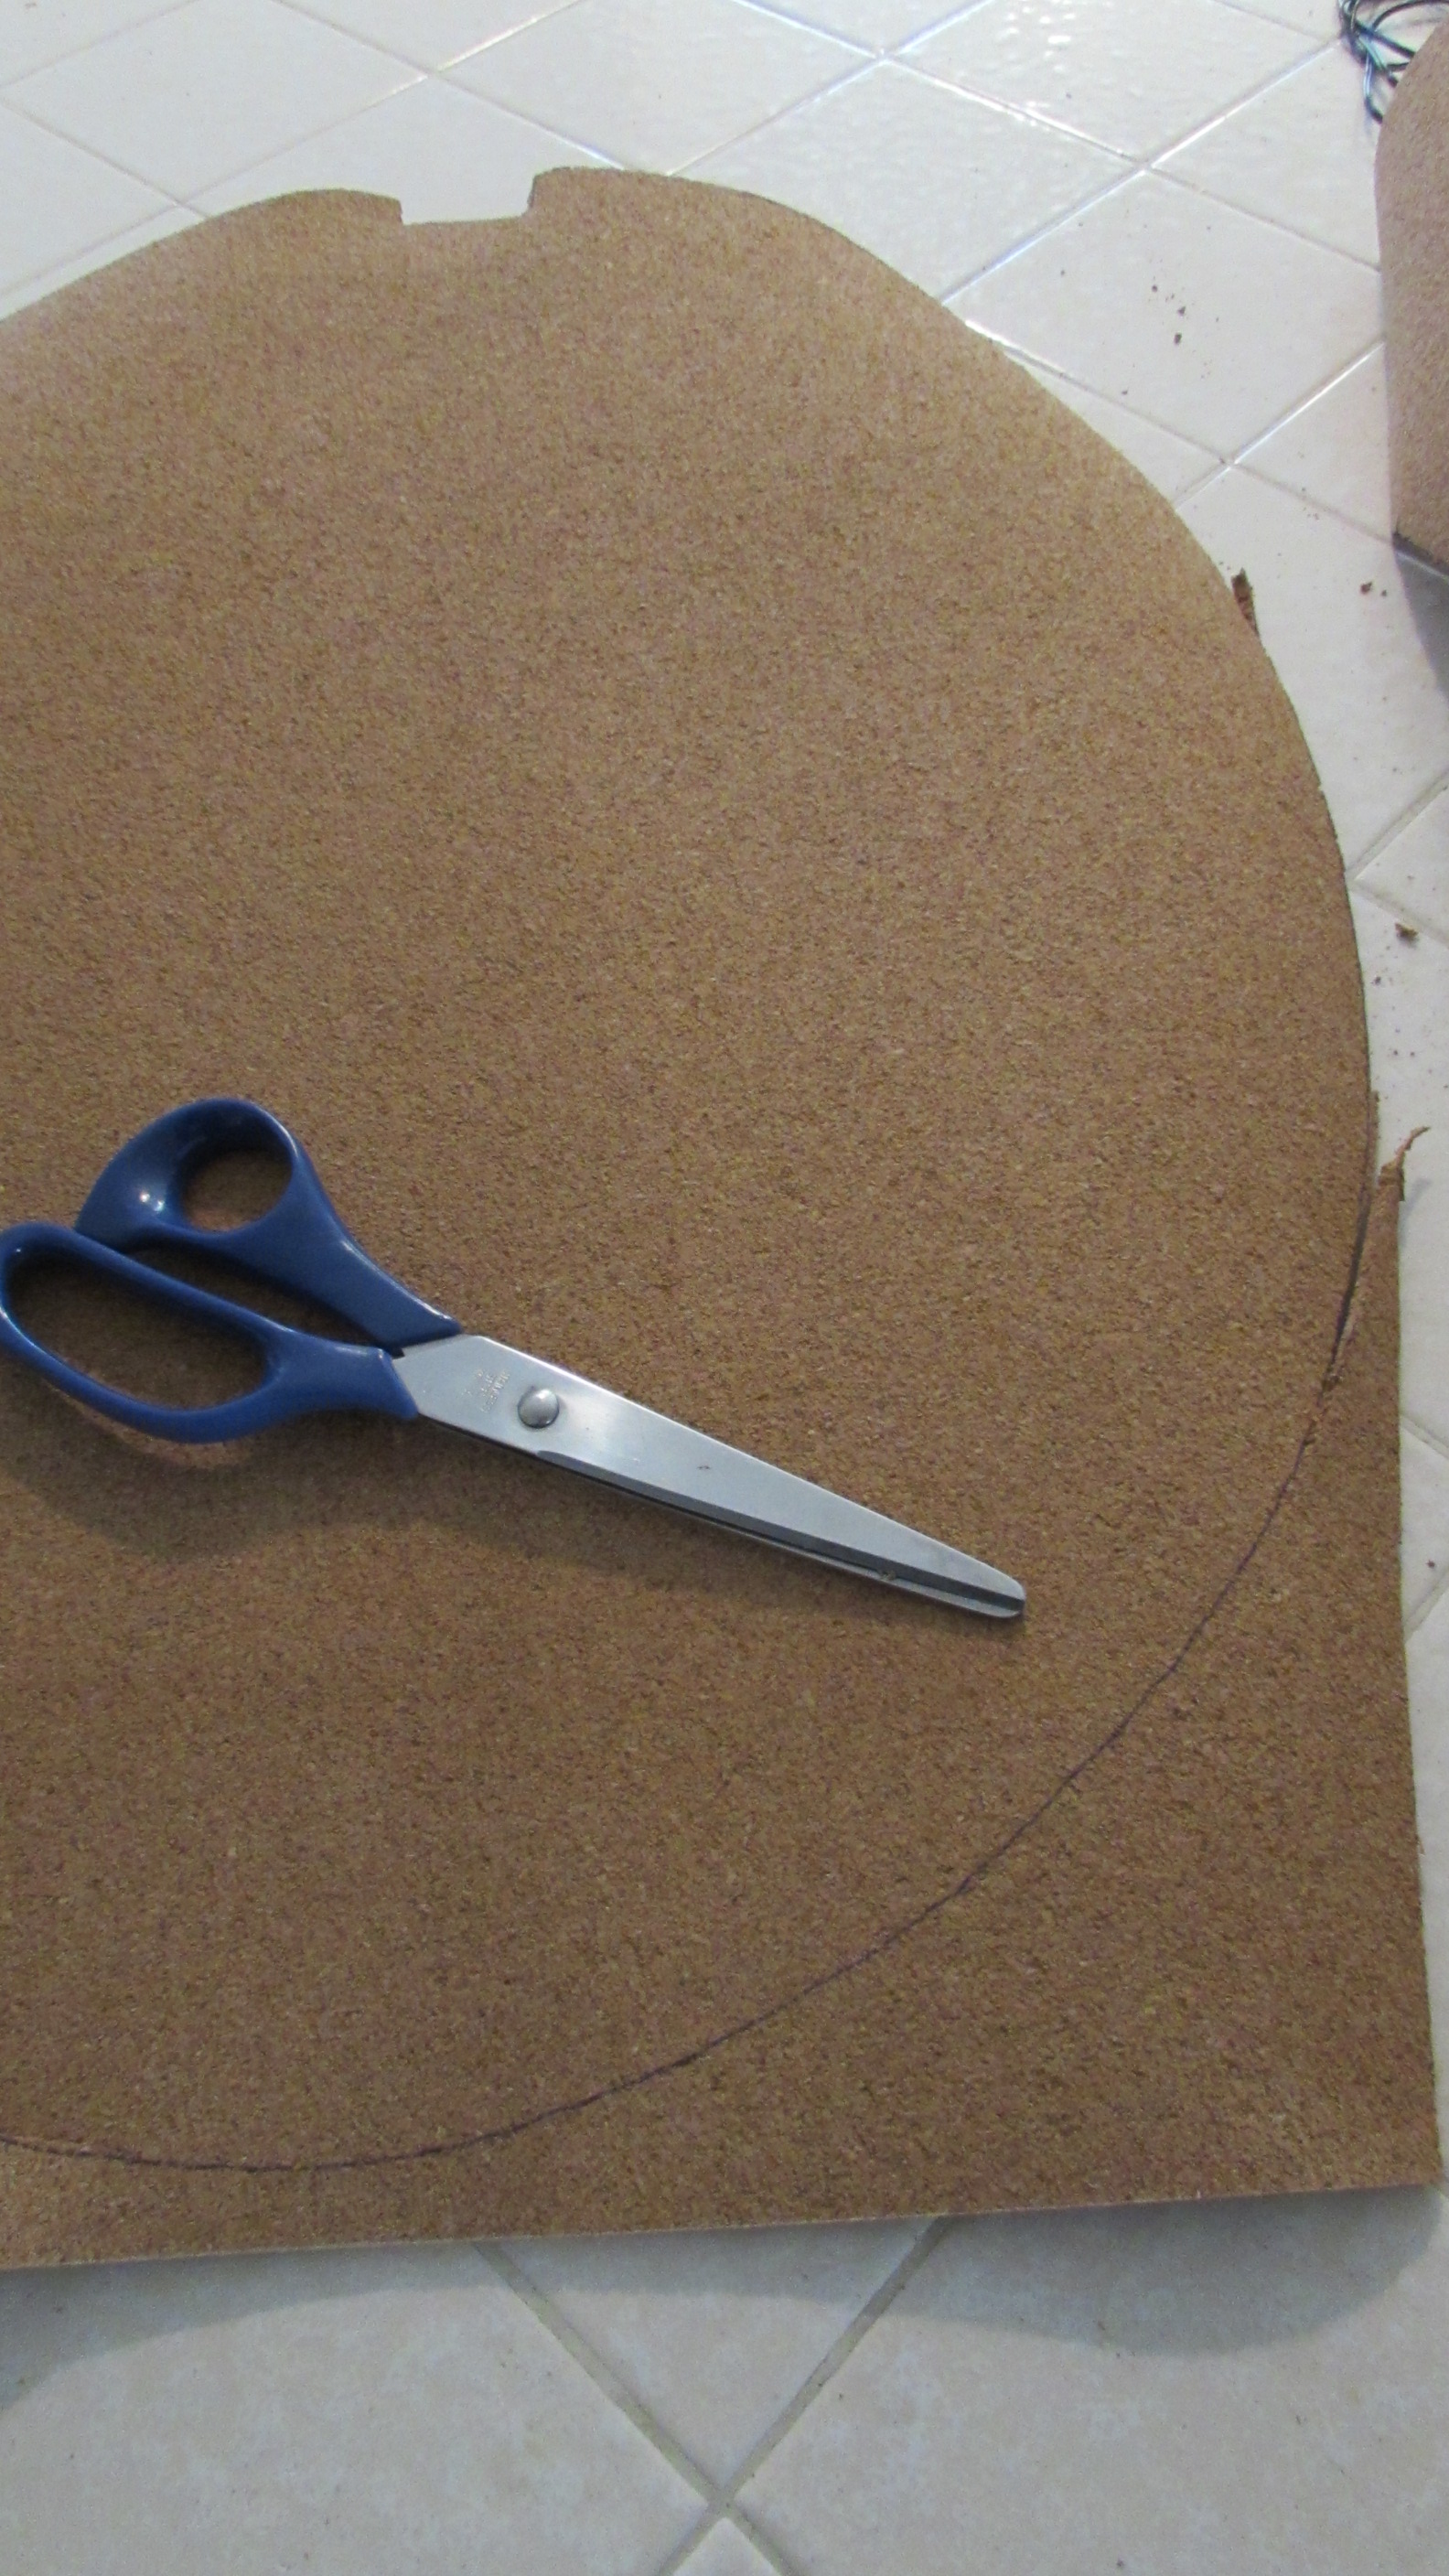
I used chalk to trace around the shamrock onto the fabric and then cut it out with fabric scissors.

I used the spray glue to attach the shamrocks and then pulled out my buttons to add some accents to my shamrocks. I played around with them a bit, starting with green and gold, then some yellow and finally decided it needed a little bit of black to really stand out. If the button is the type with a shank on the back, I cut it off with wire cutters.

I used tacky glue to attach the buttons, layering some on top of each other and setting others into little groups.

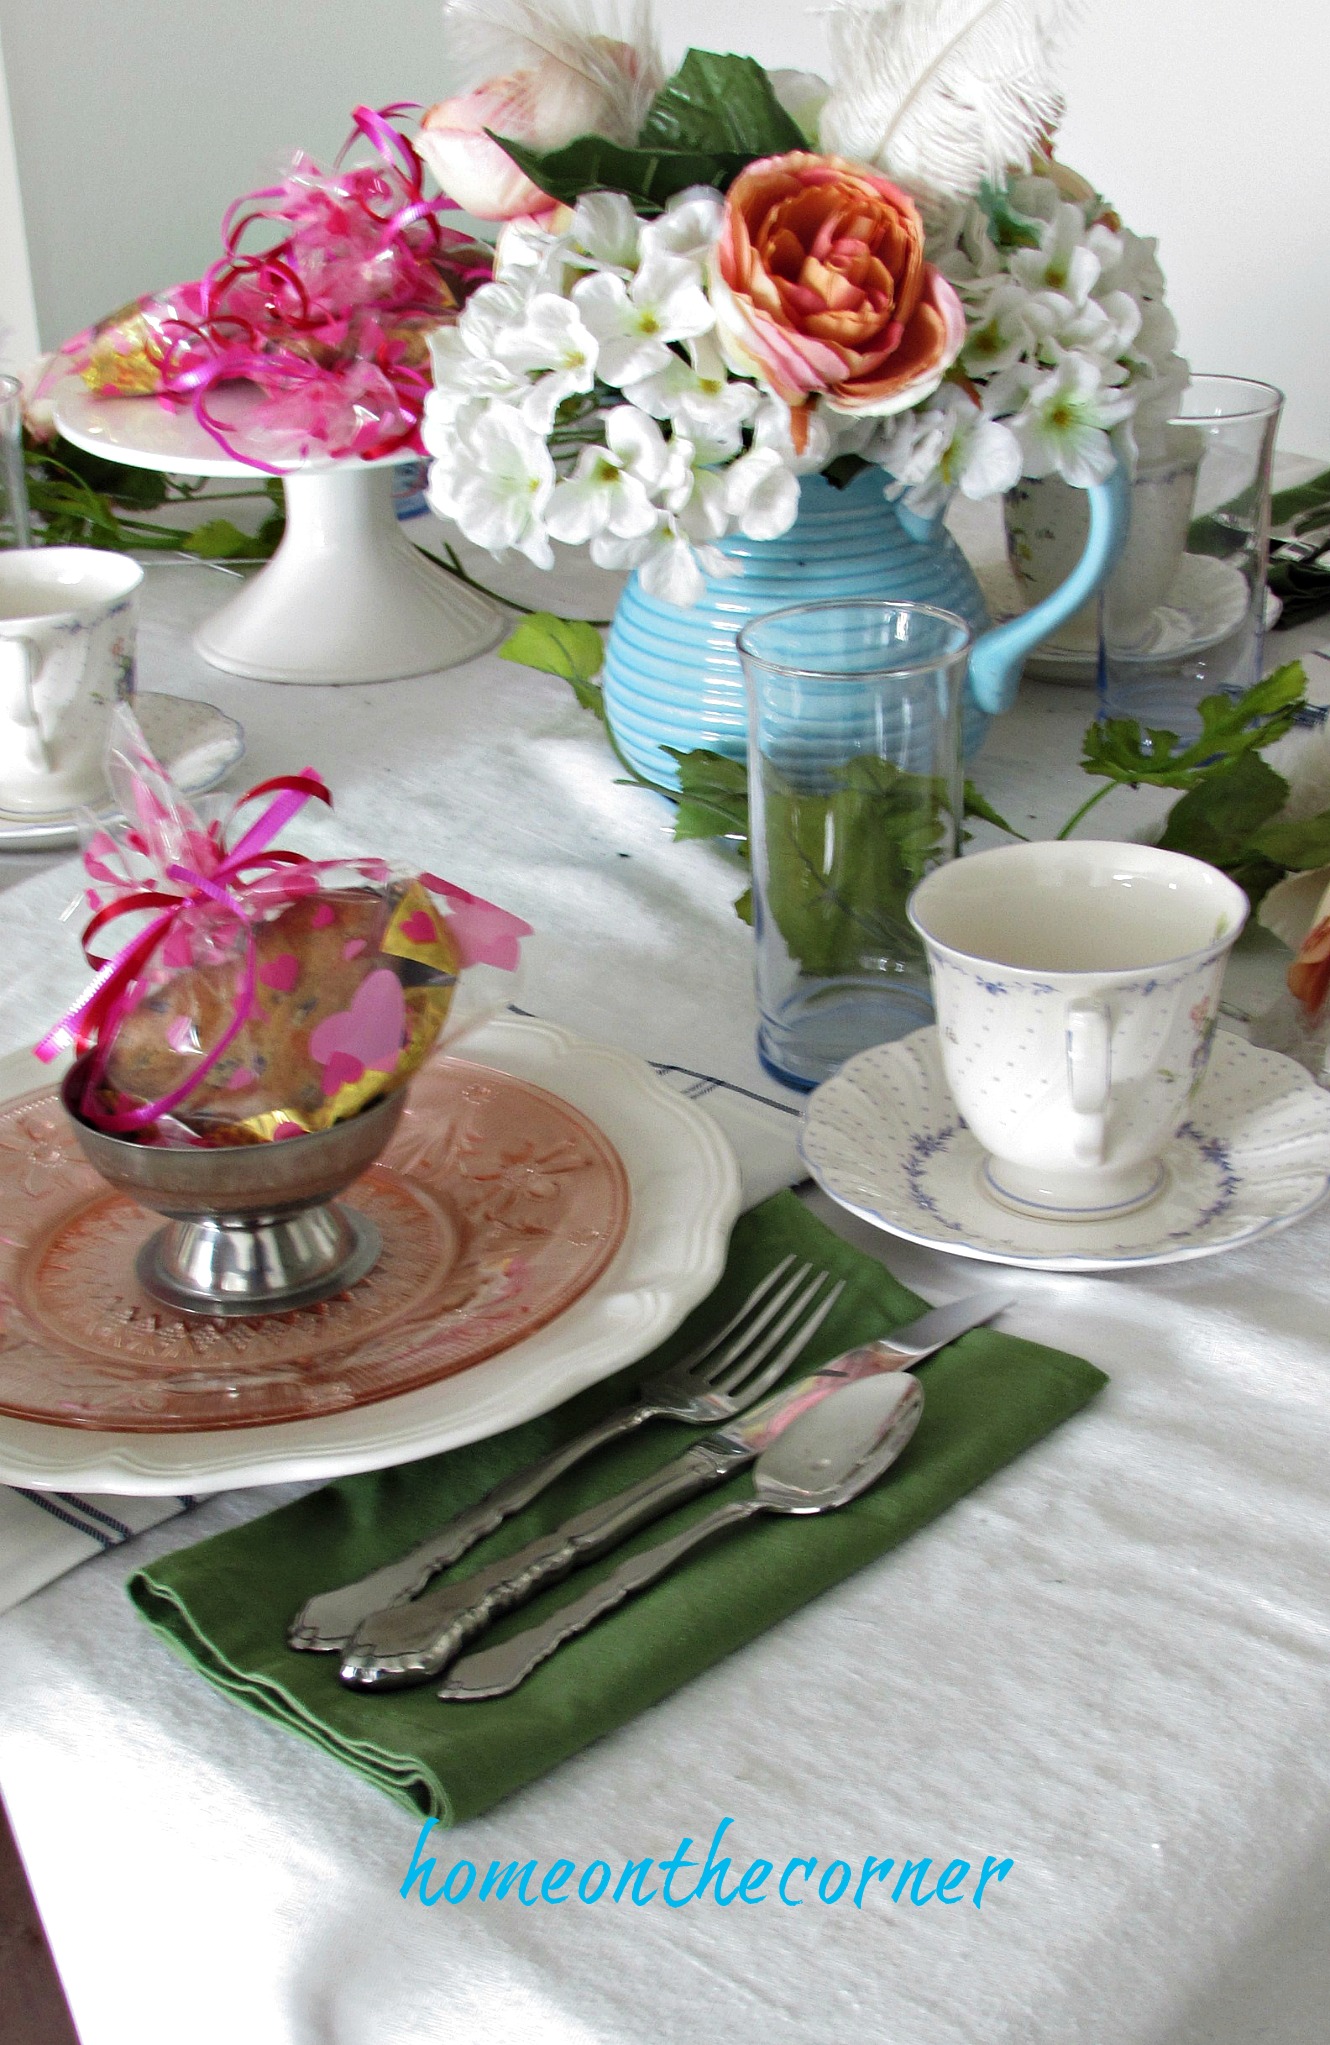
I placed it on my mantle with a few other spring items.

What do you think? Pretty easy, right? I might even make a few more for other holidays, I hope you have a great week!

A Fun Way to Use an Old Frame

Good morning! I have a new project for you today! Lauren and I have been participating in some local vendor fairs and virtual fairs. She has been selling Disney Trading Pins and I am making boards to display the pins on. It’s been fun selecting all the different colors and characters. Of course, this doesn’t have to be done with Disney characters, but anything you like! Let me show you how!

I started with a frame from a thrift store. It doesn’t matter what kind of picture or if the frame is scratched. I like to look for frames that are a little different or have a design in them. I liked this oval one, because the curved ones are a little harder to find. This frame is just a plastic material.

The first step is to take apart the frame. Throw away the glass (unless you have another awesome idea to use it for!). I keep the back. It is good to use for tracing on the cork board and also to give extra support to the whole thing in the end. Make sure to keep any screws too.

Be sure to wipe off and clean your frame before painting. Then decide what color you want to use. I love the Rustoleum 2X Spray Paint. Since this frame is such a smooth surface, I used a primer first to give the paint something to grip. Once the primer was dry, I sprayed 2 light coats of the green.

This is where your back piece come in handy. I bought this corkboard from Hobby Lobby. I laid the back on top of the cork board, traced around it and then cut the cork with scissors. Depending on the thickness of the cork, you might have to use a razor blade. I found that 1/4 to 1/2 inch cork is the best. I really just depends on how thick your frame is and how thick of cork will fit inside and still be able to get the back of the frame back on.

For this board, I picked Tinkerbell. I looked up Tinkerbell silhouette in Google and then picked the one I thought would be easiest to cut out, without to much detail. If the design is too detailed, it’s difficult to be able to cut it out cleanly.

Once the design is cut out, place it on your corkboard. It might help to tape it down if you are afraid the paper might move too much. I used black acrylic paint to fill in the design.

I use a small brush that is pretty flat on the end. I start by daubing around the edge of the design and then I go back and fill in the whole design. Be sure to hold down the edges of the paper as you paint, so the paint doesn’t leak under. You may have to go over some of the edges with a small brush to smooth and even them out.

Doesn’t she look cute?! I love the bright green!

I’ve been making quite a few of these lately. Here are a couple of others. You can see that I used all different size frames and colors.

Princess crown…

and small oval.

These are fun to paint and the designs are endless! What would you put on yours?

Using Vintage Fabric to Bring New Life to Chairs

Good morning!

I know I haven’t posted for a bit, but I am so happy to show you this project today! Thank you for stopping by! I am going to show you what a difference a little paint and fabric can make!

I bought these chairs several years ago at a ‘Junk’ sale. The seats were covered with burlap, but as you can see, they were very stained and dirty. I had bought some vintage fabric at an estate sale and knew they would be perfect for these chairs.

I spray painted the chairs with Rustoleum 2X white semi-gloss paint. I didn’t even take the burlap off when I painted the chairs because I knew the seats would be covered anyways.

I debated whether or not to leave the burlap on the seats and just put the new fabric over it, but I was afraid the stains on the burlap would go through, so I started to take out all the staples on the bottom of the chair. I used a flat head screwdriver and a needle-nosed pliers to take them all out. It definitely took awhile! Thankfully the foam underneath the burlap was still in good shape.

Once the burlap was off, I used it as sort of a pattern for my new fabric.

I used 1/4 inch staples to attach the new fabric to the chairs. I pulled the fabric taut and then stapled all the way around.

As you can see in the photo below, the wood under the seat didn’t get painted. That’s because the burlap covered it before. I was going to cover the chairs the same way as before, but then decided to not cover that part of the wood. I like the chairs much better this way, but I did have to go back and paint those front pieces.

I set up this little table last fall on my back porch. It was such a lovely, sunny day. You can see the chairs with the table set for two!

The sun was a little bright over here. The fabric is much more vibrant.

I set up this little sitting spot on the other side of the yard. Can’t wait for all the grass to start coming in as spring gets closer!

I hope you all have a great week and stay safe!

Valentine’s Day Round-up

Good morning! It’s been a couple of weeks since I have been here! Life has been a little crazy since the new year started. Not just in world news, but in our little family too. We are all okay, but we have had some stressful times. And now, Valentine’s Day is right around the corner! It’s the perfect time to show a little extra love to those we care about.

I thought I would share some of the past ideas from the blog. If I can get some things together, I will show you next week, what I will be sharing with my friends for Valentine’s Day.

It’s A Valentine Tablescape-Set a pretty table to celebrate with your family.

Vintage Valentine Tablescape– Here is another tablescape using some vintage pieces.

Cute Valentine Printable– This is a cute little printable card to pass out to your friends…or pets!

Recycled Hardware Heart– Looking for a craft project? Go through your stash or hit the thrift store and see what you can create!

Faux Flower Heart- Here is a craft using Dollar Tree flowers!

Ombre’ Wooden Heart– Another craft idea with Dollar Tree items.

Gum and Candy Basket- Here’s a cute way to give some special treats to your special someone!

Valentine Pixi-Stix Flower Vase– Or maybe you want a special vase to give some flowers to someone!

I Love You Wooden Blocks– Another easy craft project for you!

Stamped Heart Treat Bag– One last idea for a goodie bag! (Scroll to the end of the post for the how-to)

I hope you enjoyed this round-up and found some ideas! I would love to hear about what you do for Valentine’s Day!

Santa’s Photo Scavenger Hunt


Good morning! Just a few more days until Christmas!! Are you ready!! I am all set to go! I am just waiting for family to come so we can spend some time together. Maybe you are looking for something special to do with the family you are with. Here is a game that is fun for all ages.


amazon affiliate

 I played a game similar to this back when I was in high school, back in the stone ages, you know, before cell phones. :0  I think we used Polaroid cameras. I guess now that Polaroids are back again, you could still use them! This game will take a little planning ahead of time, but it’s not too difficult.

santas scavenger hunt

You will need:

  • a larger group of people
  • a list of items to find
  • a phone or camera

Before the party, you need to decide where your scavenger hunt will be. Will it be inside the house, around the neighborhood, at the mall? Once you decide where, you will need to walk around that space and make a list of the items you want found. This can be as easy or specific as you want. It could be a general item like an inflatable Santa to finding the house with 3 palm trees and a penguin. You will want a list between 10 -20 things depending on how long you want the game to go and the space you selected.

santas photo trees

Divide your large group into smaller groups, between 2 and 6 are probably the best. It can include any age groups too. If you have younger kids, you will probably want an adult as a chaperone and to help out when needed.

Each group will get the same list of items, but in a different order. That way they are going in different directions and won’t see where the other groups went. They will follow the list and take a picture of each item as they find it. They need to be back at a designated point within the allotted time with their pictures.

santa's scavenger hunt ornaments

Some things to decide and to explain before you start.

  • You will need to decide how picky you are about the pictures. Do you want exactly the object you are thinking of or just something similar?
  • Print out your lists.
  • Do you want pictures with participants in it?
  • Will there be prizes for just the winner or all players?
  • Also, be sure you players are respectful of other peoples property or other shoppers.

Now you are ready to start! Get your groups divided, explain how the game works and go! Once time is up, the teams should be back at a meeting point with their pictures.

Now, have fun and make some great family memories!!

sunshine-and-blessings-picmonkey

amazon affiliate

                         Â