DIY Headboard to Faux Fireplace Reveal

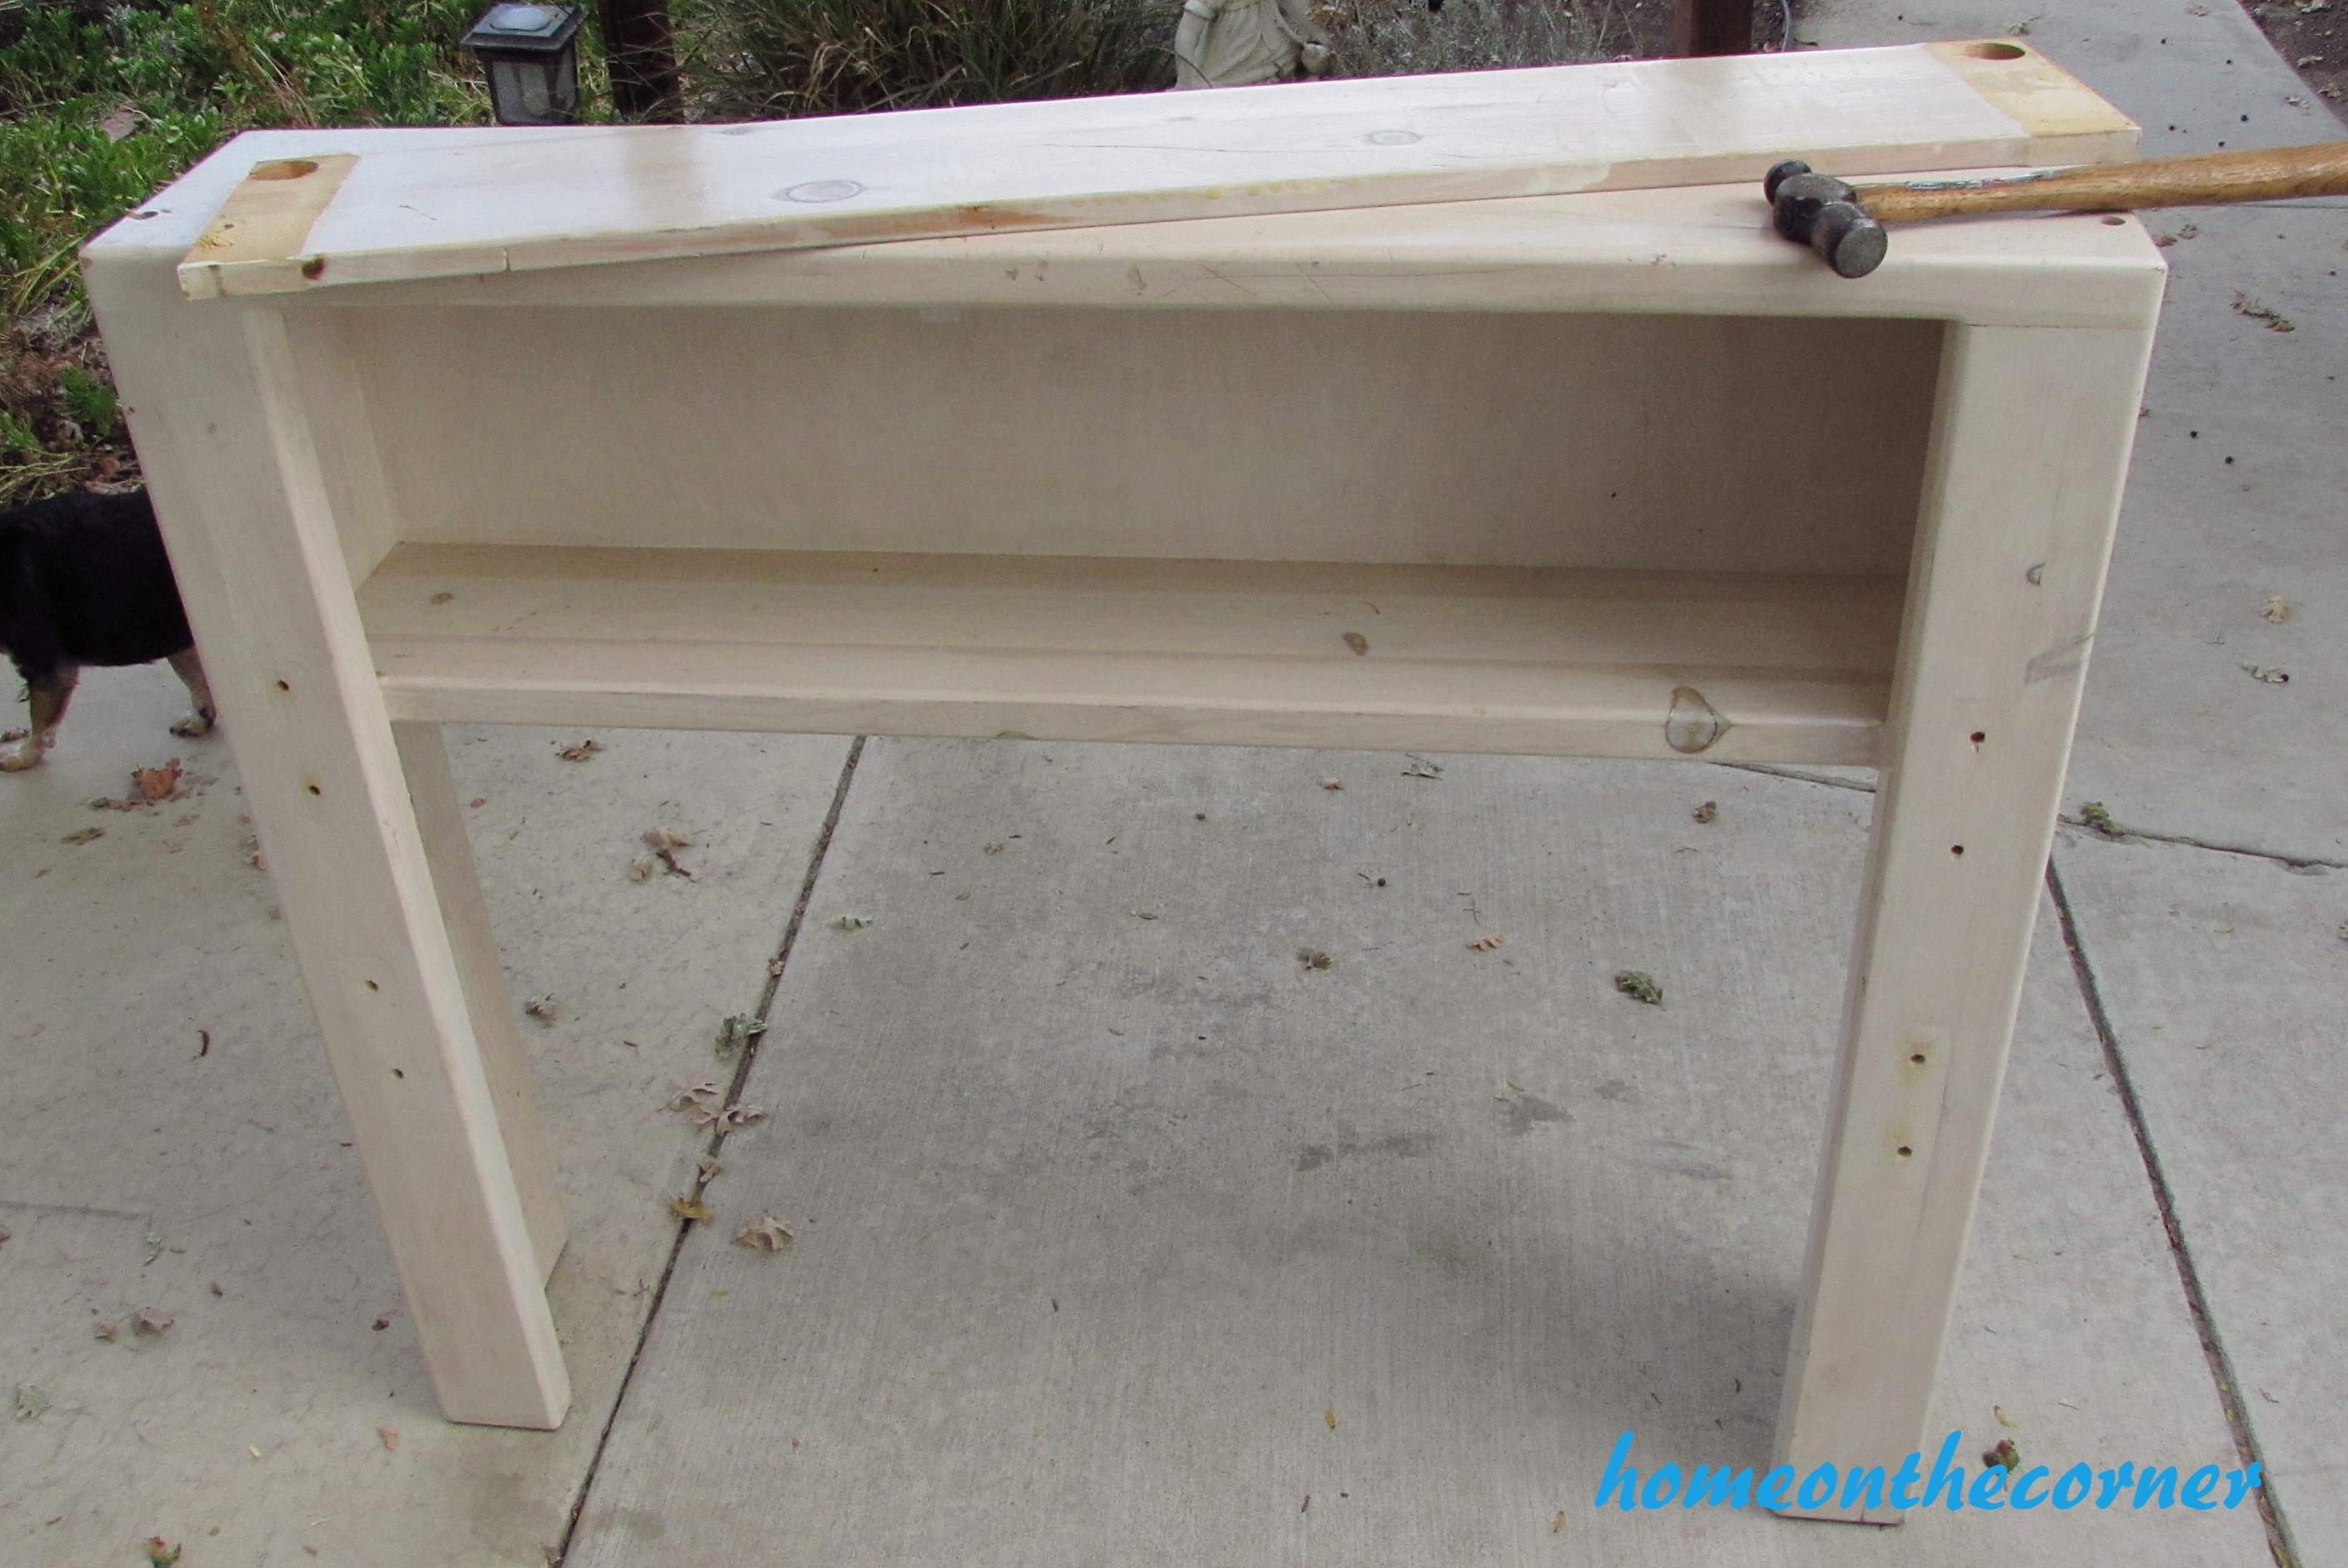
I’ve always loved the look of a fireplace. Unfortunately, I have never lived in any house, even growing up, that had one! I am so deprived :)! So after scouring Pinterest and all the blogs I follow, I decided I should try and make my own sometime. This past summer, Lauren and were at Goodwill and came across this headboard for only $3.99! Sold! There were two, and I probably should have bought both of them, but I was so excited to just find one! Then it sat for quite awhile. It always takes me time to think about how this is going to work and exactly how I want it to look.

Faux Fireplace Headboard

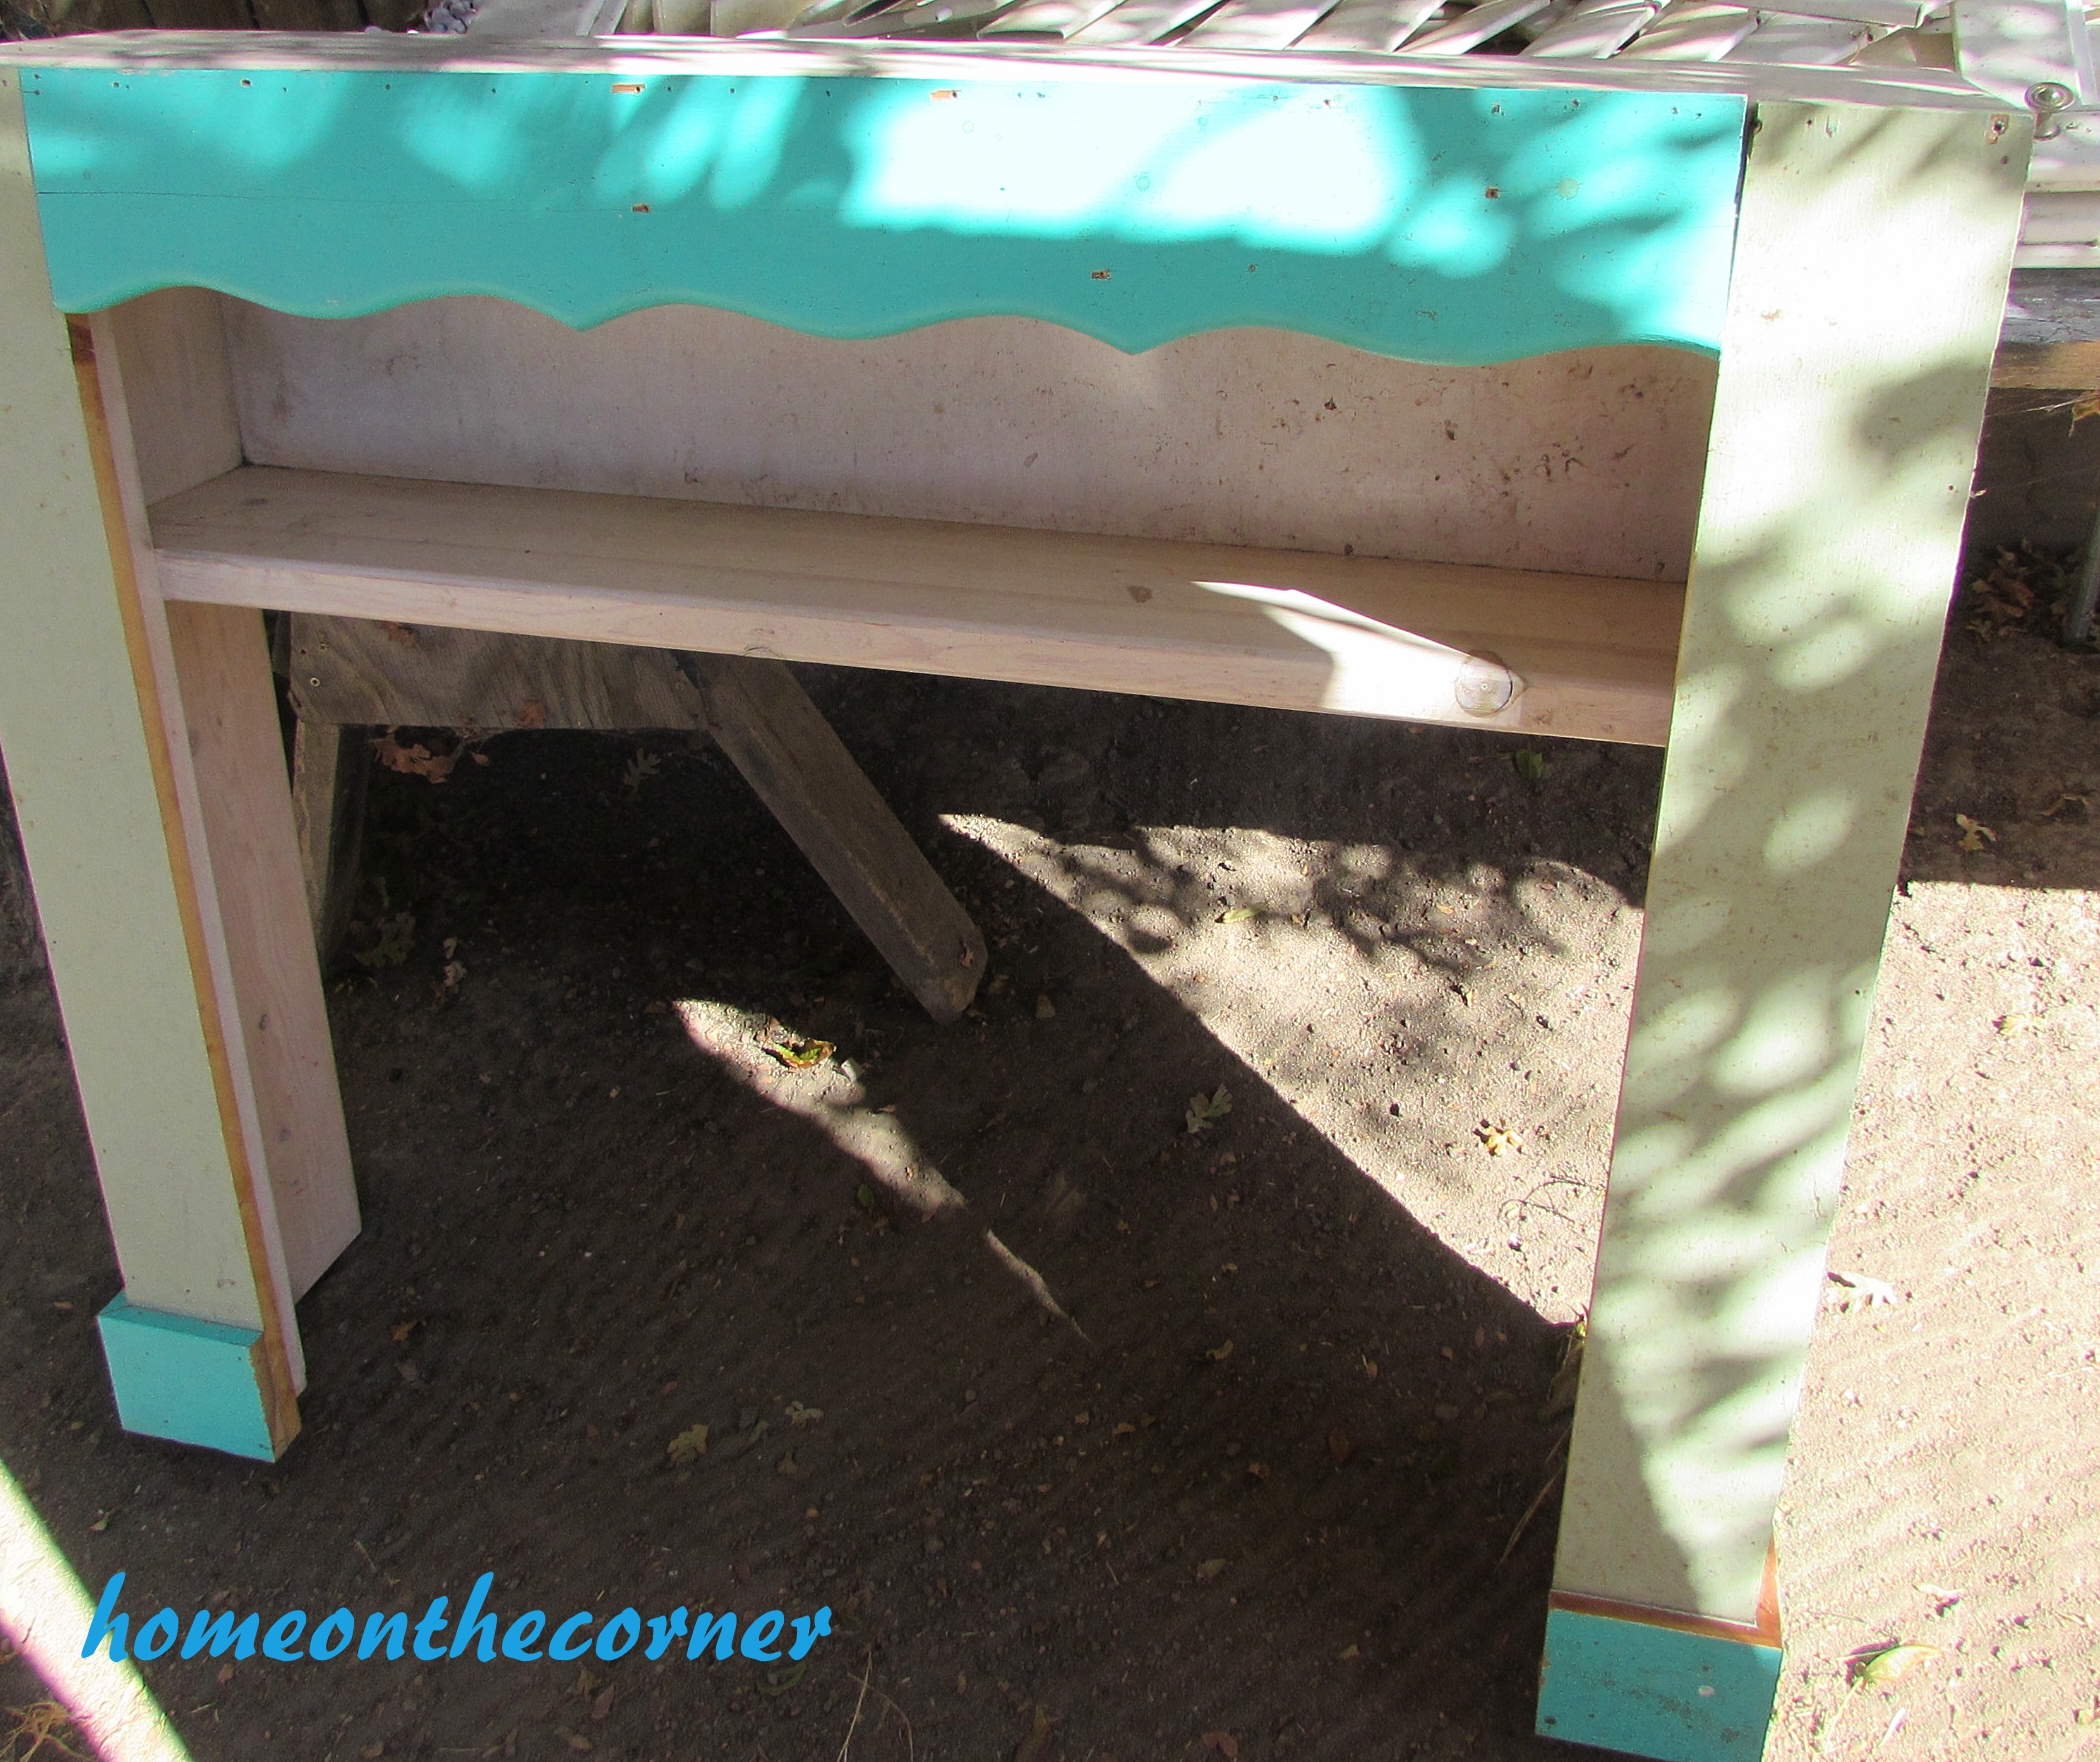
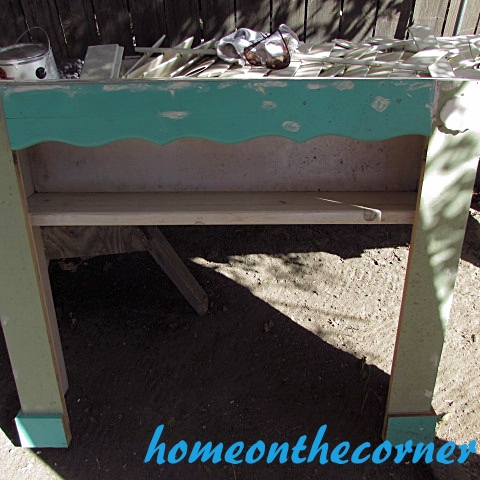
We took off one of the pieces that was under the shelf. I found some more pieces of wood at another Goodwill that had scallop across one side and decided that would work too. Yes, they are bright turquoise, but everything will get a few coats of paint.

Faux Fireplace Makeover Before Paint

I added a little extra to the bottom too. I had these ornaments from last year that I never did anything with, so I glued them up near the top to add some interest to the piece.

Faux Fireplace Medallion

After patching all the holes, I gave it a couple coats of paint.

Faux Fireplace Patched up

We added a thin piece of plywood to the back which I painted black. We also added a board along each edge in the back so it would sit flush on the wall since we have 6 inch baseboards. So here it is!

Faux Fireplace Full View

I am so pleased with how this turned out!

Faux Fireplace Reveal

It was different to decorate a mantle, but I am looking forward to all the different ways to style it.

Faux Fireplace Top view

Here are the Christmas ornaments I never used last year. I’m so glad I could find a good use for them! I made the acorn garland by hot gluing acorns from my yard onto a piece of twine.

Faux Fireplace with Acorns

My mom and dad found this box in a dumpster. Um, yes please! It’s perfect here for now.

Faux Fireplace Wood Box

It won’t be long until this is all decorated for Christmas. I am also wanting some kind of heater for inside so my doggies and I can cuddle up in front of it when it gets cold. It will be the perfect spot!

Faux Fireplace Fall Decor

I hope you enjoyed the reveal! I’m so glad it is done and ready to go! Now on to the next projects!

Sunshine and Blessings

Thrift Store Metal Medallion Makeover

It’s November! The weather is finally cooler here, at least in the mornings and evenings. And we have finally had some much needed rain! It’s been wonderful! This type of weather brings back memories of the sound of the chainsaw as my dad trimmed the trees in the back yard. My sister and I would use the cut branches to make forts over the swing-set. Of course, it only lasted a day. My dad would take the branches, cut them up and cart them away.

Don’t forget, we are co-hosting over at Merry Monday Link Party this week. Check out what other bloggers are doing. Click here.

I found these metal medallions at the local Goodwill a couple of week ago. I knew right away what I wanted to make (for once!). I had found some chalk paint at Walmart made by Waverly and wanted to try it out.

Metal Medallion Makeover

I bought the white chalk paint and painted two coats on each medallion.

Metal Meddalion Makeover Waverly Chalk Paint

Metal Medalion Makeover Paint

After the paint had dried, I used the Waverly Antique wax to spread on the raised areas.

Metal Medallion Antique Wax

I put a little on a rag, wiped some off on the paper I was using to protect the floor and then went over each piece, lightly.

Metal Medallion Waverly Antique wax

I went over the edges too. After is was covered, I kept rubbing to buff it out a little bit.

Metal Medallion Antique Waxing

Here are all three! I like how each one is a little different and I really like how they turned out.

metal medallion decor

I had never used an antiquing wax before, but I really like it. It gives it a little bit of a farmhouse look.

metal medallions mantel decor

Here you get a little peek of my faux fireplace. It’s almost done! I will be showing it off next week!

metal medallion fall decor

Hope you all have a wonderful week! See you next time with my fireplace!

Sunshine and Blessings

Upcycle A Clementine Box Into A Doll Bed

A long, long time ago, I wanted to be a princess-for Halloween. Isn’t that most little girls dreams? It was kindergarten. I wore a long purple dress and my shoes were covered in tin foil in order to make them shiny. There were no sparkly shoes at Target back then :). Such simple times.

My little, now 3 year old, niece, loves Minnie Mouse. She has loved her since she was one years old. So I created something special for all her Minnie Mouse dolls.

I had several of these clementine boxes. I have used some in my classroom, but still had a few left over. Who better to give them to, but my sweet little niece!

Upcycle clementine box

I first spray painted them, one white and one pink. I didn’t find Minnie Mouse print material that I liked, so I went with black with large white polka-dots and pink with little white polka-dots. I found some Minnie Mouse ribbon and some black/white polka dot ribbon to go around each bed.

Upcycle clementine box painted

My disclaimer: I am not a seamstress. Please don’t think I really knew what I was doing. Besides, I had help. Lauren. She is much better than I am. My directions will be very simple and I am sure, not very complete. Just try to play along :).

I cut a piece of foam for the mattress and cut my material to fit around plus a couple inches extra. I wanted to make it like a pillow sham pillow case, with the opening in the back. This was so it could be washed if needed. I folded over a bit of the edges of the fabric, ironed and pinned. Lauren sewed.

upcycle clementine box fabric

We also made a quilt for each bed. We used both fabrics so it could be reversible. After sewing up 3 sides, we filled it with quilt batting and then sewed up the fourth side. Lauren also sewed an ‘X’ across the top so it would wash up better, if needed.

upcycle clementine box mattress

I love the polka-dots!

upcycle clementine box quilt

We also sewed a pillow for each one using fabric that was left over. It is just a large rectangle, sewn all around the edges, leaving a little space open for stuffing. After we stuffed it, we stitched up the opening. I also added some ribbon around the outside of the box and a narrow black ribbon along the top edges.

upcycle clementine box stacked

They turned out so cute!

upcycle clementine box doll beds

She has so many Minnie Mouse dolls, she probably needs lots of these, but hopefully Minnie will share!

upcycle clementine box doll bed pink dots

These would be great gifts for little ones on your list! They could be made for both boys and girls, depending on the type of fabric that is used.

upcycle clementine doll bed black dots

upcycle clementine box bed set

My niece absolutely adored these! She already had a Minnie tucked in at her birthday party! I would love to see yours if you decide to make one!

Have a great week!

sunshine-and-blessings-picmonkey

Thrift Store Metal Medallion Makeover

We made it to November! Already! The air is finally cooler around here, especially in the mornings and evenings and we have finally been getting some rain. It has been so wonderful! Fall also brings back memories of the sound of the chainsaw as my dad trimmed the trees in the yard. My sister and I would build a fort with the cut branches. Of course, it only lasted a day. My dad would cut the branches up and cart them off!

I found these metal medallions a few weeks ago at the local Goodwill and snatched them up. I knew (for once) just what I wanted to try. I had found some chalk paint at Walmart made by Waverly and wanted to see how well it worked.

Metal Medallion Makeover

I painted each one with the white chalk paint and painted two coats.

Metal Meddalion Makeover Waverly Chalk Paint

Metal Medalion Makeover Paint

Once the paint was dry, I used Waverly Antique Wax.

Metal Medallion Antique Wax

I put just a little on a rag, wiping some off on the paper I had down to protect the floor

Metal Medallion Waverly Antique wax

Then I lightly rubbed it all over the raised surfaces of the metal medallion. I also went around the edges.

Metal Medallion Antique Waxing

Here are all three!

metal medallion decor

I like how each one is a little different and I really like how they turned out! I had never used the antiquing method before, but it looks great.

metal medallions mantel decor

I am giving you a little sneak peek at my faux fireplace! It should be done this week and then I will be able to show it off!

metal medallion fall decor

I hope you all had a safe and happy Halloween! I will be back next time with the faux fireplace reveal!!

Sunshine and Blessings

Fabric Pumpkin Makeover

Happy 3 Day Weekend (for those who get one!)!  This post is late today because I am busy trying to get my house cleaned up and ready for fall!  I don’t have much time during the week, so I figured this was my time to get moving on it. I feel like I accomplished quite a bit, but I didn’t get the blog done for this morning. But it’s here now!

I found these 2 (very) bright orange fabric pumpkins at a thrift store. There really wasn’t much out yet at the stores I usually go to. I wasn’t sure what I was going to do with these, but I figured something would come to mind. I talked with the girls and we came up with a few ideas.

Fabric pumpkin makeover

I started with the small one. Haley suggested turquoise with orange polka-dots, where the dots start out full at the top and then becomes less and less. So I went through my paint stash and started with some colors that I mixed. It did not turn out as bright as Haley was thinking. So, I looked again and found some old poster paint in bright turquoise. It ended up being the perfect color! Here are my different attempts:

Much better color! I added a little more turquoise with some purple mixed in for the stem. After seeing the turquoise, my mind totally went in a different direction than polka-dots! Do you do that? Change your mind part way through a project? All. The. Time!

Small fabric pumpkin makeover turquoise

I decided to add some string around the pumpkin where the previous string was. I picked a navy blue, although it looks kind of purple.

Small fabric pumpkin makeover string

I just put some hot glue on the old string and laid the new string over the top.

Small fabric pumpkin makeover gluing

Here is a little clue to how I ended up decorating the pumpkin. These are a few of the embellishments that I used.

Small pumpkin makeover

The big pumpkin I just spray-painted with Rust-oleum spray paint in Metallic Aluminum.

Fabric Pumpkin spray paint

Then I added some glittery silver filigree washi tape that I found at Walmart. Sorry I don’t have the package to show you. I had already opened it for another project. Isn’t is pretty!

Fabric Pumpkin Makeover 3

And here is the turquoise one! Ta da!

Fabric Pumpkin Makeover 2

Haley loves peacocks and we had decorated her graduation party in a peacock theme. You can see it here. I had a few feathers left over, so it worked out great.

Fabric Pumpkin Makeover Finished

Fabric Pumpkin Makeover 5

Fabric Pumpkin Makeover 4

I just loved how they both turned out! Have been decorating for fall yet?

Sunshine and Blessings

ps. We (mostly Lauren) have been on Periscope! Be sure to follow us there to find out when we go live!