

I accept the challenge! That’s what I did back in January. Serena, from the blog, ThriftDiving, http://www.thriftdiving.com/, offered up a challenge for February. The idea was to commit to 5-10 projects we never finished and work on them in February! What a great way to get ourselves to get those projects done!
So here was my list:
1. Make a couple of pillow covers for my front porch.
2. Sew the seam on a pair of jeans to make them ‘skinnier.’
3. Sort through my seashells and figure out a project for them.
4. Paint the floating shelves in the hallway.
5. Frame maps to hang in Lauren’s room.
6. Paint the trim in my dark hallway.
So, how did I do? I did them all! Not all perfectly, but they are done!
1. The Pillow Covers
Yes, I did make these, but I cheated a little. I picked the fabric from Lauren’s overflowing fabric closet. I liked the turquoise, of course, and thought the red was good because of Valentine’s Day. When I showed Lauren, she asked if the sewing machine had behaved for me. Um..well..

I glued them. I really don’t like to sew, and a few years ago, I had seen a Pinterest story about someone who had recovered all her patio cushions by hot gluing fabric on them (which I have also done!), so I figured why not pillows too! It worked and I was done with number 1 very quickly!

2. Sew the Seams on a Pair of Jeans
Yes, I did this too and yes I actually sewed them. No hot glue!! They turned out okay, but as I wore them, they kept stretching more and pretty soon they were still too big, So I will have to pull the dreaded sewing machine out again and sew them a little skinnier.
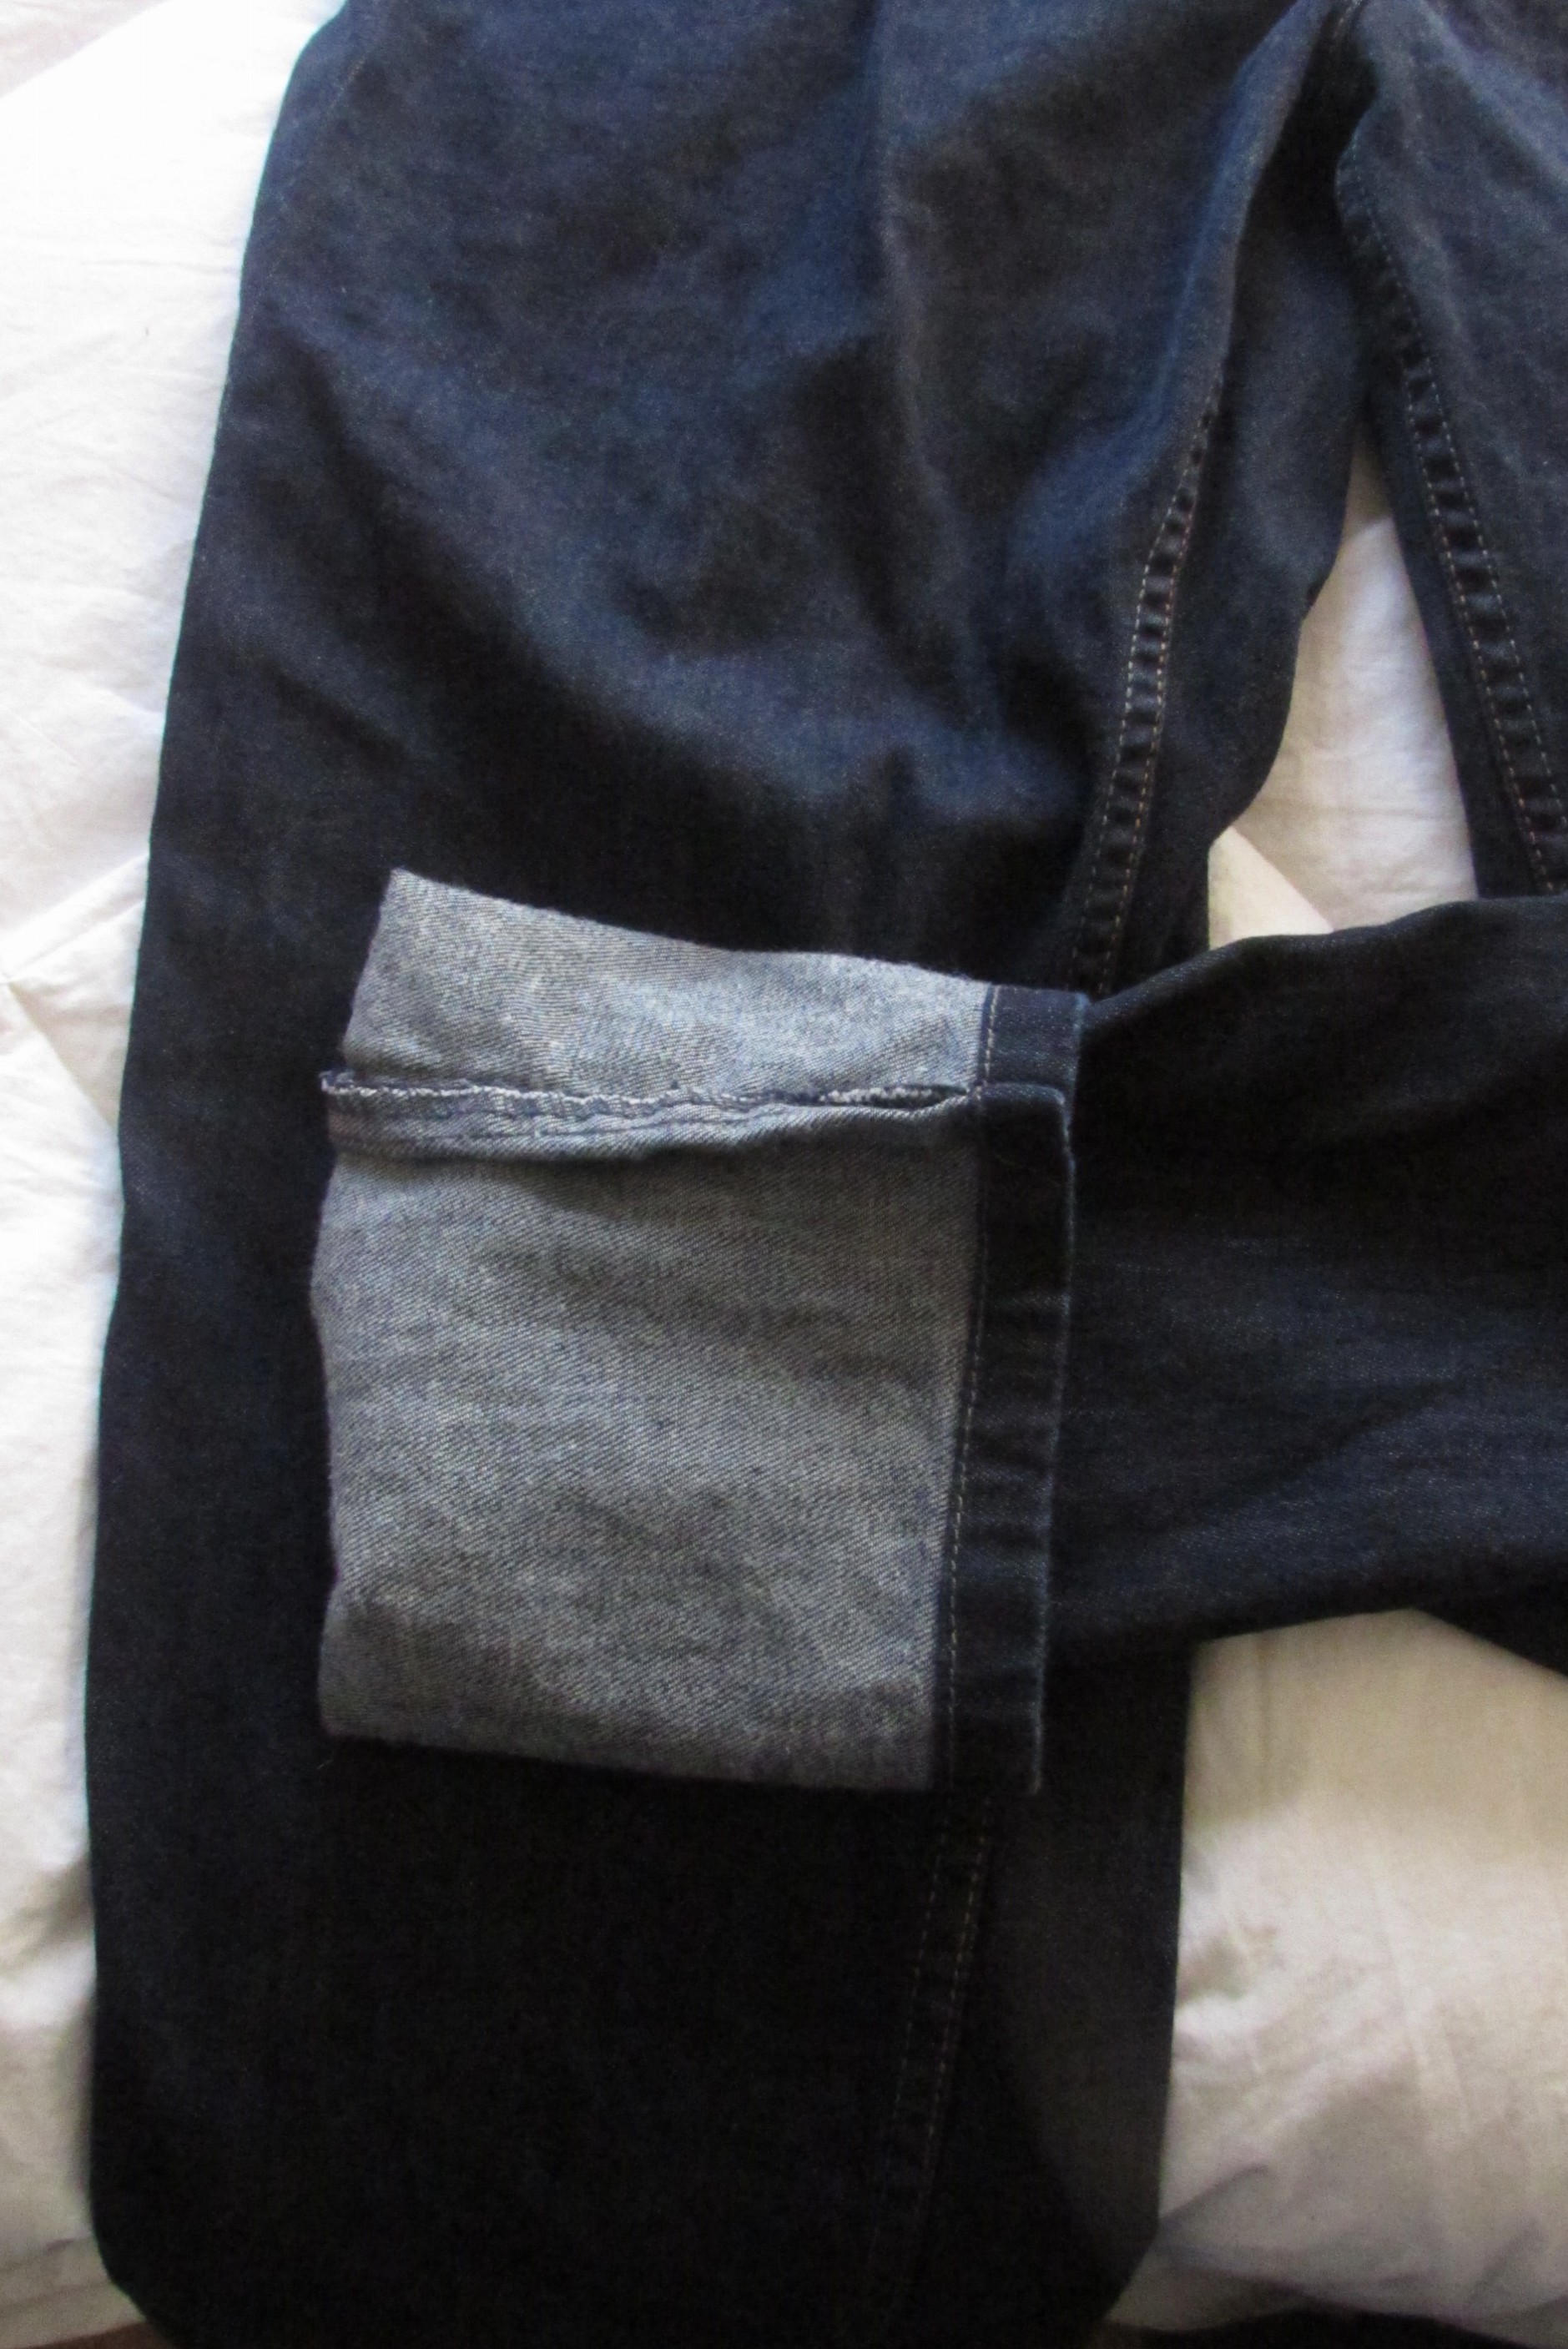
Here is the seam I sewed.
3. Sort Through Seashells
I went through my several boxes and jars and bags of seashells. I sorted them all out by type and even some color. I know what I am going to do with them, but it involves buying several frames with mats, so it will probably be awhile before I actually get the whole project done. But at least I know what shells I have and how to use them!

just a small part of the collection
4. Paint the Shelves

basic brown
Yep! They got painted. I purchased them from a thrift store, and was so excited to find them, I couldn’t wait to put them up! They were just a plain brown, but they are now white. When my daughter Haley walked down the hallway that evening, she asked ‘Weren’t those shelves a different color this morning?” Yes, they were!


5. Frame Maps

Just need to get these on the wall
The maps are framed and hanging above the bed in Lauren’s room. I got these maps from the yard sale my mom and I have every year. Not even sure who they came from, but I love old maps and these were California mountains, so they were perfect!

My State!
Now they look even better on view for all to see!

They are up!

Love how they look!
6.Paint Trim in Hallway

Before-blah brown

dark and dreary
Yeah! I got this done! I have been wanting to do this for quite awhile. Haley and I painted all the trim in the living and dining rooms a couple of years ago and I had been wanting to do this too. Well, this was the push I needed. I painted a coat of primer and then 4 coats of paint. I used Benjamin Moore Cloud White.
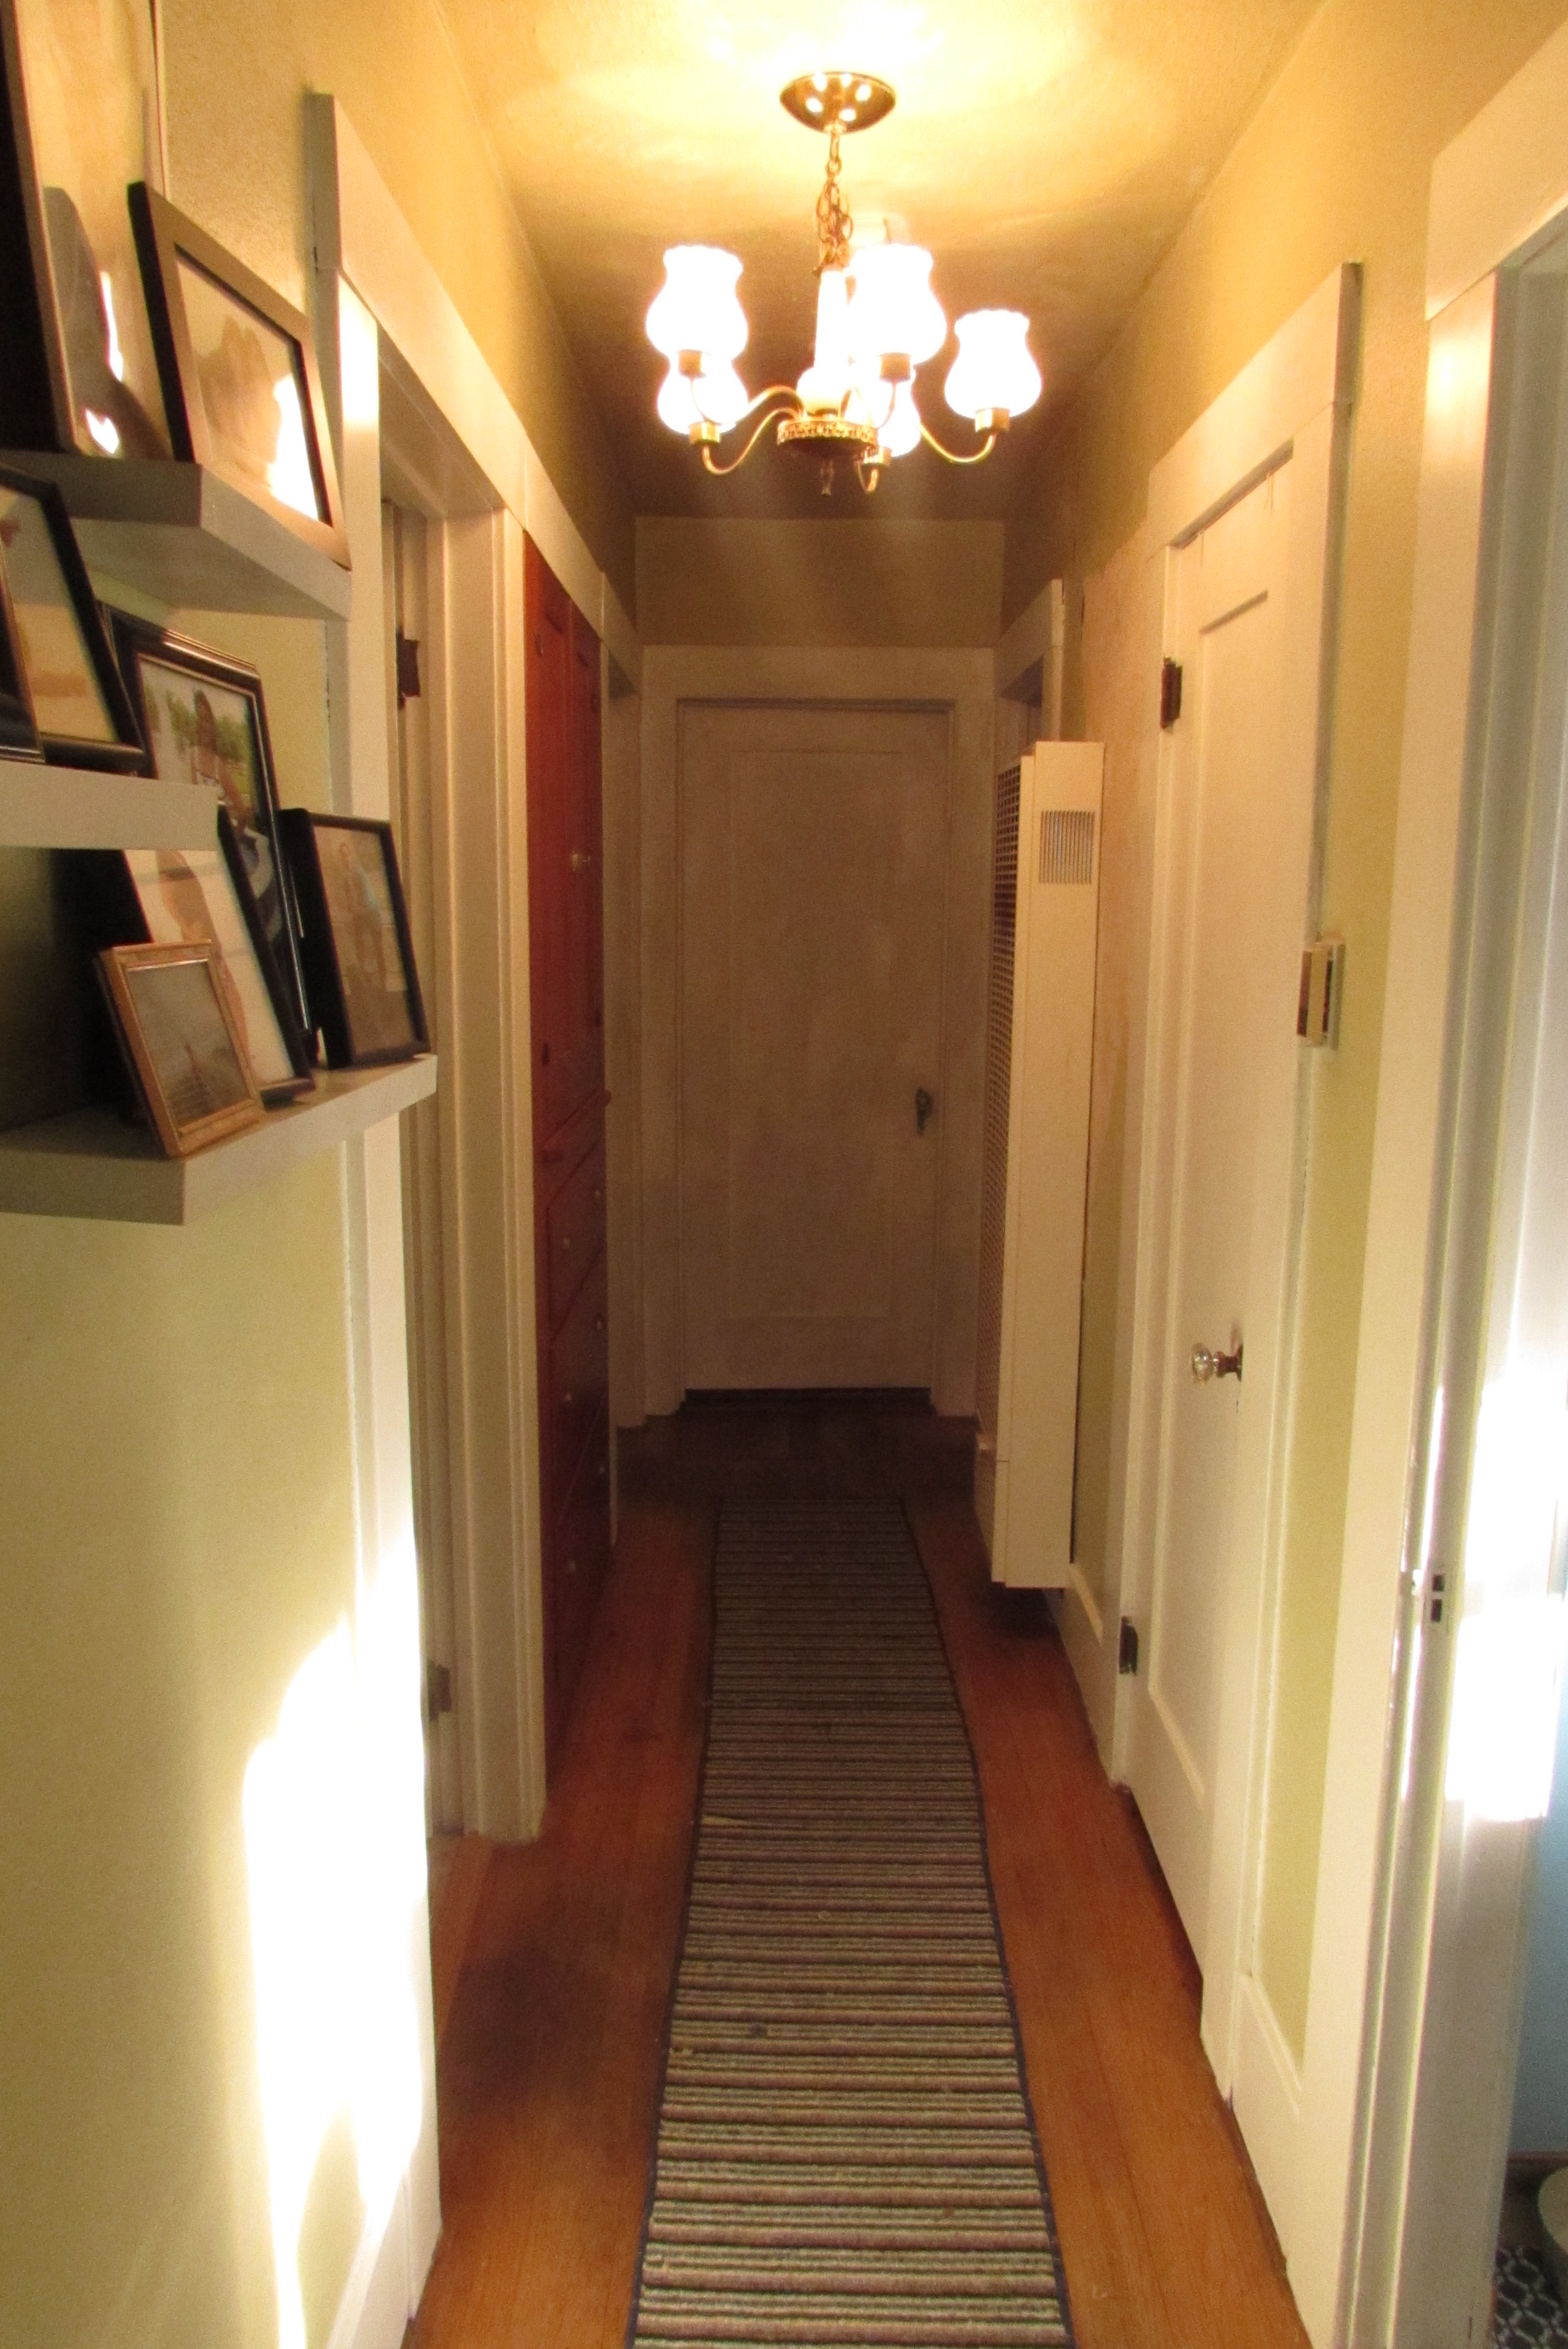
New and improved
This included all the trim and 6 doors!
Loving the white
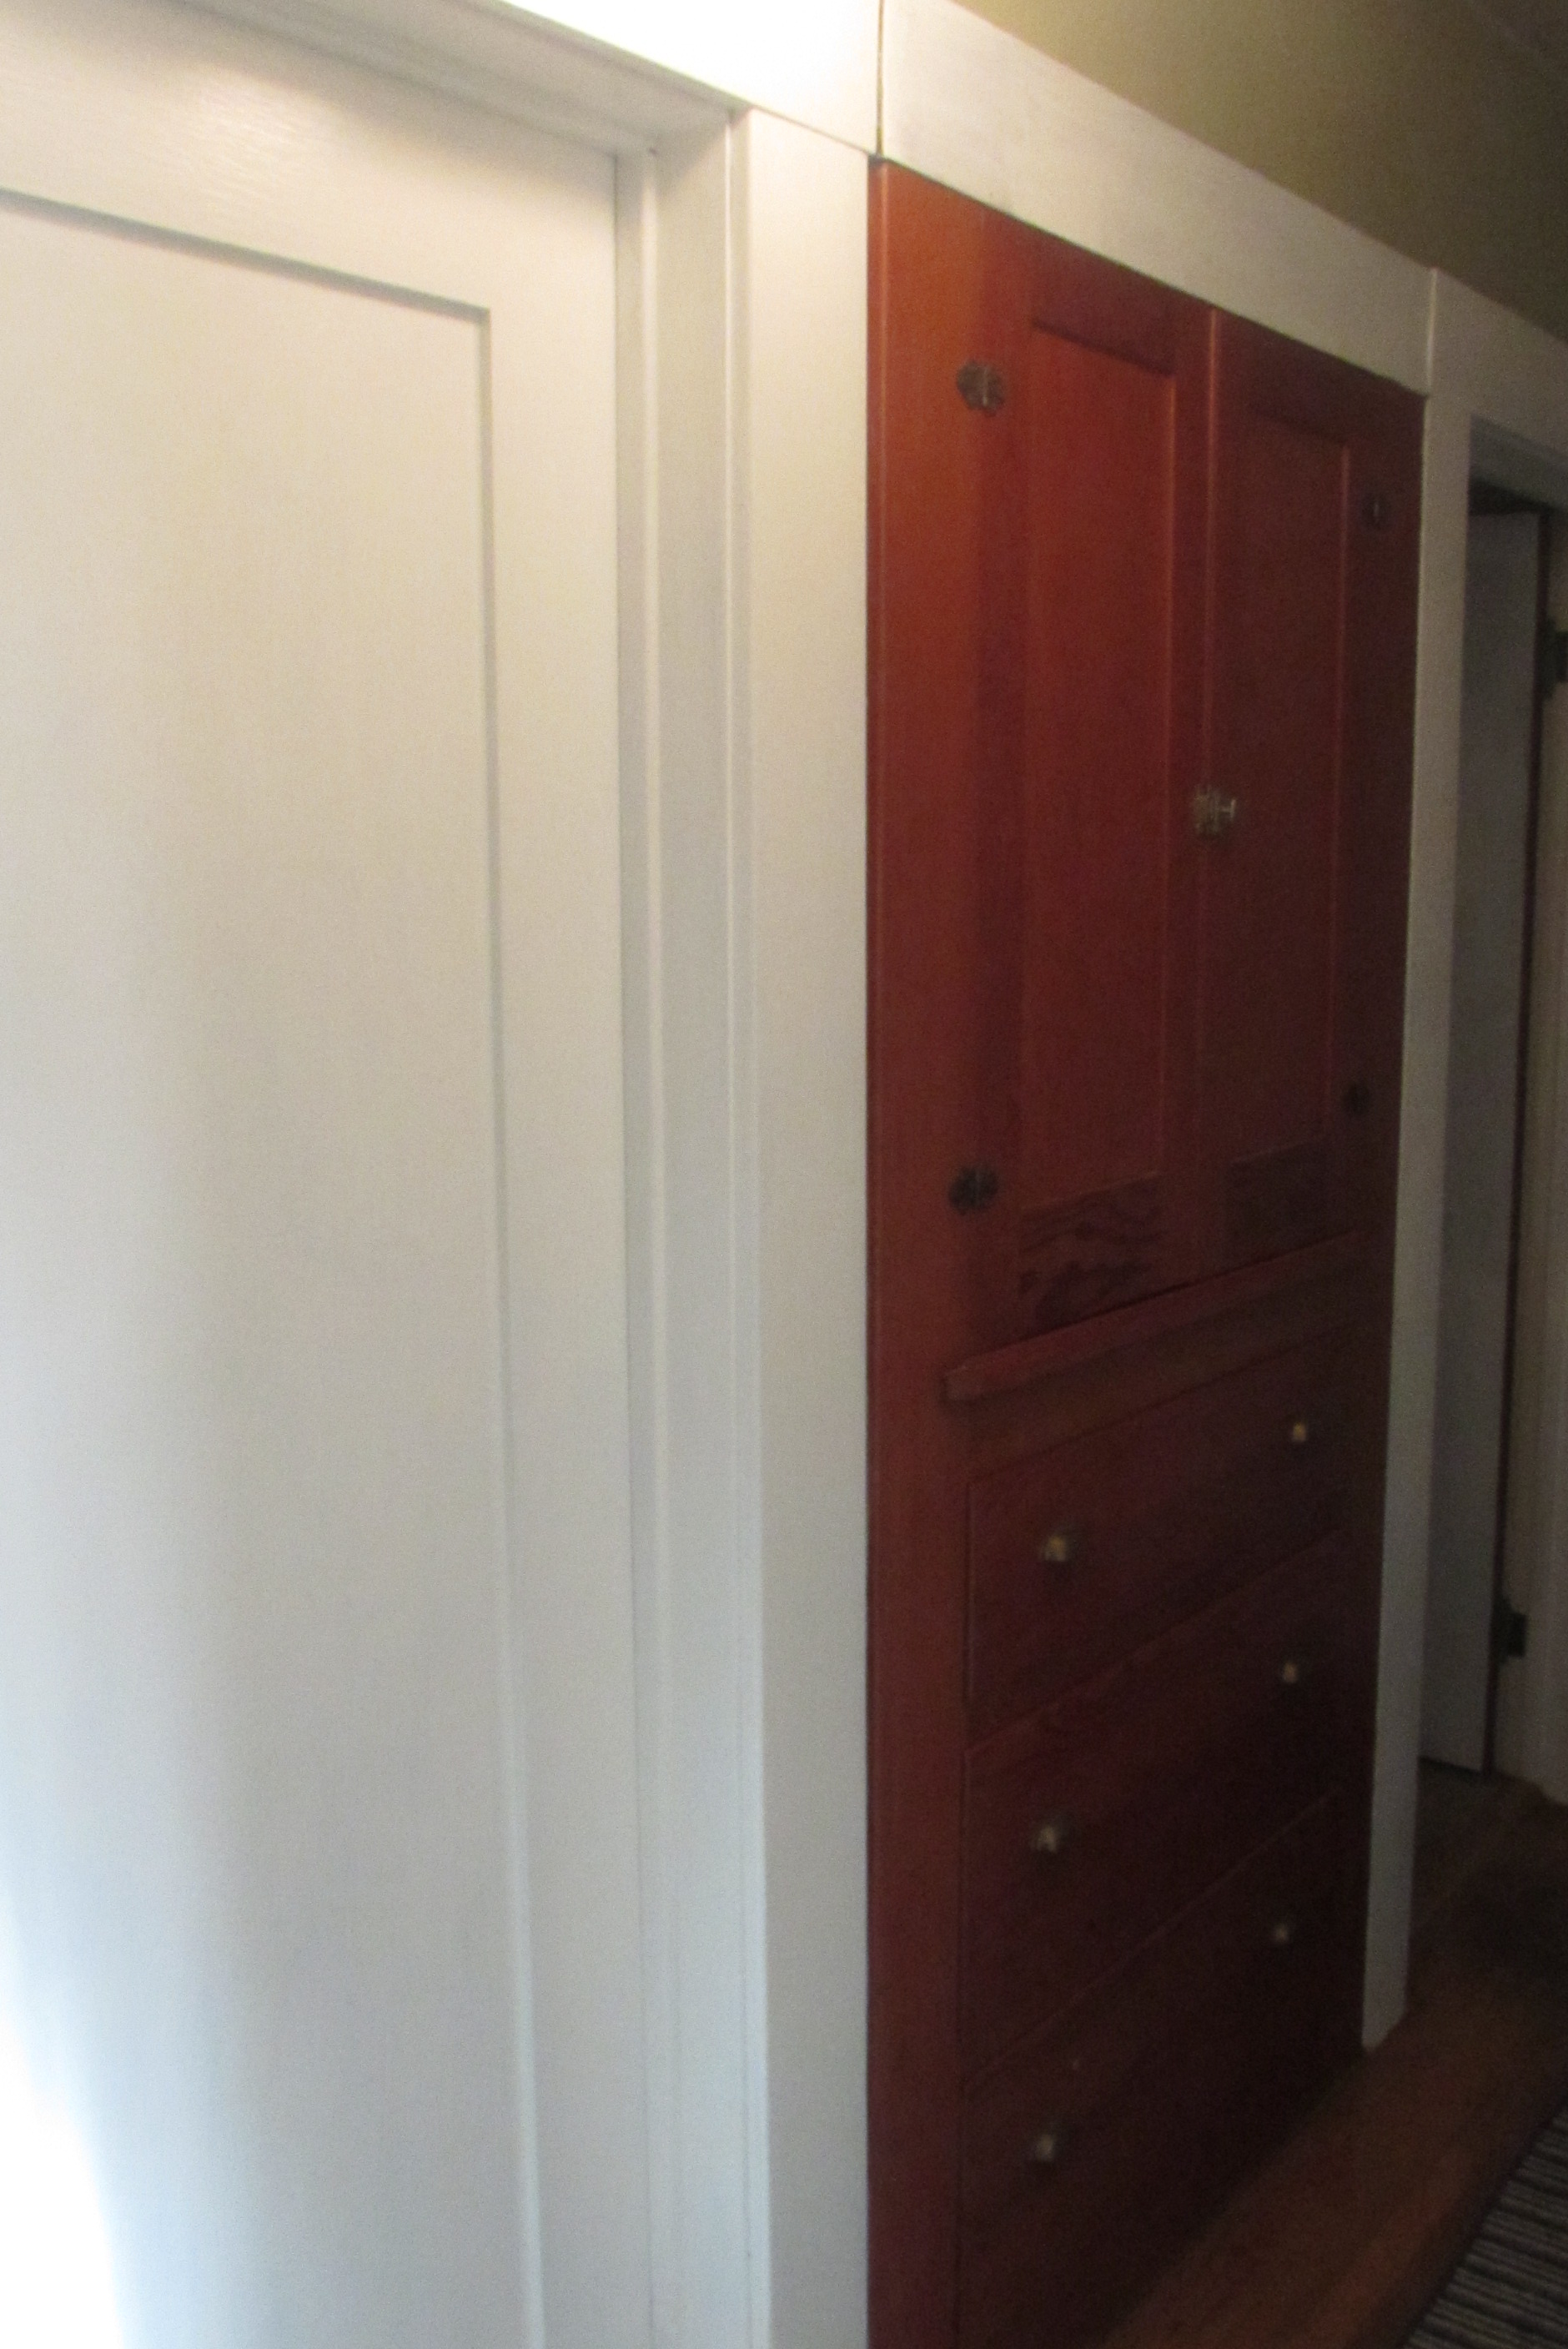
There is also a built in cabinet in the hallway, but I left if the color it was. I may go back later and paint it, but painting all the rest was plenty. My husband hung a chandelier that used to hang in the dining room. Love it!


I plan on painting the walls too. I don’t like how the green looks with the new trim, so maybe that is my project in March. I hope to add a sisal rug to the area also.
Well, that’s it. Challenge…Done! I feel so good having completed this. Please check out Serena’s blog and see what else she has done. She completed her basement challenge and it is an amazing space!! Maybe next time you can join in too!

Link Parties we have joined:
http://staceyembracingchange.com/2015/02/26/creative-inspirations-linky-party-124/
http://www.impartinggrace.com/2015/02/grace-at-home-no-143.html
http://www.aglimpseinsideblog.com/


http://www.jugglingrealfoodandreallife.com/
http://www.nancherrow.com/2015/02/fridays-unfolded-link-party-146.html
http://chiccalifornia.com/2015/02/26/tiful-link-party-59/
http://cityofcreativedreams.blogspot.ca/2015/02/city-of-links-60.html
http://romantichome.blogspot.com/
http://chiconashoestringdecorating.blogspot.com/2015/02/flaunt-it-friday-246.html#
http://diy-vintage-chic.blogspot.com/2015/02/fridays-five-features-no-79.html#more
http://www.lifeonlakeshoredrive.com/
http://www.lifeonlakeshoredrive.com/
http://www.pamspartyandpracticaltips.com/2015/02/dare-to-share-152.html


