Not only is this project done, but now I have more exciting news!! My daughter, Haley, got engaged this past weekend!!! I’m so excited for her and my soon to be son-in-love! Now I get to help with the wedding planning! I’m not sure how much I will be able to blog about, but I will try to document some of it. But now on to the show!
If you didn’t see the first post of what the trailer originally looked like, you can click here. I will include some of the original pictures here too.
I went for the Bohemian look this time in the trailer. A lot of the pictures and things are from the old trailer and I found new places for them to go. As you walk in the door, you can see our Camping Rules. Most importantly, is Make Memories! You can see in this picture, we outlined the slide out with varnished wood. I love how it turned out! Looks so much better than the plastic pieces that were up there!

Just to the left as you enter the door are 2 swivel chairs by a big picture window. You can see here that all the brown is now painted white. I used Benjamin Moore Swiss Coffee for all the paint in the trailer. I used the original handles, knobs and hinges and painted them all gold. I bought the blinds from Home Depot, and the fabric and pom-poms from the 99 Cent Store. The seat covers came from Amazon.

The little table was a t.v. stand and Steve reconfigured it to fit over some of the hose and electrical hoses and wires that are underneath. I painted it and decoupaged the top. I added some fun little decorations to the top and the shelves.

BEFORE:

AFTER:
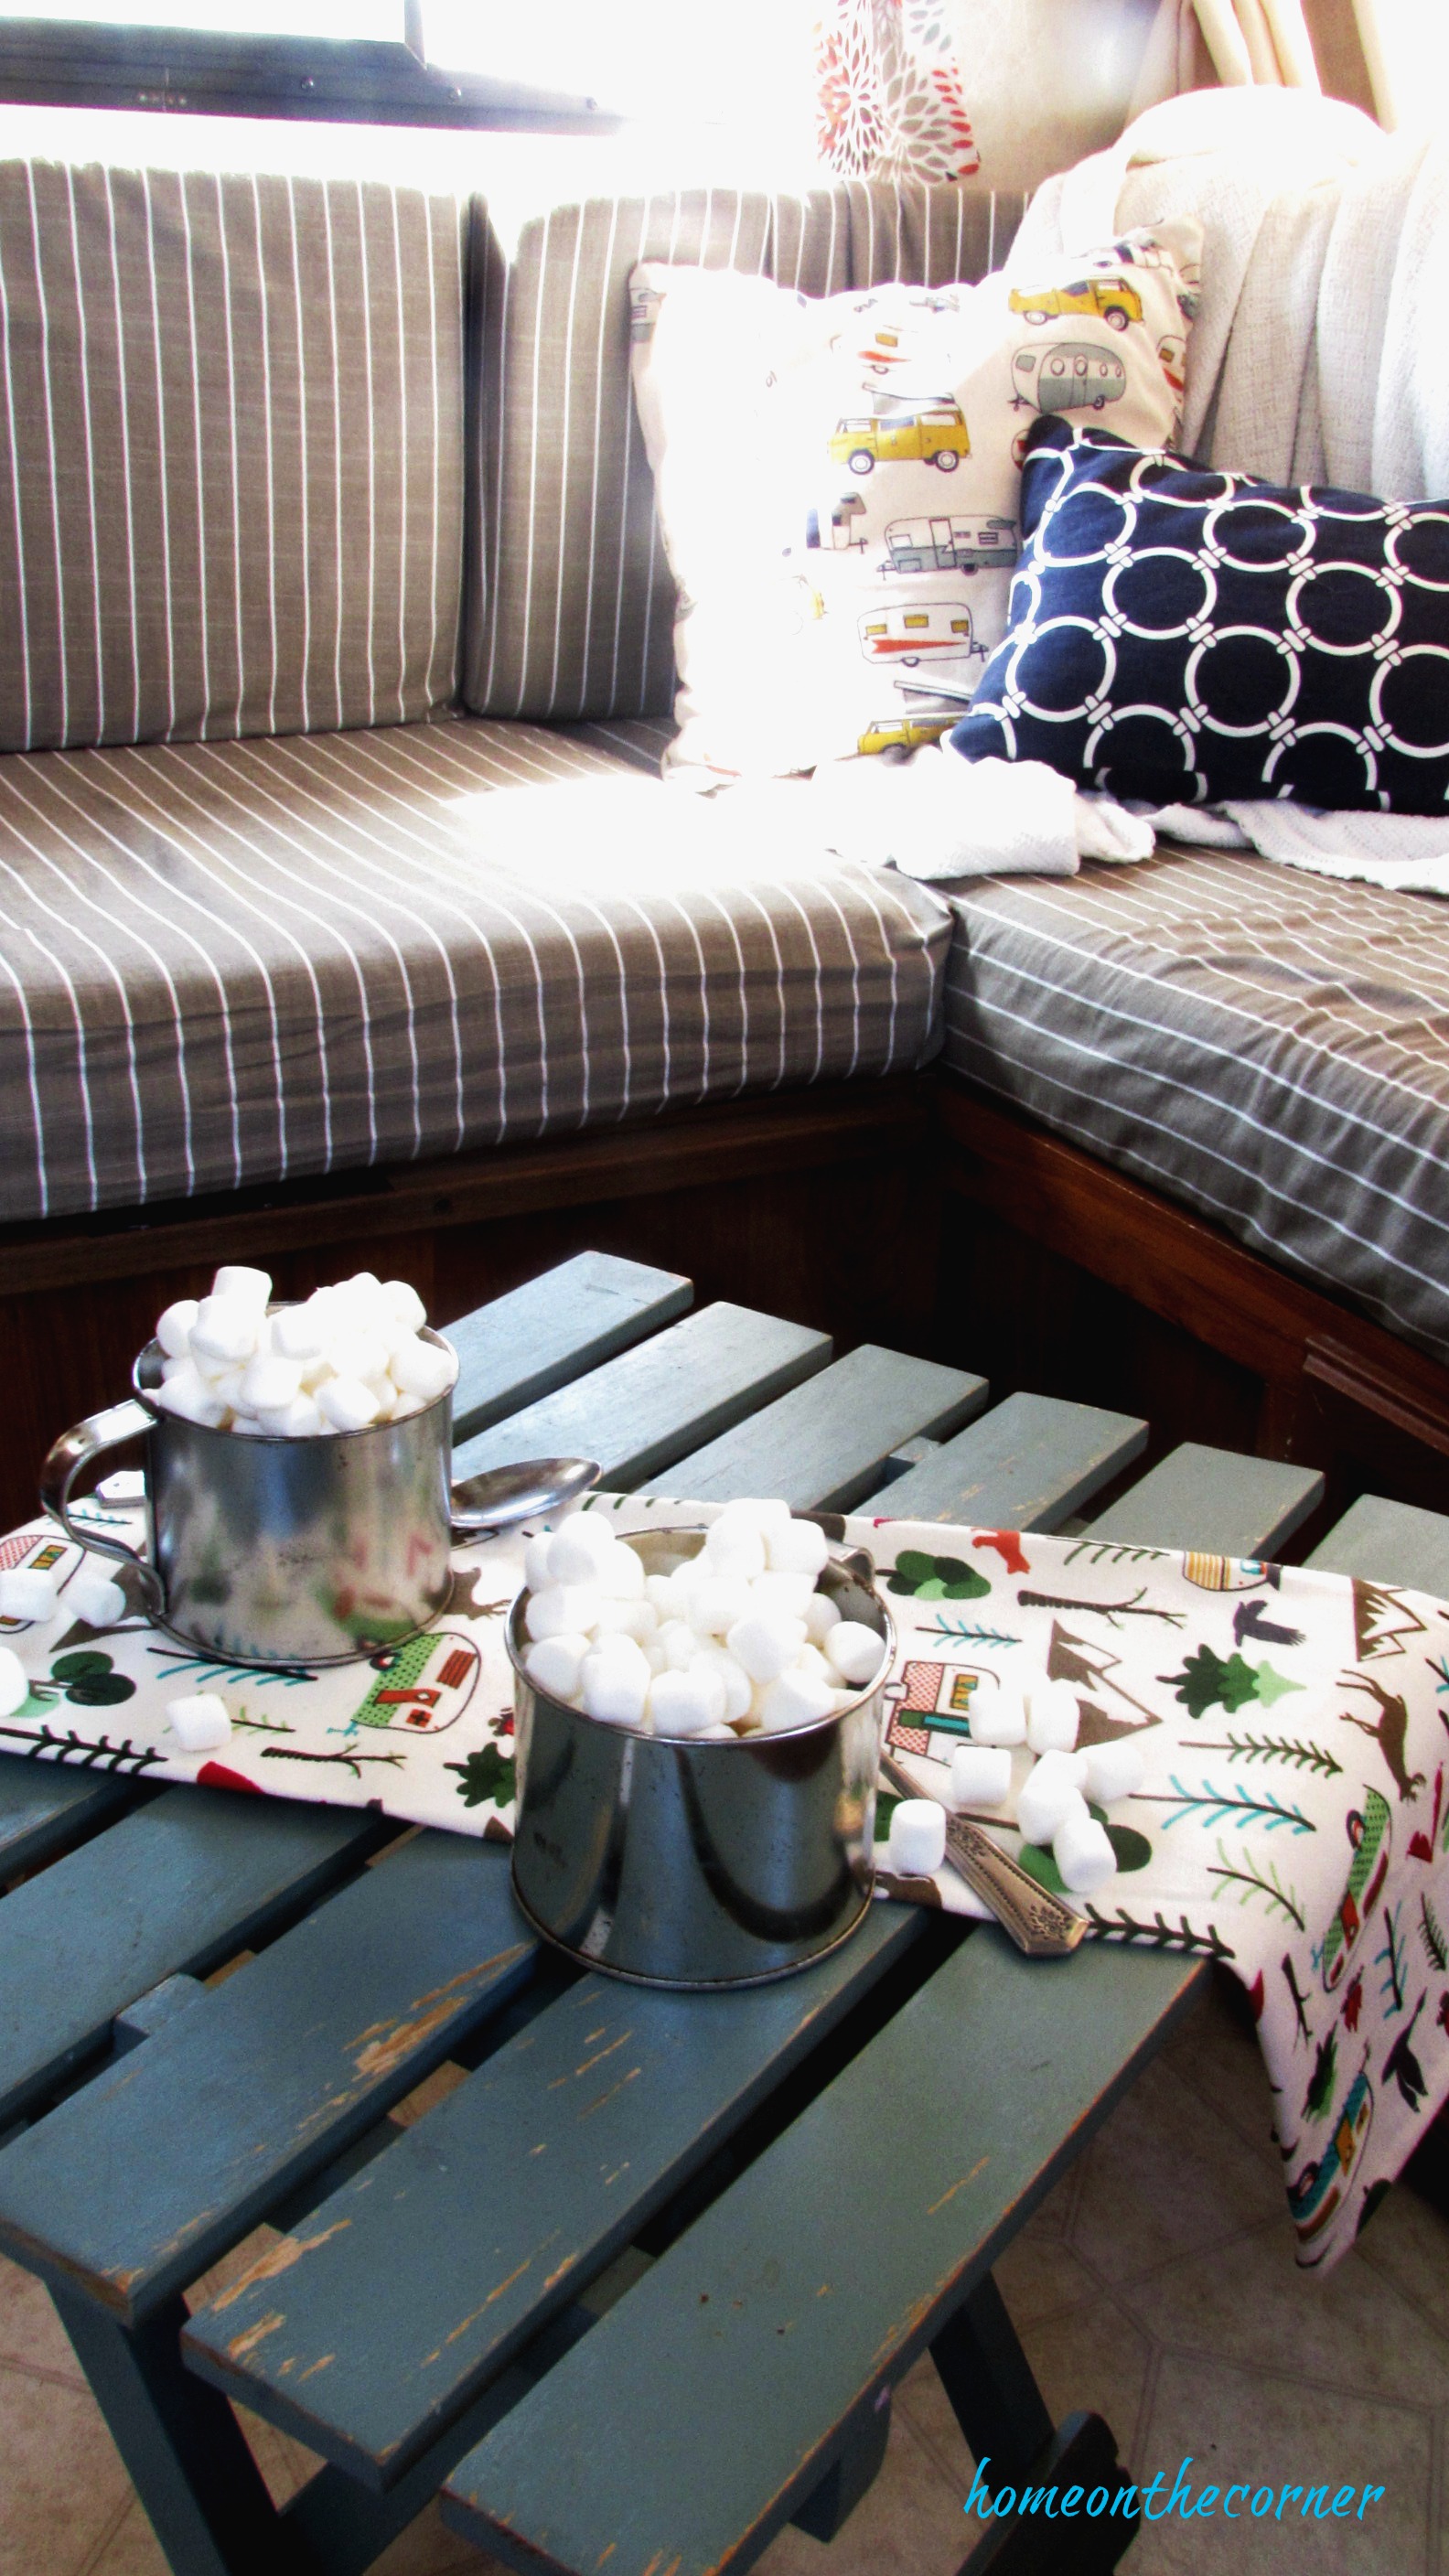
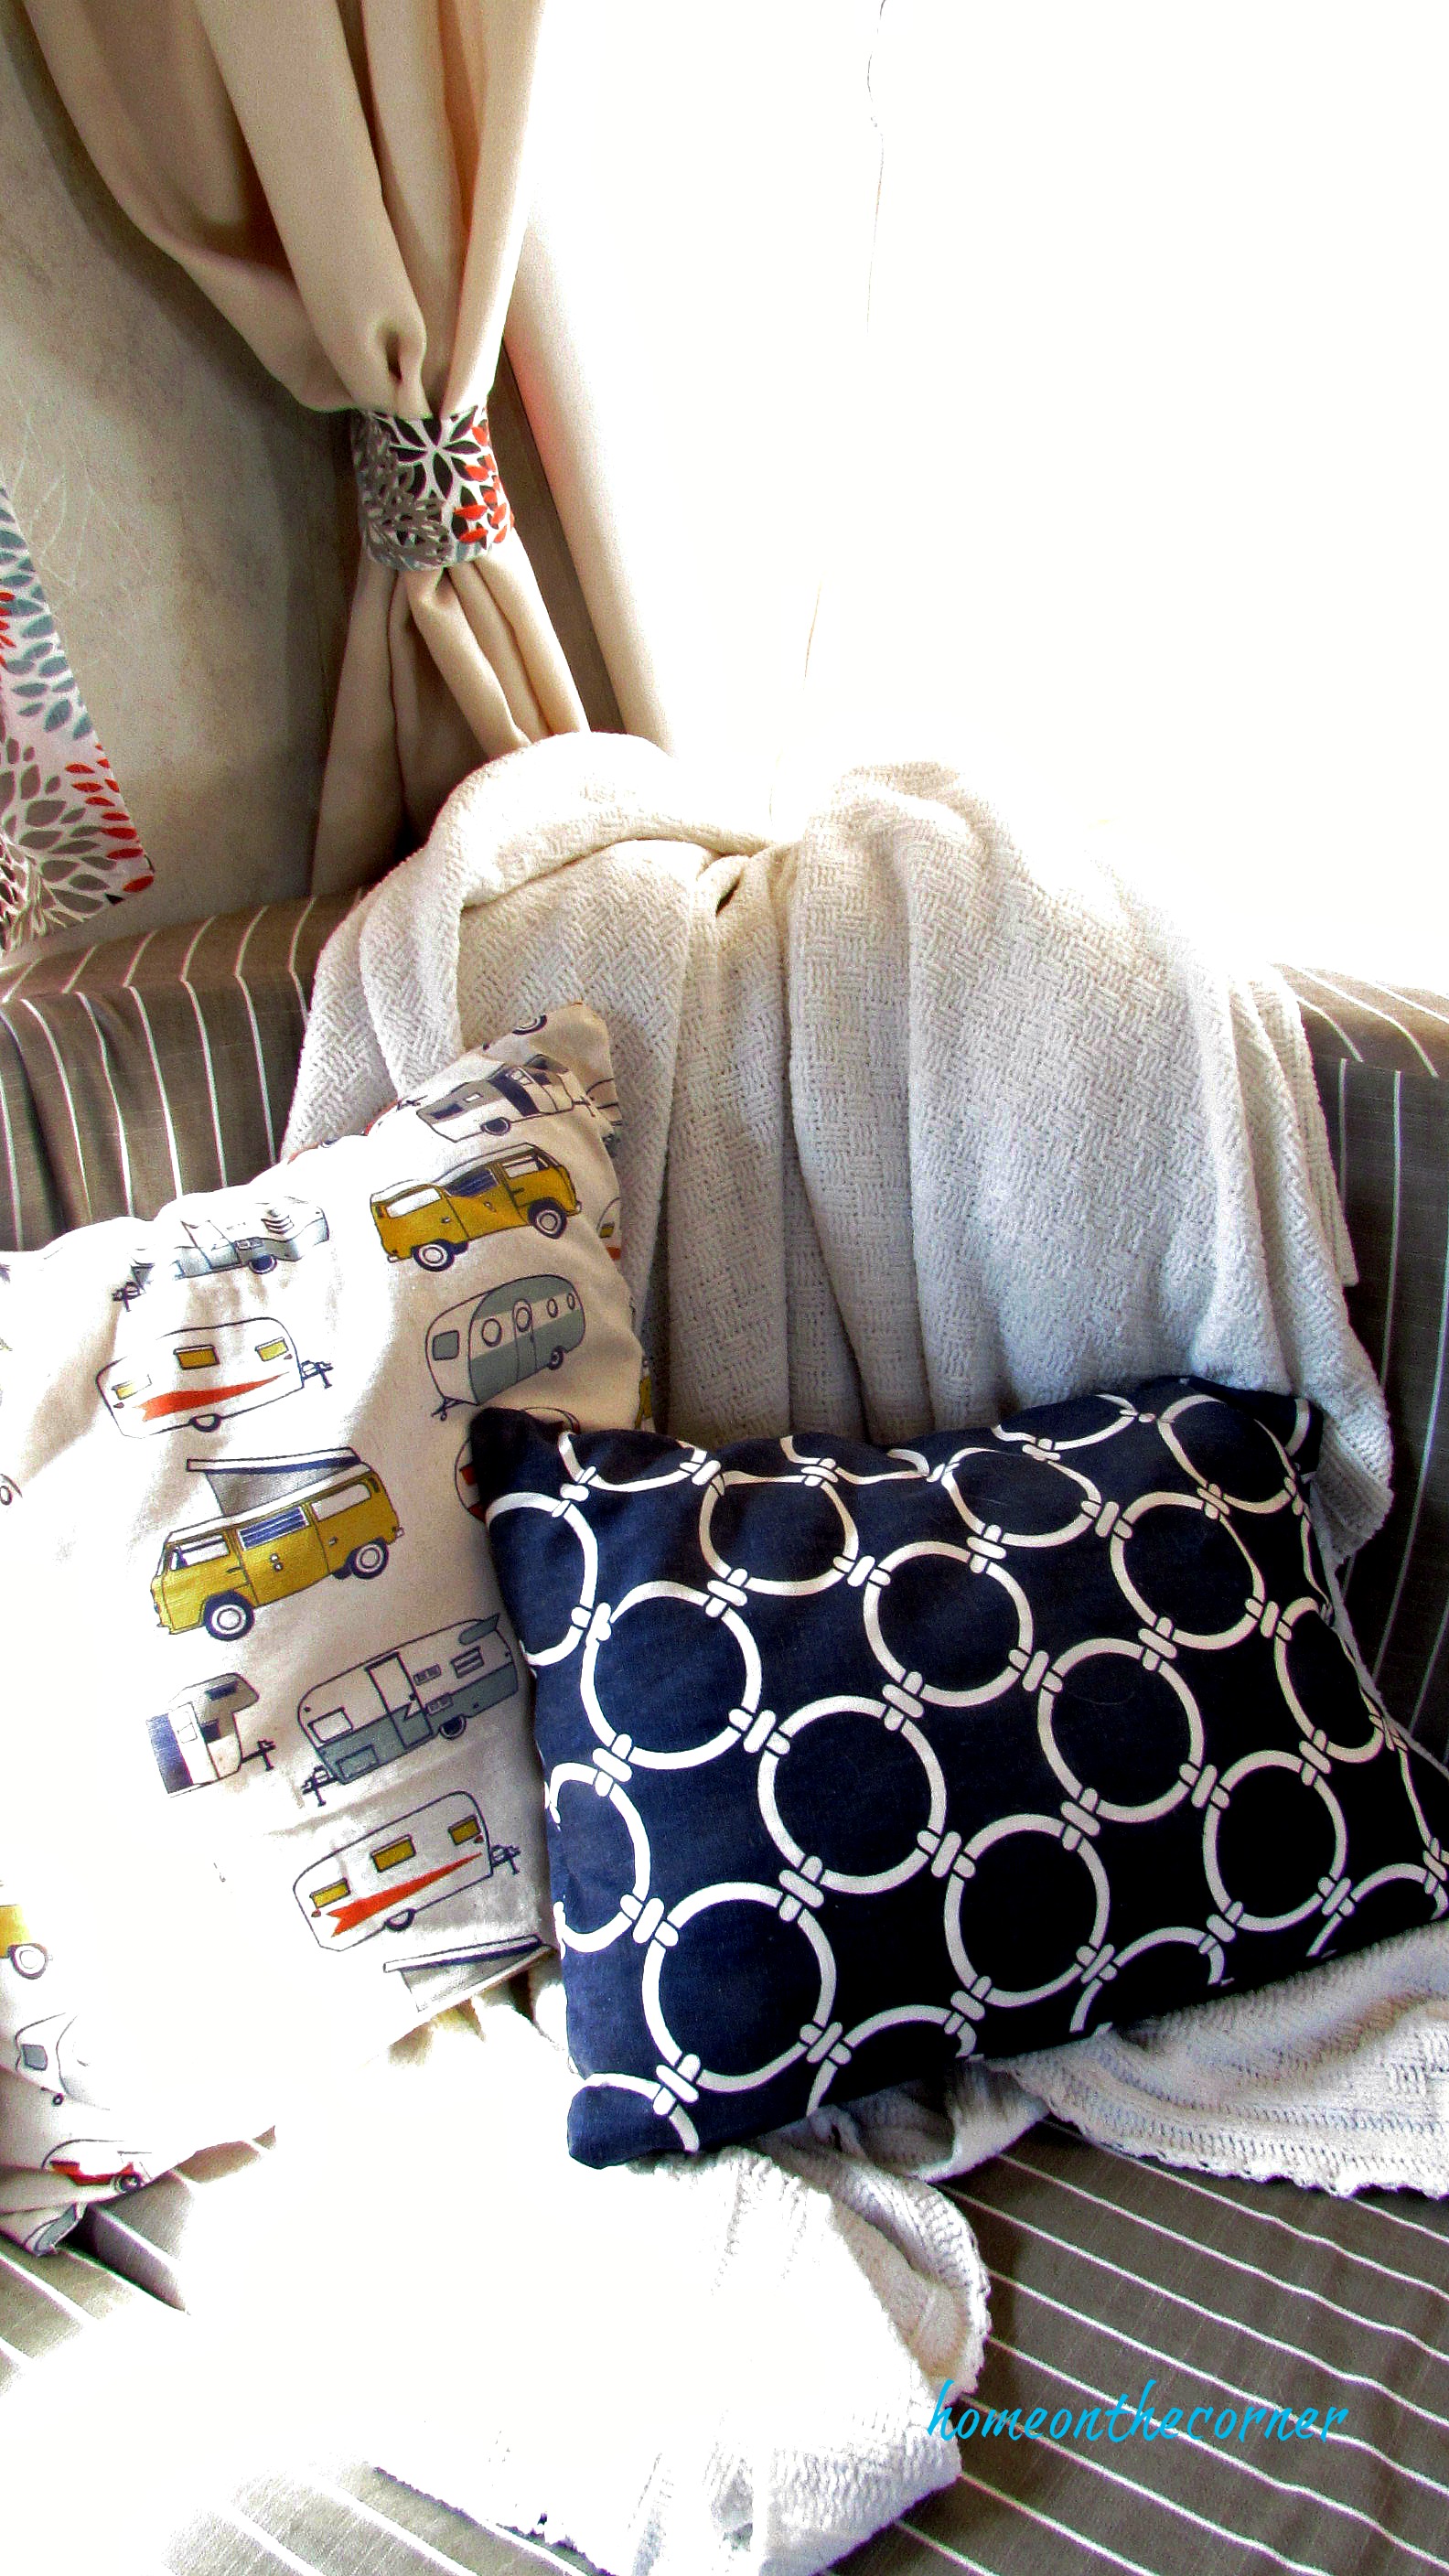
Straight in from the door is the couch. I covered it with an old chenille bedspread I already had and some fun pillows. I used the same blinds on the window and fabric for the curtains. I love that I could use all different colors and it all looked good together!


I recovered the cushions at the table. I used velcro on the back to hold them in place. You may have noticed, but we took down all the valances over and around the windows. We added our own curtain rods and the new woven blinds.

I also covered the table with a marble look contact paper from Amazon. I used a regular width paper and I probably should have used a wide width. It would have fit better. I used black spray paint on the poles that hold up the table. You can see one of them a couple pictures above.

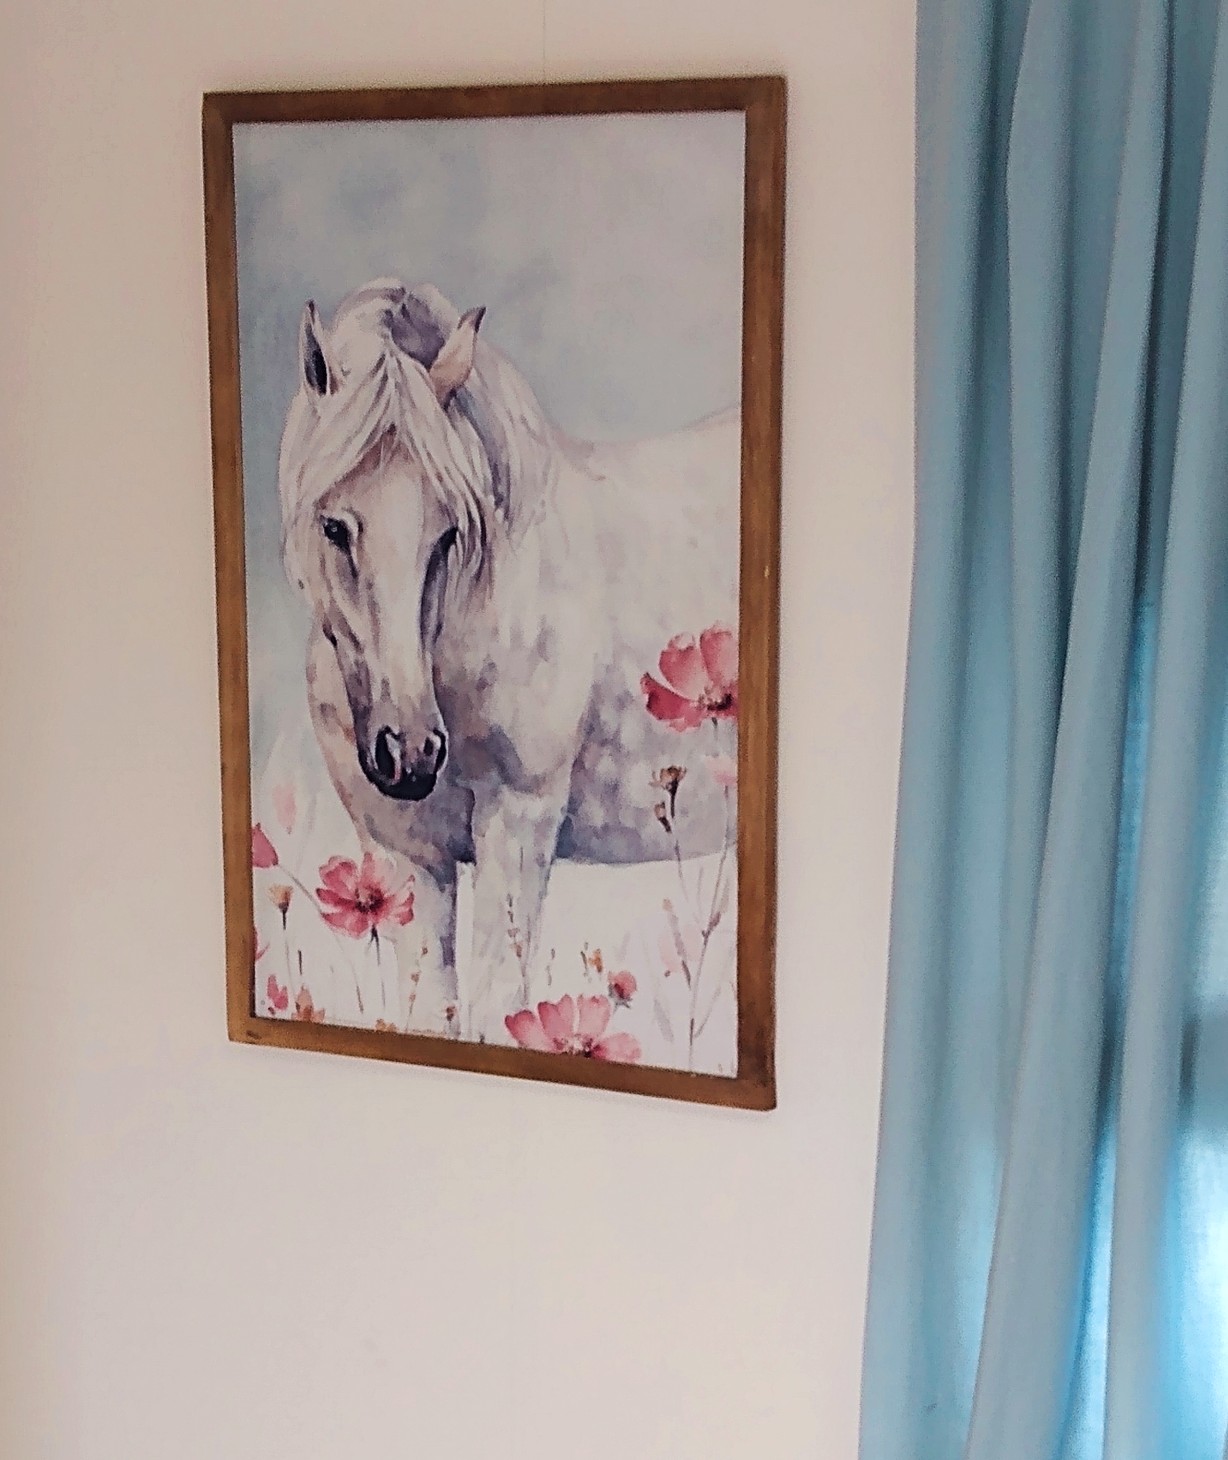
This is my favorite picture!! I hung it in the little hallway that leads to the bedroom.
BEFORE:

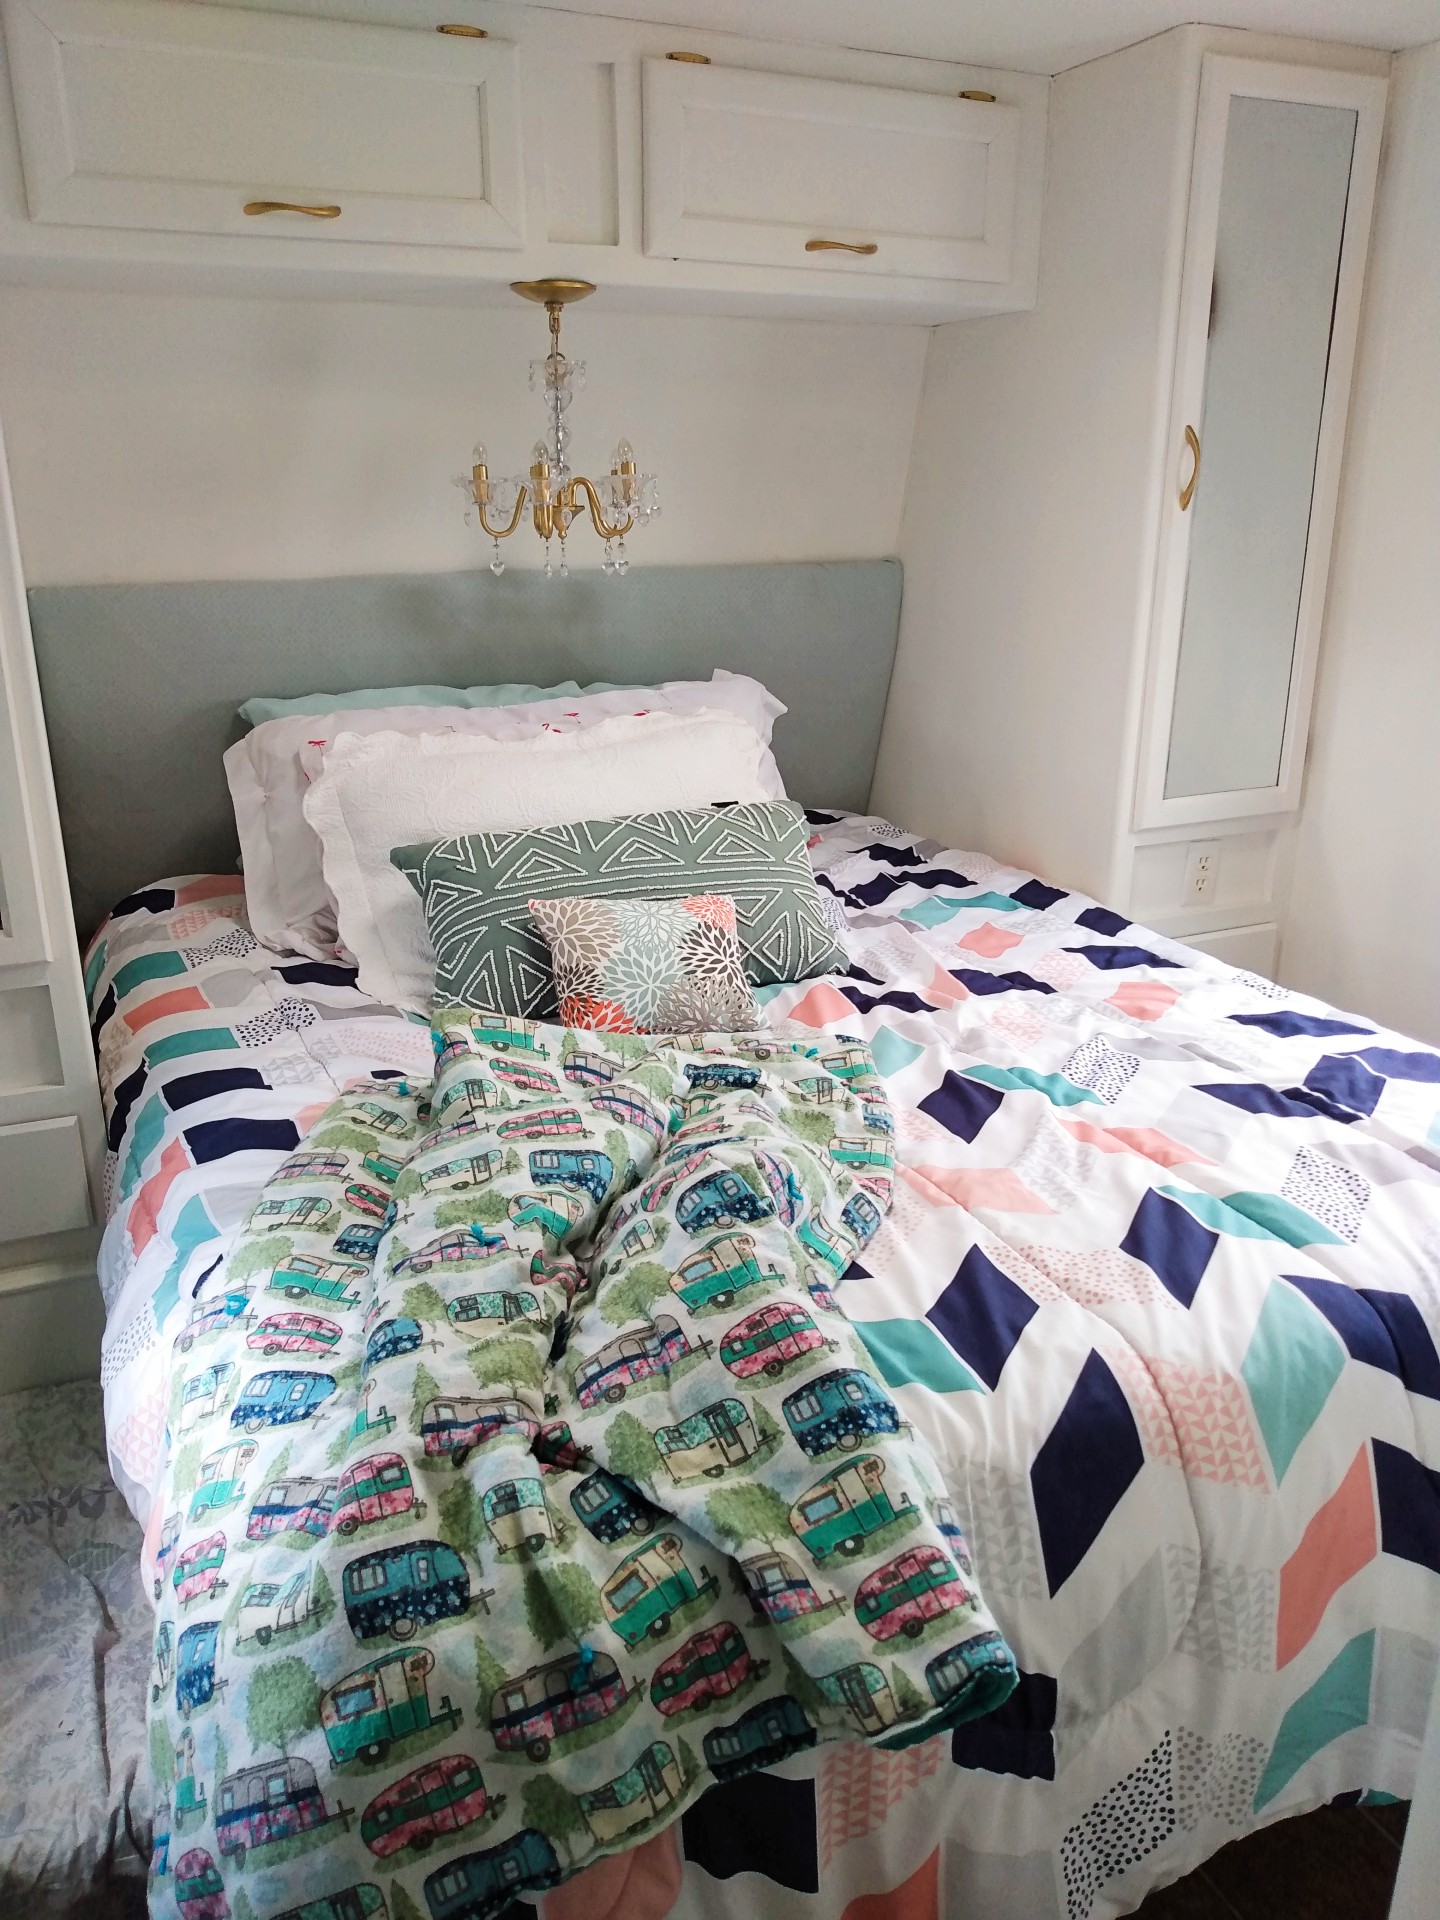
AFTER:
It’s hard to believe this is even the same room!!! I absolutely love this bedroom! We removed the headboard and recovered it with a sheet. I also added the cute little chandelier above the bed. My good friend, Robin, made me the cute camping blanket at the end of the bed. Doesn’t it match perfectly?
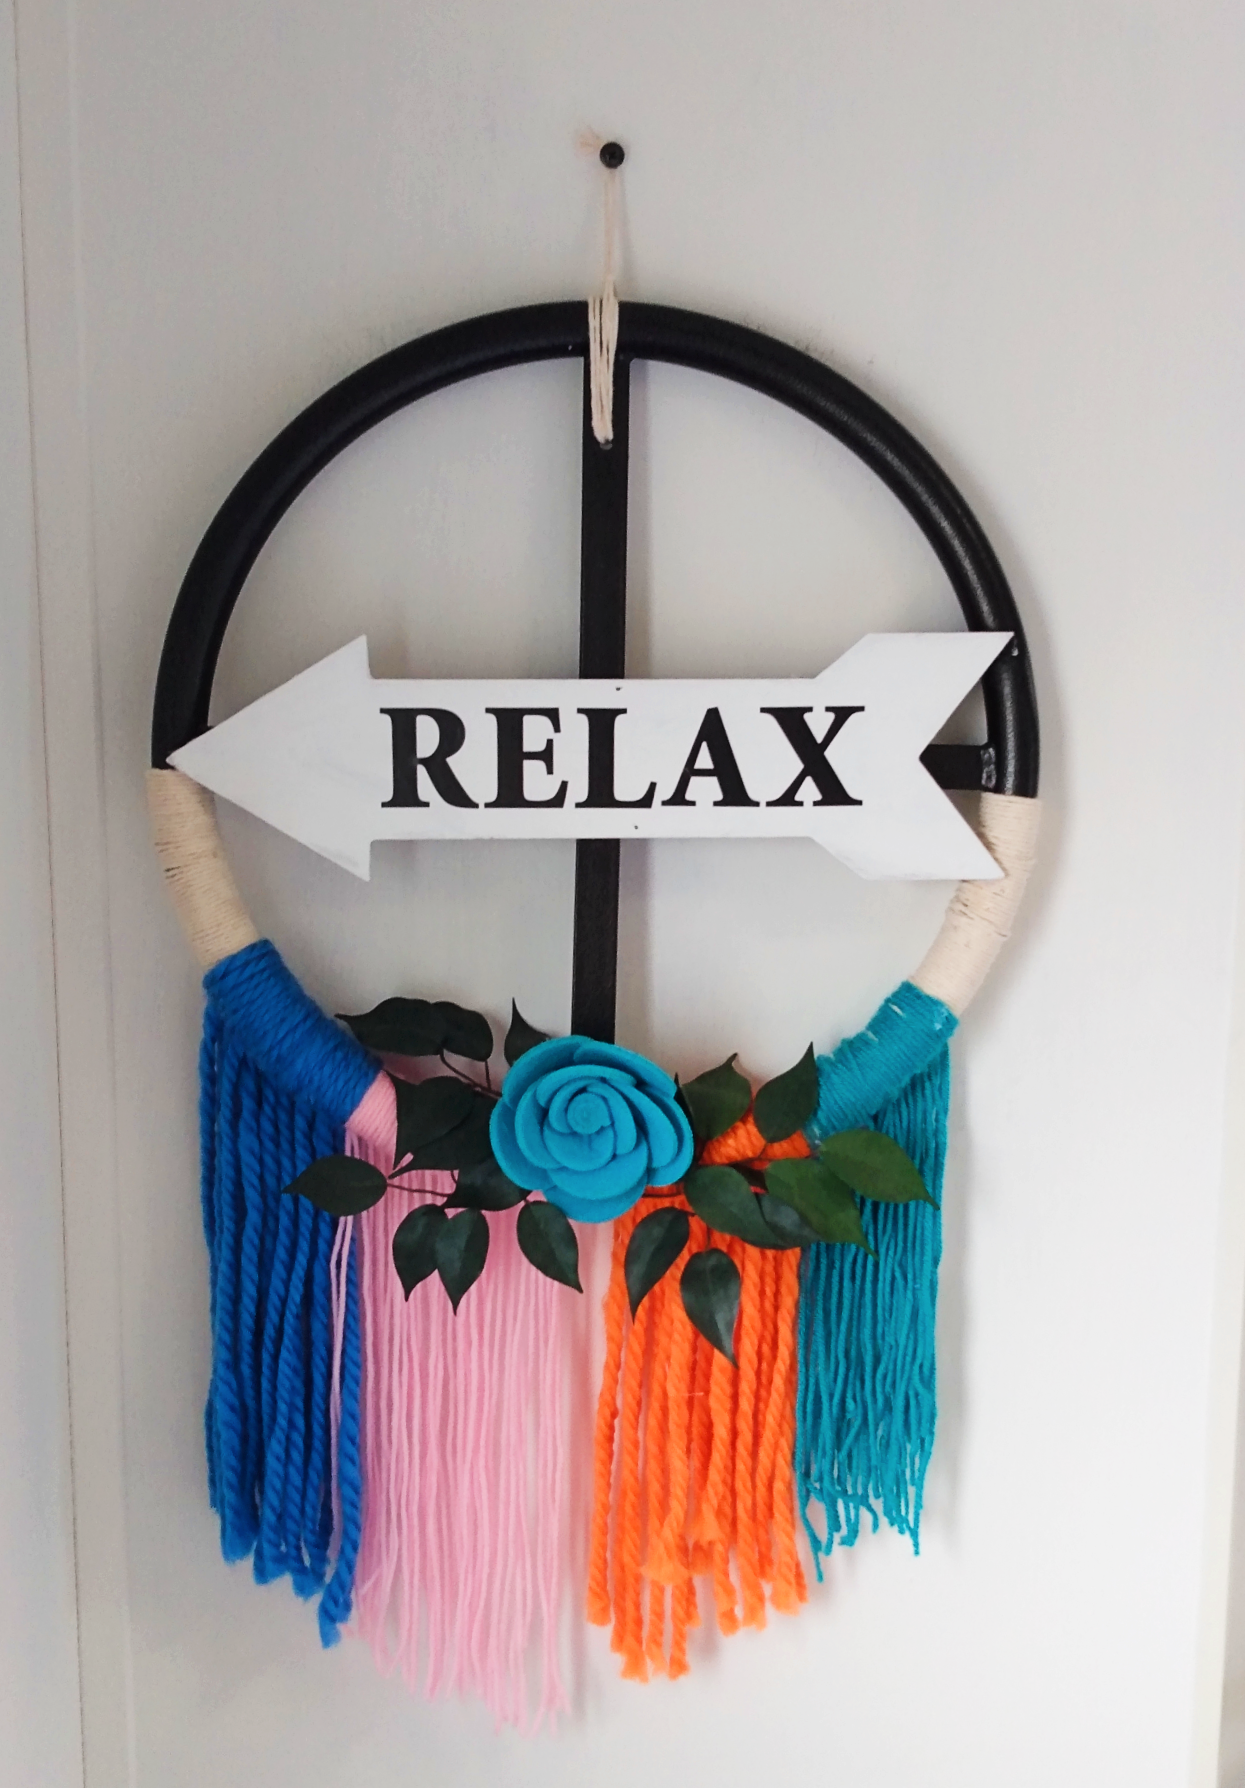
I made this cute little Relax sign out of bits and pieces I had in my garage.
BEFORE:
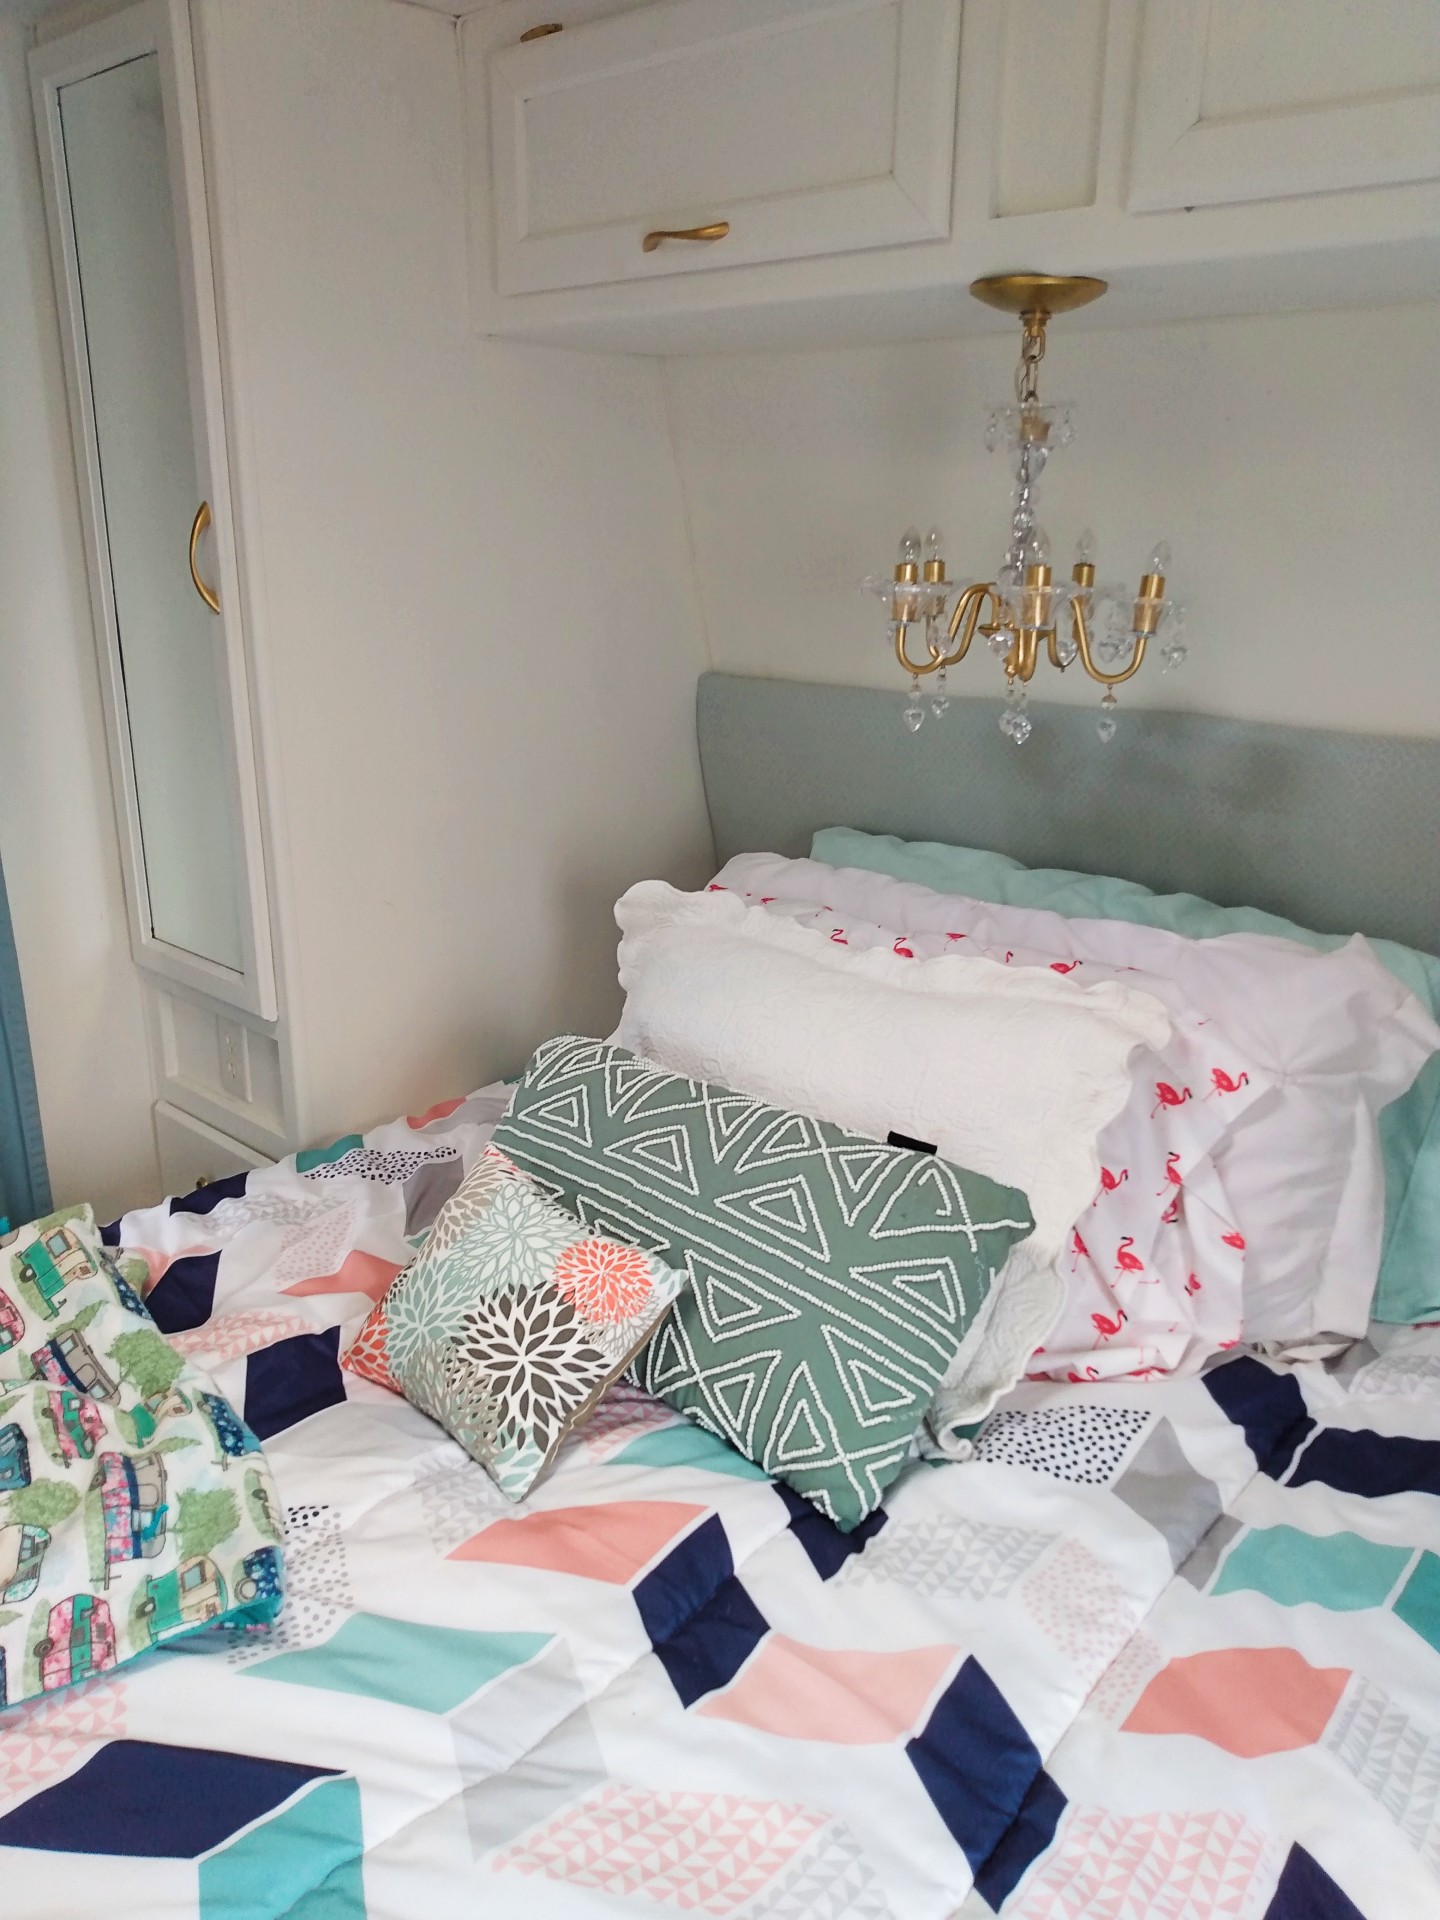
AFTER:
Isn’t it amazing how much of a difference paint can make?
Loving my flamingos!

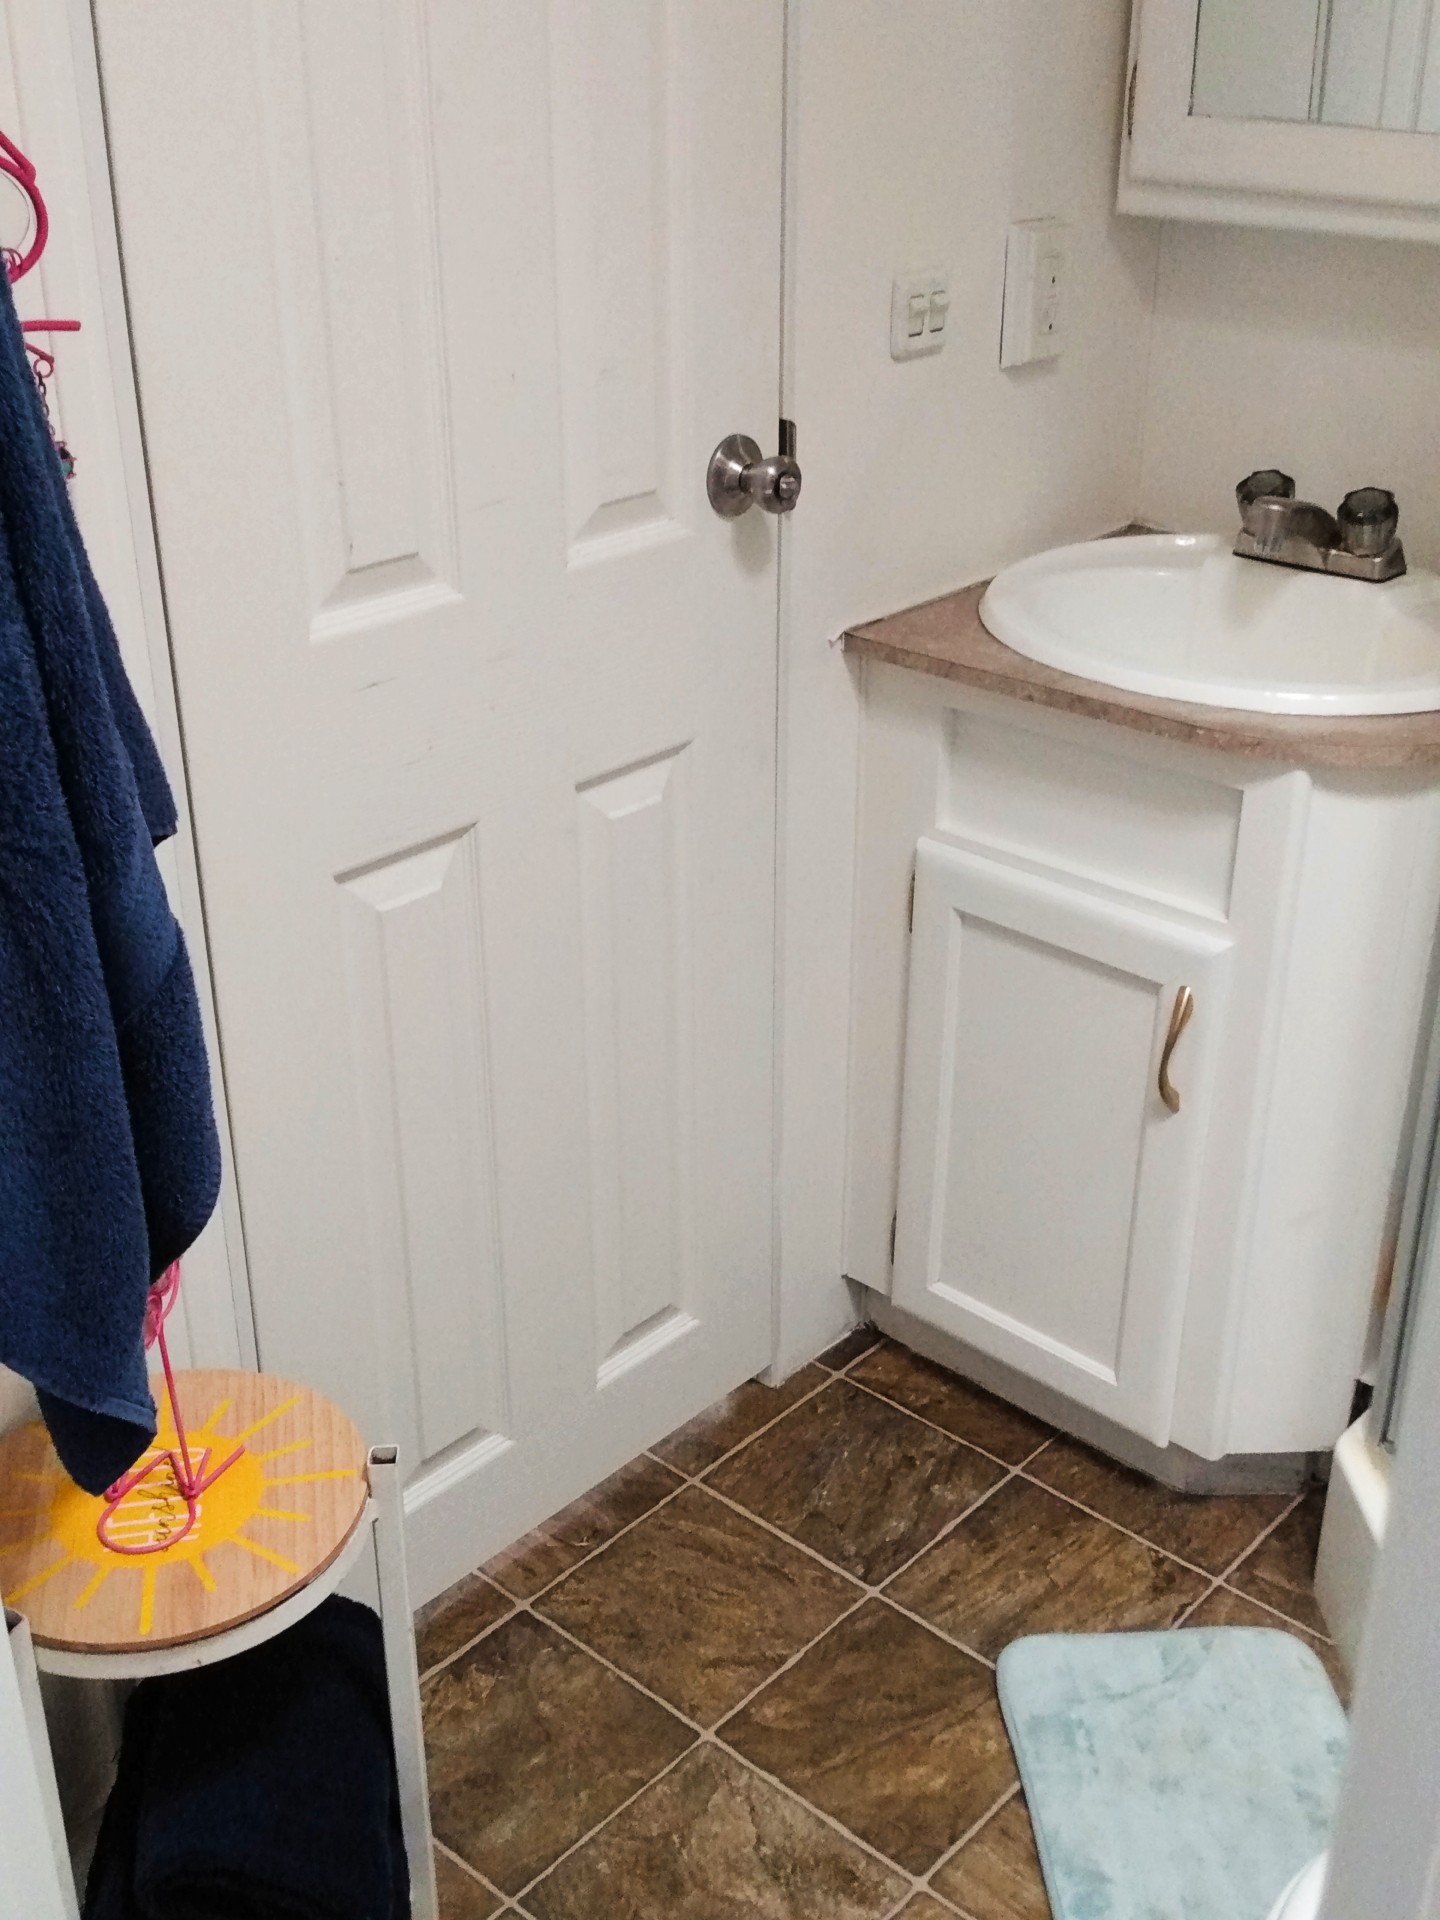
There isn’t much storage in the bathroom, so I added this basket holder above the toilet to store a few things in. I found it at Home Goods, but I added the bits of material and pom-poms to give it the Boho look.

We have not changed out the floor yet, but it is something I hope to do in the future.

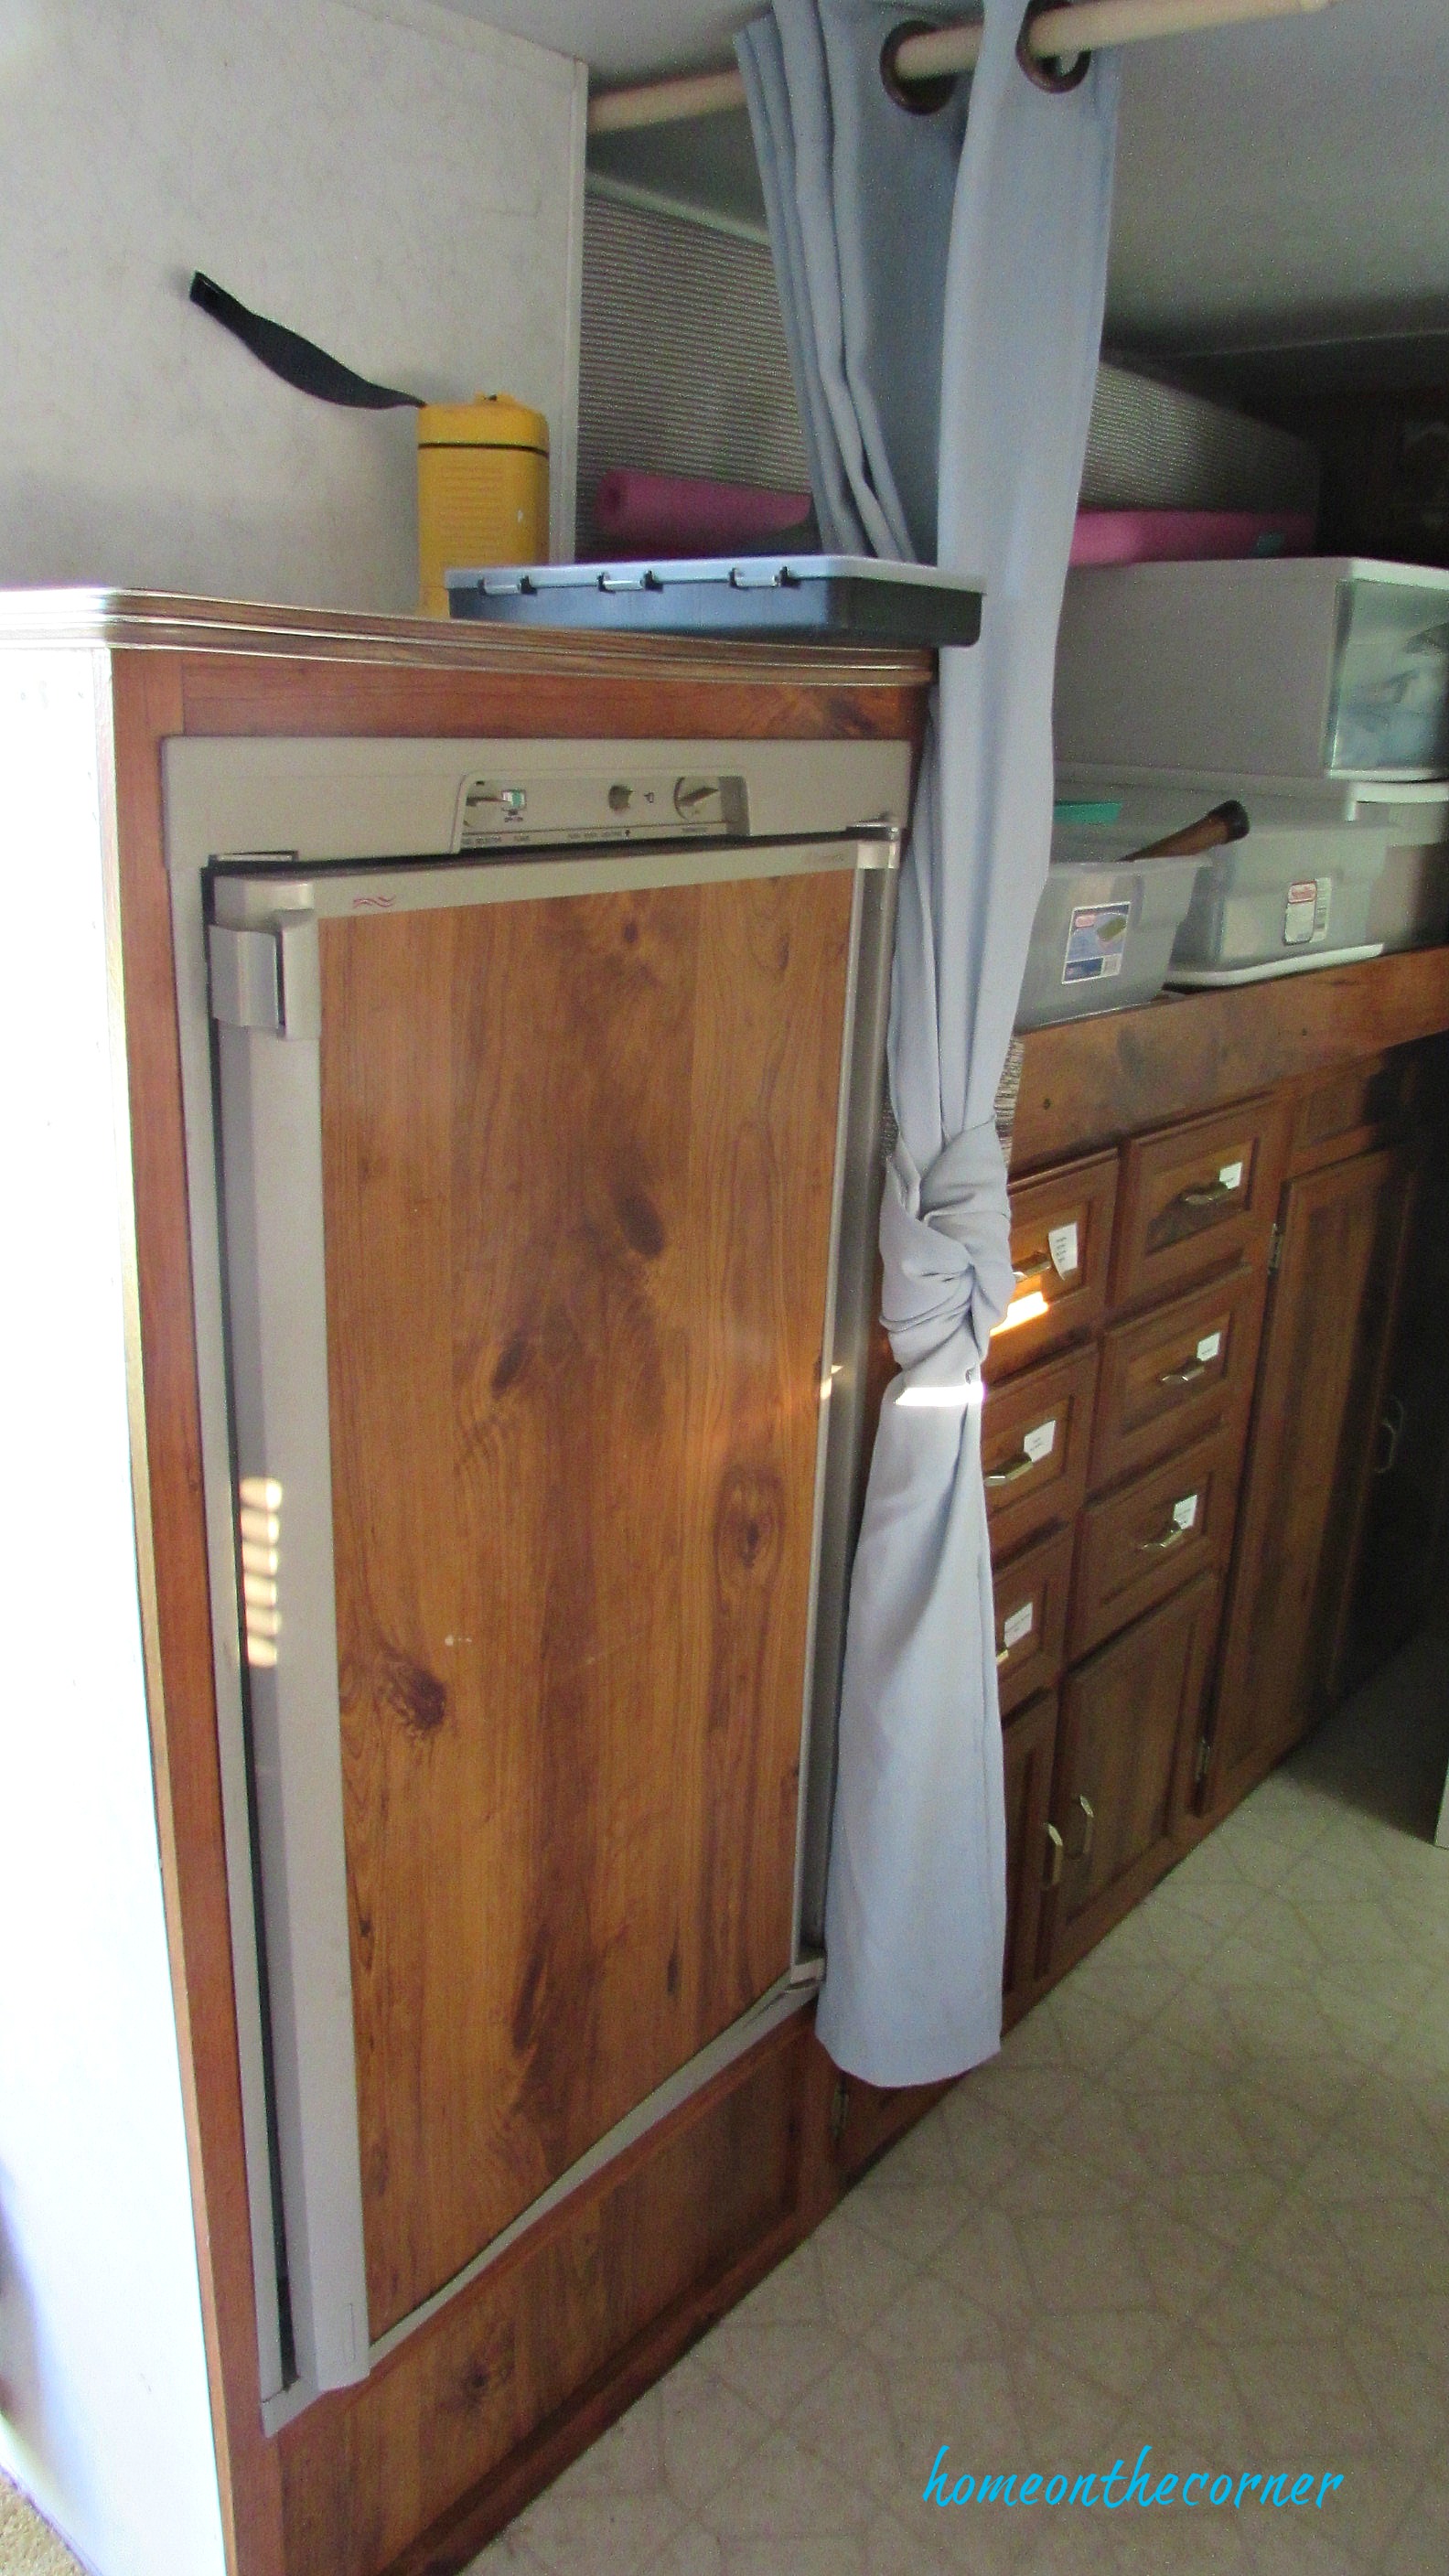
BEFORE:
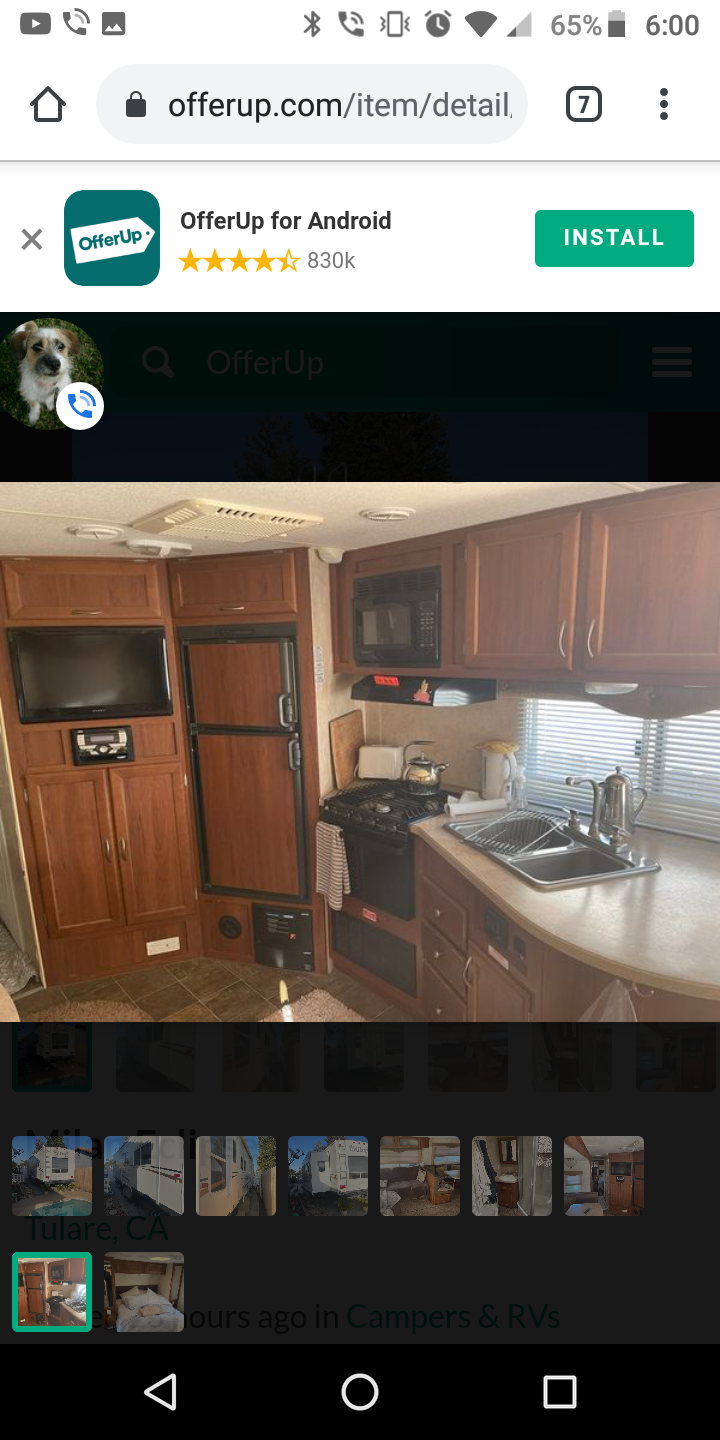
Doesn’t this look so much better?! Did you know that the pieces on the front of the fridge are just a thin piece of cardboard? I just slid them out and spray-painted them with chalkboard paint. Such a simple update!

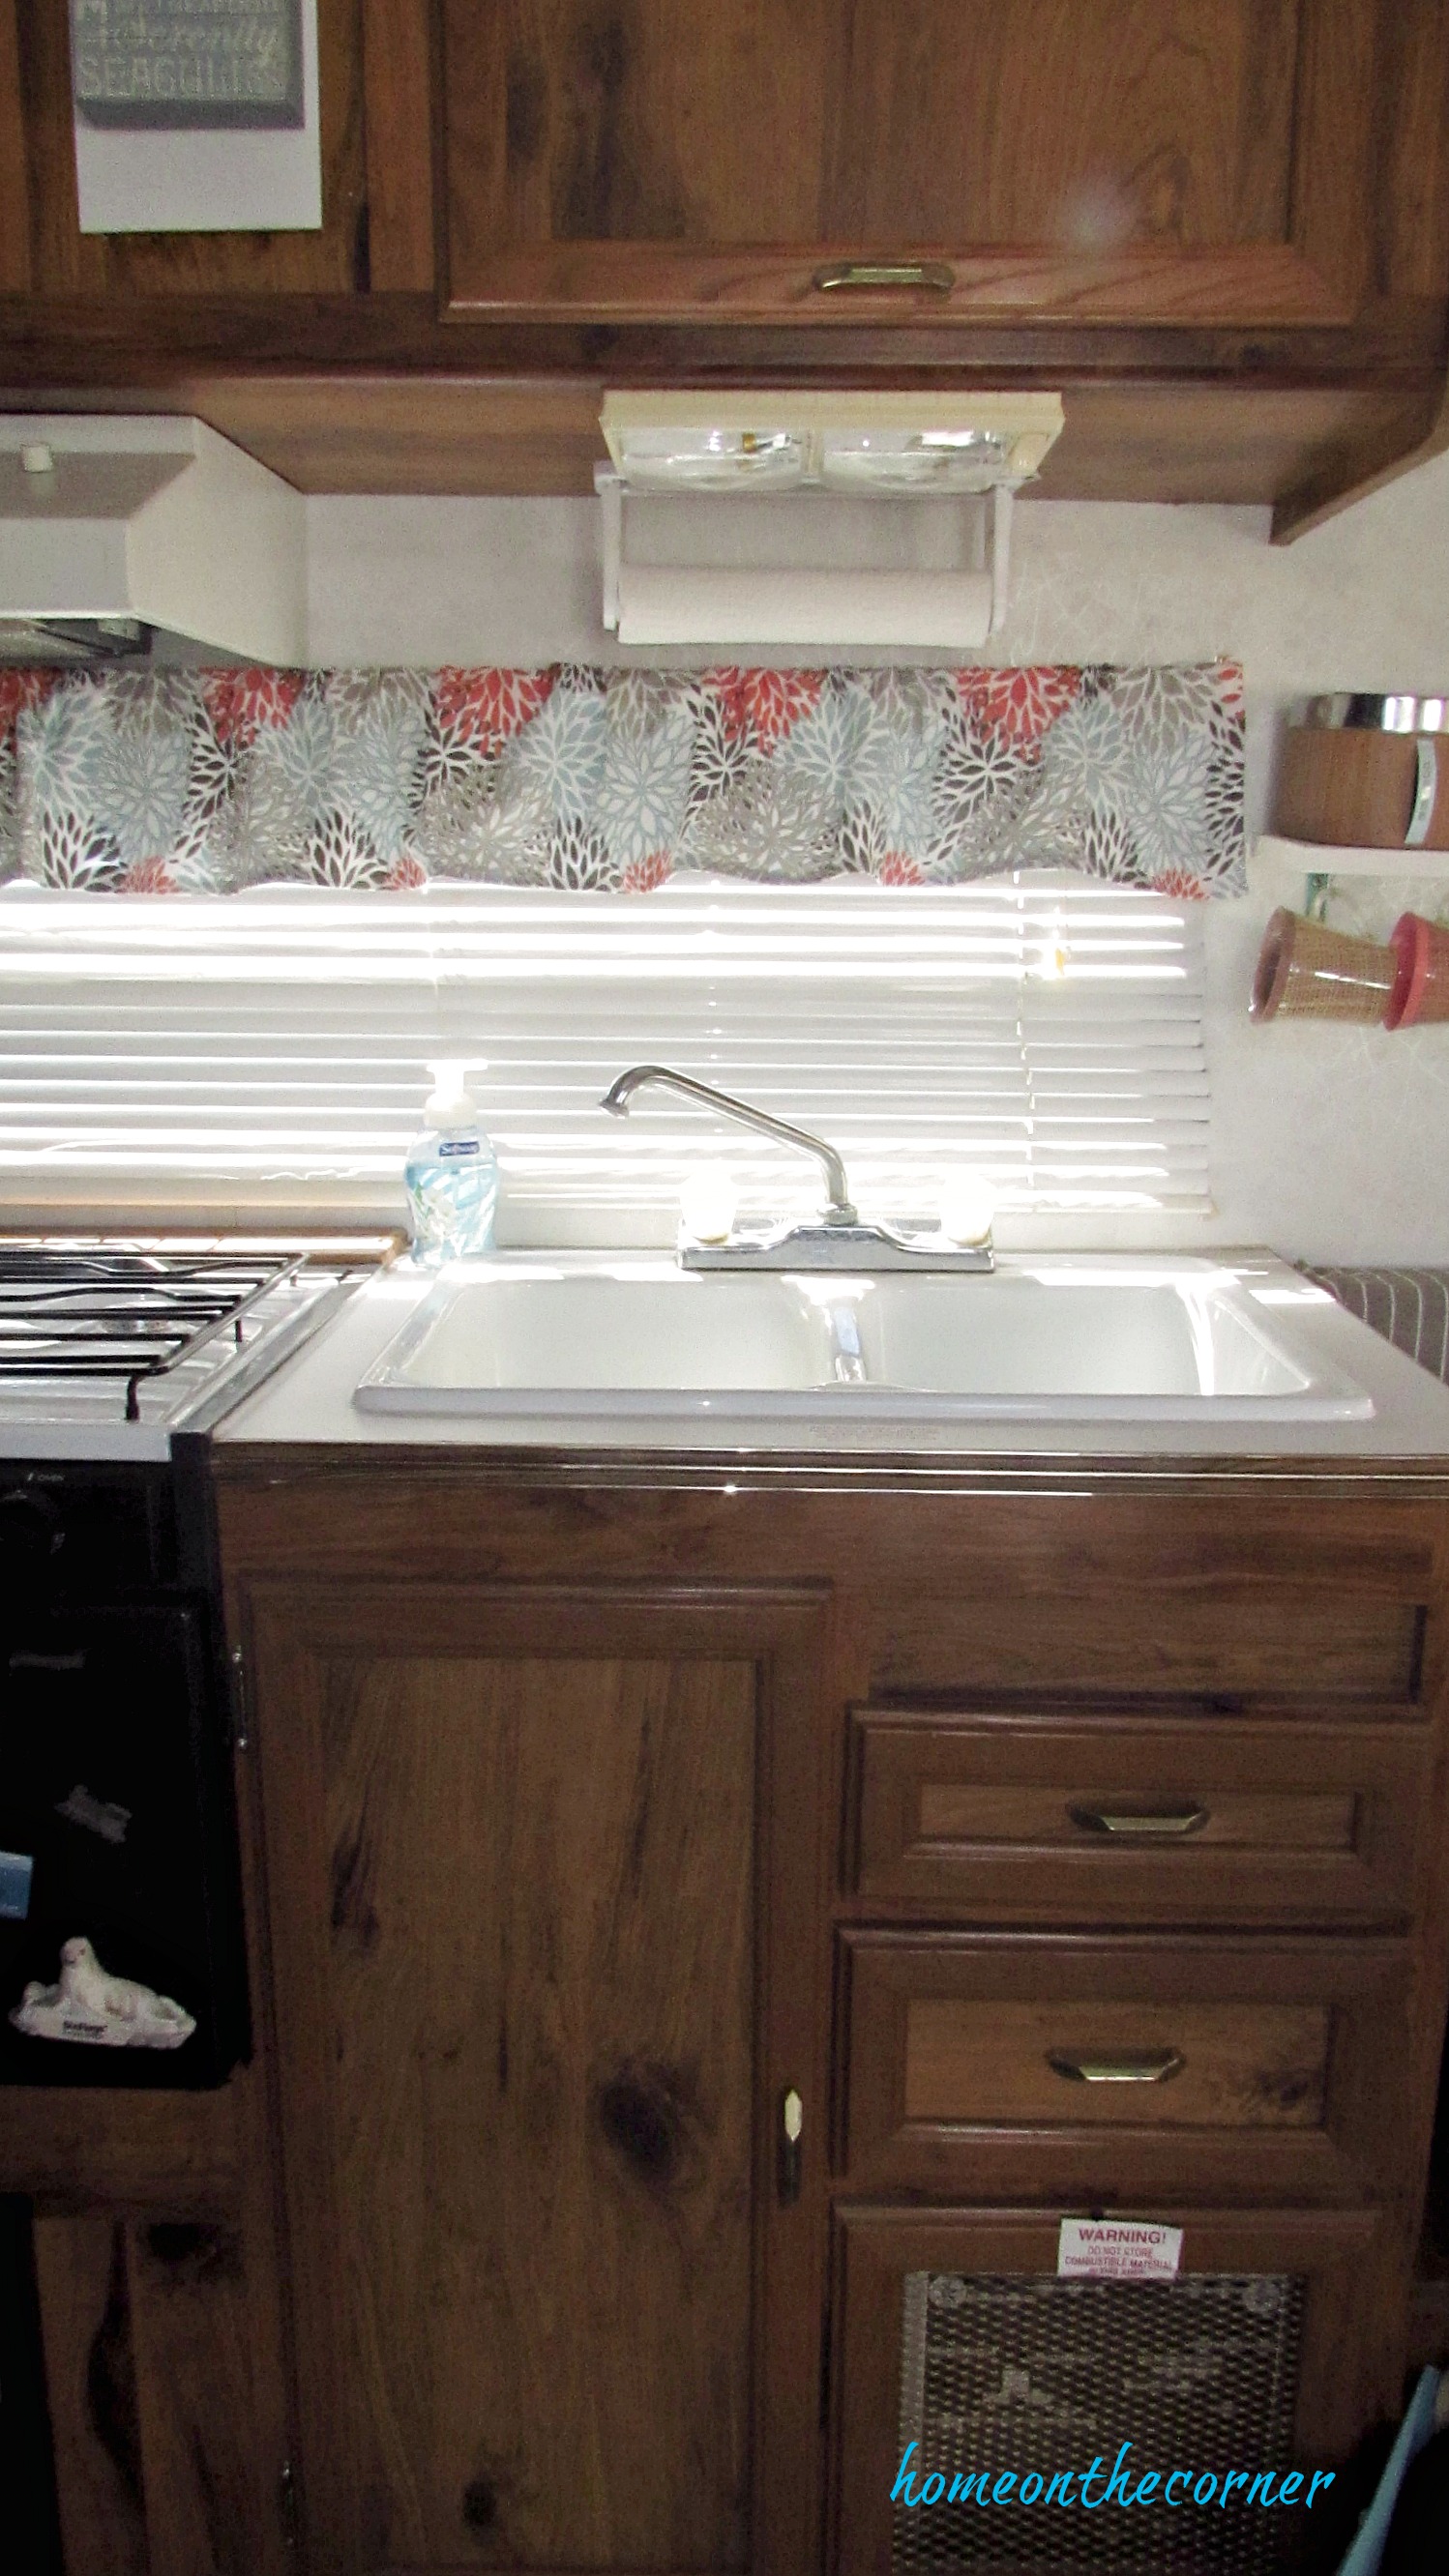
I also used a peel and stick subway tile from Amazon behind the sink and up on the wall. I love how it turned out! It gives such a fresh and clean feel. I reused the blind on the kitchen window and used a bit of sheet to make the curtain.


We’ve collected magnets from all the different places we have visited. It’s fun to talk about the different places we have traveled to.


I would love to hear what you think! I had so much fun planning everything out and I really love how it turned out!
Now that the RV is done, it’s on to other projects!