Homemade Christmas Ornament Roundup

Good morning! Can you believe it is almost the middle of November already? That seems so crazy! Now is the time to create some new ornaments for your Christmas Tree. Have you ever hosted an ornament party or attended one? I think that would be a lot of fun.

I went back through the blog to look at what ornaments I have made throughout the years. I was surprised at how many there were! There are lots of different ideas and skill levels to choose from. I hope you find something to inspire you!

Paper Pinecone Ornament-This was one of my first ornaments I made for the blog. I still hang this one on my tree and love how it turned out. It does take a bit more time, but it was so worth it.

Faux Deer Ornament-This ornament was made for a fellow blogger and was the first Ornament Exchange I participated in. It was always fun to create a special gift for someone else.

Glittering Silver Sequin Ornament– This was one of my first ornaments, hence, the blurry pictures. This one takes a bit more time, but it’s not difficult. It’s very pretty on the tree!

From Sea Urchin to Jellyfish Ornament– Here is another one from the Ornament Exchange. I made this one for a fellow coastal lover!

Wooden Buoy Ornament– More coastal! This one I made for my own tree and love how they turned out!

Wire Star Ornament– Lauren and I made this one together and would be a great one to make with your kids.

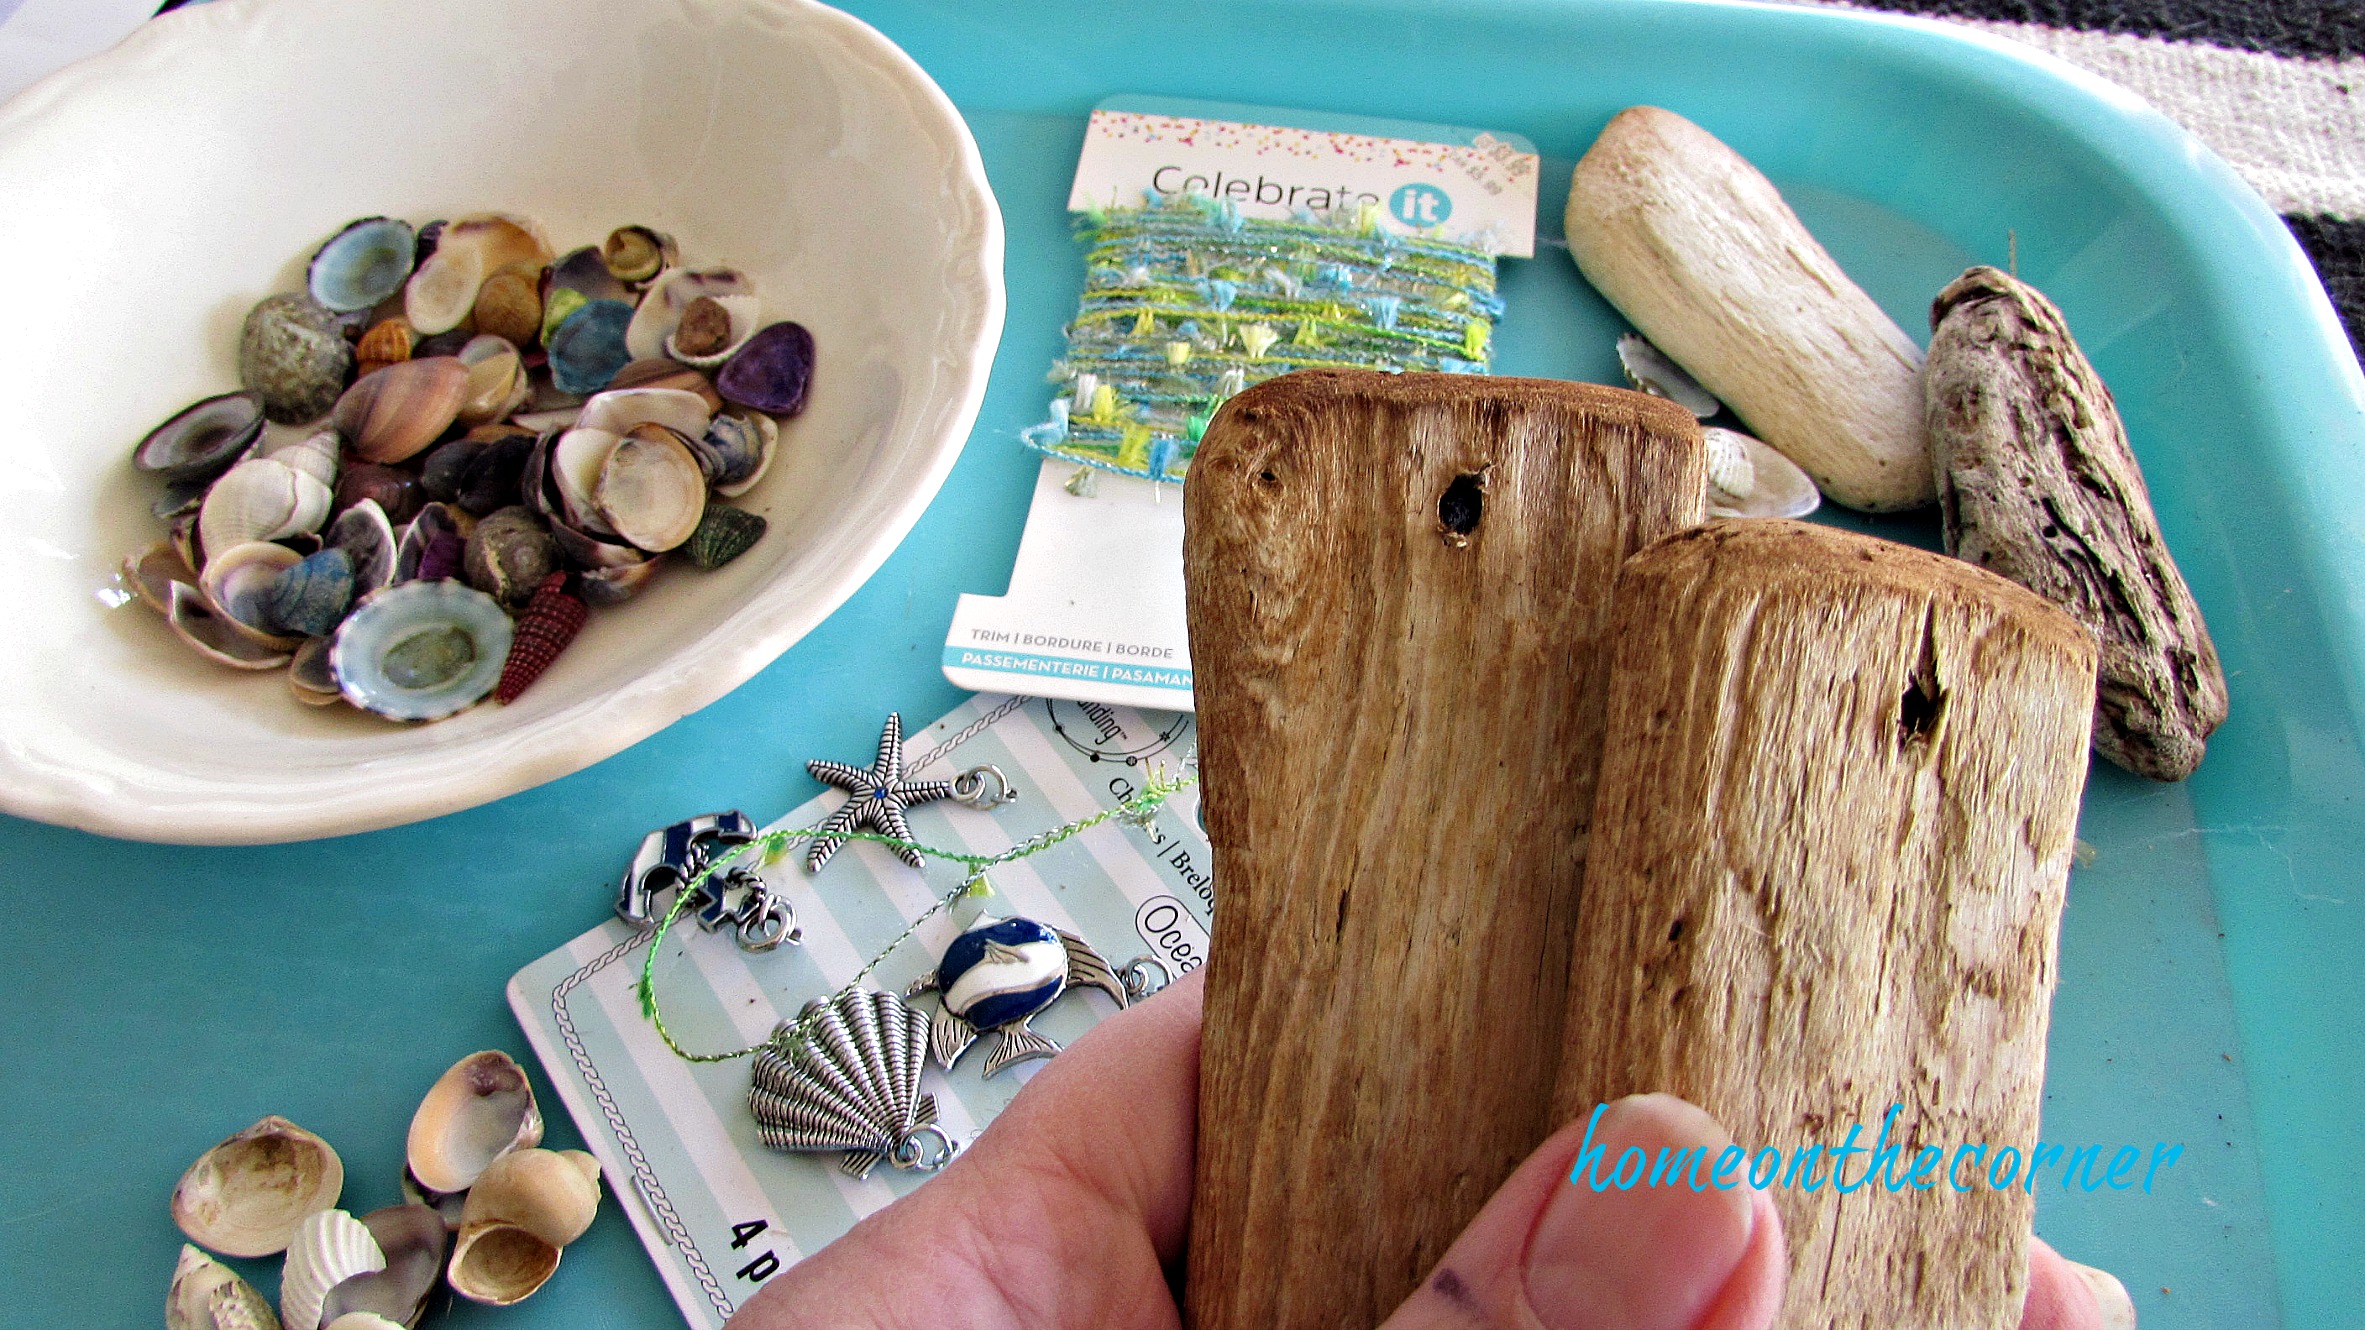
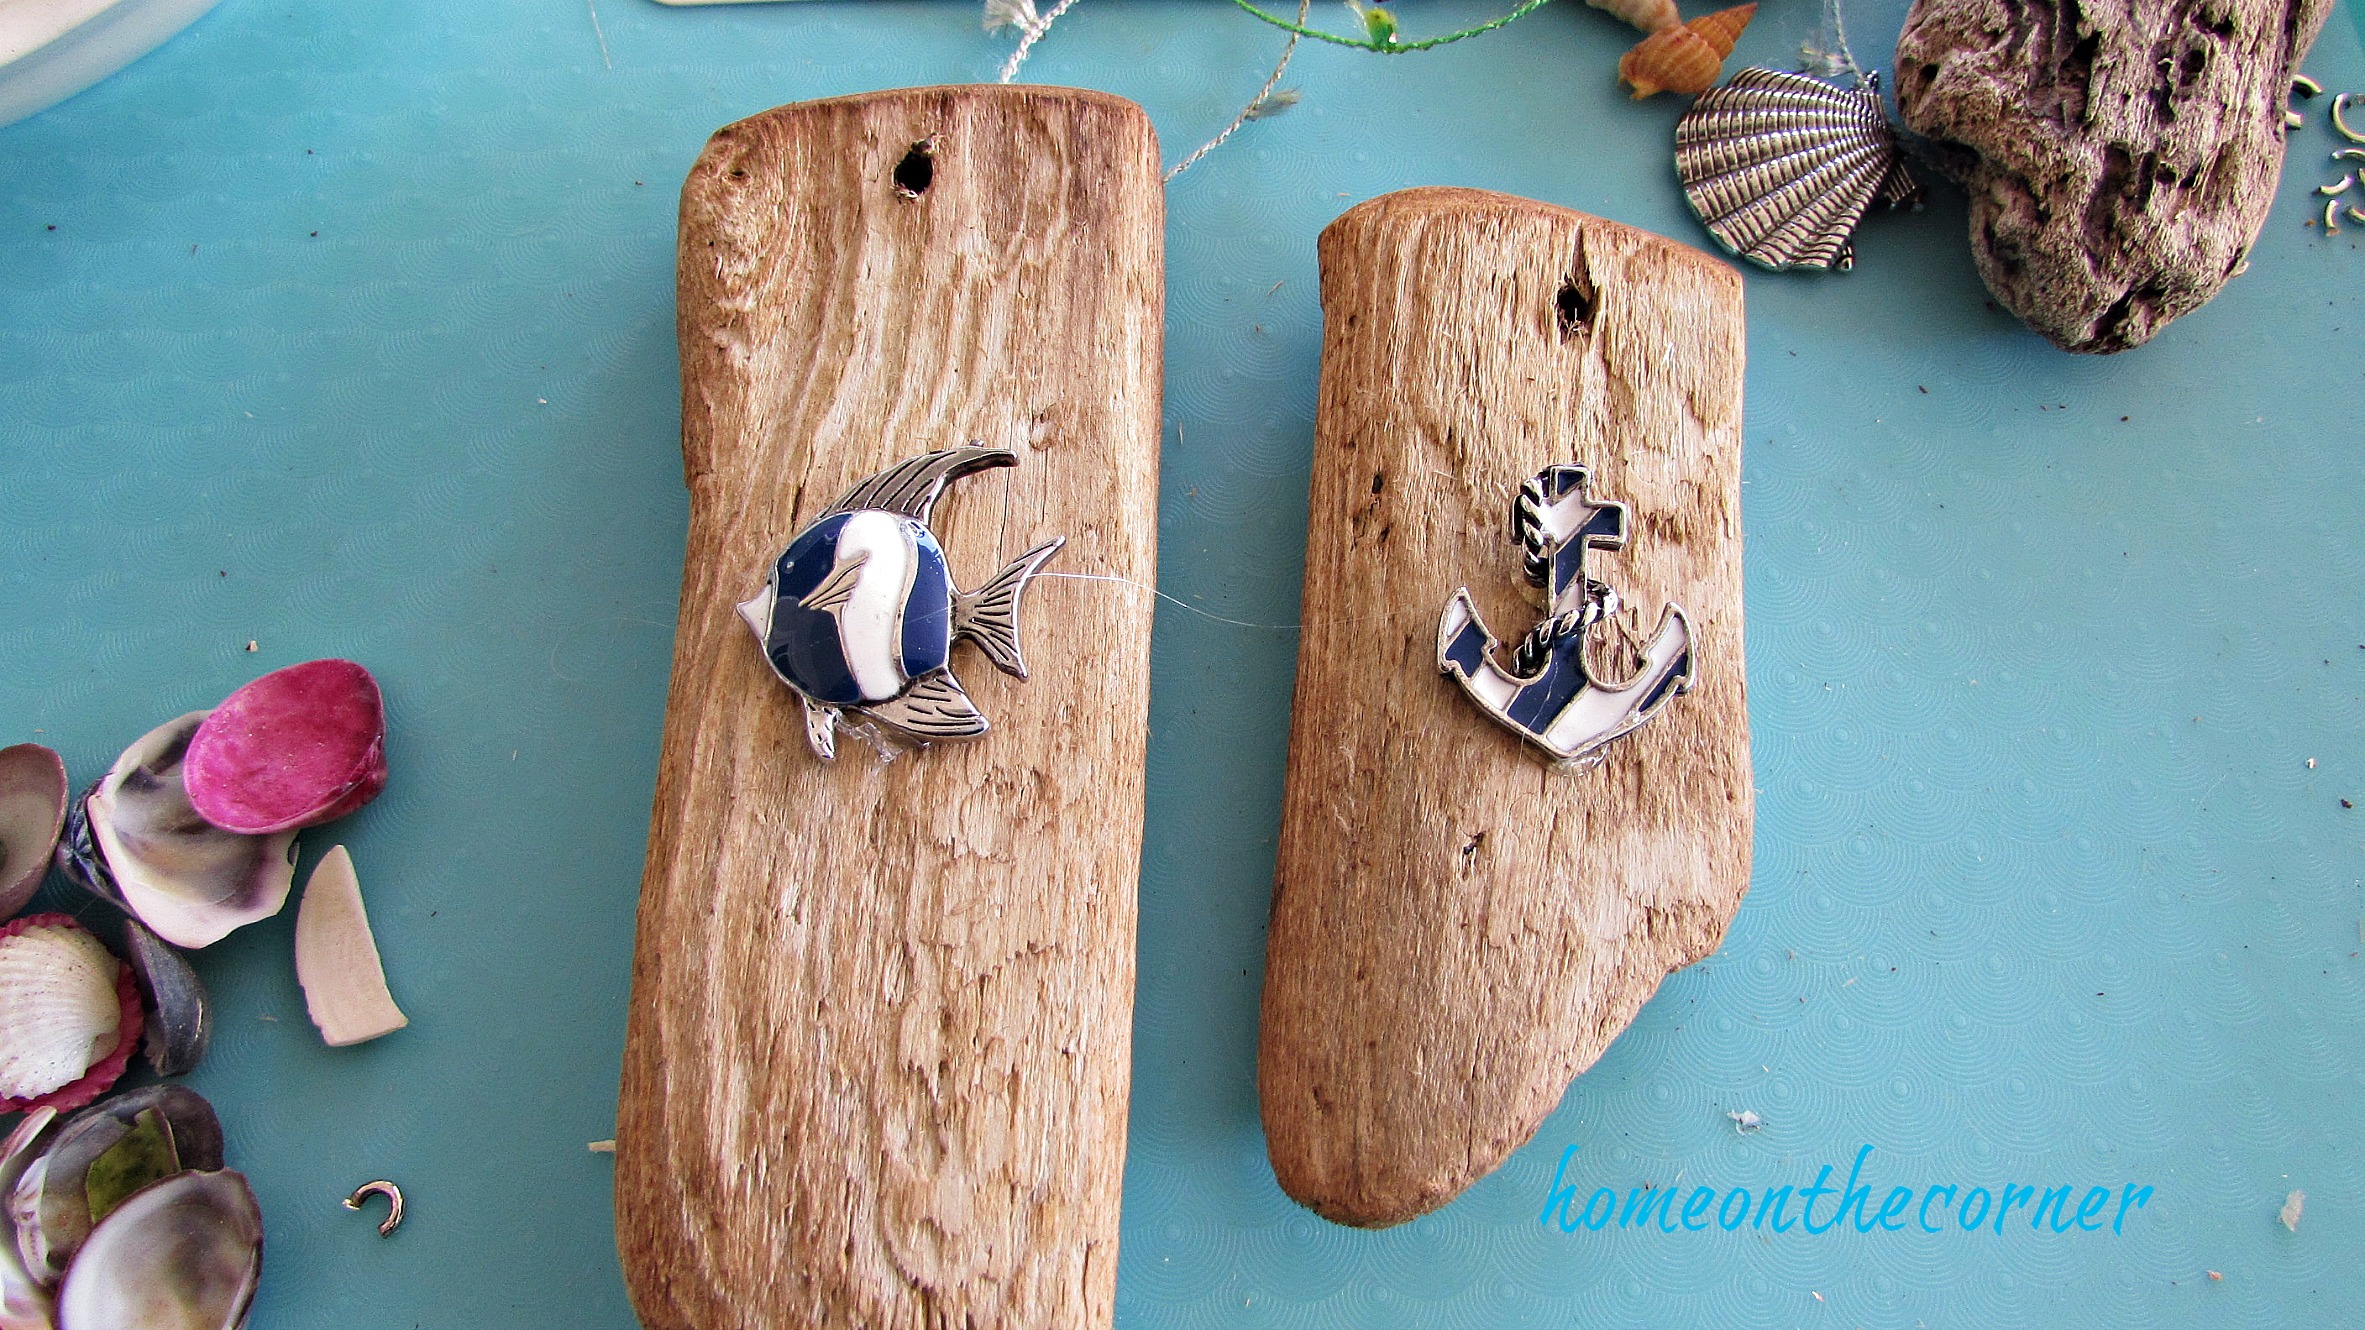
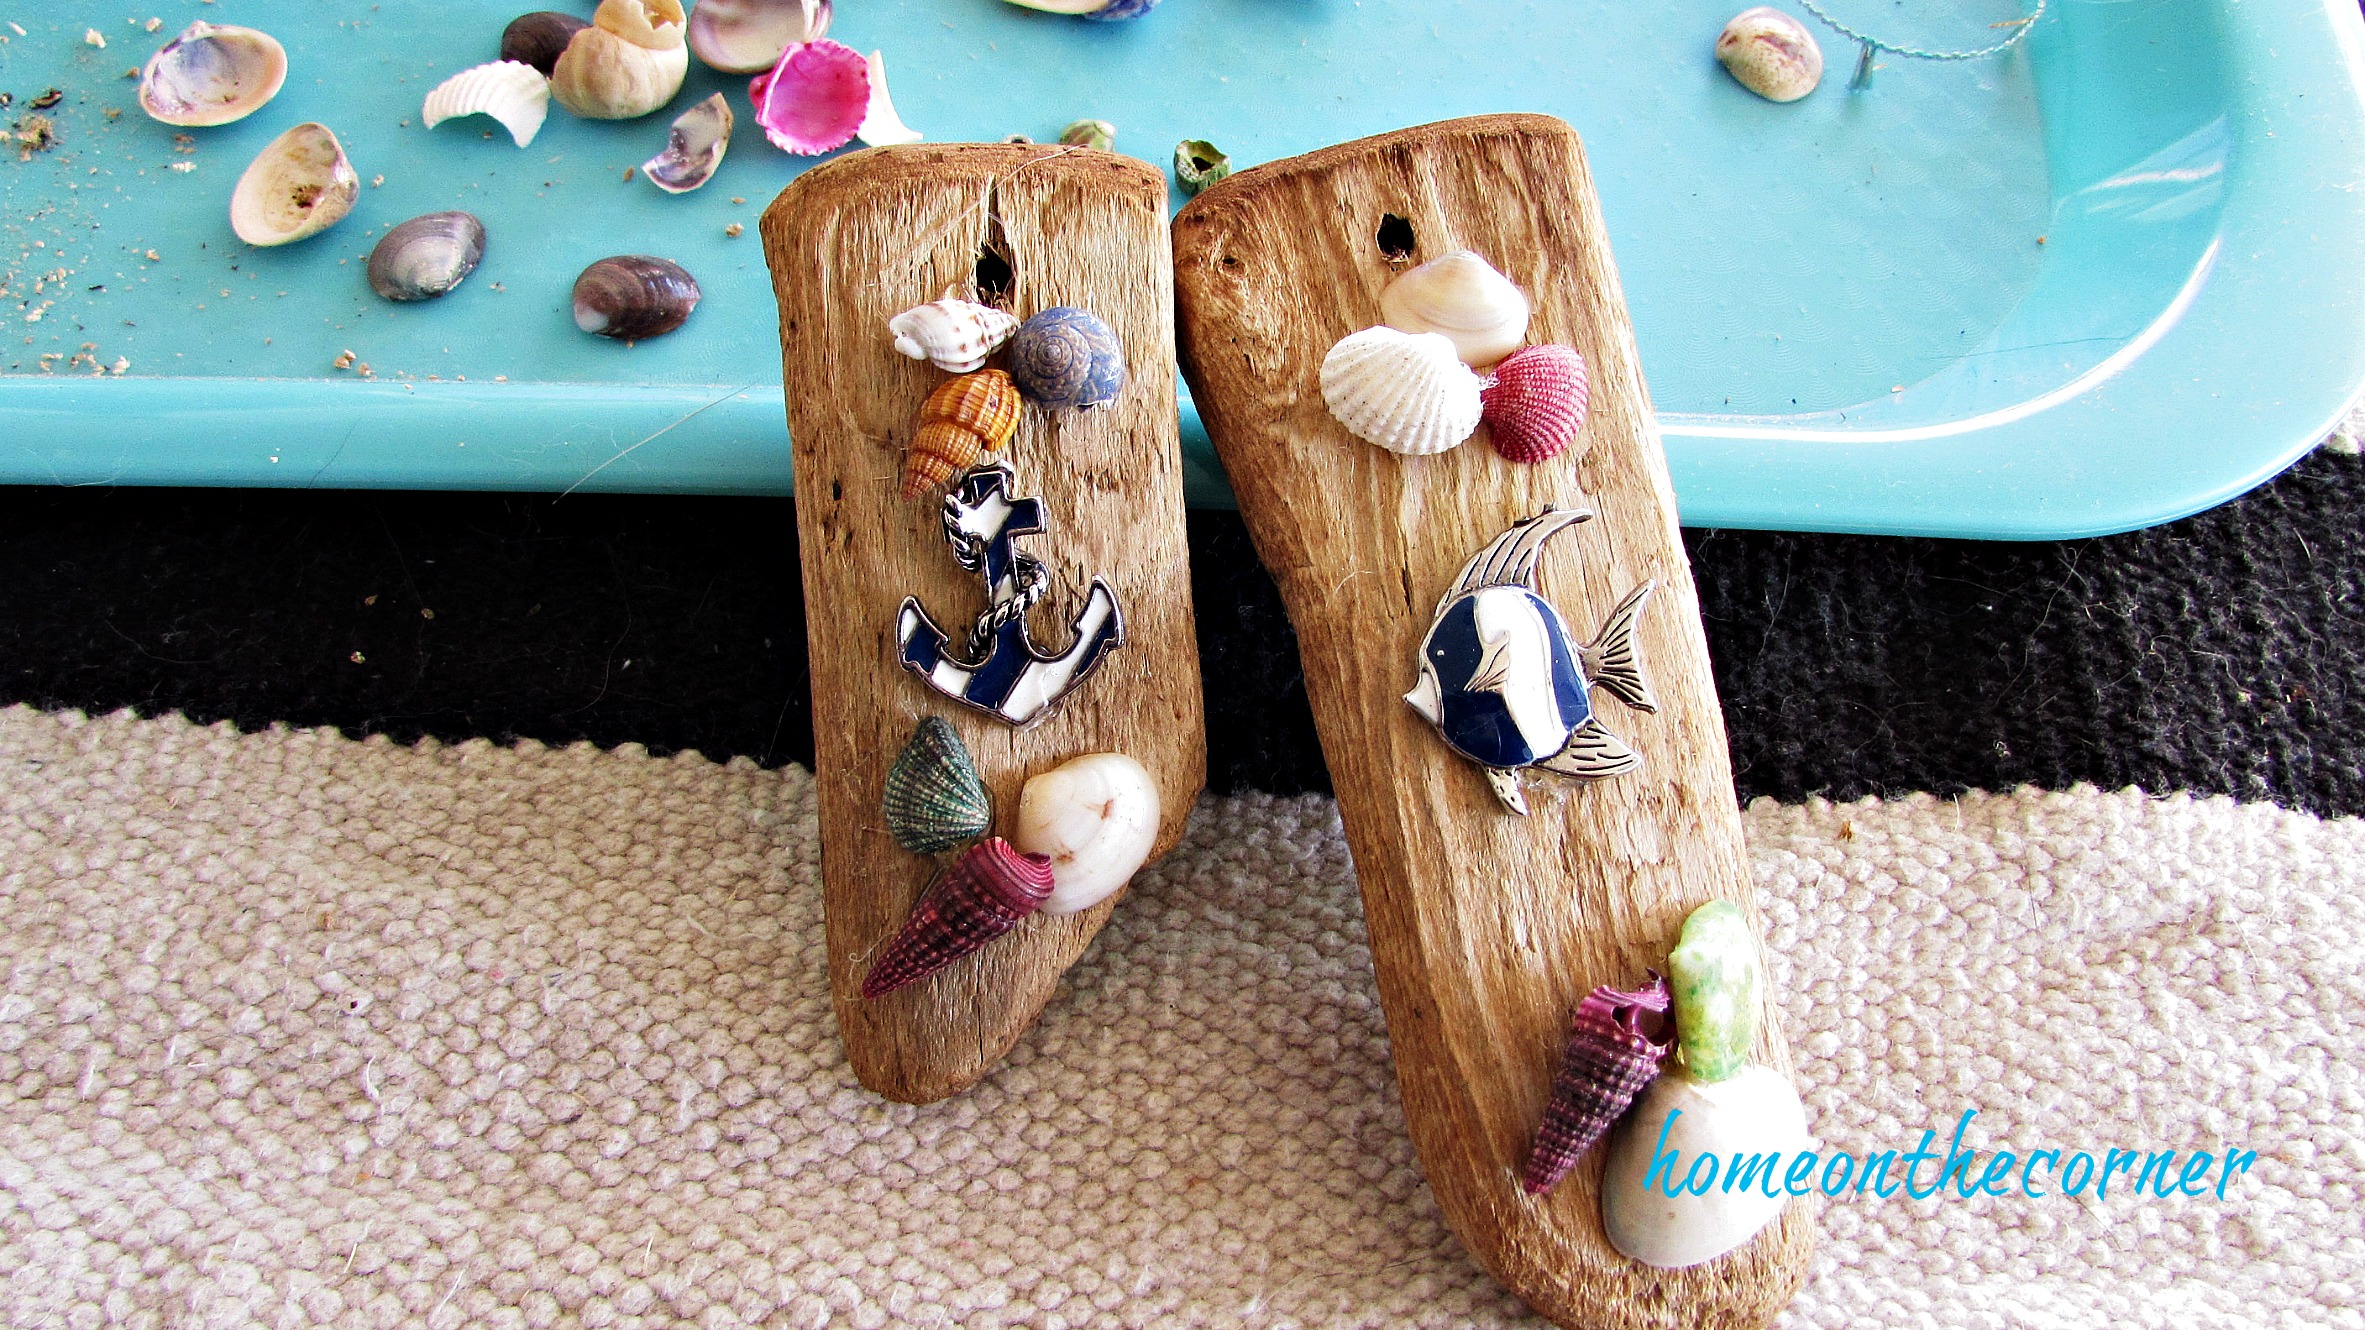
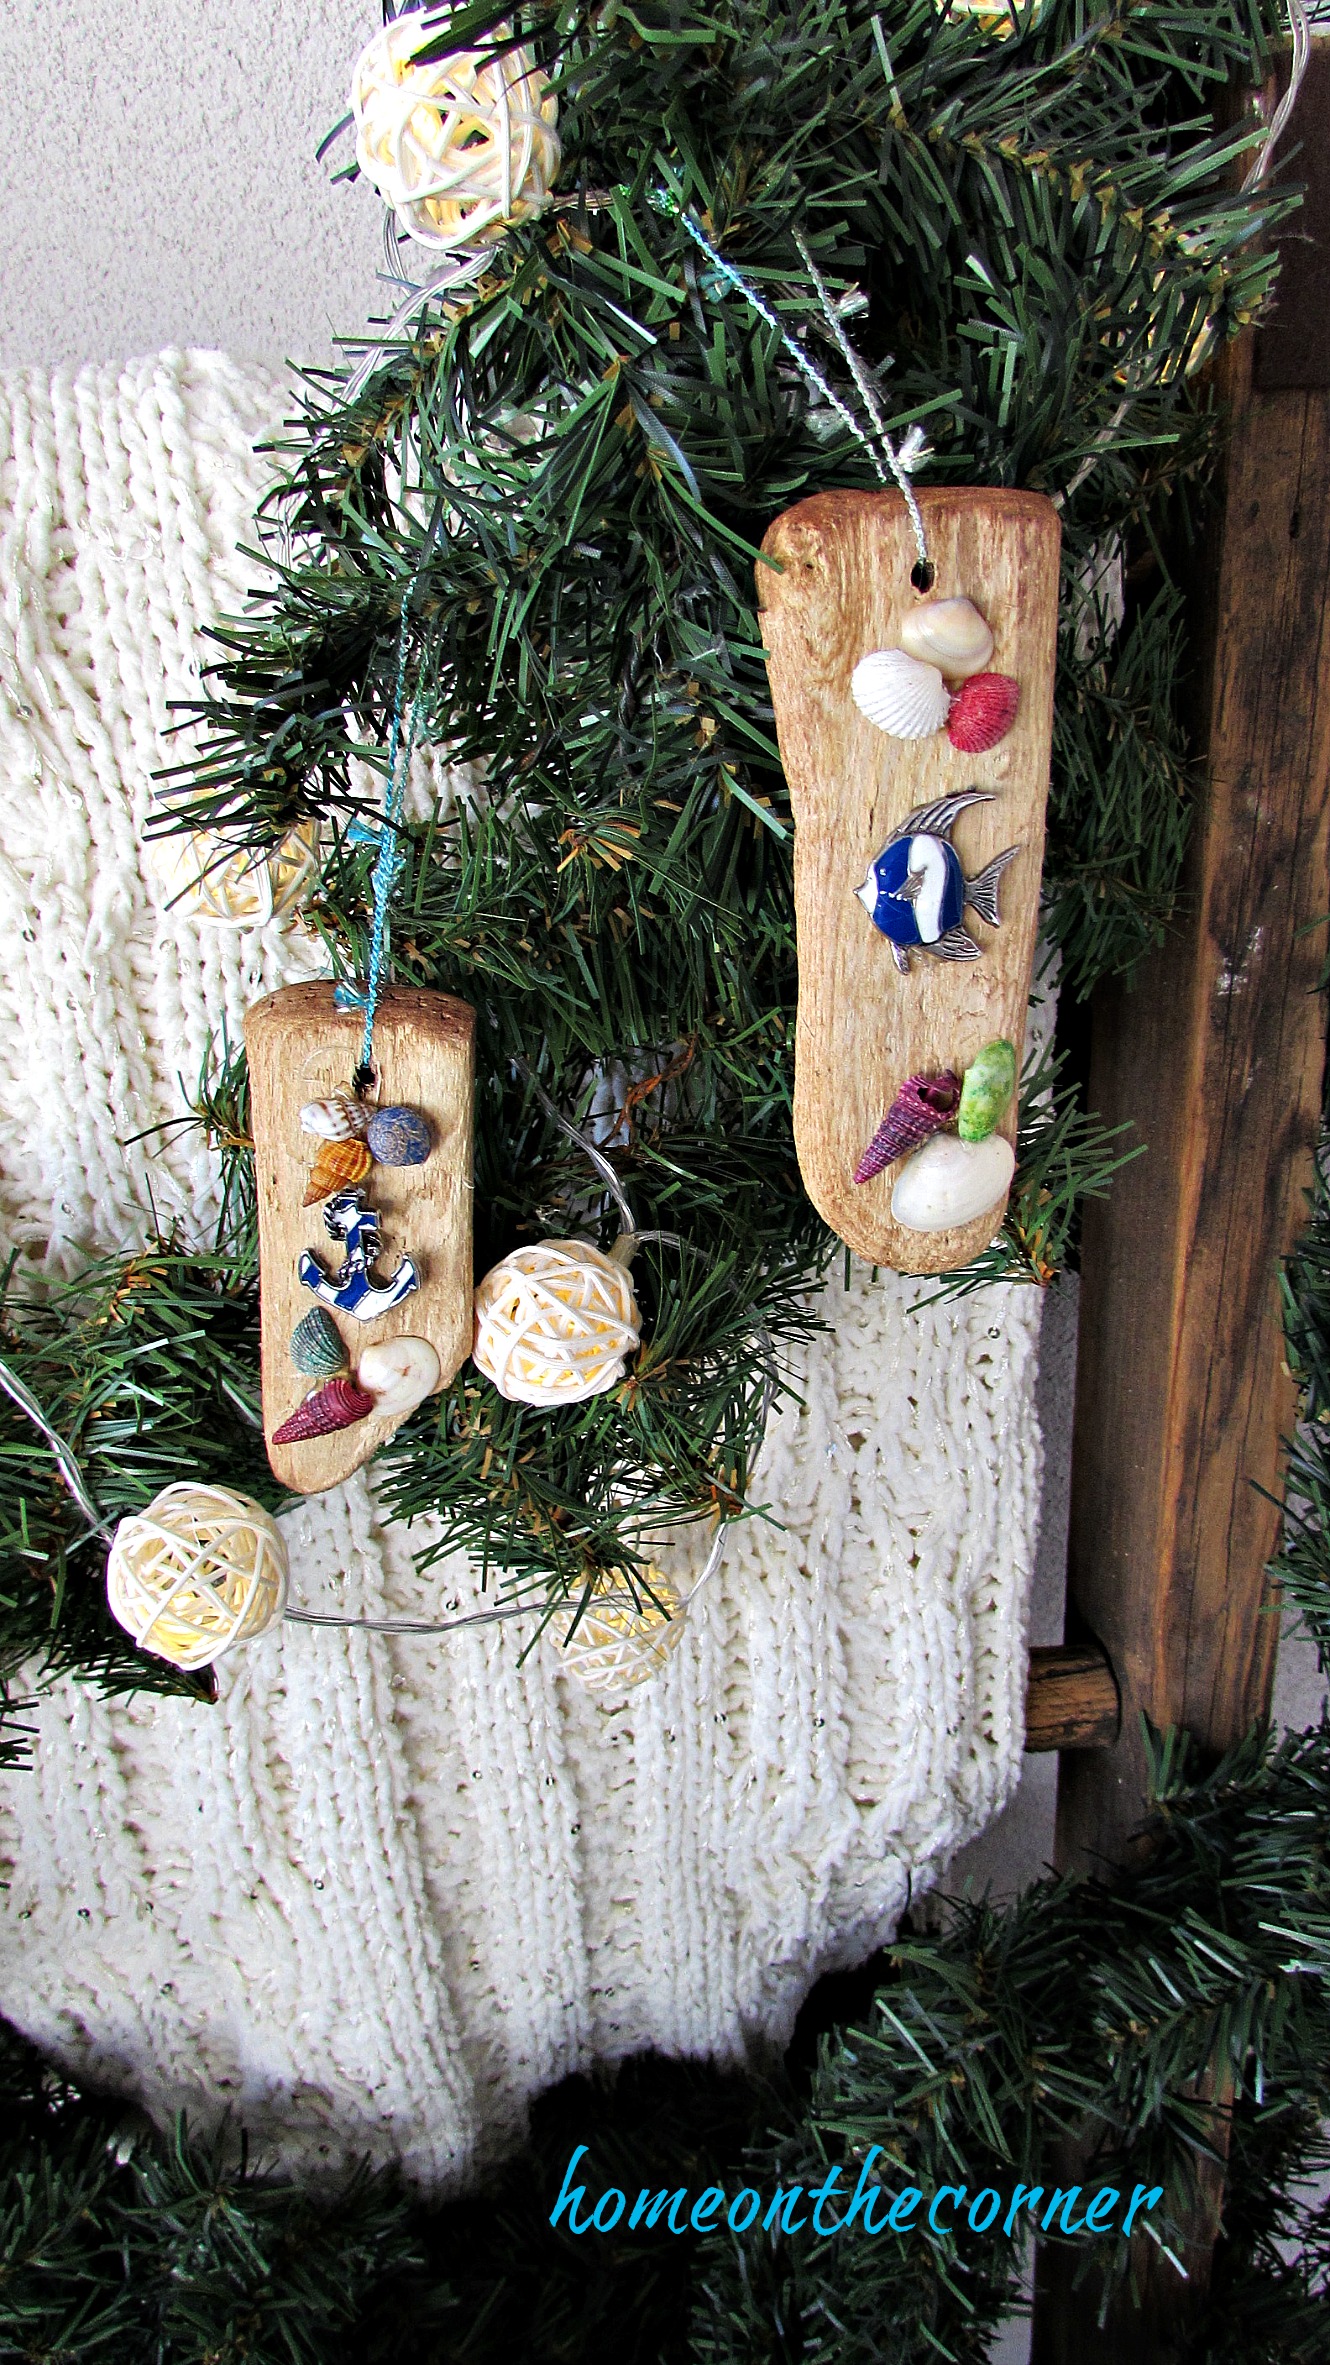
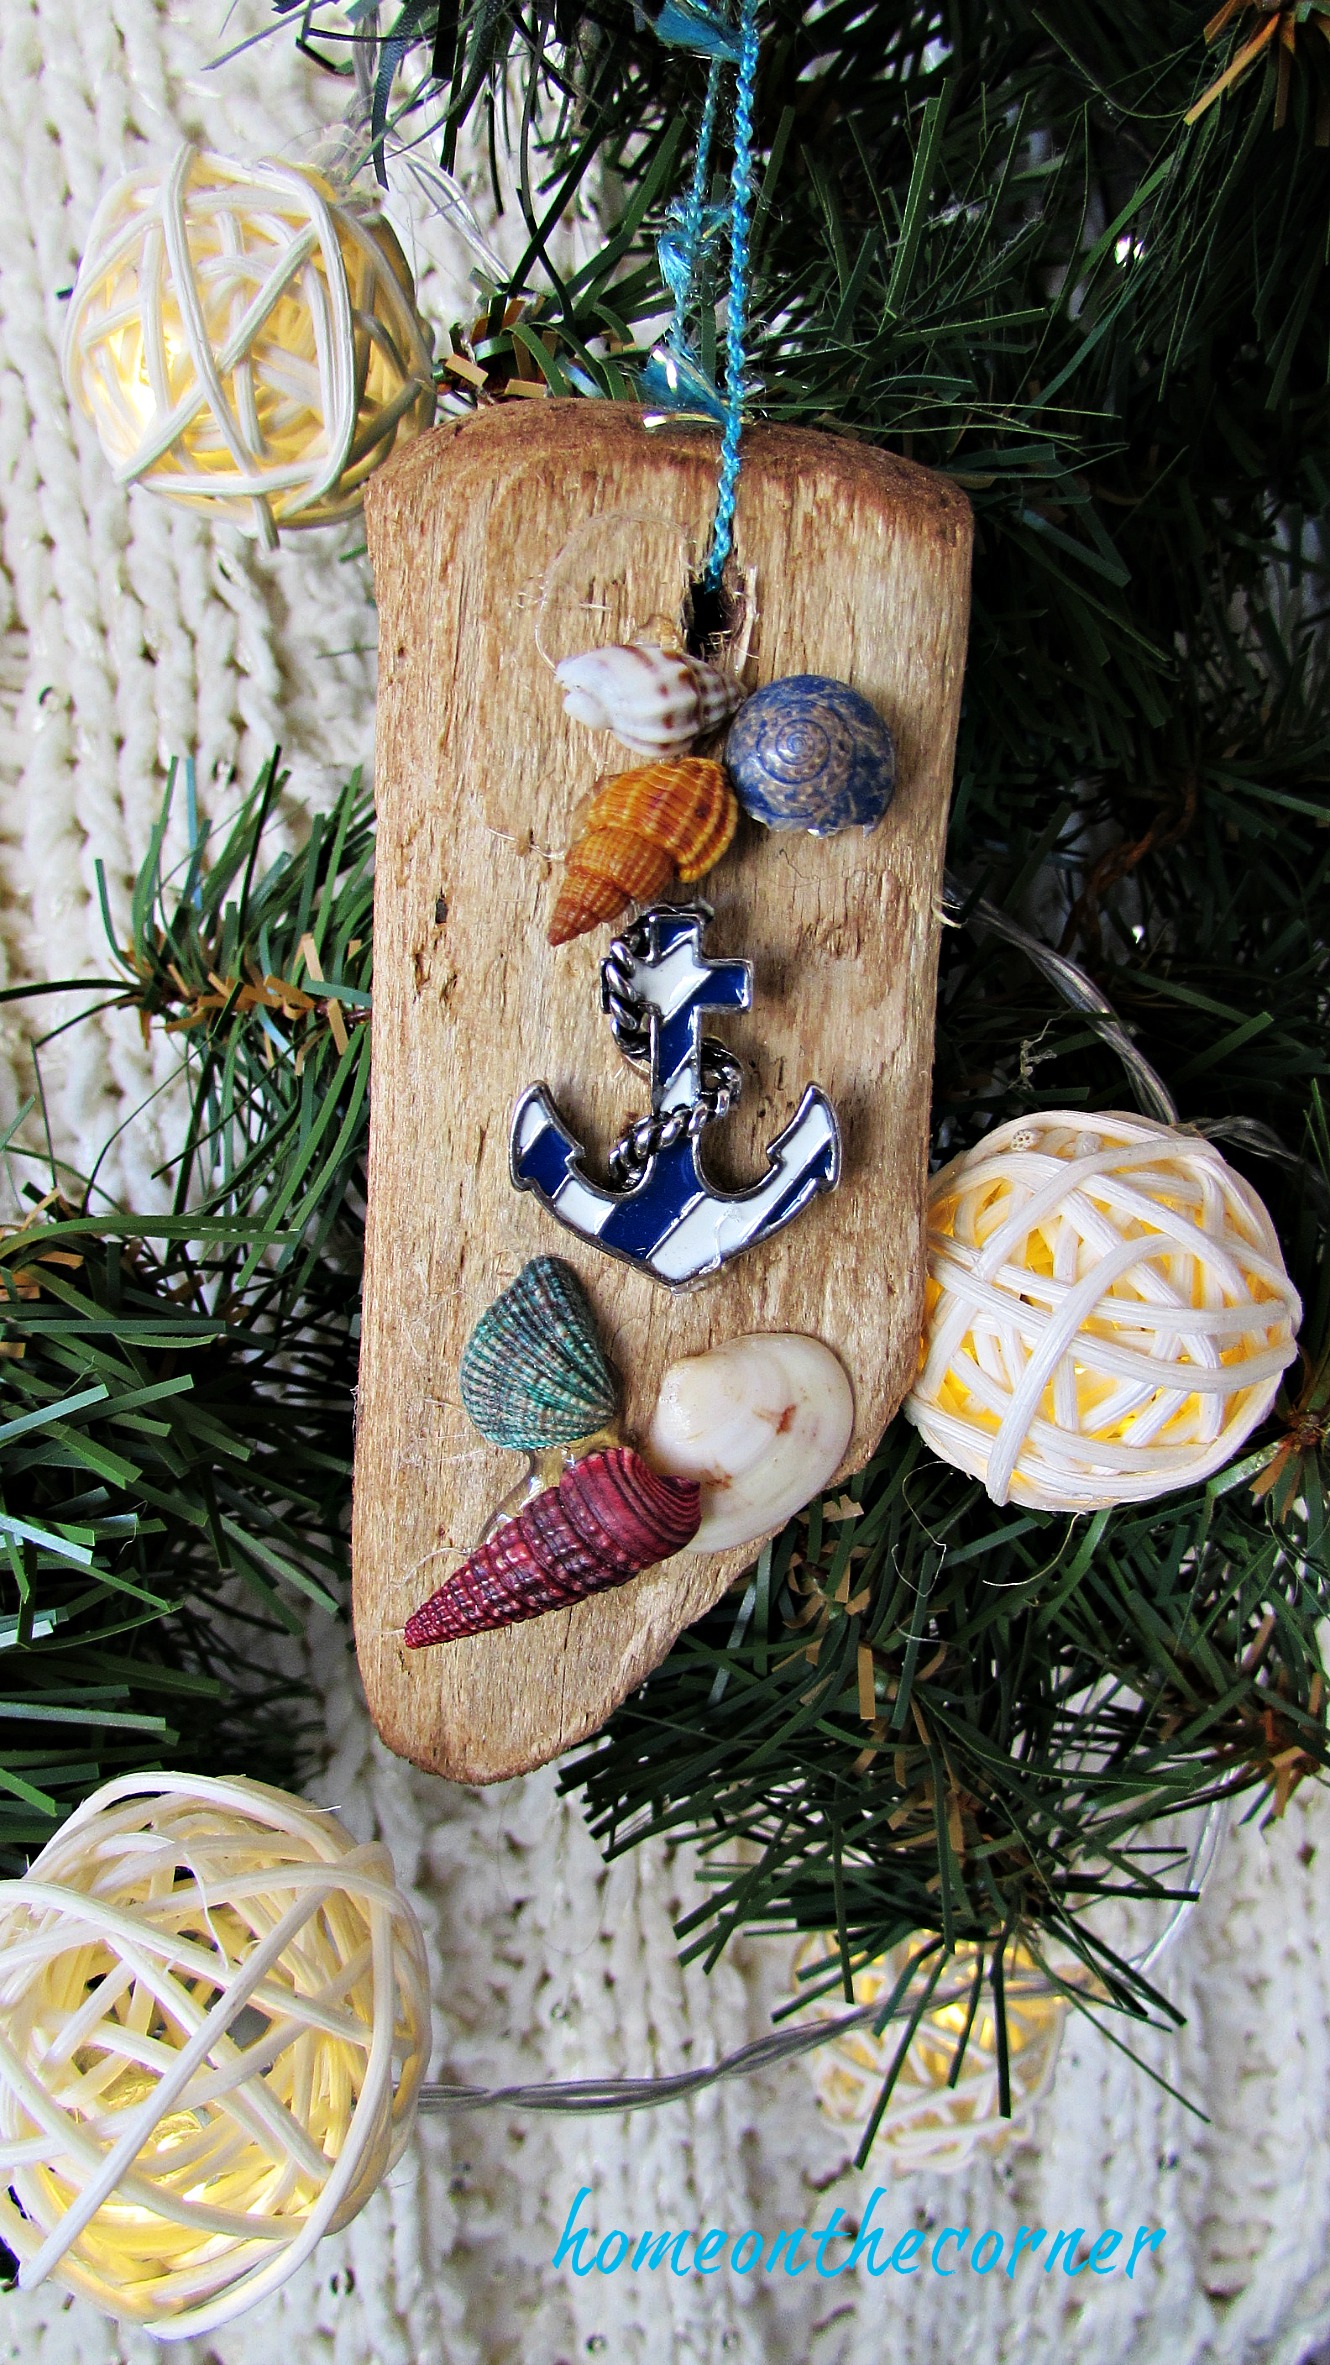
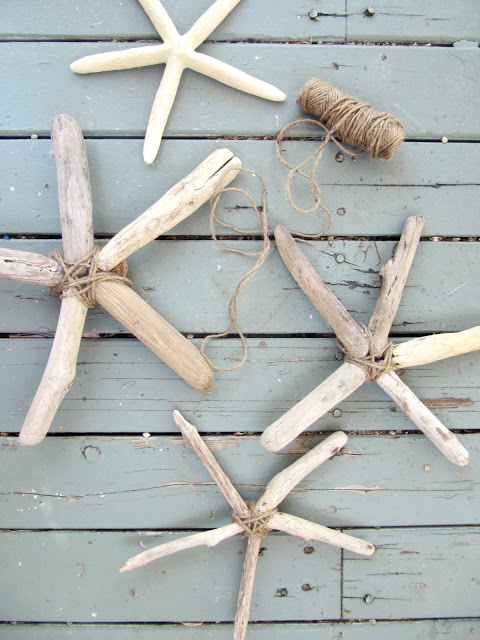
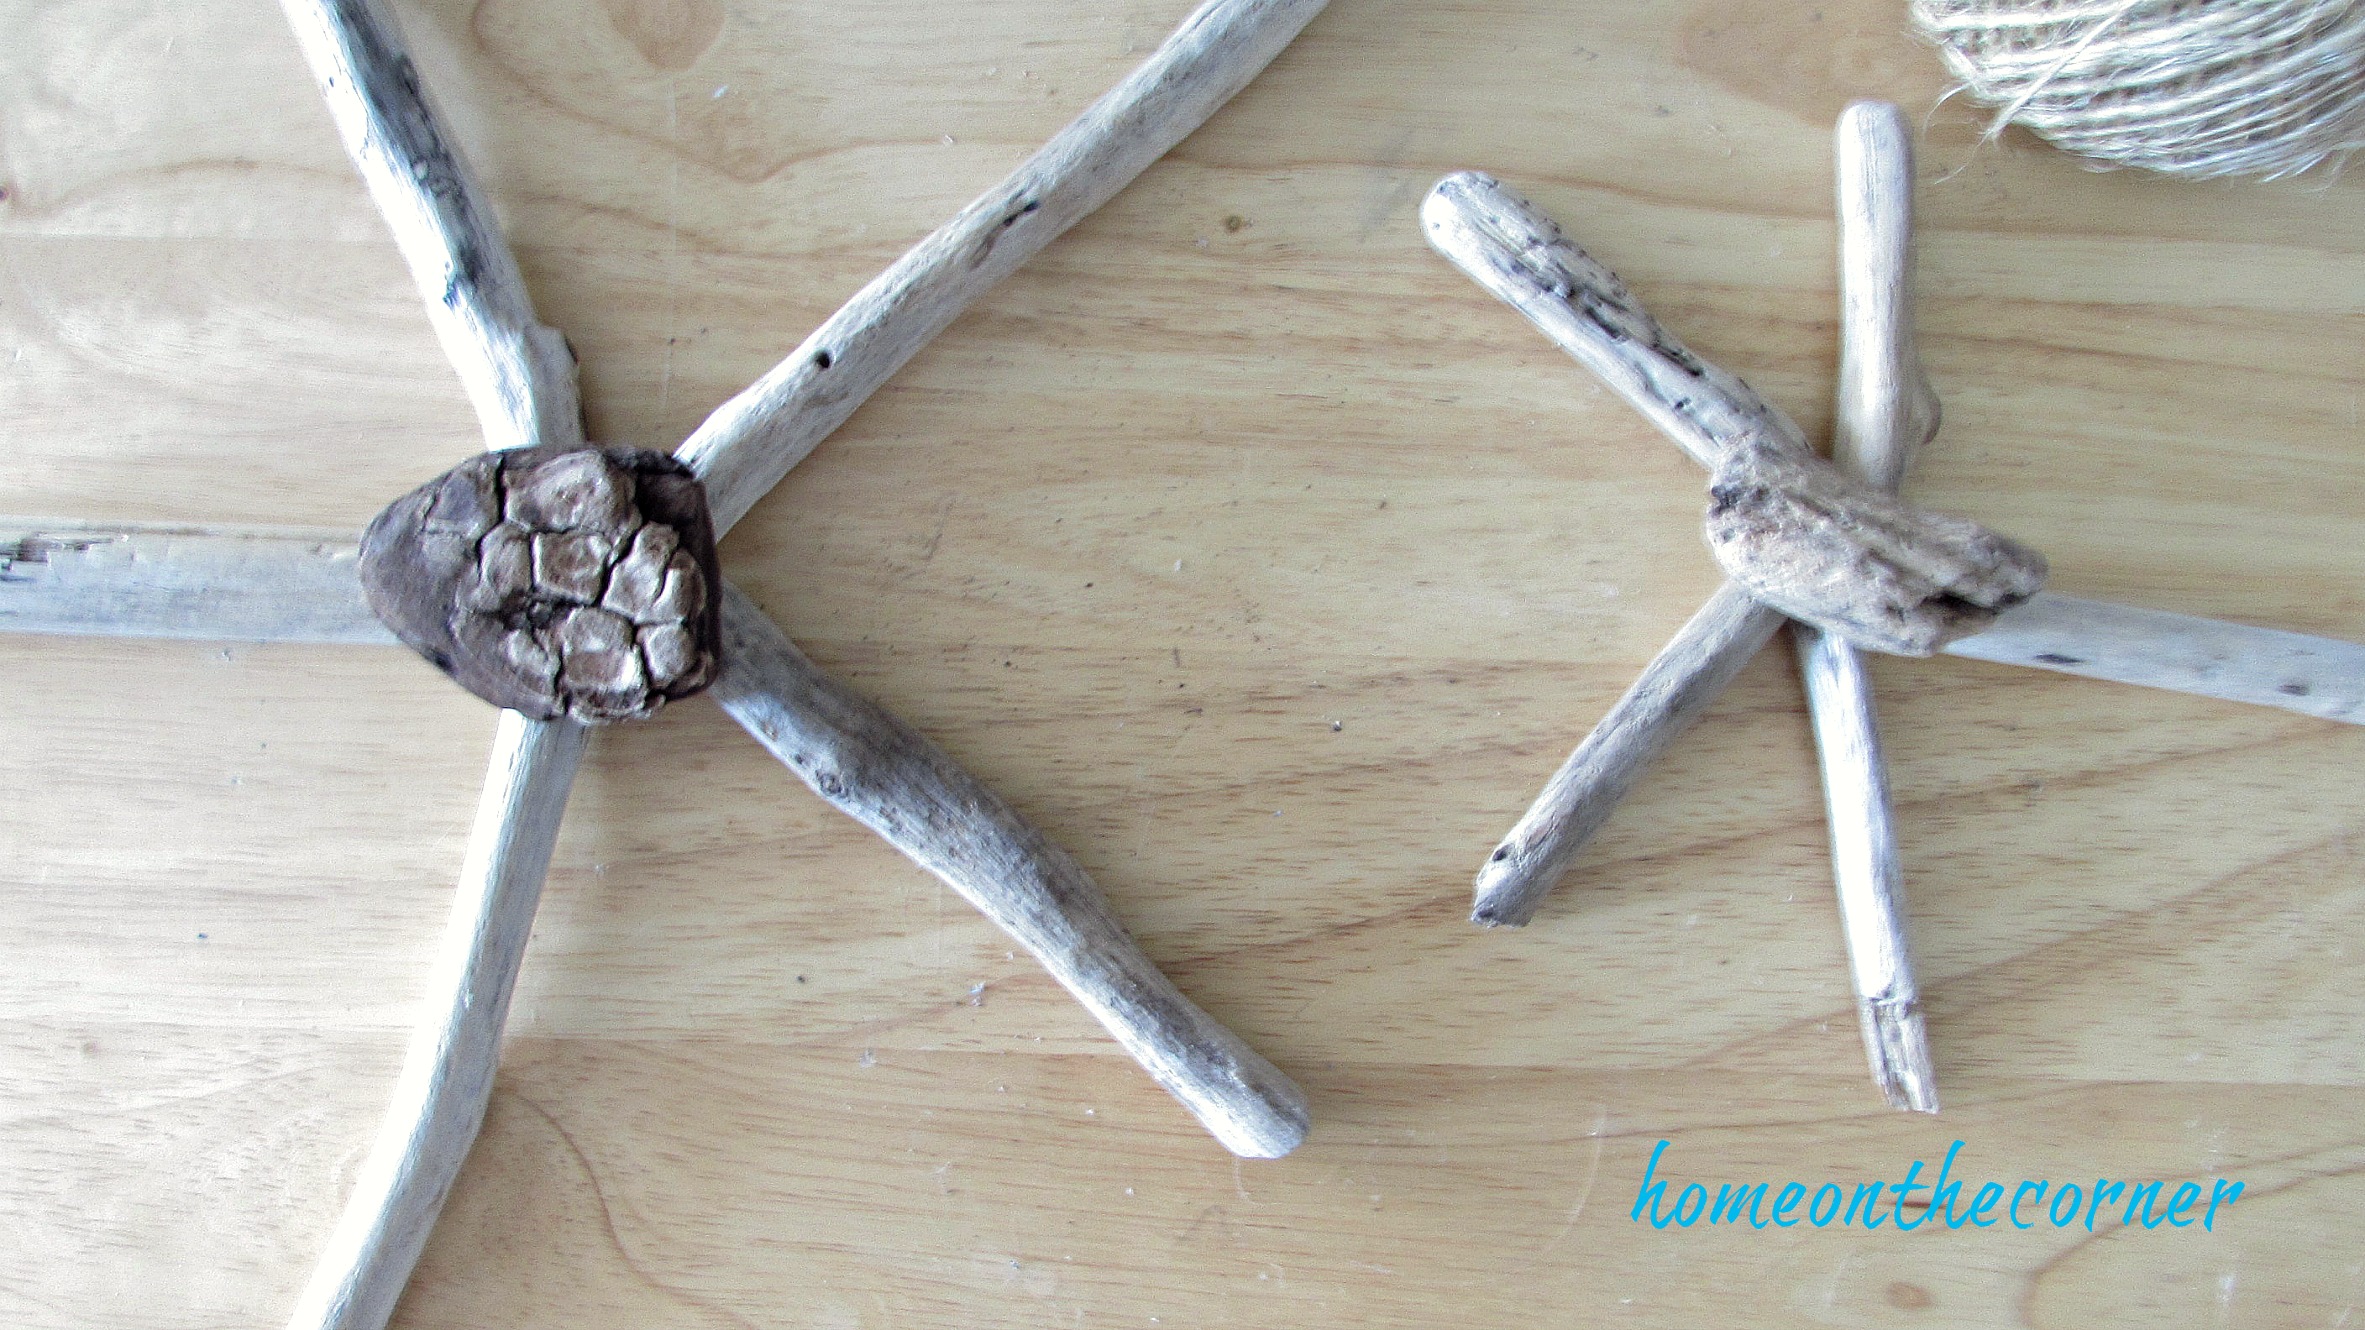
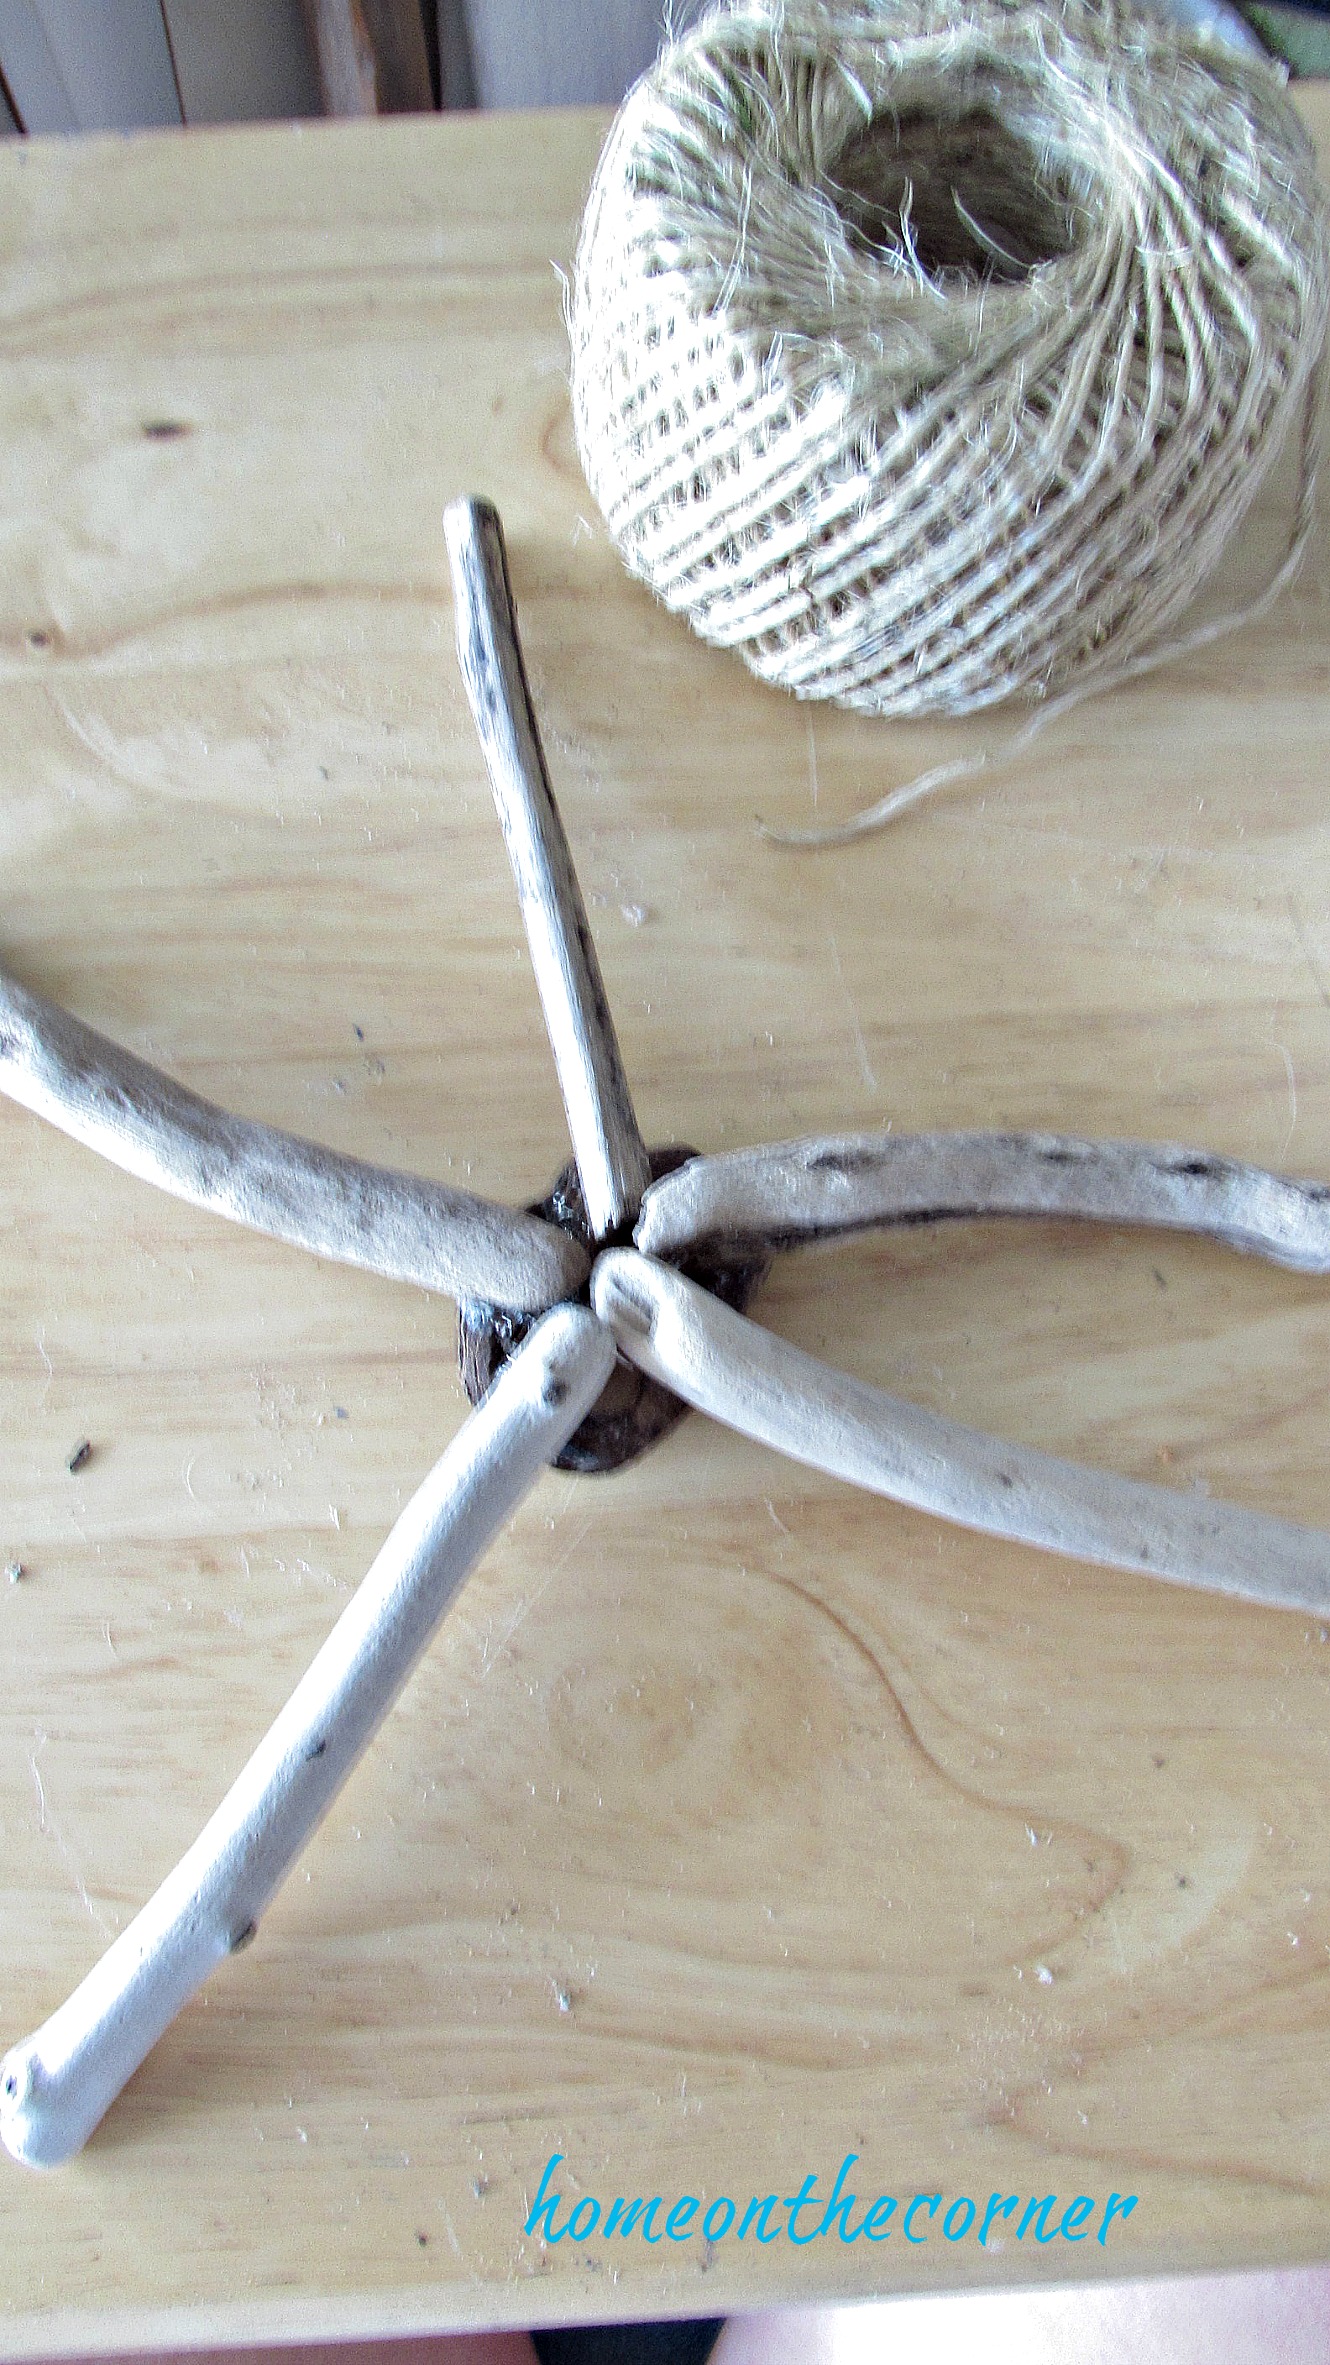
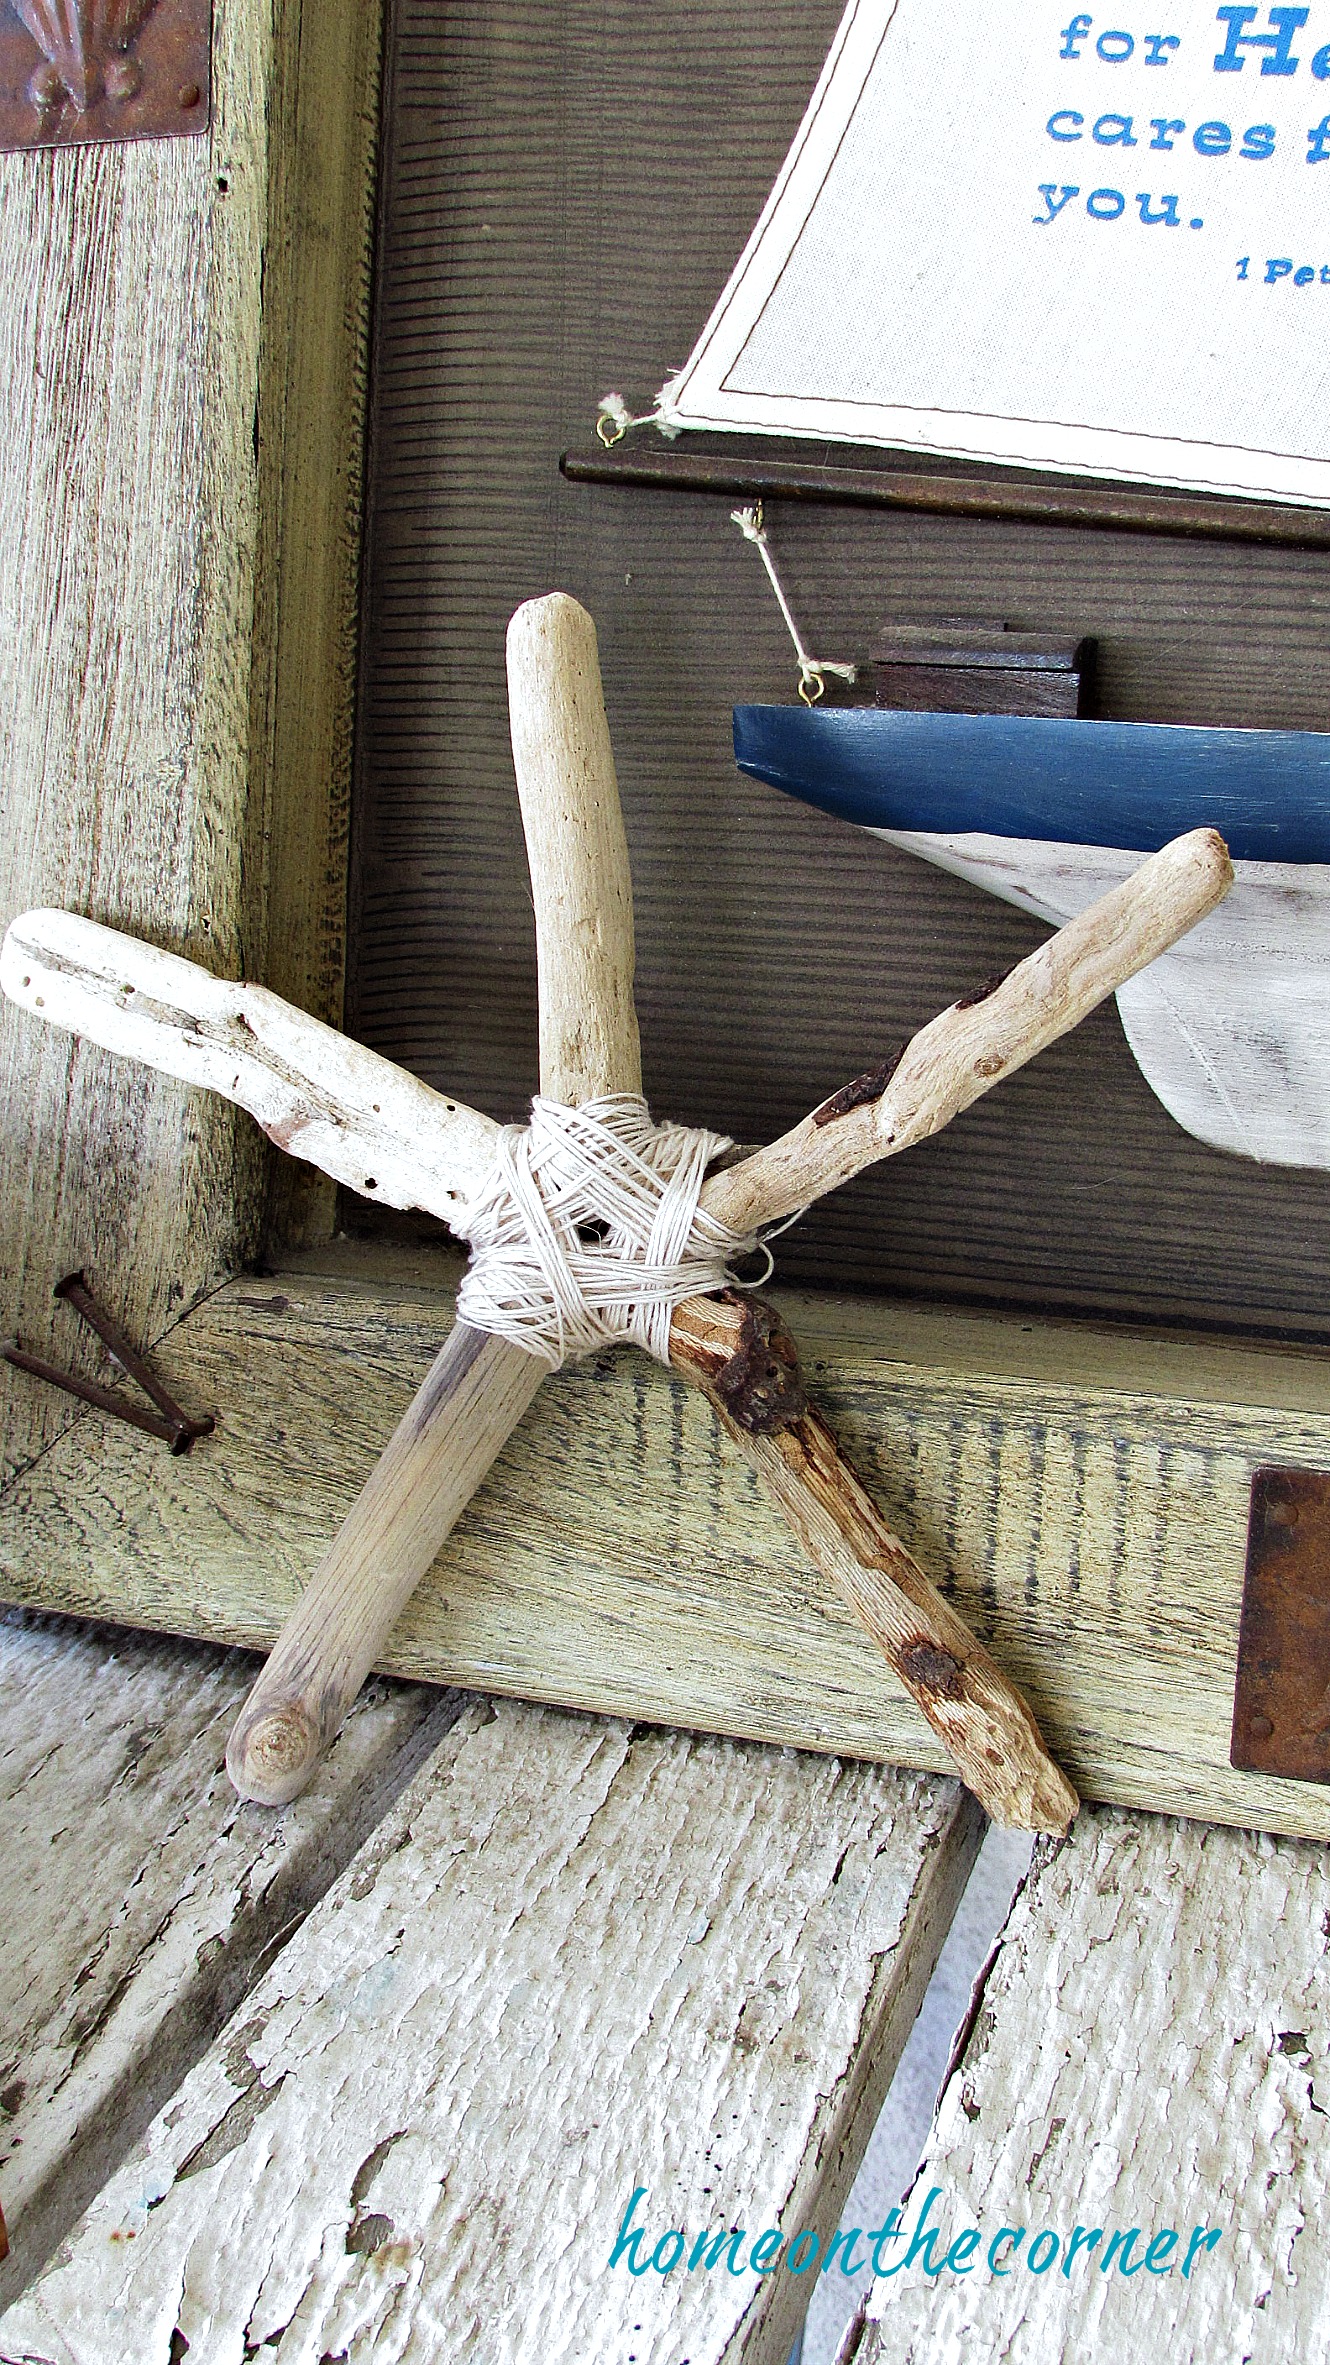
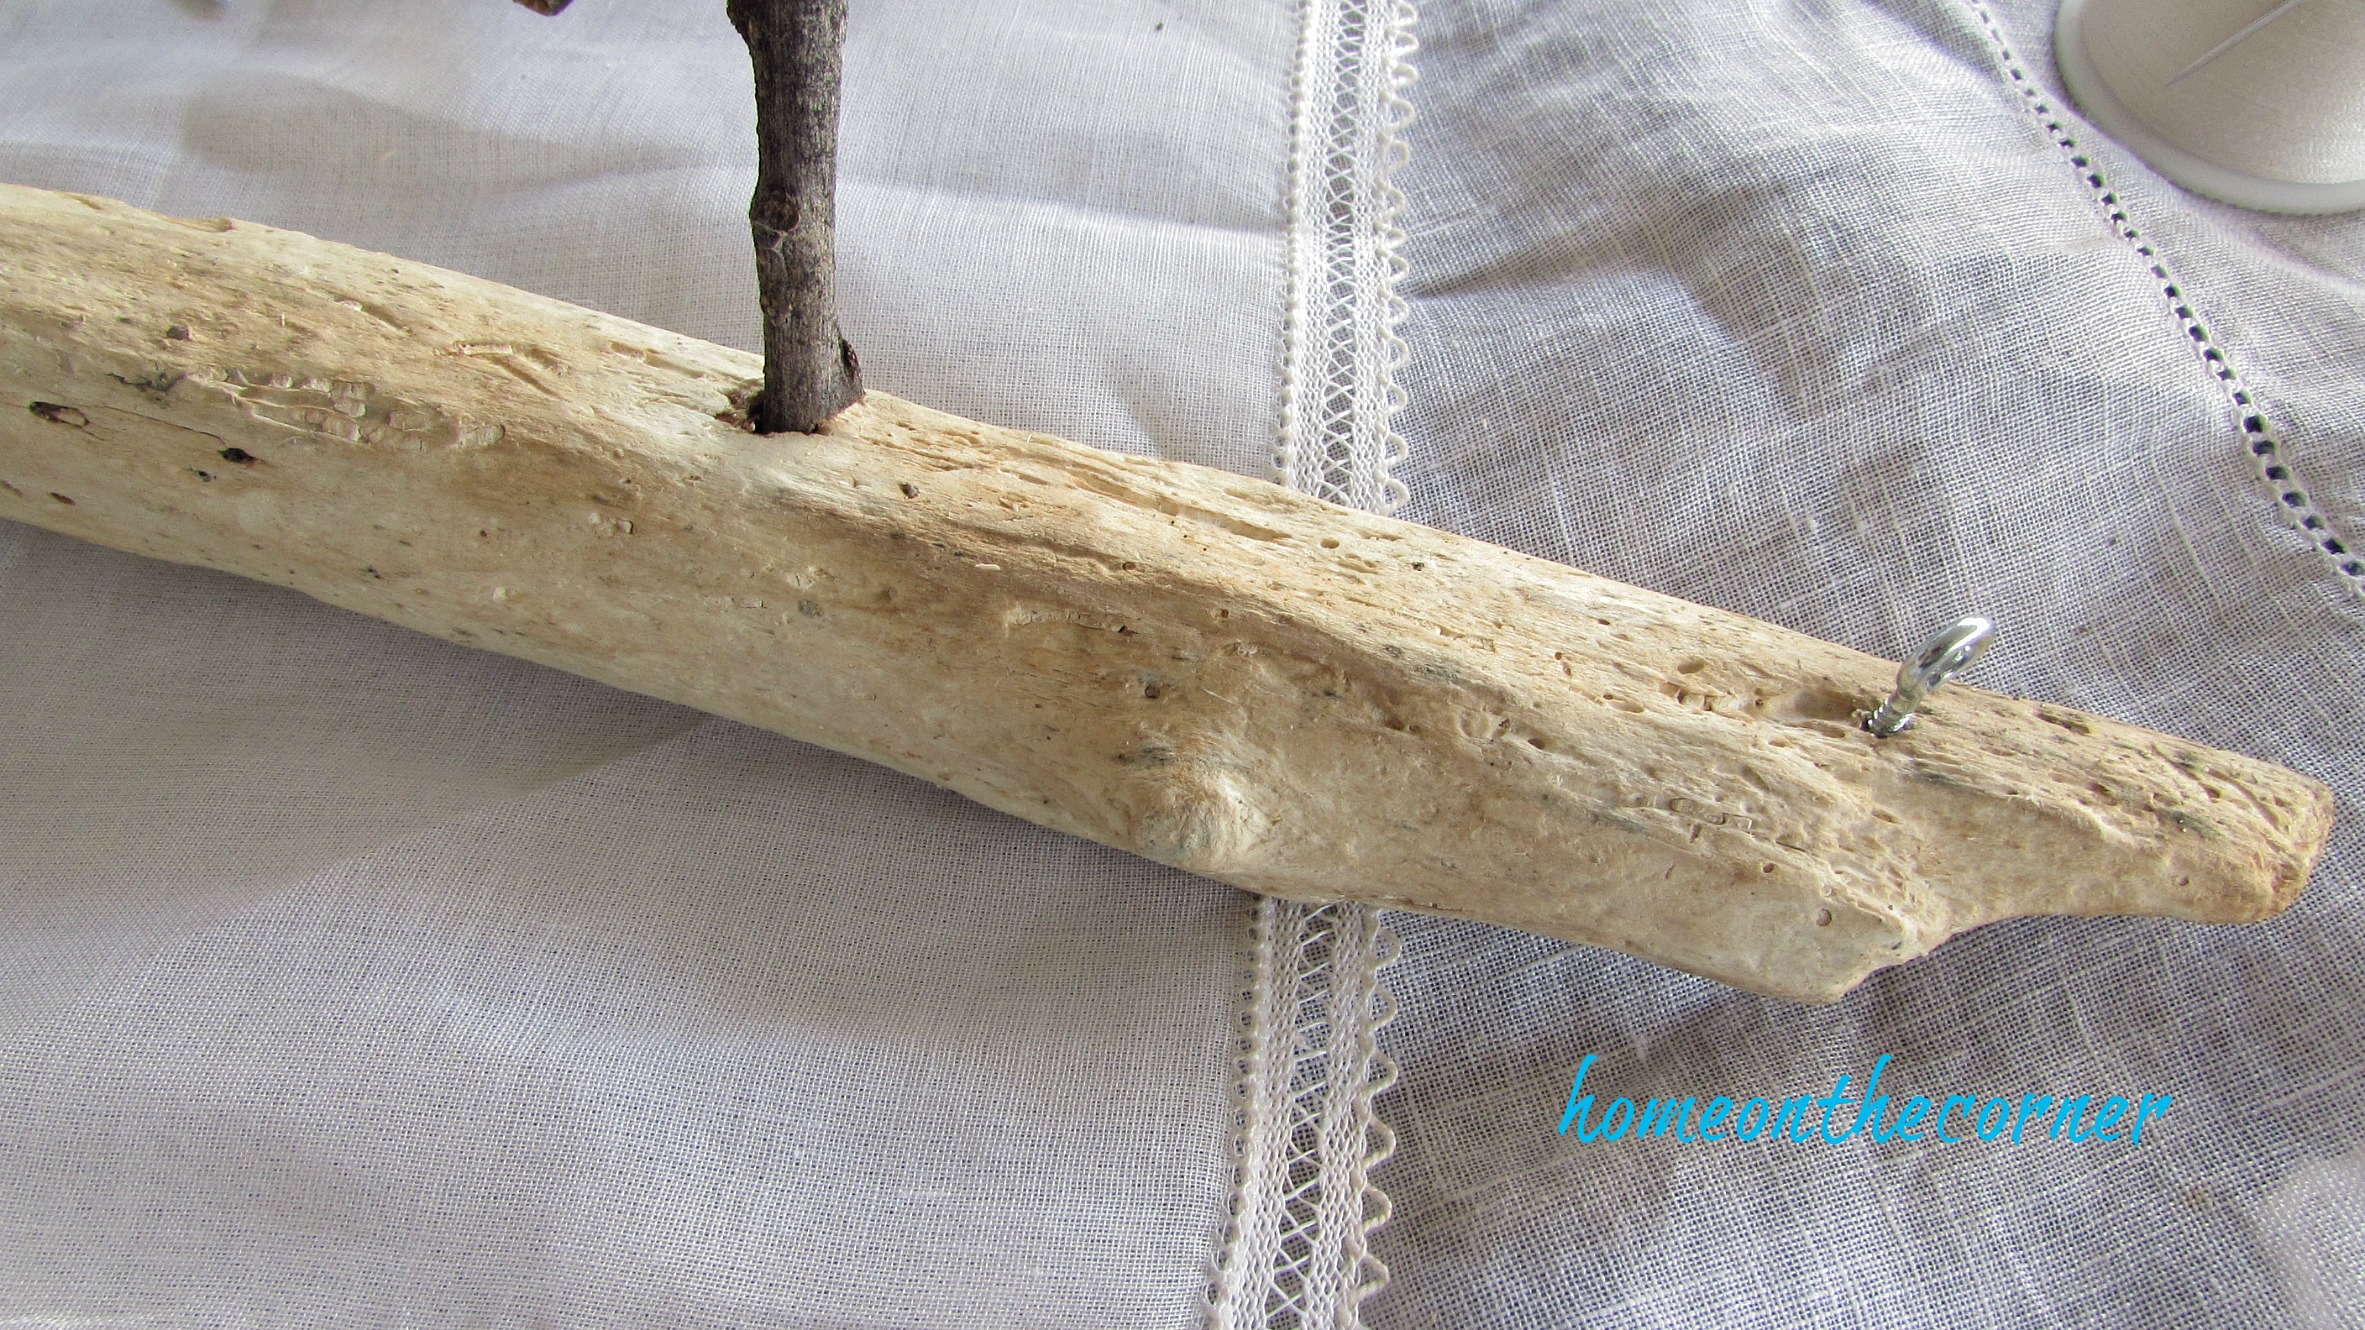
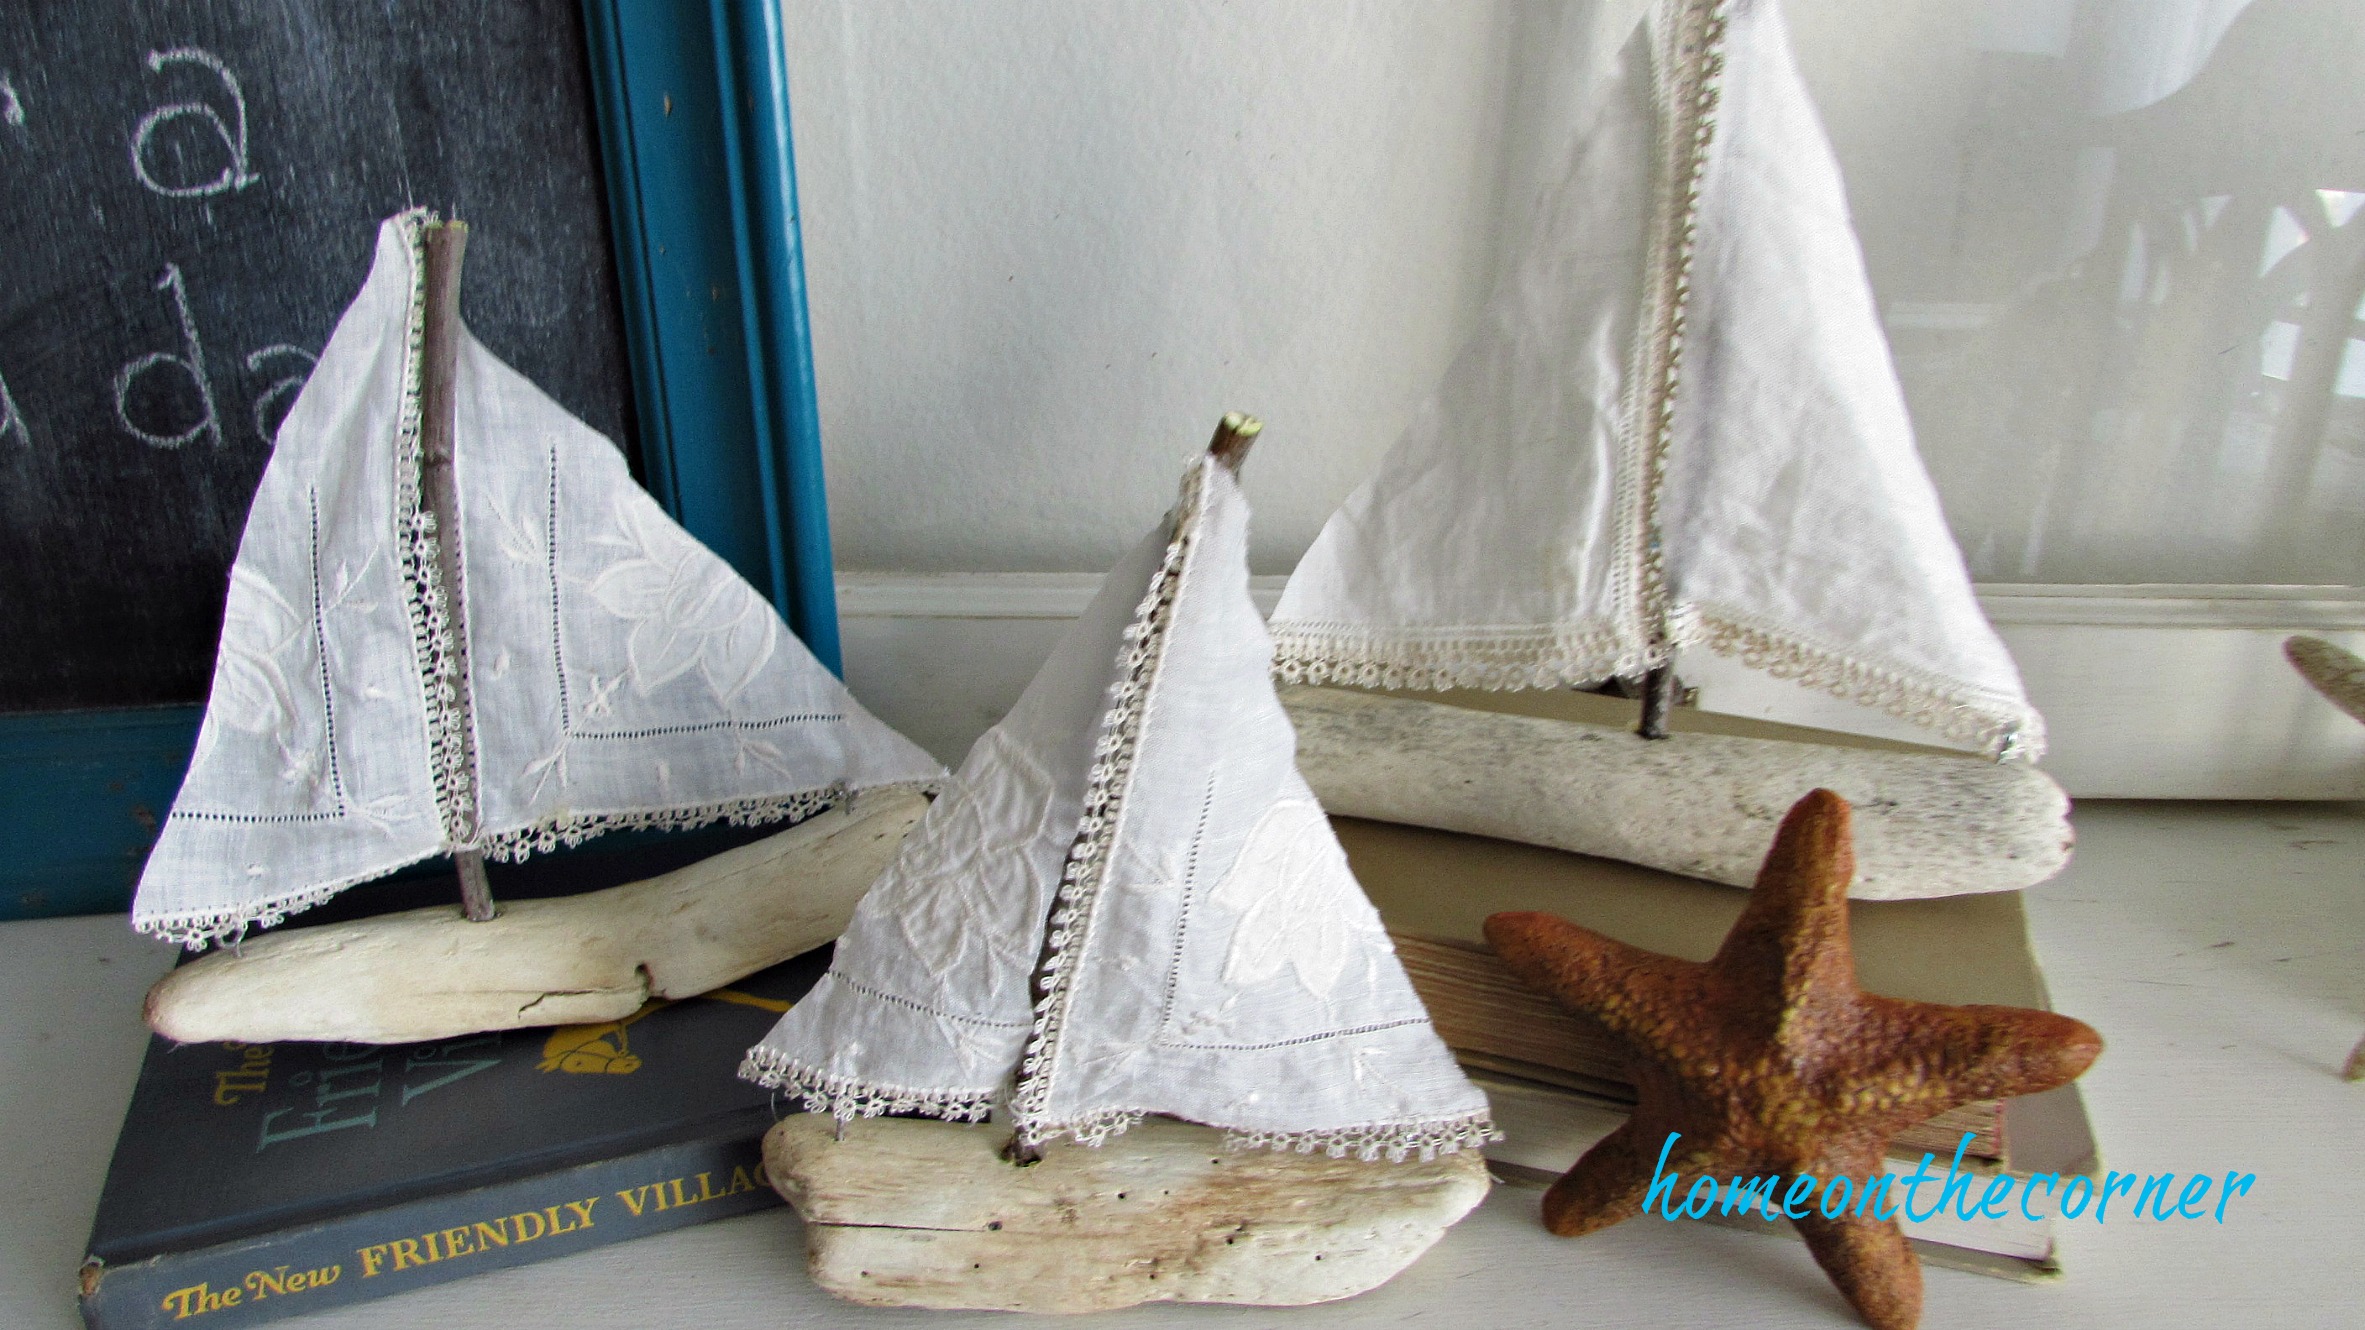
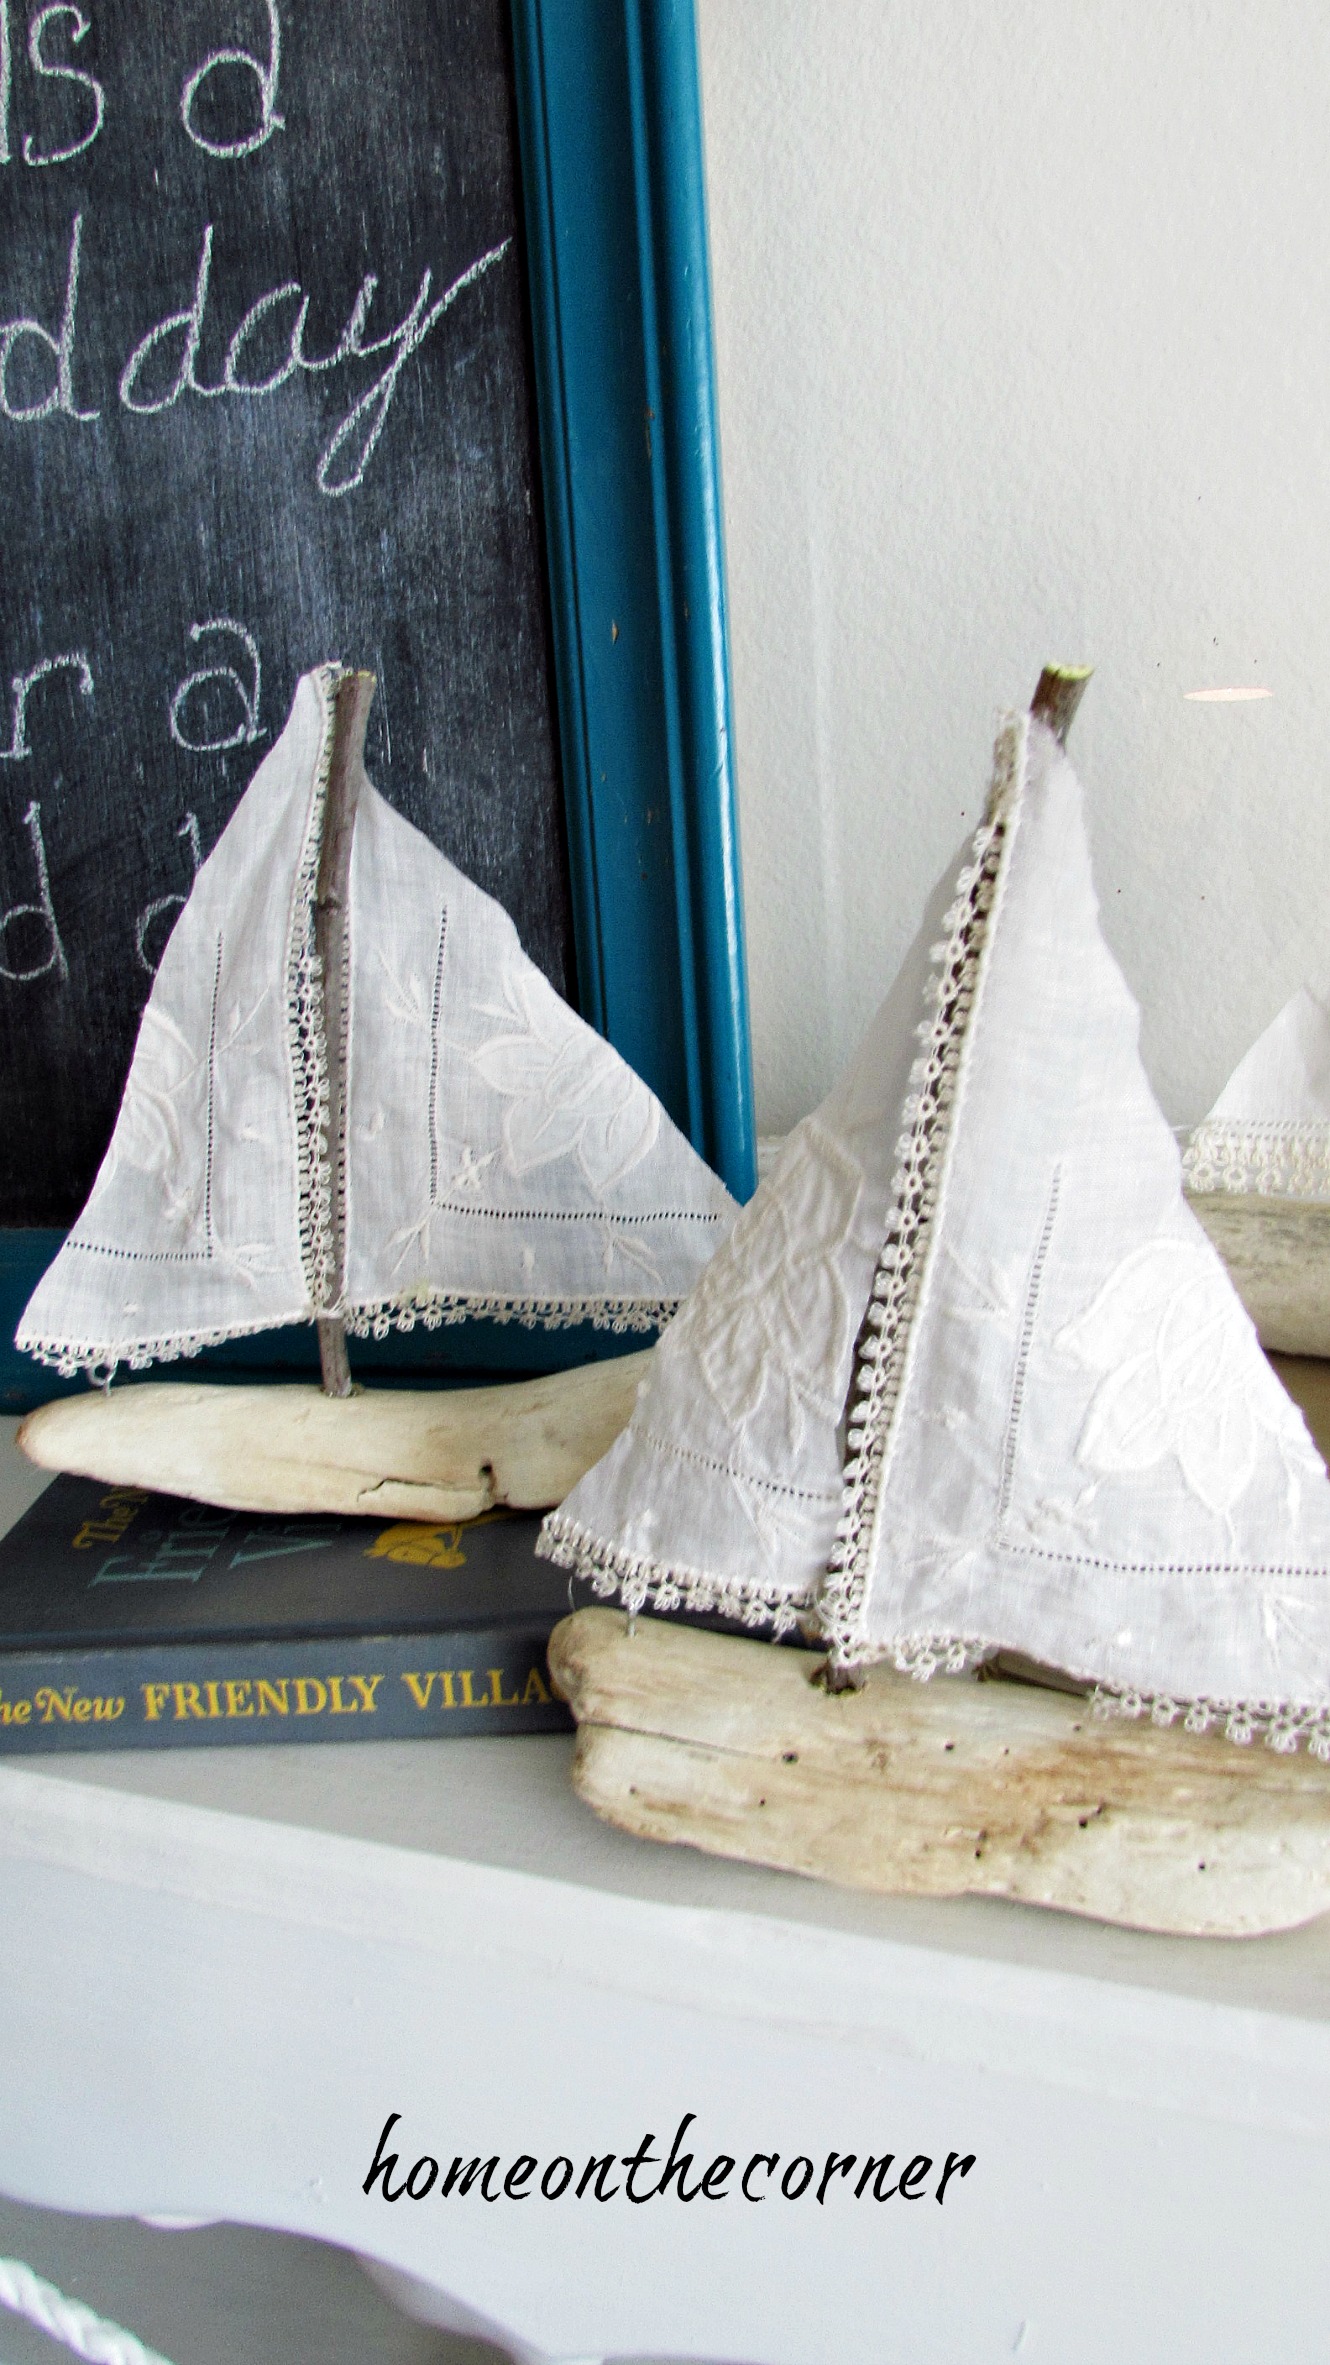
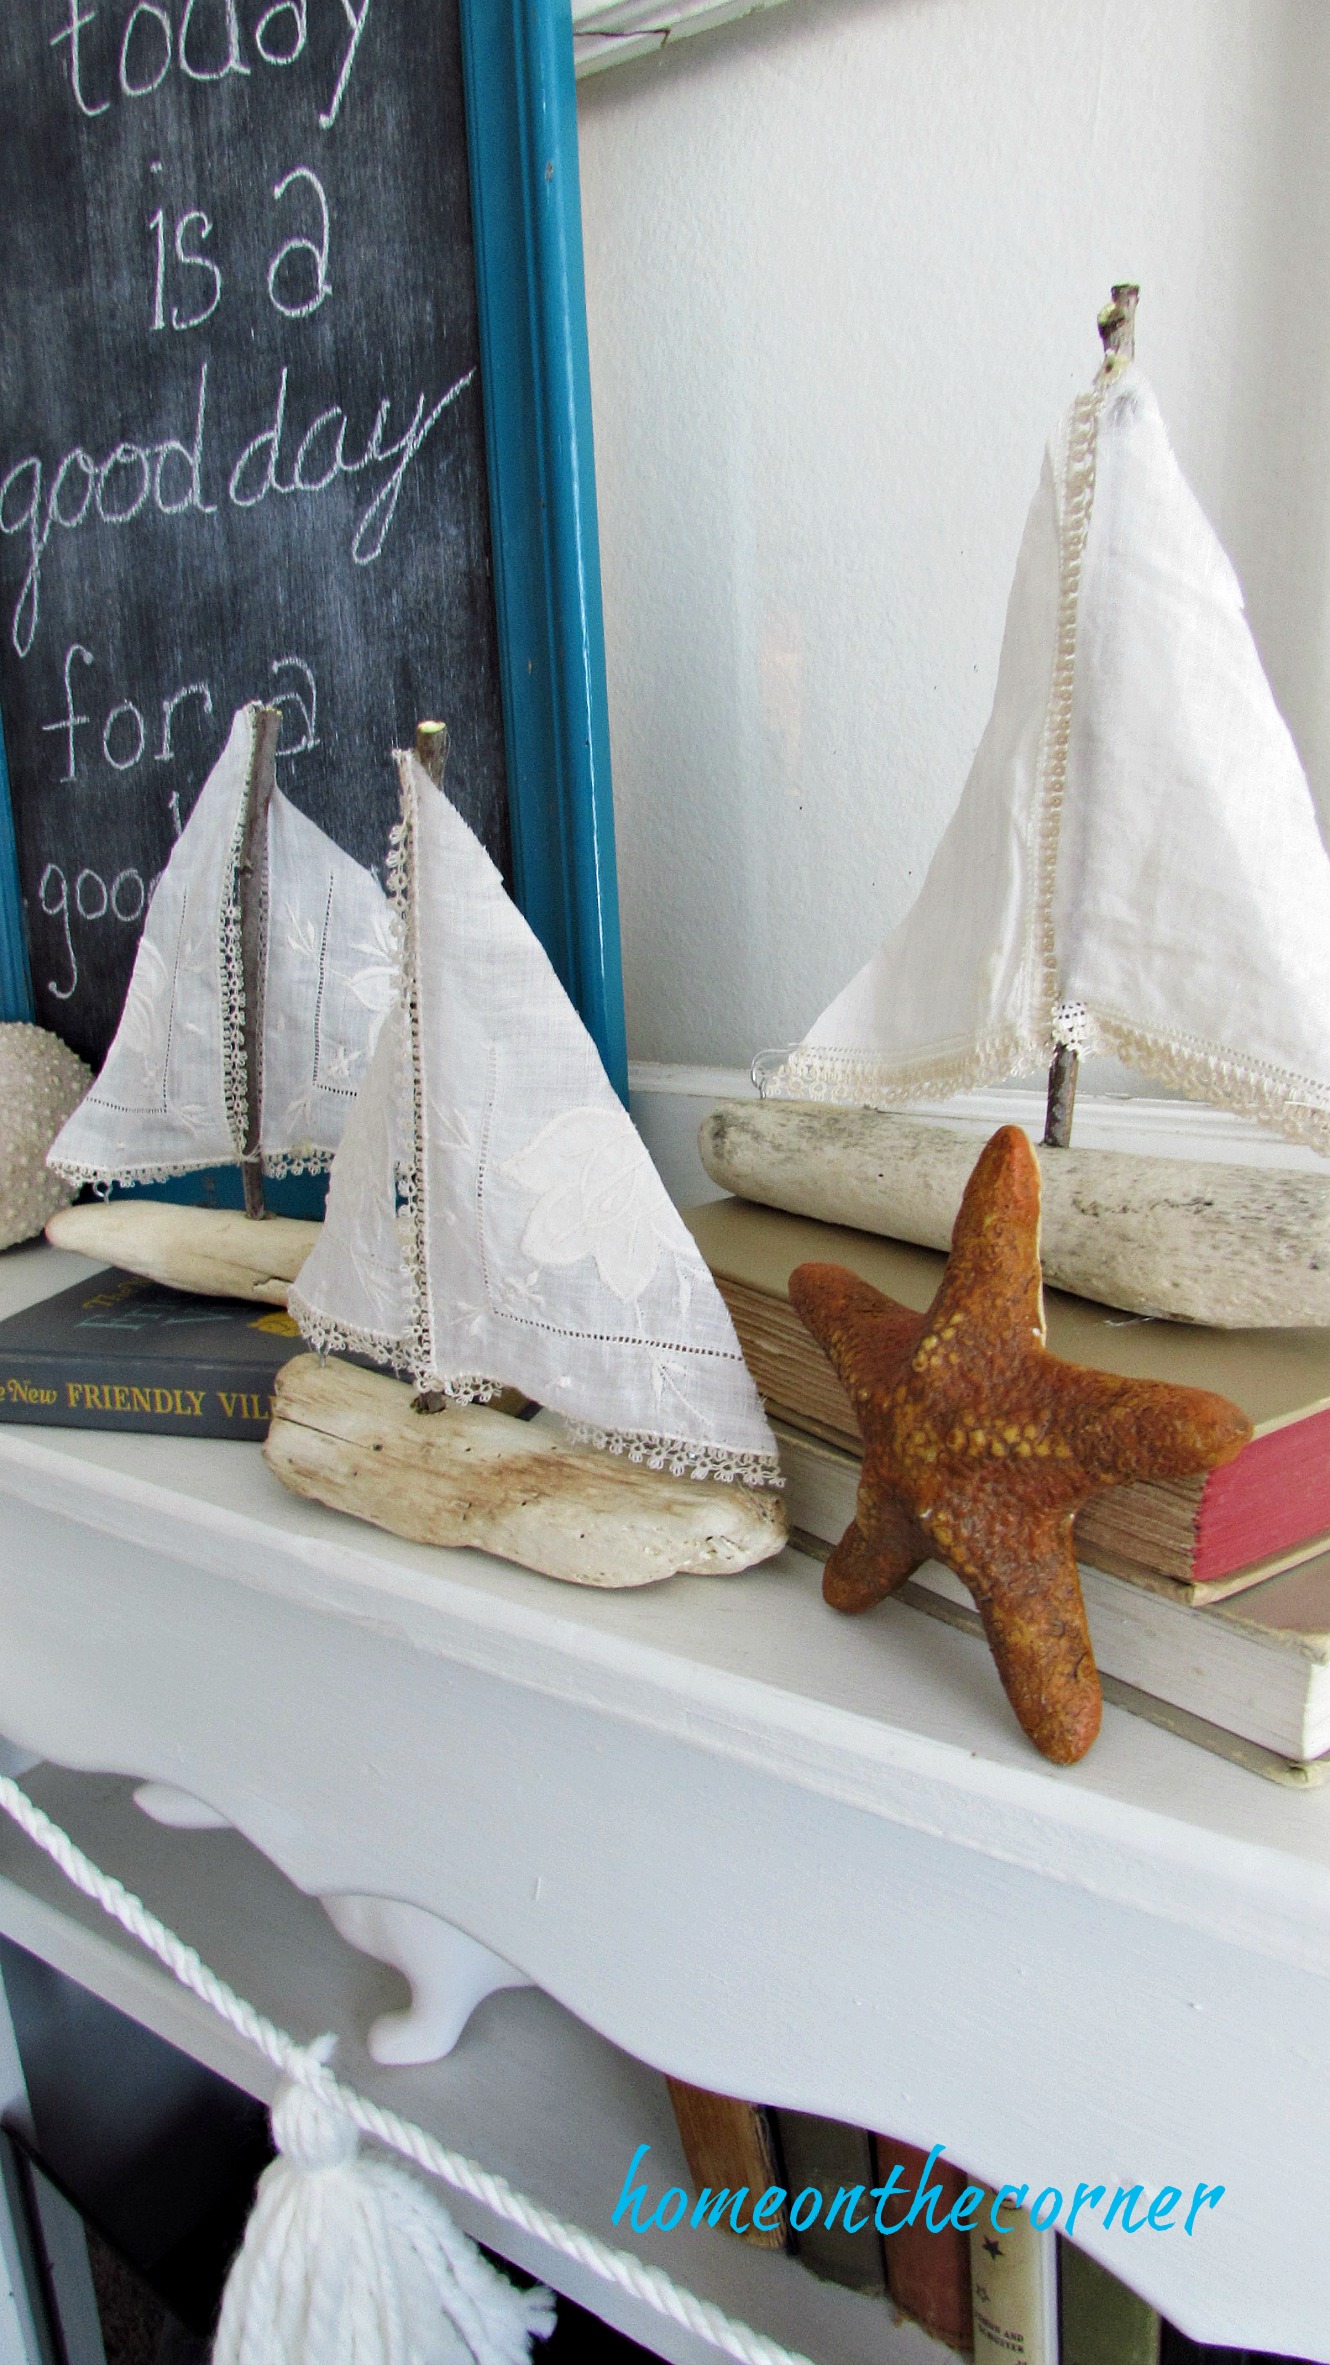
Seashell and Driftwood Ornament– Here is another ornament for the Ornament Exchange. It was so fun to make one and to receive one!

Minnie Mouse Wooden Bead Ornament-Here is a fun one for all the Disney lovers!

Nautical Inspired Seashell Ornament– This is the last one I made for the Ornament Exchange. I always make an extra for myself too. 🙂

Christmas Cat Ornament– Lauren made this one last year. Perfect for the kids and for cat lovers!

Wow! That’s a lot of ideas for you! I hope you found something to inspire you! I added some links below to some craft items you may need or want to purchase. We are an affiliate for Amazon, so we earn a little commission on anything you purchase, at no extra cost to you. Thank you so much for being our faithful followers!!

Driftwood Wreath

Good morning! I’m back today with another driftwood project, or maybe it’s another wreath project! You can see my other driftwood projects here  and here and here and here. You can find the wreath projects here  and here.

I had the idea to make a driftwood star. My husband cut out a wooden star for me, but when I started to lay the pieces on, I realized I didn’t have enough small pieces of driftwood. So I poked around in my garage and found a large piece of cardboard I had been saving. I figured it would work for a driftwood wreath instead. I tried a few different things to trace for my circle, and ended up with this bucket. I traced the outside of the circle first. It measures about 16 inches.

driftwood wreath tracing a bucket on cardboard

Once I had the outside circle traced, I turned the bucket over and centered it as close as I could. Then I traced the inside circle.

driftwood wreath tracing the circle

I cut around the outside circle first and then poked a hole in the middle and cut the inside circle. Now I had a cardboard form for my driftwood to be attached to. The edges don’t have to be perfect, since the driftwood will cover it up.

driftwood wreath cardboard circledriftwood wreath cardboard cutout

I started with the bottom layer, using bigger pieces and laying them around the edges. Once I had it the way I liked, I hot glued them on.

driftwood wreath large driftwood pieces

After the bottom layer was secure, I started adding in smaller pieces to fill in the top layer. I kept adding until I could no longer see the cardboard and it was filled in nicely.

driftwood wreath layered pieces

I felt like it needed a little something more, so I added one starfish to the bottom. I hung it on an old window I have sitting on my faux mantle. The perfect coastal touch!

driftwood wreath old window

I thought the song ‘Down By The Bay’ was the perfect saying for my chalkboard.

driftwood wreath mantle and shellsdriftwood wreath old window mantle

A lantern with some fairy lights and a small bowl of seashell necklaces add to the beach feel.

driftwood wreath with starfishdriftwood wreath with starfish (1)driftwood wreath chalkboard

Now I just need the warm weather to match my new wreath! Don’t you just love that really curvy weathered piece of driftwood at the bottom?

driftwood wreath bowl of shelves

Thank you so much for coming by today! I hope you have a wonderful week!

driftwood wreath styled on a mantle

sunshine-and-blessings-picmonkey

We are a participant in the Amazon Services LLC Associates Program, an affiliate advertising program designed to provide a means for us to earn fees by linking to Amazon.com and affiliated sites.


Seashell and Driftwood Ornament

Good morning! I have an exciting post today! I am taking part in MyPinterventures Ornament Exchange! (Thanks Erlene!) I believe this is the 4th year I have participated in the exchange and it’s fun to see what all the other bloggers come up with for their ornaments and see what your partner made for you!

driftwood and seashell ornament title

I was partnered with Michelle from Coastal Bohemian. Of course, coastal always works for me! I picked up the driftwood from the beach this past summer and I bought the small seashells ($2.99) and charms ($1.99) from Michaels. I already had the pretty string from another project. Other than those pieces, I just needed my drill and my hot glue gun.

Ornament exchange Supplies

I started out by drilling a hole in the top of each piece of driftwood, so there would be a place for the string. This was pretty easy since the wood is so soft.

ornament exchange driftwood ornament

I picked which charms I wanted to use and snipped off the ring at the top with wire cutters. I used hot glue to attach it to the driftwood.

ornament exchange coastal fish anchor

I played around with different placement of the seashells, trying out different colors and sizes. Once I was happy with it, I hot glued them into place.

ornament exchange seashells driftwood seashore beach

The last step was to tie a piece of string through the hole so it could hang from the tree.

ornament exchange seashells, ribbon hanger

They turned out so pretty! I’m going to make a couple of extra for my own tree too.

ornament exchange driftwood ornament seashells

I hope Michelle enjoys hanging these on her tree as much as I enjoyed making them.

ornament exchange angel fish

ornament exchange driftwood anchor

The pretty colors and seashells immediately take me back to the beach.

ornament exchange fish, anchor blue, turquoiseornament exchange driftwood beach shells anchor

Thank you so much for stopping by today! I hope you take time to go visit the other bloggers and see their ornaments too! If you would like to add your ornament how-to to the link party, go here.

sunshine-and-blessings-picmonkey

Driftwood Starfish

Good morning! Well, this will probably be my last summer post this year. Crazy, right? It’s hard to think about fall when it’s still over 100 degrees outside!

I found this cute idea over at The Wicker House.  Thanks Emily! Great craft!

I thought I would give it a try with some of the driftwood I picked up when we went to the beach. I found some slim pieces that weren’t too long and some small chunks of wood to add to the back. I already had the twine.

driftwood starfish supplies

I started with the long pieces that I wanted to go together and a piece that would work for the middle.

driftwood starfish 5 pieces

I used hot glue to attach all the pieces together.

driftwood starfish hot glue and twine

I then glued the end of the twine to the back of the piece of wood to secure it and then started wrapping it around all the long pieces.

driftwood starfish with twine

I continued wrapping until everything seemed secure and then added a little more hot glue on the back to finish it off.

driftwood starfish wrapping with twine

Such a simple project, but looks so cute!

driftwood starfish with sailboat

These starfish give the perfect finishing touch to any coastal vignette.

driftwood starfish 5 pieces and twine

I wrapped this one with string instead of twine and it looks great too.

driftwood starfish single 5 pieces with stringdriftwood starfish small starfishdriftwood starfish with bucket

I love the little extra touch these starfish bring to my home.

driftwood starfish with twine boats

Are you ready for fall or are you still hanging on to summer?

sunshine-and-blessings-picmonkey

DIY Driftwood Sailboat

Good morning! Can you believe February is almost over? Spring should be right around the corner. We have been having some really chilly days, but it looks like things are beginning to warm up. Yay!! I don’t like the cold. At. All. I am all about summer. Which brings me to today’s DIY!

A few weeks ago I showed you my Driftwood Mirror. I have lots of driftwood left, so I came up with another project for some of my pieces.DIY Driftwood Sailboat Title

I have seen these around Pinterest and decided it was time to make my own. I was trying to decide what fabric to use for the sails, when I remembered several vintage hankies I had. I really hadn’t done anything with them, so I decided this was a perfect project for them. The worst part was having to cut them. Eee. That was a little difficult, but the result turned out great!

Here are the supplies:

  • piece of driftwood
  • skinny sticks (from my yard)
  • fabric
  • thread and needle
  • eye-screws
  • hot glue

driftwood sailboat supplies sticks, hankies, driftwood

First you need to pick your piece of driftwood. Don’t worry if you don’t live near the ocean, I even found driftwood on Amazon! I included some links at the bottom of the post for your convenience.  I picked ones that weren’t too long, but were a nice rounded shape. They also need to be able to sit flat on a surface. I drilled a small hole in the center of the top and hot glued the stick into the hole. This will be the mast of your sailboat.

driftwood sailboat supplies

I also drilled a tiny hole near each end of the driftwood. I screwed in the eye-screw. This will help hold the sail straight once it is attached.

driftwood sailboat mast

I cut out triangles from the fabric. I used the stick for my measurement. Nothing to exact (of course) :). I used a straight edge for the part by the stick and a straight edge at the bottom. The other side is slanted to make a sail. Once I had my pieces cut out, I hot glued the point to the top of the stick. This held it in place while I stitched the bottom corners on.

I used a needle and thread to attach the bottom corner to the stick and the other corner to the eye-screw. Once those were attached, I was able to peel loose the glue and move it higher or lower on the stick, depending on where the sail was tight and straight.

driftwood sailboat vintage linen

I love the look of the vintage hankies with the driftwood! The perfect summery touch!

driftwood sailboat vintage linen starfishdriftwood sailboat vintage cloth lace

The embroidery and lace is so pretty. I’m glad I found a way to show them off a little.

driftwood sailboat triodriftwood sailboat linen hankies

Can’t you just see those sails billowing in the wind out on the ocean?

driftwood Sailboat displaydriftwood sailboat coastal display ocean

I added them to my faux mantle for now. I placed a few seashells around them and a white lantern to finish out the looks. The window and chalkboard pretty much stay in the same place and I decorate around them. They make the perfect backdrop to my other decor.

driftwood sailboat 3 of a kind

I still need a few more ideas for my driftwood, and now I need to add ideas for vintage hankies too! Thanks for stopping by today! I hope you have a wonderful week!

sunshine-and-blessings-picmonkey

amazon affiliate