99 Cent Store Valentines Day

Hello everyone!  I hope you have all had a wonderful week because it is almost the weekend!  Does anyone have any exciting plans for the weekend?

Well as you may know, Valentines Day is coming up in 2.5 weeks and we all need to start the major pink and red, hearts and love decoration fest!  And for me, being a broke college student, the 99 Cent Store is a great place to pick up decorations.

And boy, do they have a lot of stuff!  Lots of pink and red colored hearts, boxes, and signs.  So, I bought some stuff to help decorate my roommate and my apartment.

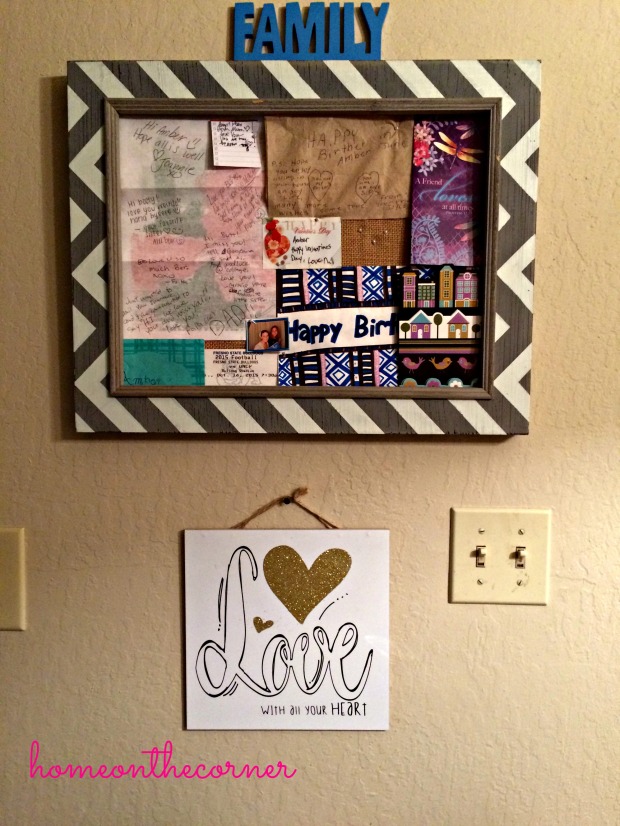
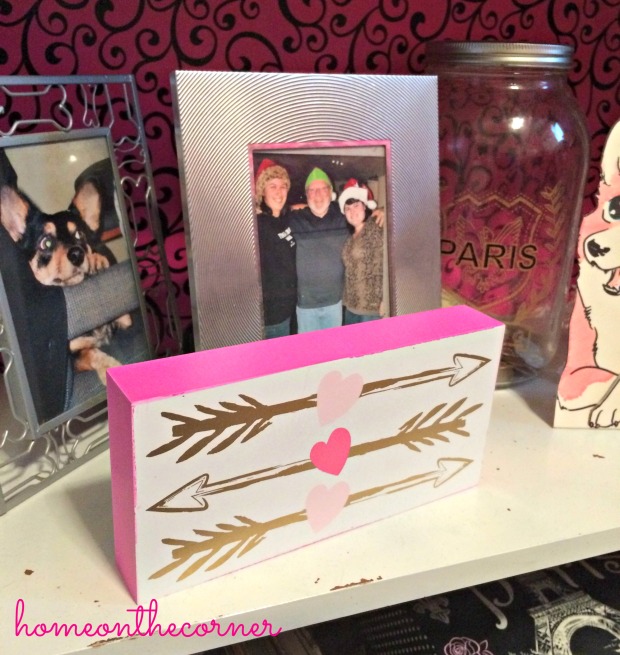
The first thing I bought was this cute little white sign.  I thought it was really simple and pretty and it goes perfectly under our cute family board.

99-cent-store-love

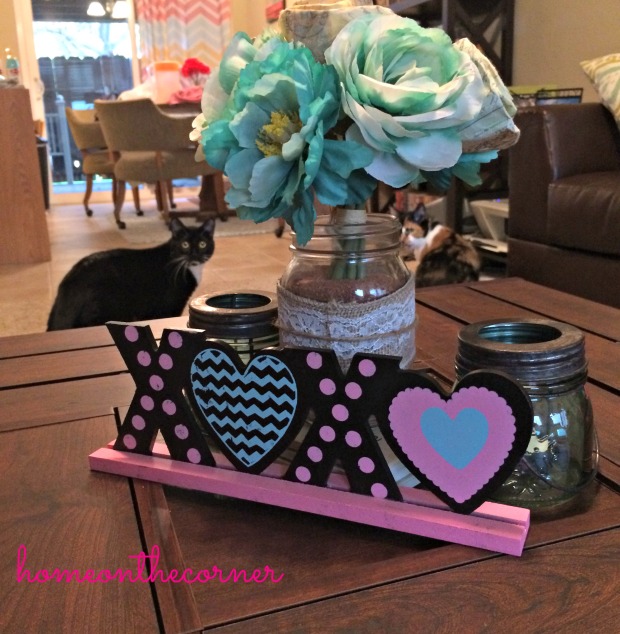
The next thing was the awesome XOXO sign.  I love the different colors and that it is on a black background, not white.  It looks great on the table, even if the cats don’t agree.

99-cent-store-xoxo

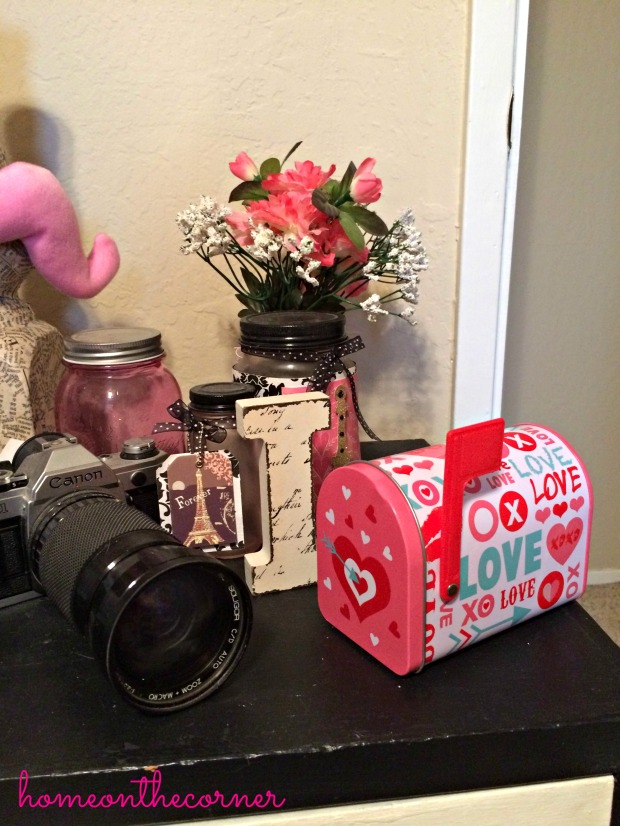
Next…is this adorable little mailbox!  It is tin and it’s probably supposed to hold candy, but maybe I will send secret messages to my roommate.  Or I will just keep looking adorable right inside my door.

99-cent-store-mailbox

Now onto yet another sign.  This cute little arrow sign is perfect for any room of the house.  I love it in my room on my bookshelf.  Because, arrows are still in style right????

99-cent-store-arrows

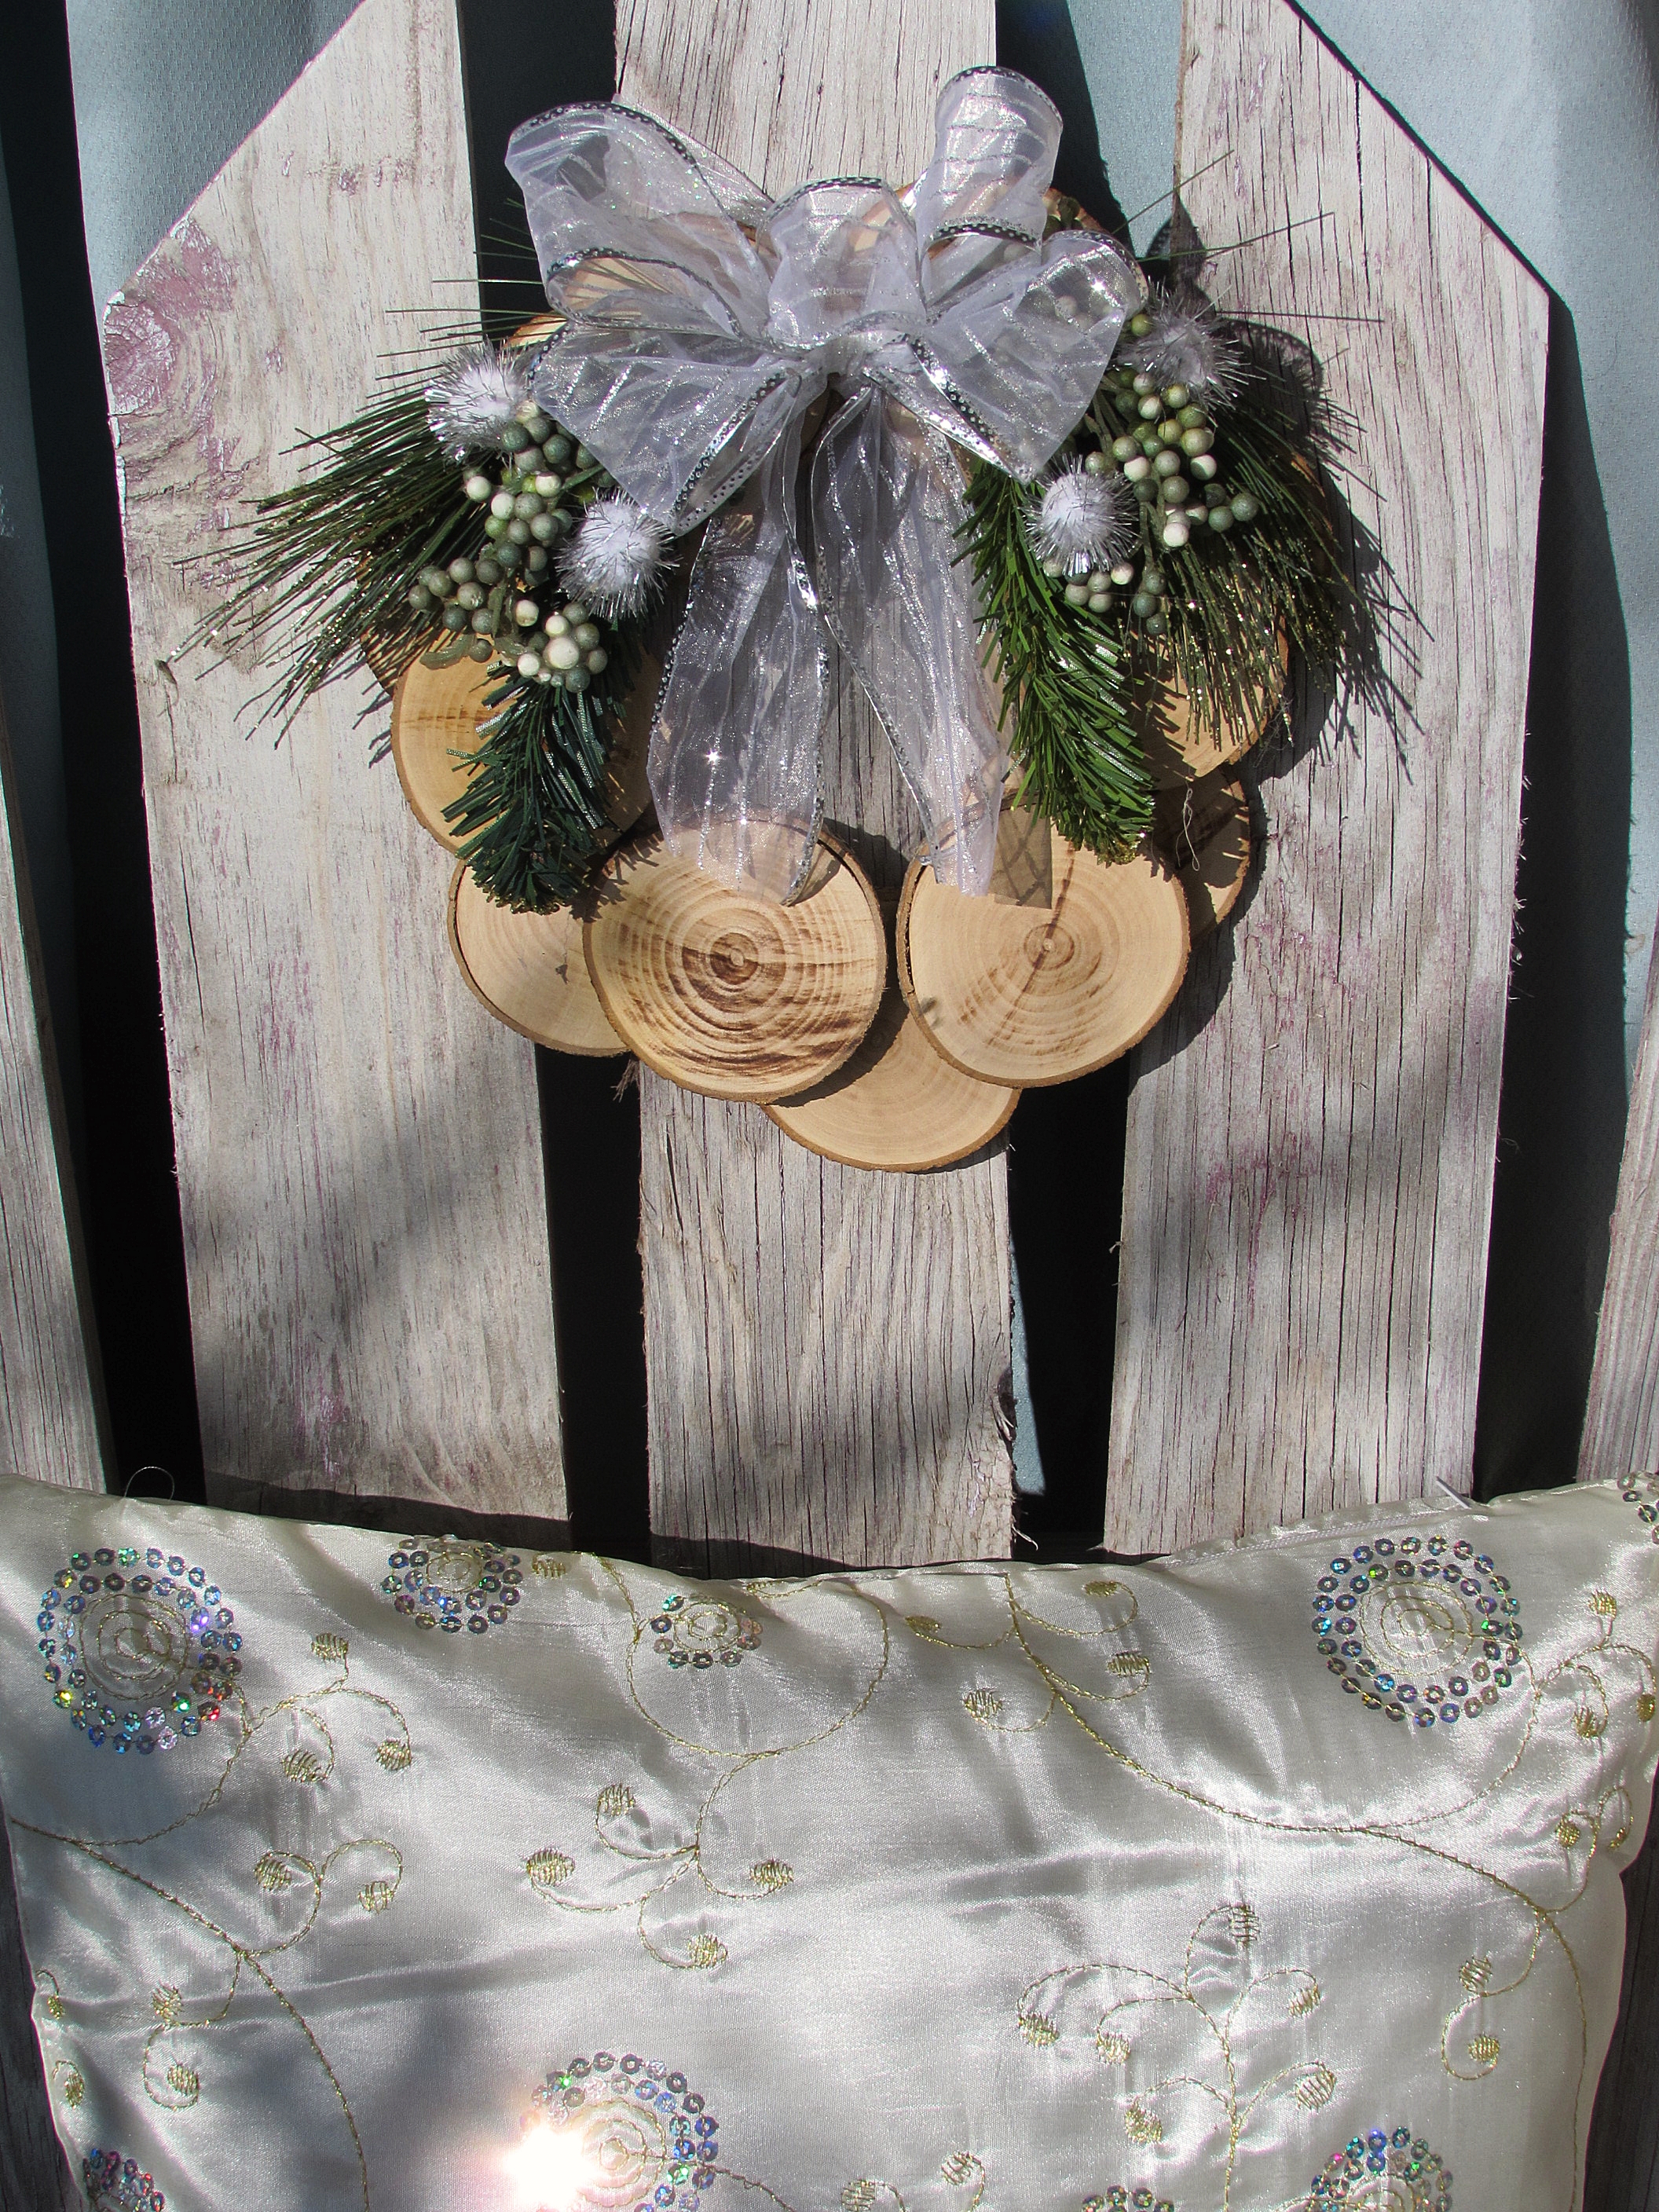
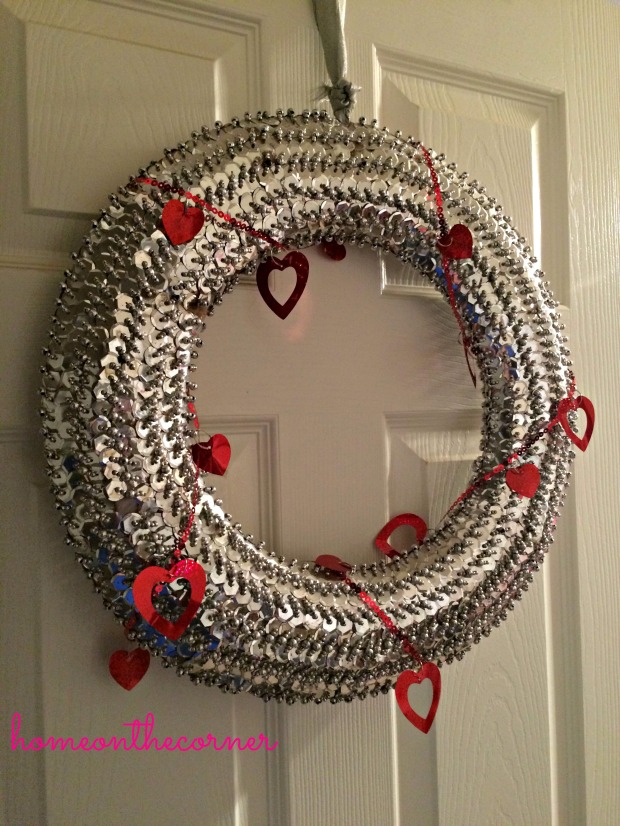
And, onto the door.  I bought this red heart sash thingy that I wrapped around my wreath.  It looks great and is very festive for Valentines Day.

99-cent-store-wreath

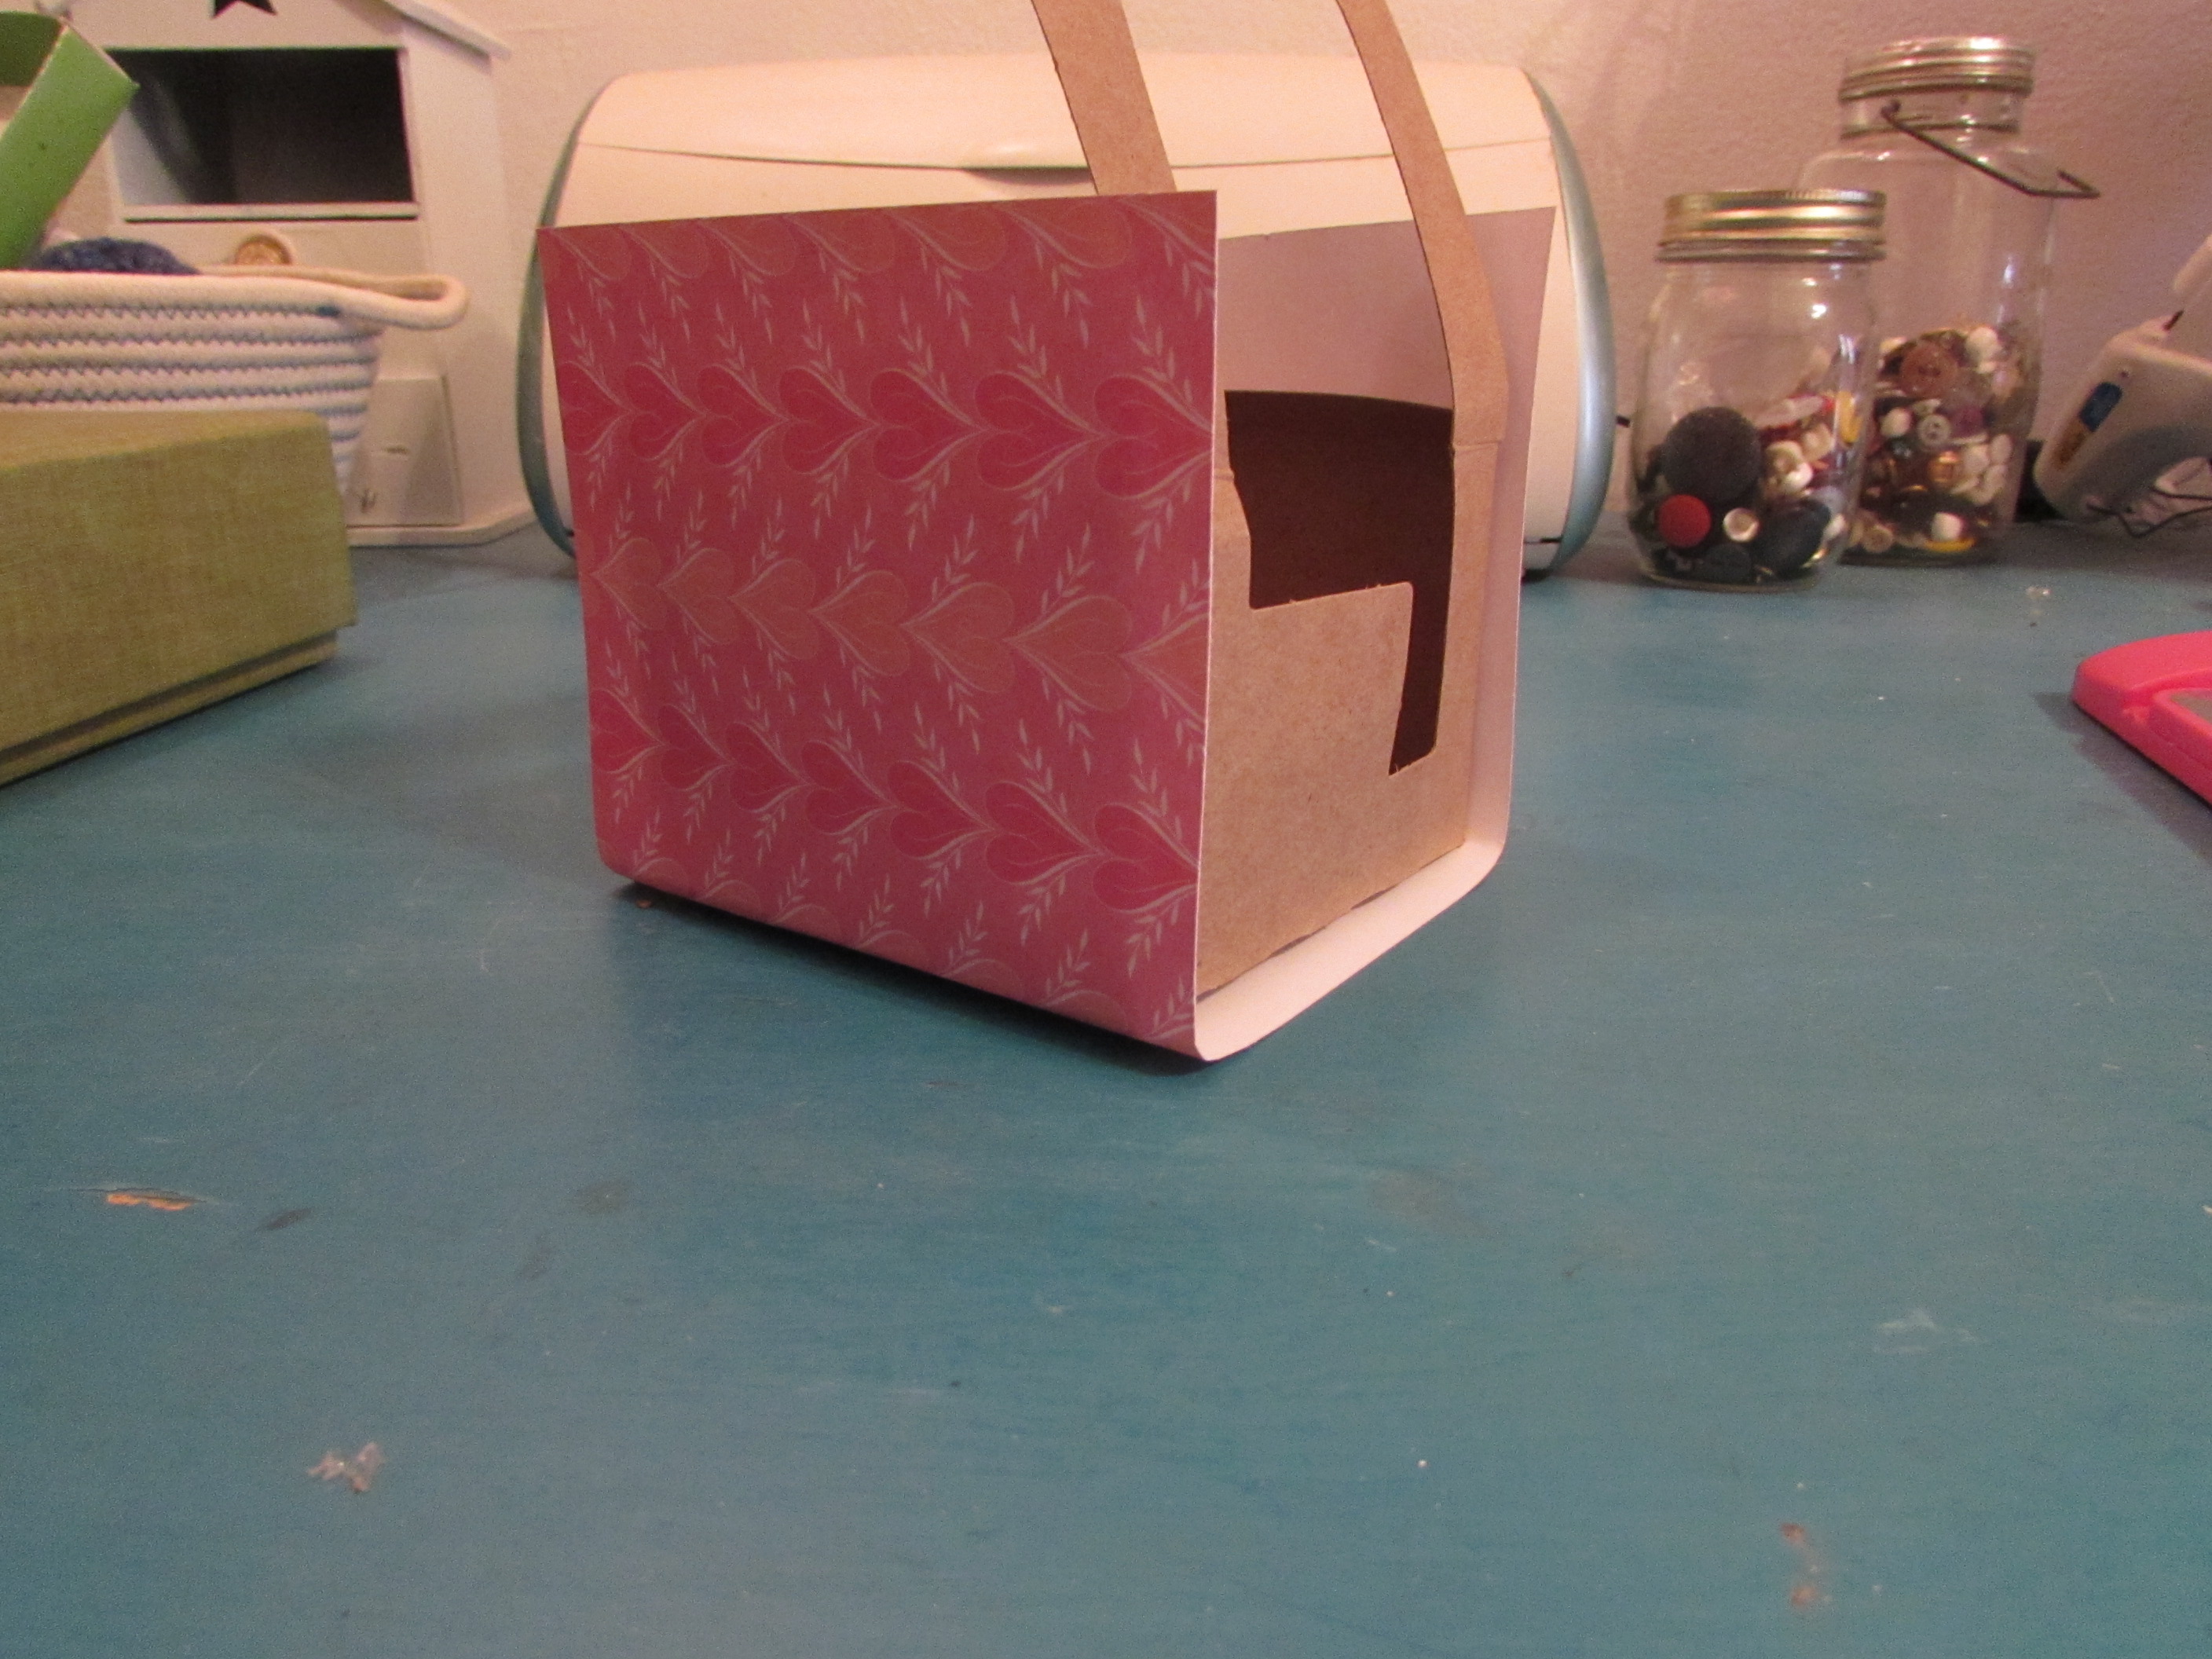
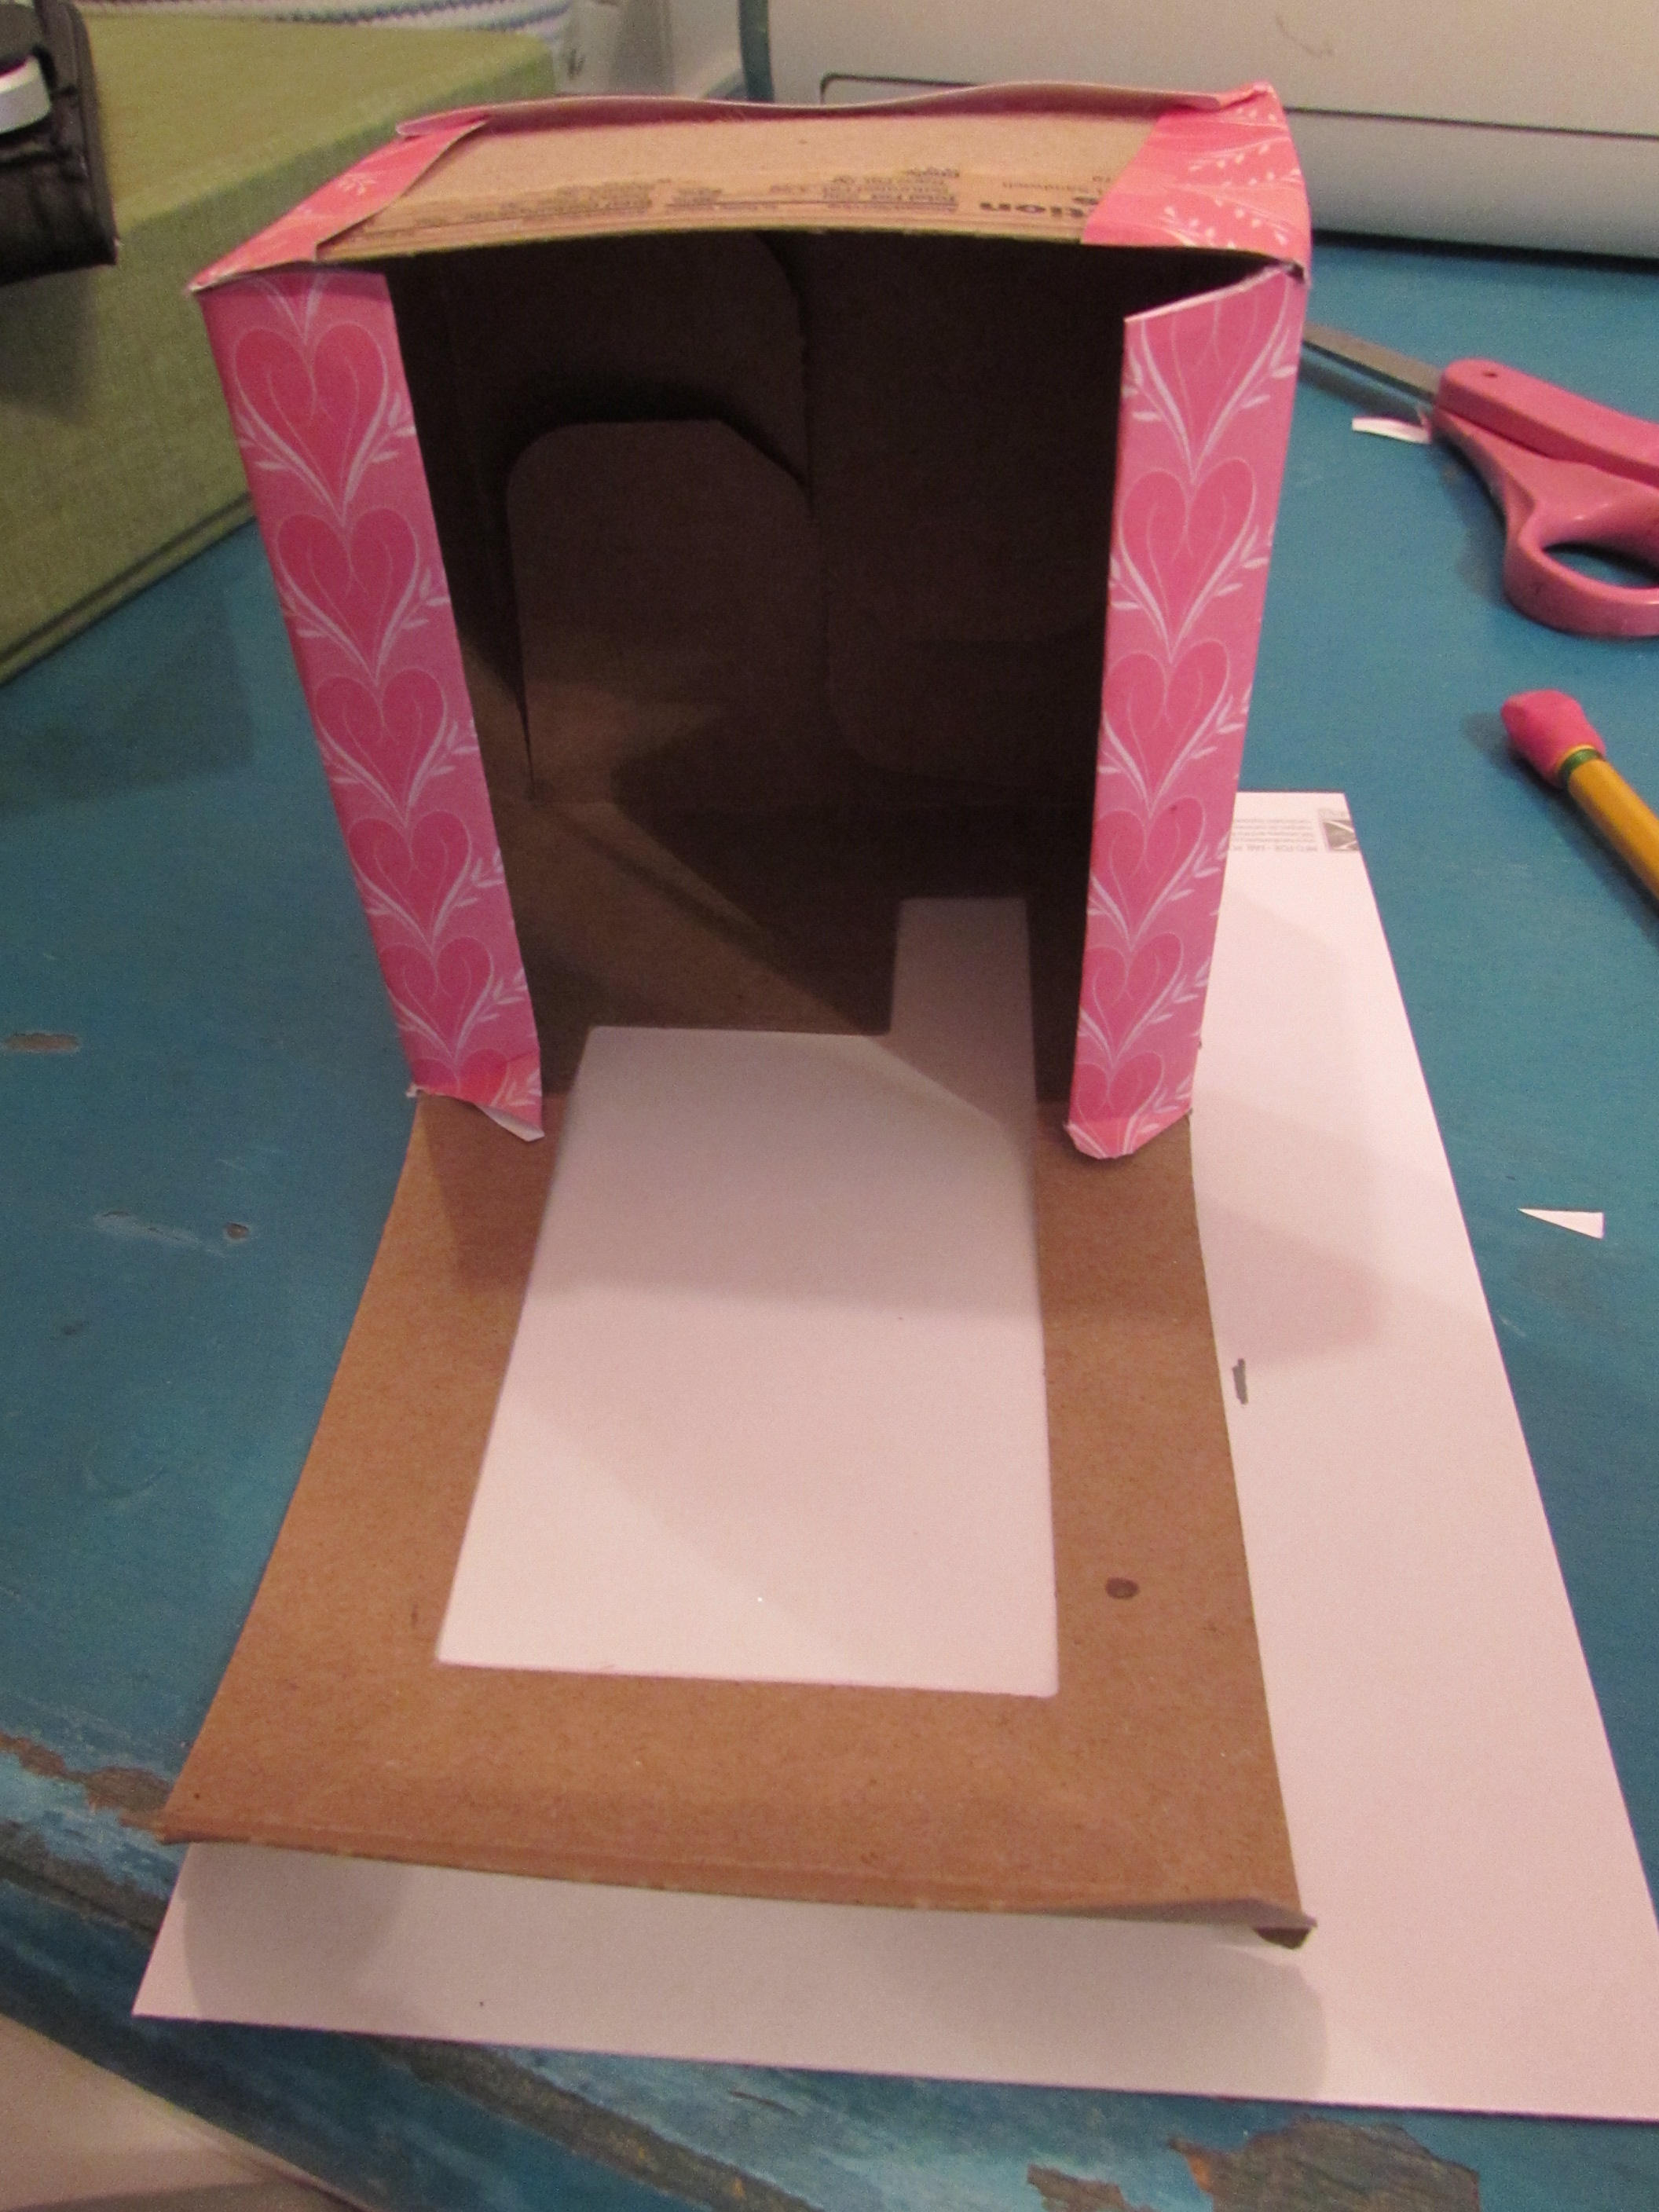
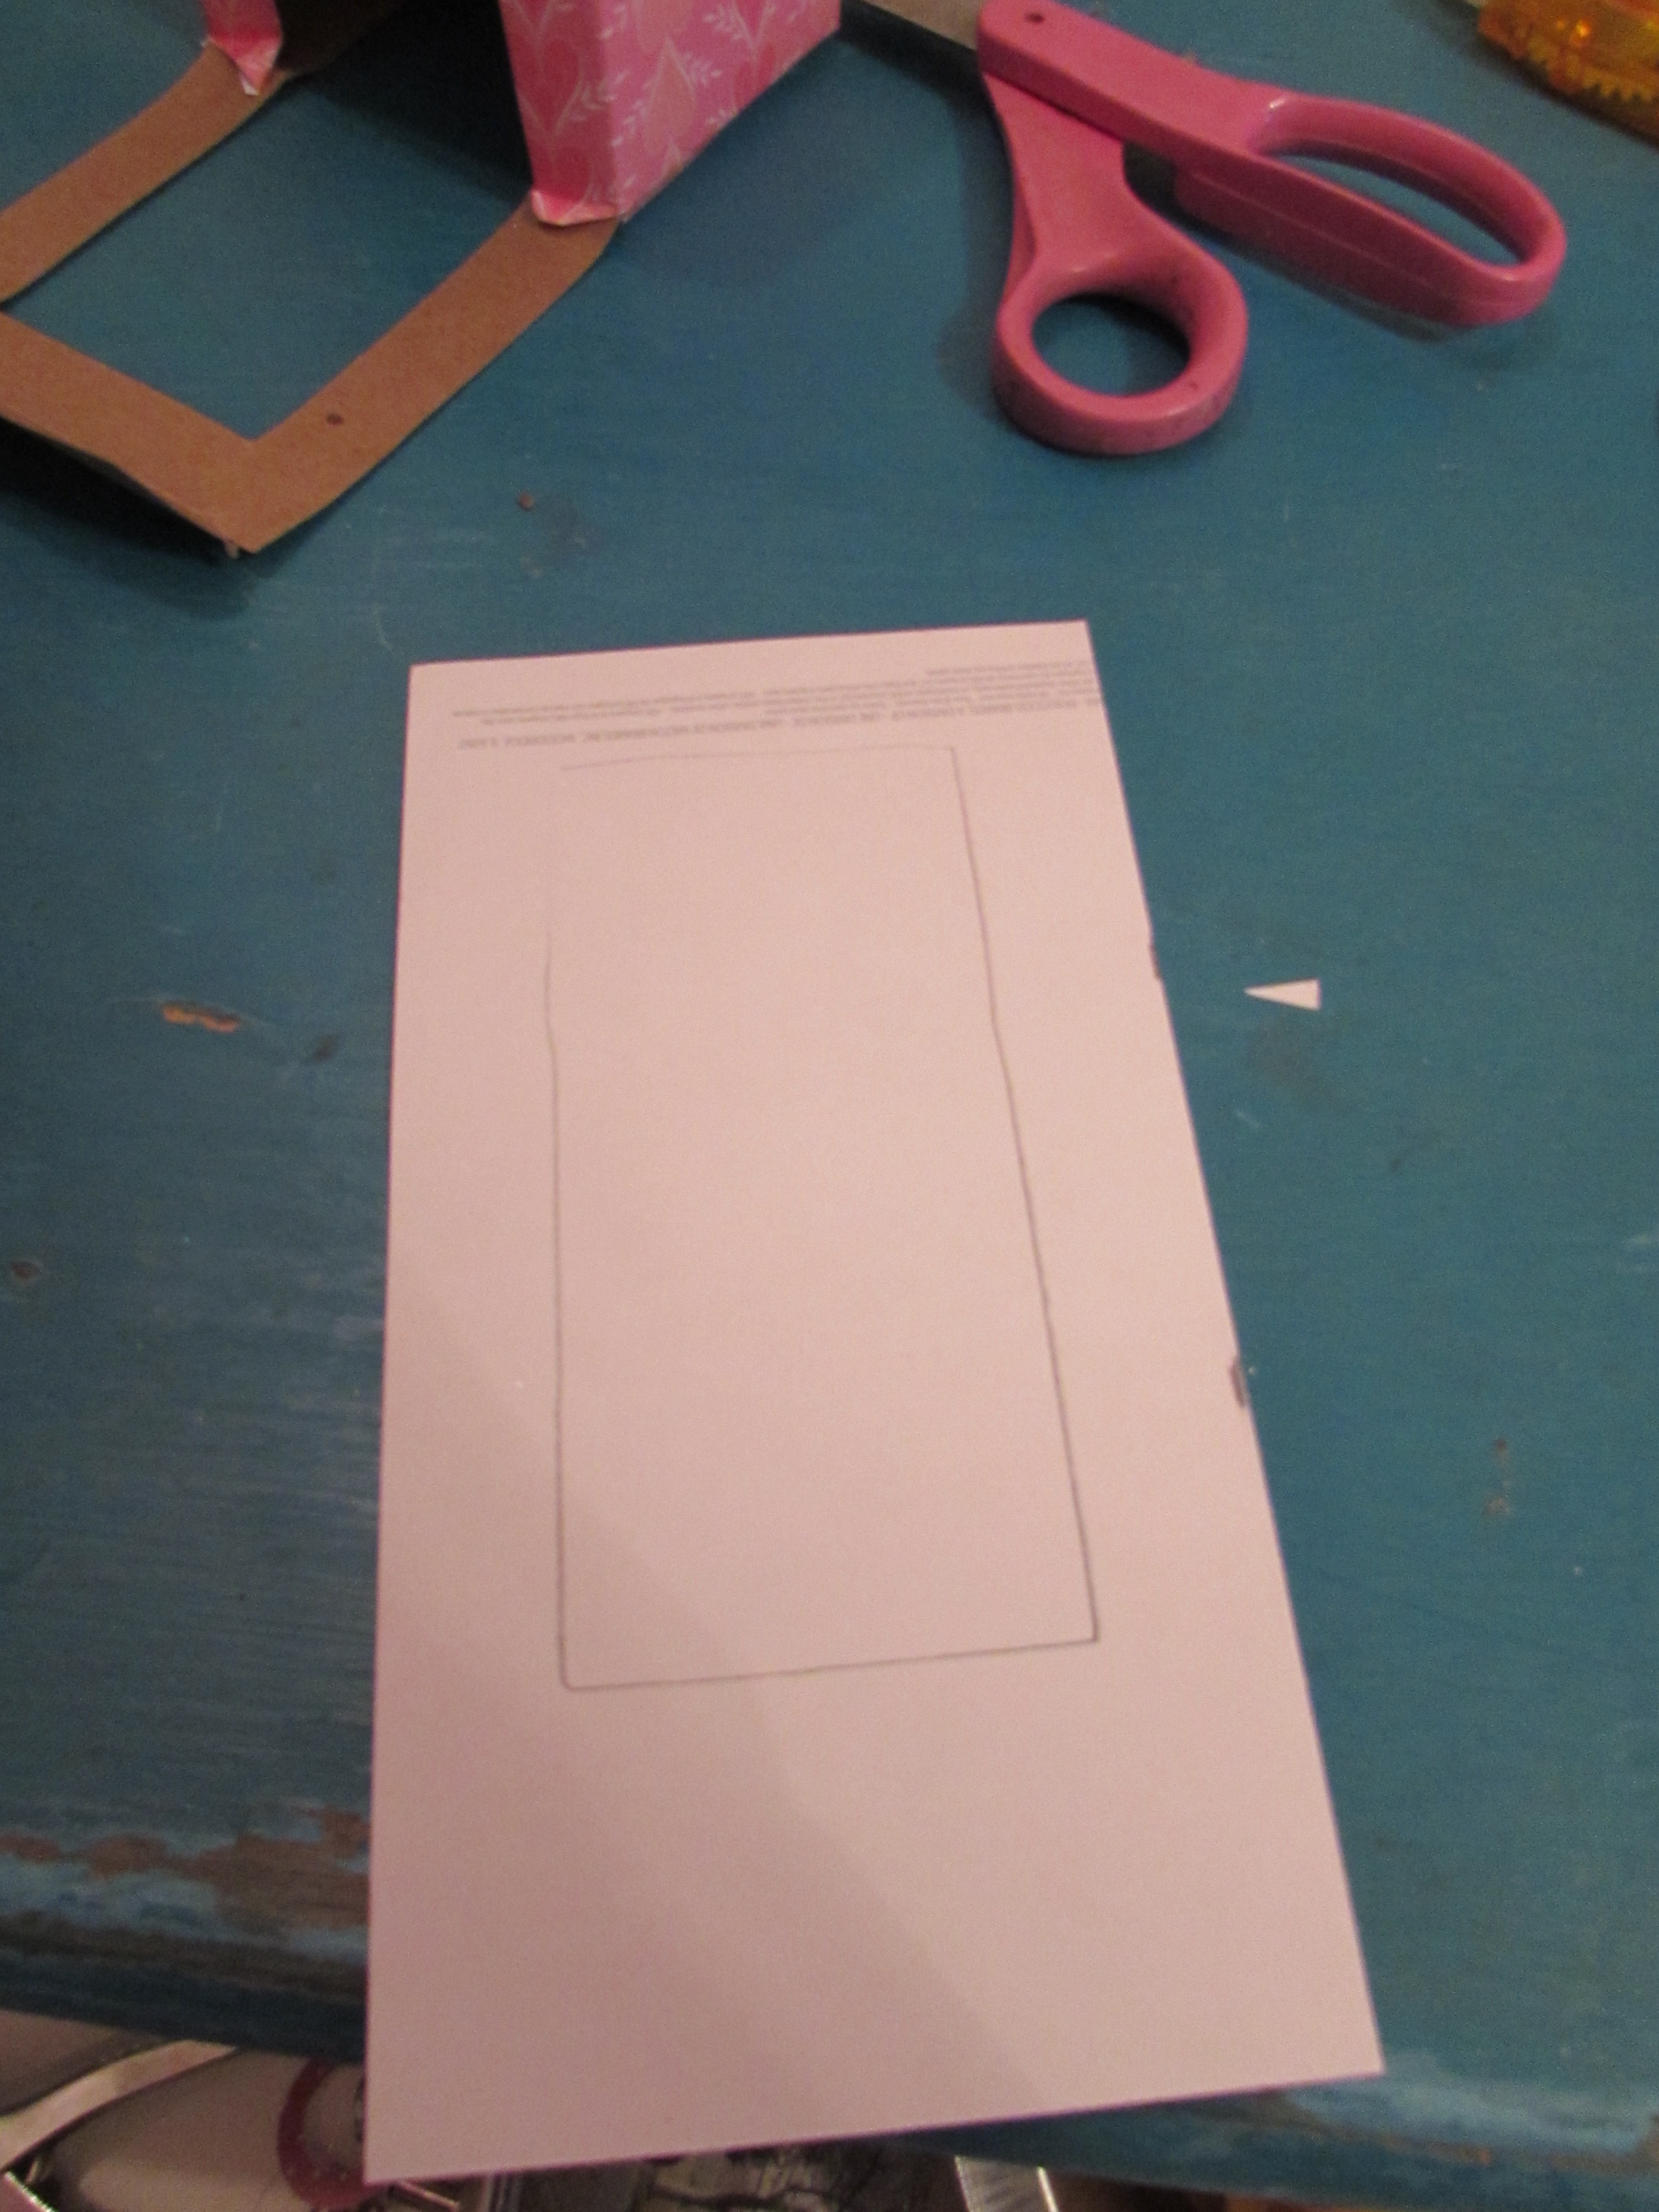
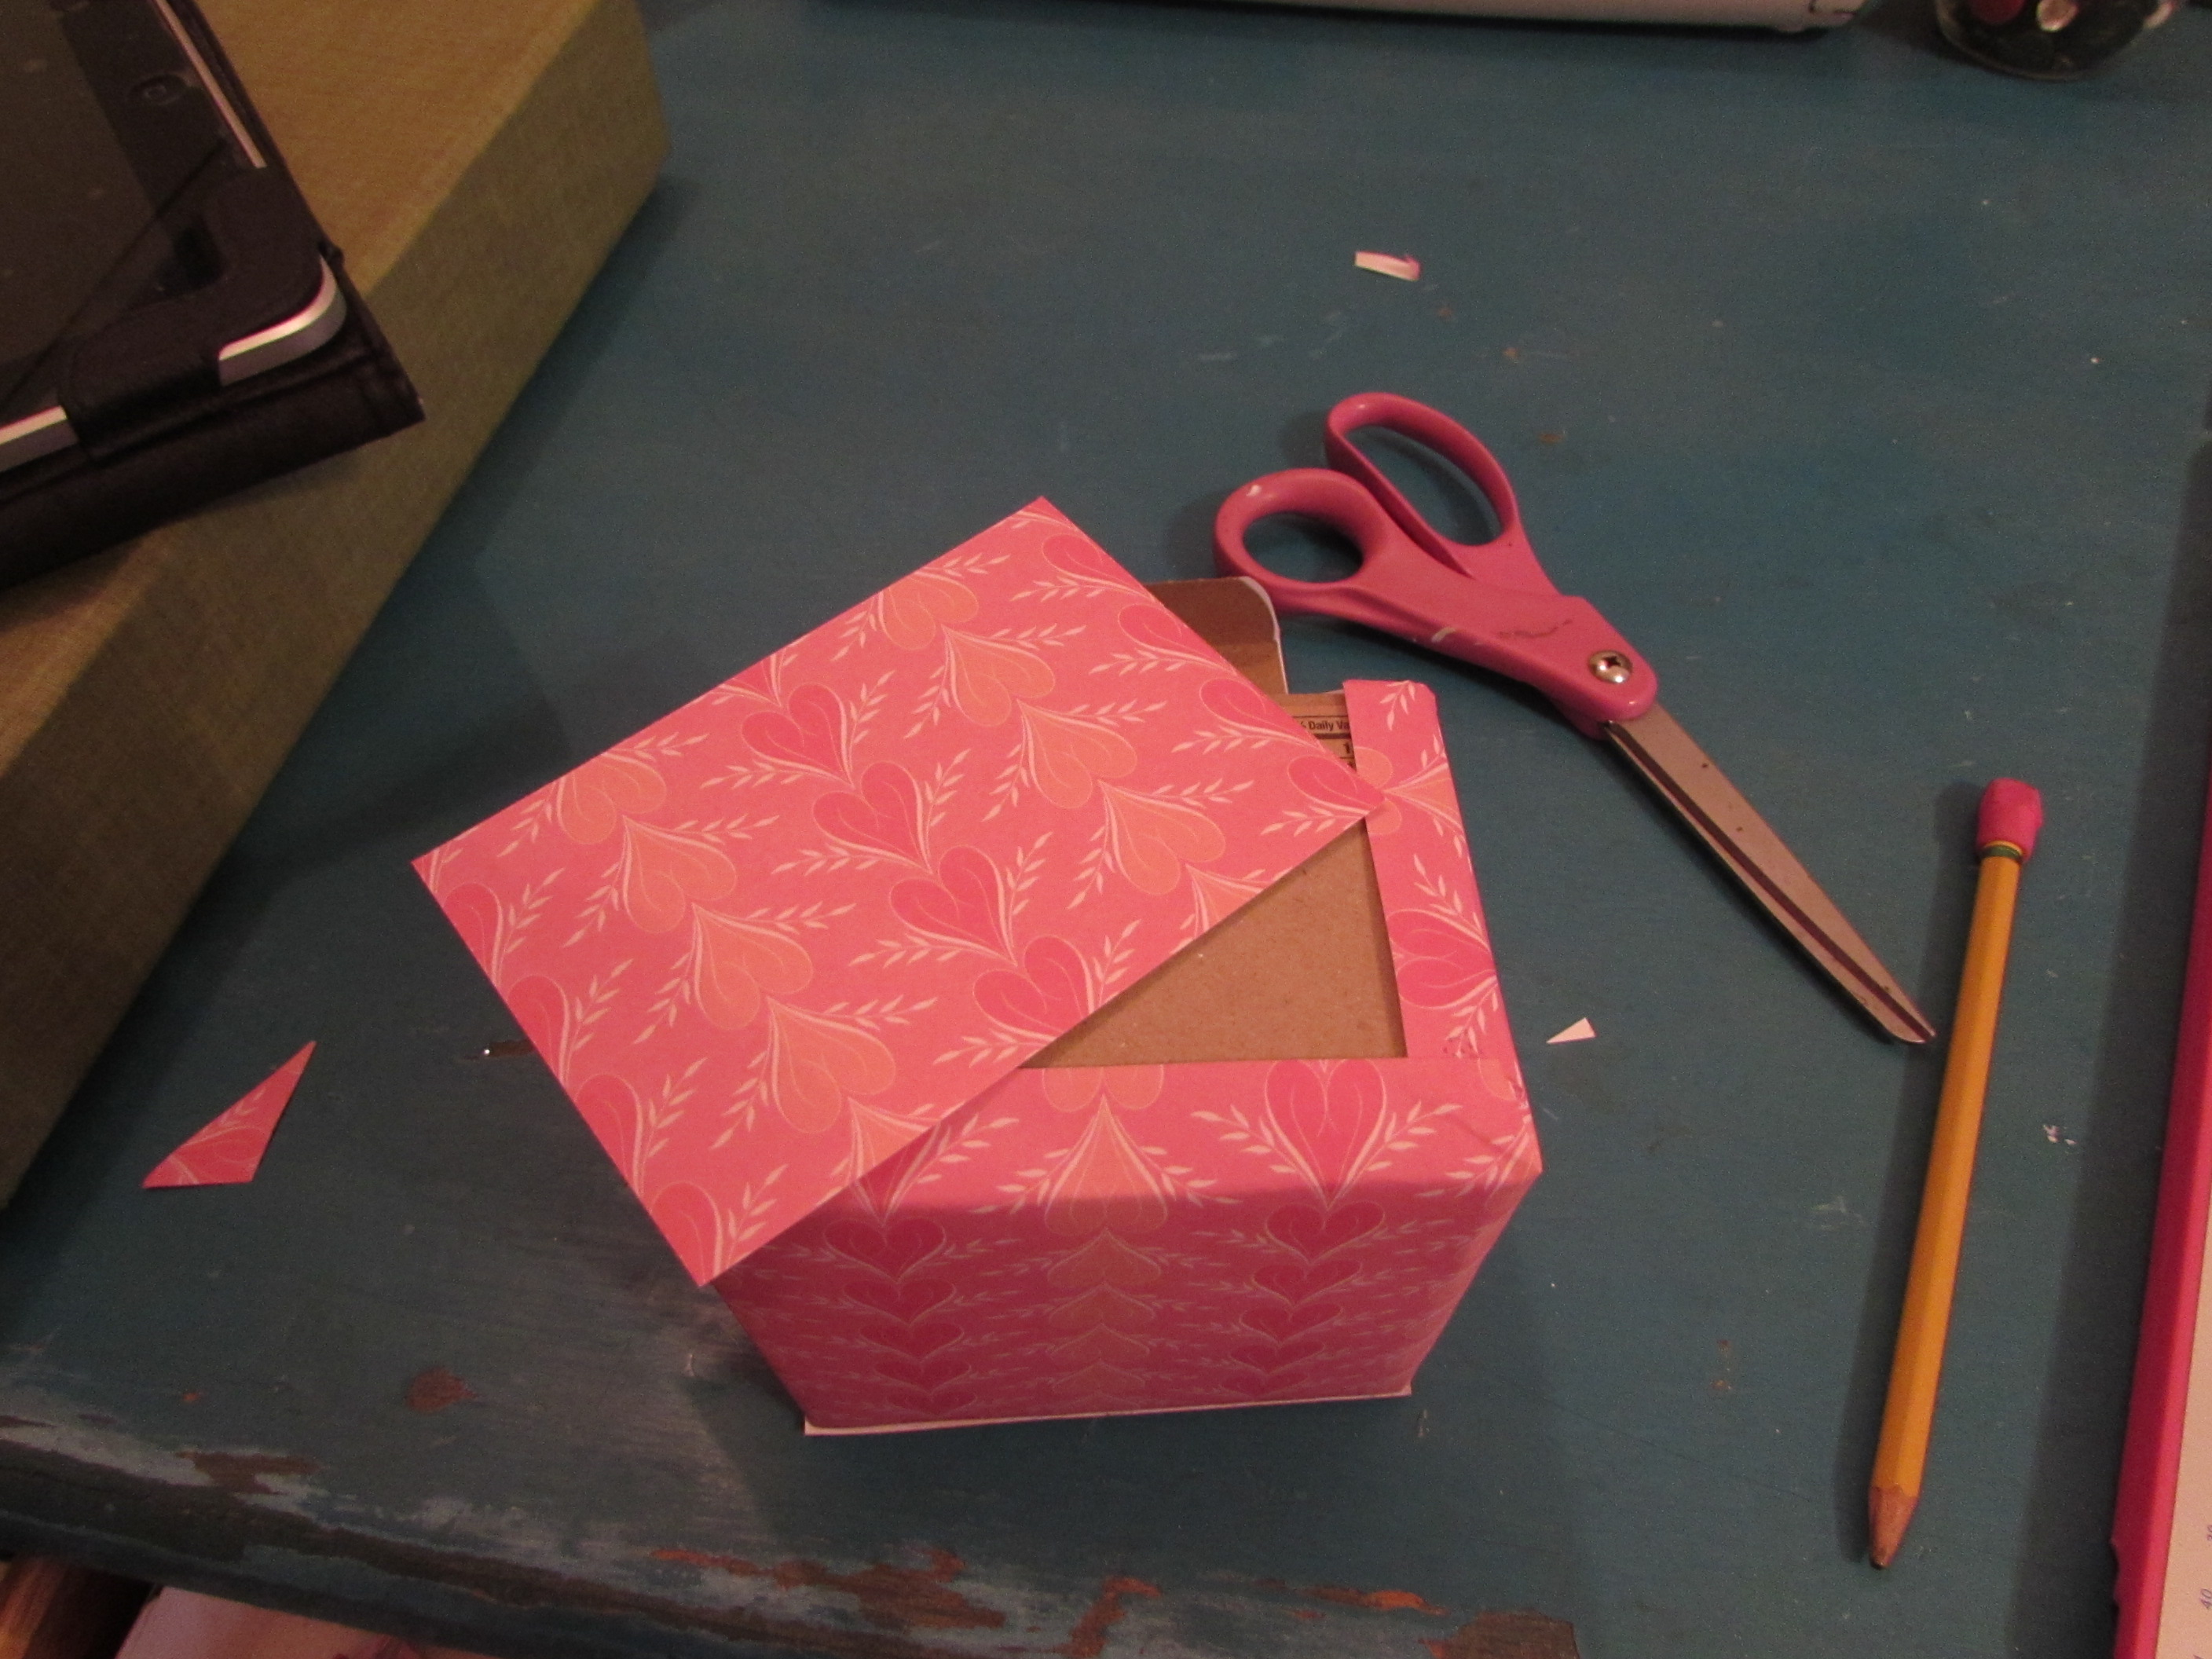
Finally, this cute little box.  I bought it to fill with candy for my roommate for Valentines Day since we are both single.

99-cent-store-box

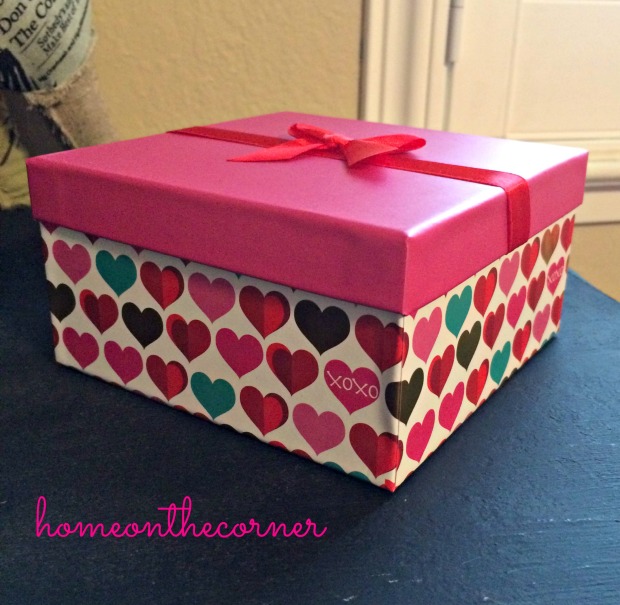
Maybe we will celebrate Galentines Day……..

sparkle

WOOD SLICE VALENTINE HEART

I have another Valentine post for you all today!  This idea I got from a couple of wonderful bloggers I follow. I just love their posts! They have the greatest ideas and wonderful homes. Please take time to check them out!

The first post is from Laura at FindingHomeonline.com. Here is the link to one of her ideas: http://findinghomeonline.com/christmas-table-ideas-mini-wood-slice-wreath-place-setting/

Here is another: http://findinghomeonline.com/wood-burlap-natural-fall-wreath/

Wood and Burlap Fall Wreath

Here is my version. I also made the small ones for my table settings, but I already have those packed away :(.

woodslicewreath

Then Karianne from ThistlewoodFarms came up with this one for Christmas: http://www.thistlewoodfarms.com/wood-slice-christmas-tree

Wood Slice Christmas Tree

So I made a similar one!

 I started out with some of the wood slices.  My husband cut mine from some tree branches he had pruned from some of our trees. You can also buy them already cut at Michaels or Hobby Lobby. He cut several different sizes.

IMG_2387

While Karianne used an old chalkboard, I use a bulletin board I had taken out of Lauren’s room when she moved into her apartment. I stained the frame a little darker brown, using Minwax Wood Finish in Red Oak. Then I spray-painted the cork with black chalk paint. Since I was using a cork board, I glued a tack to the back of the wood slice and just stuck it into the cork. Here is my Christmas version. I added chalk for the trunk of the tree and the star.

pic

So, since my wood pieces are movable, I decided to change it up for Valentines Day! I took the pieces off and then rearranged them into a heart. I wrote ‘Love’ in chalk across the top. Super easy!!

New Image

loveheart

 This project was easy and something that is very versatile for any occasion.

Love, Pam

Sweets for the Sweeties

Hi everyone! February is almost here and hearts are everywhere! My co-workers and I have a Secret Sister exchange every year for the week of Valentines. It’s a lot of fun and a great way to get to know someone a little better and create a nice work environment.  We fill out little forms about our likes and interests, then pick names and the week before Valentines Day, we secretly leave little gifts for them.  So, I always try to come up with something special and homemade, at least for one of the days.

My girls and I went to Starbucks this past week and Haley bought a sandwich that came in this cute little box.  I asked her to keep it so I could try to make it pretty! The first step was picking out some Valentine paper. I had these on hand, but you can find lots of different prints and styles at craft stores. I also used a paper cutter, since I can’t cut a straight line at all!

IMG_2363

I cut the paper long enough to fit around the sides of the box and overlap the front and back a little, plus go into the inside of the box.

IMG_2366

I glued the sides on and then cut a slit in each corner, diagonally from the corner of the paper to the corner of the box, so I could fold the paper around and into the inside of the box.

IMG_2367

Cut off the triangle that is left after folding. Glue down all your edges.

IMG_2368

IMG_2370

Now measure out another piece of your paper to fit over the back, front and lid of your box. I laid mine on the paper and marked with a pencil how wide the piece needed to be. Cut this out.

IMG_2371

I cut off the little square that was on the bottom corner of the box opening and then traced the opening on the back side of the paper I just cut.  Cut the rectangle out so it will match the opening on the box.

IMG_2373

Once the opening is cut out, wrap the paper around the box, gluing in place.

IMG_2374

All nice and pretty! Now to add an embellishment.

IMG_2375

I cut out one large heart in white glitter paper and a smaller heart in pink glitter. I glued the small one on top of the larger one and then glued them over the opening on the front of the box.

IMG_2376

Ta da! All pretty and ready to add something sweet! I added a little bit of pink and white polka-dot tissue and a yummy chocolate chip bar is nestled inside.

IMG_2377

IMG_2378

IMG_2379

I will make some decorated heart shaped sugar cookies to give to my Secret Sister when the time comes, but this sure looks delicious!!

I tried to explain the cutting as well as I could, but it does sound a little confusing so please email me if you have any questions about the directions. Have fun!

Sunshine and Blessings,  Pam