How to Make Your Rice Glow

The other day, when I was absentmindedly scrolling through Pinterest, I came across this

neon rice

So…………I was intrigued.

I went to the following website http://www.growingajeweledrose.com/2013/01/glowing-rice-sensory-play.html?m=1 and looked at what Crystal and her daughter did to make their Neon Rice.  So check out her website to see what they did.

Ingredients (I had to change to measurements a little bit to make it work for my “experiment” because I wanted to make a big batch so that my mom could take this to her preschool classroom.)

4 2 pound bags of rice

4 different colors of neon paint

Glow in the dark paint

Water

4 Ziploc bags

Cookie Sheets

So I started by purchasing neon pink, blue, orange, and green non toxic paint along with a bottle of glow in the dark non toxic paint from Michaels.  Thankfully, it’s only about $.70 a bottle so it’s not a budget breaker.  Also, because it is non toxic, mom can take it to her classroom to use with the kids.

After I got all my supplies, I got started.

1. Separate the rice into separate bags for each color you want to use.  Since I have four colors, and four bags of rice, I just emptied a full bag into a Ziploc bag.

IMG_2603

2. Squirt the color of choice and the glow in the dark paint into the rice.  You will also want to add some water to the mixture to make the paint runnier and easier to spread over the rice.

IMG_2604

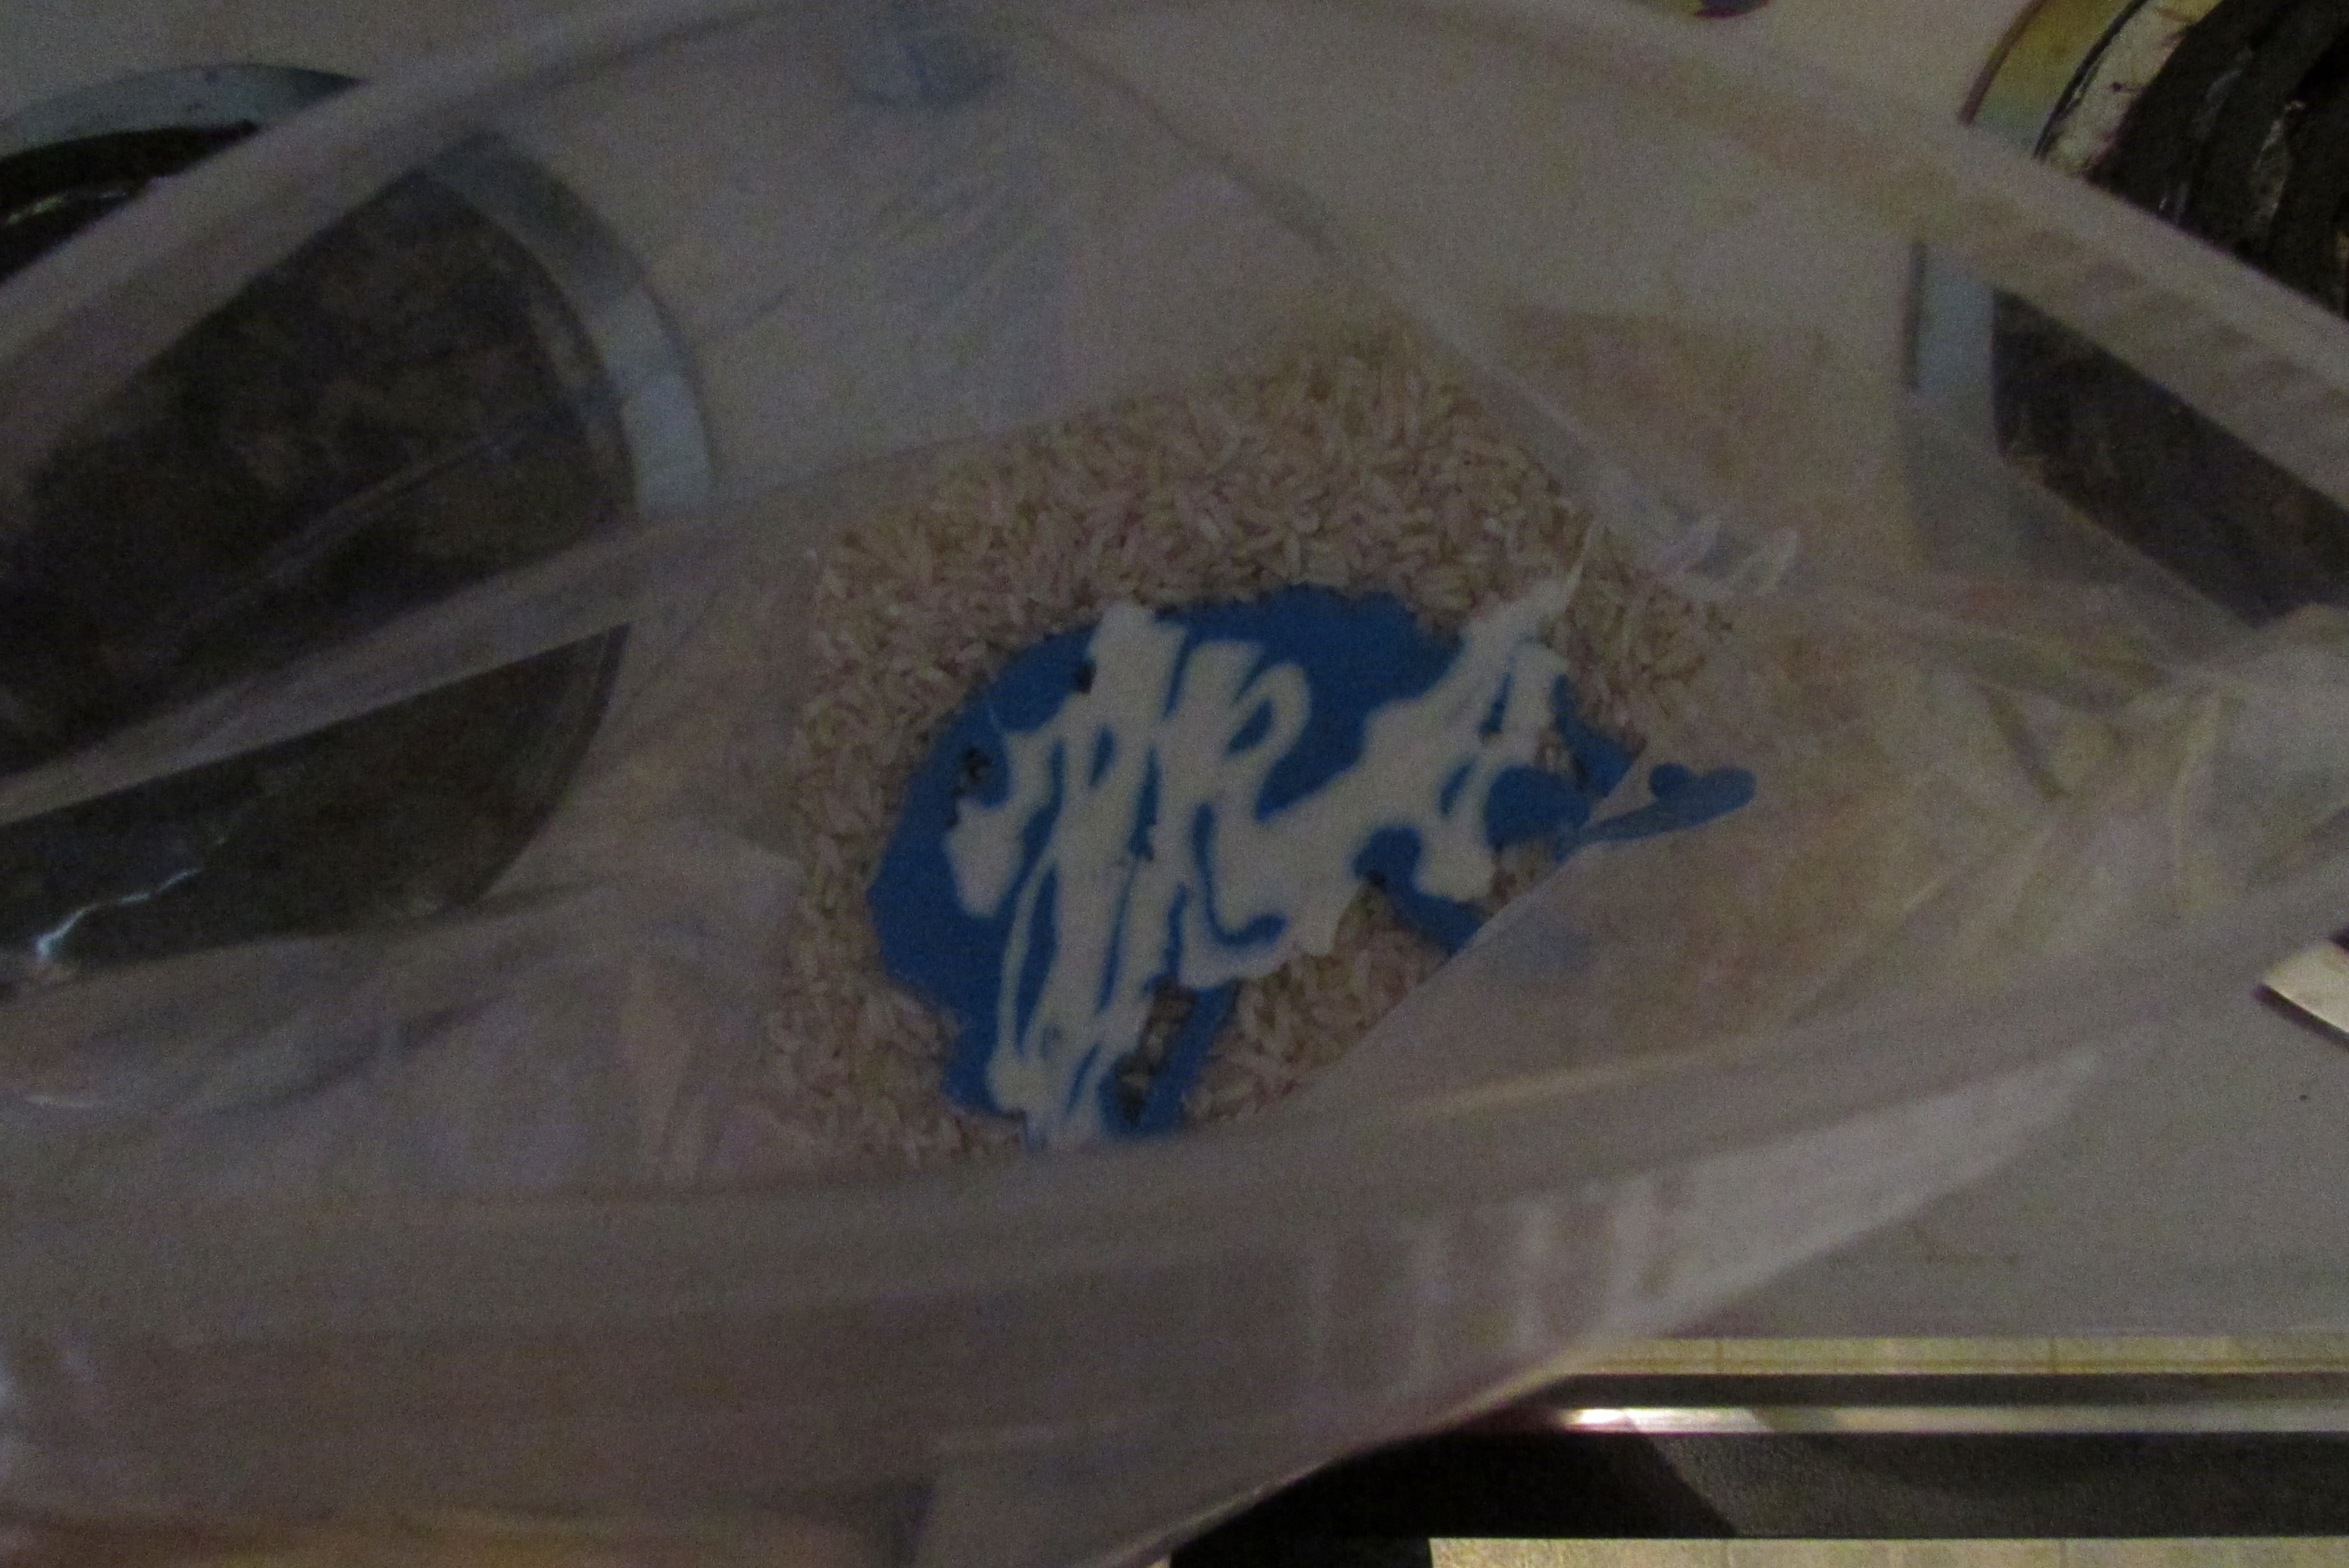
3. Close the Ziploc bag to start mixing.  Make sure you get all the air out because it will be easier to mix the rice with the paint.

4. Knead the mixture until the rice is coated with the paint.  I found that I didn’t add enough paint the first time, so I added more blue paint and more glow in the dark paint.

5. Empty the rice out the Ziploc bags and onto a cooking sheet.  I covered my cooking sheets with aluminum foil so that the paint wouldn’t ruin the cooking sheets.IMG_2605

IMG_2607

6. Let the rice dry!  It doesn’t take too long to dry, but it may take a while for the glow in the dark paint to actually start glowing.  If you leave it in the light for a while, the rice should start to glow in the dark.

Now…this didn’t work exactly as planned.  The rice covered well with the paint, but it didn’t glow in the dark.  I don’t know if I didn’t add enough glow in the dark paint, which is possible because I only added about 1/4th of a small bottle.

But, it still turned out to be really pretty and now it’s a great item for mom’s preschool class to dig through.IMG_2608

sparkle

Parties we’ve linked to:

http://www.usscrafty.com/2015/03/submarine-sunday-114.html

http://2crochethooks.com/snickerdoodle-sunday-link-party-71/

http://www.ishouldbemoppingthefloor.com/2015/03/inspiration-monday_8.html#more

http://www.sewcando.com/

http://www.thatswhatchesaid.net/2015/st-patricks-day-crafts-projects-monday-funday-link-party/

http://www.alifeinbalance.net/motivation-monday-linky-party-133/

Busy Monday 155

http://www.mabeyshemadeit.com/green-treats-for-st-patricks-day-do-tell-tuesday/

http://thewinthropchronicles.com/2015/03/share-it-link-party-157/

http://www.vmg206.com/2015/03/brag-about-it-vmg206_9.html#more

My February “Finish-it-Up” Challenge

I accept the challenge! That’s what I did back in January. Serena, from the blog, ThriftDiving, http://www.thriftdiving.com/,  offered up a challenge for February. The idea was to commit to 5-10 projects we never finished and work on them in February! What a great way to get ourselves to get those projects done!

So here was my list:

1. Make a couple of pillow covers for my front porch.

2. Sew the seam on a pair of jeans to make them ‘skinnier.’

3. Sort through my seashells and figure out a project for them.

4. Paint the floating shelves in the hallway.

5. Frame maps to hang in Lauren’s room.

6. Paint the trim in my dark hallway.

So, how did I do? I did them all!  Not all perfectly, but they are done!

1. The Pillow Covers

Yes, I did make these, but I cheated a little.  I picked the fabric from Lauren’s overflowing fabric closet. I liked the turquoise, of course, and thought the red was good because of Valentine’s Day.  When I showed Lauren, she asked if the sewing machine had behaved for me. Um..well..

IMG_2553

I glued them. I really don’t like to sew, and a few years ago, I had seen a Pinterest story about someone who had recovered all her patio cushions by hot gluing fabric on them (which I have also done!), so I figured why not pillows too! It worked and I was done with number 1 very quickly!

IMG_2556

2. Sew the Seams on a Pair of Jeans

Yes, I did this too and yes I actually sewed them. No hot glue!! They turned out okay, but as I wore them, they kept stretching more and pretty soon they were still too big, So I will have to pull the dreaded sewing machine out again and sew them a little skinnier.

Here is the seam I sewed.

Here is the seam I sewed.

3. Sort Through Seashells

I went through my several boxes and jars and bags of seashells. I sorted them all out by type and even some color.  I know what I am going to do with them, but it involves buying several frames with mats, so it will probably be awhile before I actually get the whole project done. But at least I know what shells I have and how to use them!

IMG_2446

just a small part of the collection

4. Paint the Shelves

IMG_2447

basic brown

Yep! They got painted. I purchased them from a thrift store, and was so excited to find them, I couldn’t wait to put them up! They were just a plain brown, but they are now white. When my daughter Haley walked down the hallway that evening, she asked ‘Weren’t those shelves a different color this morning?” Yes, they were!

IMG_2536

IMG_2537

5. Frame Maps

IMG_2449

Just need to get these on the wall

The maps are framed and hanging above the bed in Lauren’s room. I got these maps from the yard sale my mom and I have every year. Not even sure who they came from, but I love old maps and these were California mountains, so they were perfect!

IMG_2550

My State!

Now they look even better on view for all to see!

IMG_2545

They are up!

IMG_2546

Love how they look!

6.Paint Trim in Hallway

IMG_2448

Before-blah brown

IMG_2532

dark and dreary

Yeah! I got this done! I have been wanting to do this for quite awhile. Haley and I painted all the trim in the living and dining rooms a couple of years ago and I had been wanting to do this too. Well, this was the push I needed.  I painted a coat of primer and then 4 coats of paint. I used Benjamin Moore Cloud White.

IMG_2570

New and improved

This included all the trim and 6 doors!

IMG_2543

Loving the white

There is also a built in cabinet in the hallway, but I left if the color it was.  I may go back later and paint it, but painting all the rest was plenty. My husband hung a chandelier that used to hang in the dining room. Love it!

IMG_2566

IMG_2564

I plan on painting the walls too. I don’t like how the green looks with the new trim,  so maybe that is my project in March. I hope to add a sisal rug to the area also.

Well, that’s it. Challenge…Done! I feel so good having completed this. Please check out Serena’s blog and see what else she has done. She completed her basement challenge and it is an amazing space!! Maybe next time you can join in too!

PhotoScan


Link Parties we have joined:

http://staceyembracingchange.com/2015/02/26/creative-inspirations-linky-party-124/

http://www.impartinggrace.com/2015/02/grace-at-home-no-143.html

http://www.aglimpseinsideblog.com/

Show Off Friday

http://www.jugglingrealfoodandreallife.com/

http://www.nancherrow.com/2015/02/fridays-unfolded-link-party-146.html

Home

http://chiccalifornia.com/2015/02/26/tiful-link-party-59/

http://cityofcreativedreams.blogspot.ca/2015/02/city-of-links-60.html

http://romantichome.blogspot.com/

http://chiconashoestringdecorating.blogspot.com/2015/02/flaunt-it-friday-246.html#


http://diy-vintage-chic.blogspot.com/2015/02/fridays-five-features-no-79.html#more

http://www.lifeonlakeshoredrive.com/

http://www.lifeonlakeshoredrive.com/

http://www.pamspartyandpracticaltips.com/2015/02/dare-to-share-152.html

1-Funky_Junks_Party_Junk_link_party.29-AM

share_button3.jpg-150x150

cl7

fav


THE NEW LIFE OF A CHAIR

This is the story of a chair.  A chair that we don’t know its whole life story.  A piece of furniture that isn’t a huge statement piece or something that people would awe over if they found it at a yard sale.

Unless…that person was me.

IMG_2284

Before the Extreme Makeover

It was just another Saturday when my mom and I went on another one of our journey’s to the local garage sales in town.  We were just about done when we stopped at one more place.  And at this garage sale, was this little chair.

This chair was nothing special.  It was just a wooden folding chair.  But, it had a past.  We will never know what it went through before I bought it, but what I know is that now it is safe.  It is in my care and I will now make sure that it lives a good life as a chair.

IMG_2286

The seat doesn’t look too good at the start of the project.

This chair had a few nicks and scratches, but overall it looked pretty good.  It folded well, it was comfortable, it was a chair. When I saw this chair, I knew that I could give it a new life.  When it came home, I gave it a good sanding down to make it more even on all of the surfaces.  I was able to get some of the nicks out of the wood, but because of the condition of the chair, I planned on painting it instead.  I knew that I was going to paint it white because that would go with anything.

IMG_2318

The new finish on the chair.

The white looked amazing!  This turned the sad chair that didn’t have a bright future into a chair with a lot of hope.  This chair now looks like it belongs in a house and someone should sit in it.

Except that it doesn’t have a cushion…yet.

I picked a black and white fabric from my miniature Joann’s store to use as the cushion.  It is a universal fabric that doesn’t only fit with one style.  This fabric would make a wonderful cushion on this lovely chair.

IMG_2391

This fabric is universal so it can be used in any room

I took an old chair cushion that we had in our newly organized shed and cut it open to use the padding that was inside.  After cutting it down to size to fit on the seat of my chair, I added my fabric to cover the seat.

I did something tricky with the cushion.  When I was putting the cushion on the chair, I stapled the fabric on the front and back of the seat.  I did this so that the cushion was semi permanent.  Once I put the padding under the fabric, I was able to hot glue the other two edges down to the seat so the fabric was now hidden and stuck on chair.

And Voila!  The chair now has a new life!

IMG_2395

The finished product! A breath of fresh air

The chair now has a new life that it can live.  Love was poured into giving this chair a new life and it turned out beautiful.  It took a little time, but it was totally worth it.

Now…to find it a new home in mom’s house…

Love, Lauren