Pallet Wood Mirror

Today is Martin Luther Kings birthday here in the U.S. I actually teach my preschoolers a little bit about him. I’m always surprised at the important questions they ask. I explain that only some of them can go to the playground today and of course, they don’t think that is fair. It gives them just a little taste of what Martin Luther King fought for.

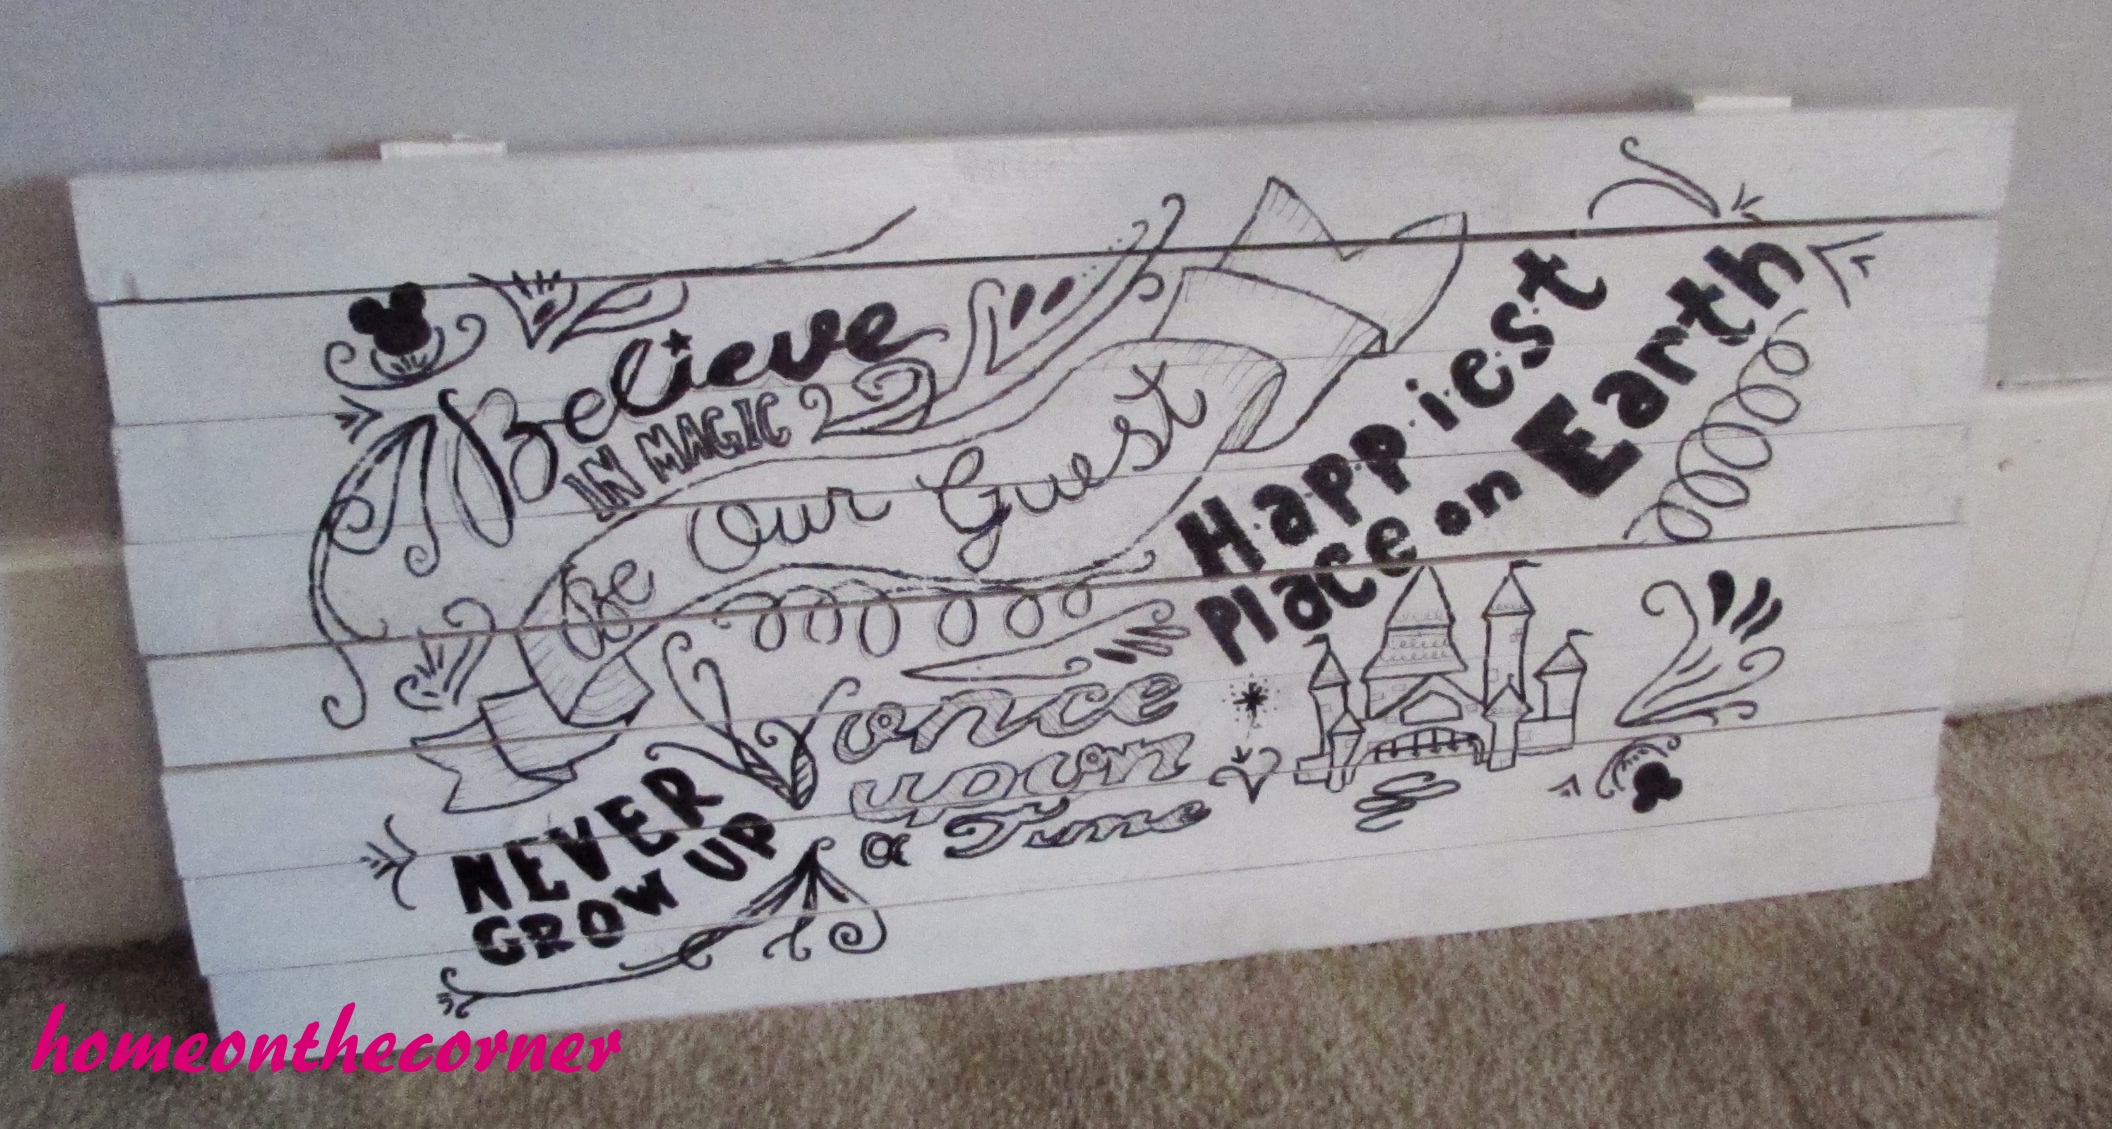
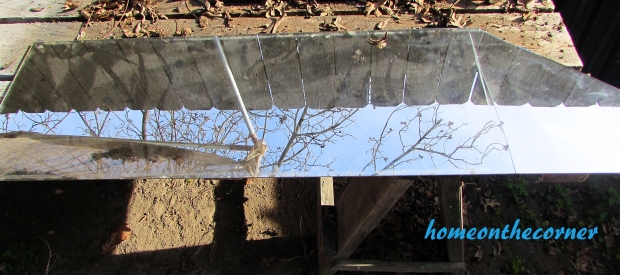
Here is the piece of mirror I fought with a couple of weeks ago :). Here is the project I was working on when the mirror broke. My husband took the broken piece and using a glass cutter, cut off the broken corner.

pallet wood mirror piece

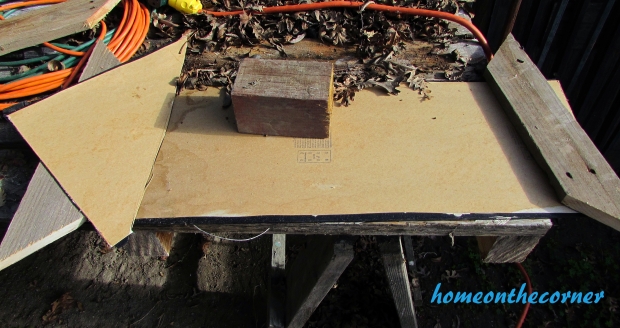
He picked out some of the pallet pieces we had laying around and cut four pieces to make a frame. He cut a 45 decree miter cut so all the corner would fit together nicely. I don’t have measurements for you, because he just went by the size of the mirror.

Pallet wood mirror miter cut

Screws were put in at each corner, on the sides, to hold it all together.

pallet wood mirror frame

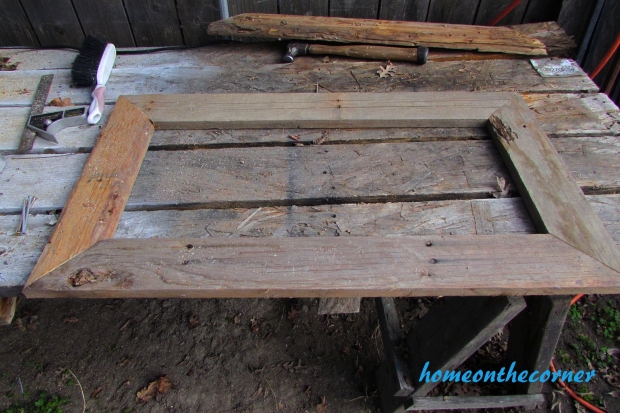
He cut out indention’s in the back with a router bit for the mirror to sit in.

pallet wood mirror router inside for mirror

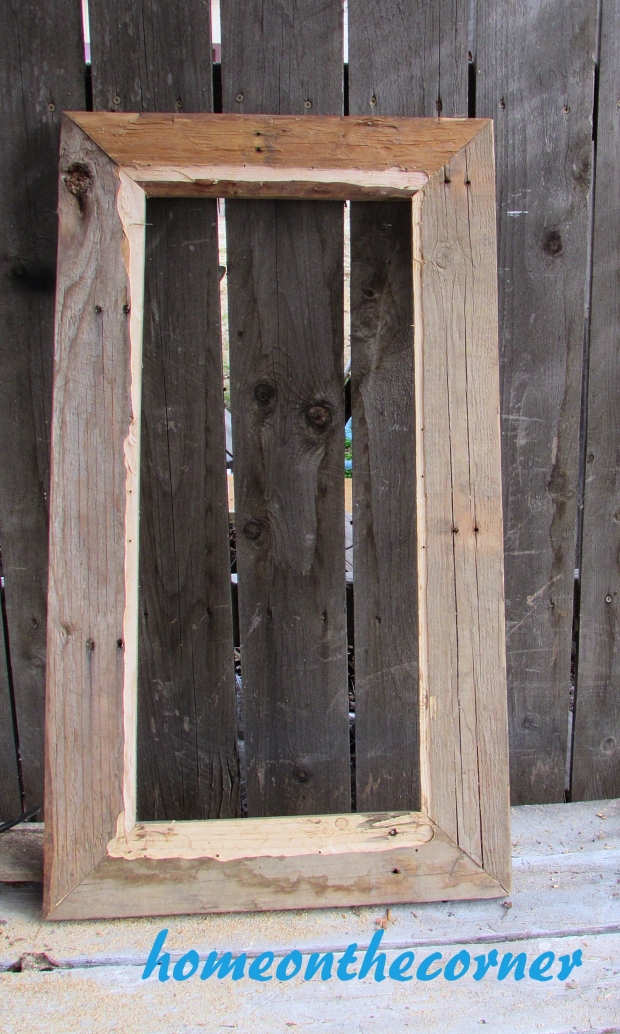
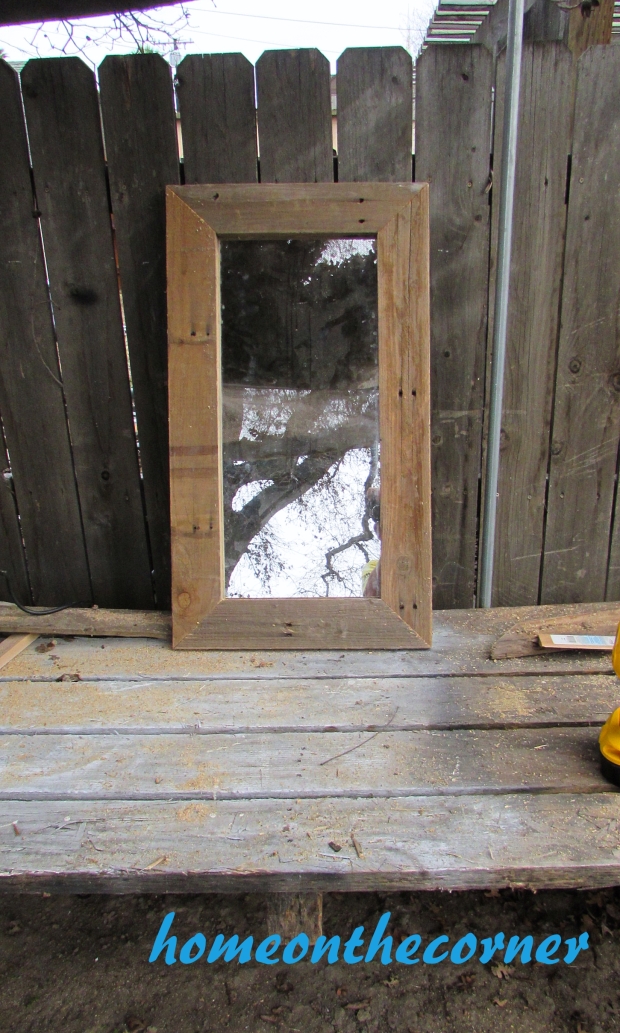
Here is the front, ready to have the mirror placed in it.

pallet wood mirror wooden frame

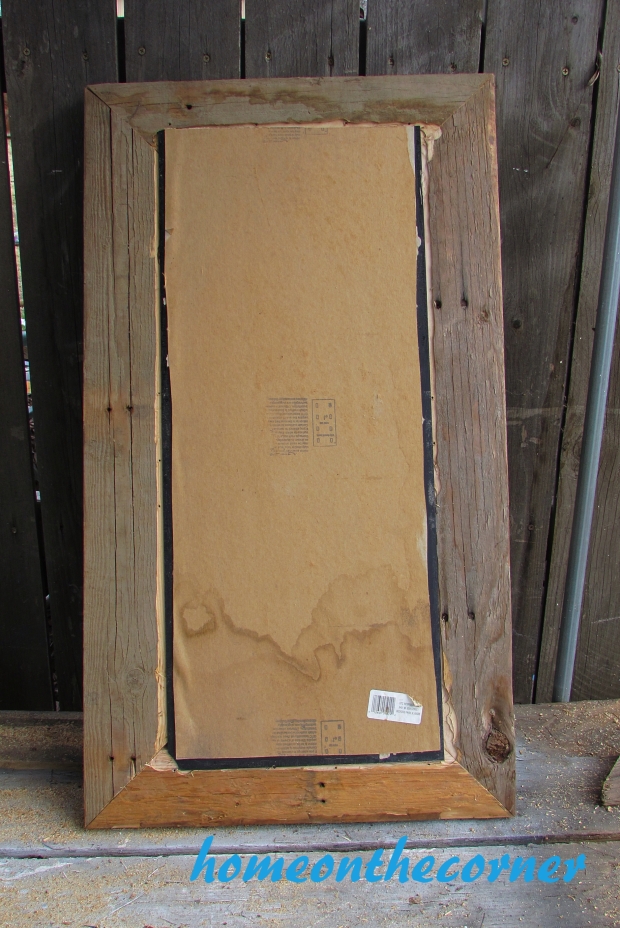
It took a couple of tries, but now the mirror fits perfectly.

pallet wood mirror with mirror inset

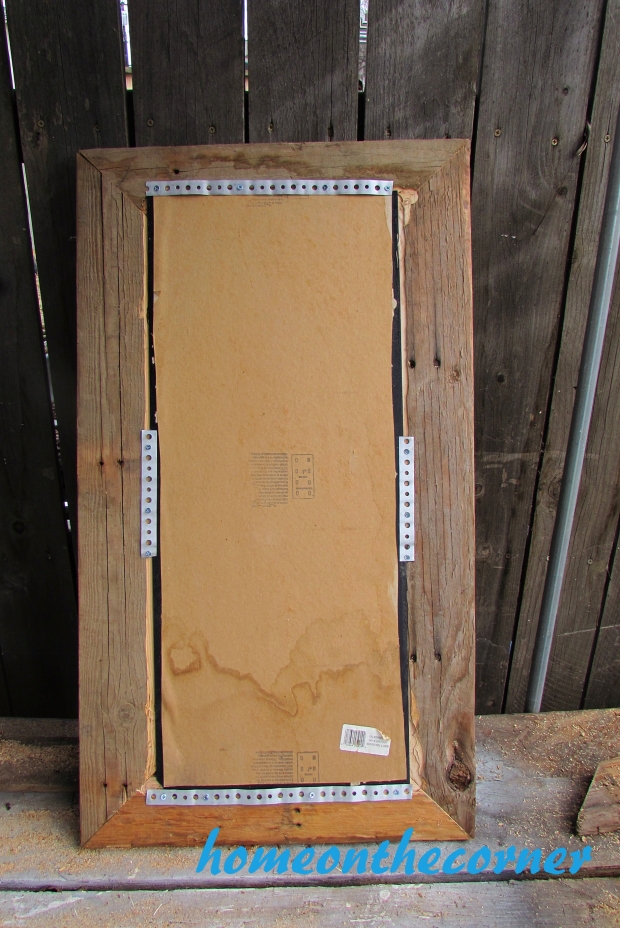
We didn’t have any type of brackets or anything to hold the mirror in place, so my husband used some plumbers tape we had on hand and screwed it on, overlapping the frame and the mirror. I probably would have attached it corner to corner, but so far this is working too.

pallet mirror backside plumbers tape

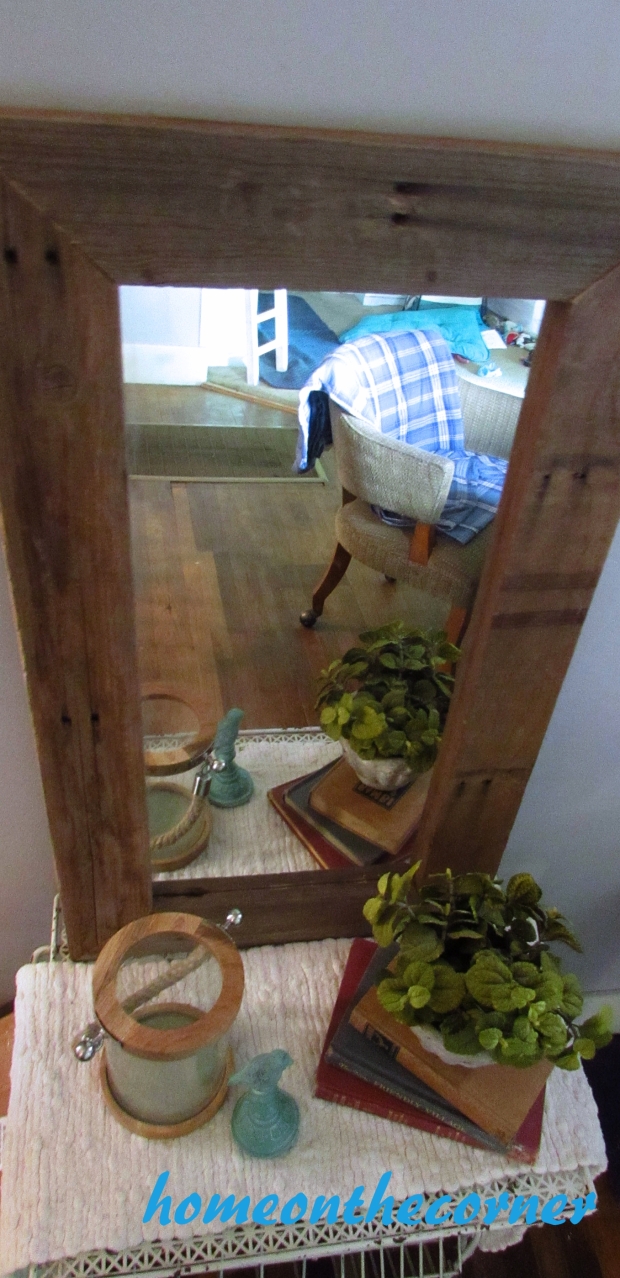
It worked! Now to clean it up and find a spot for it in the house.

pallet wood mirror finished

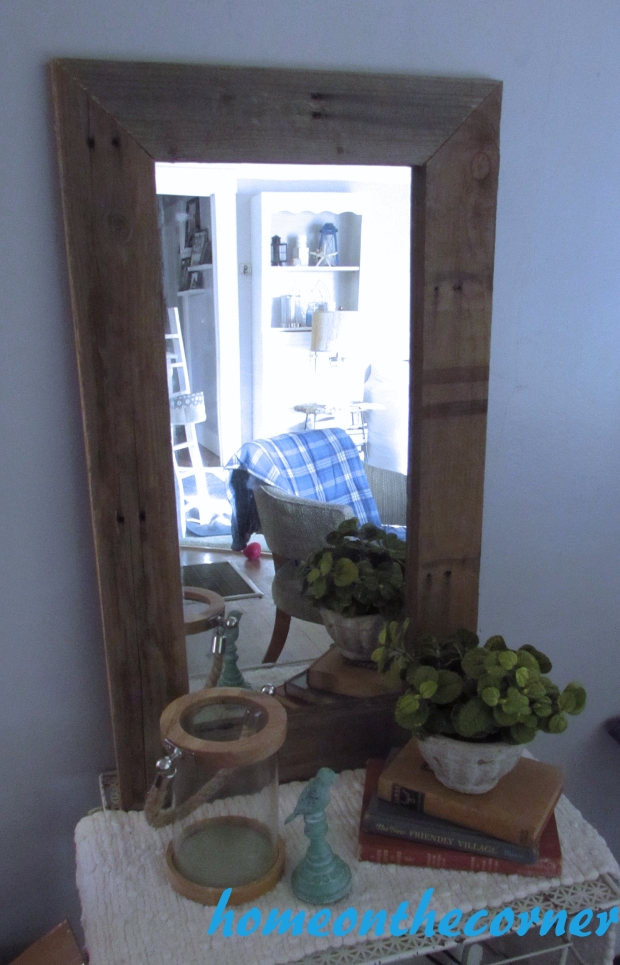
I placed it on a small table in the dining room and it looks pretty good there! I like how it’s kind of rustic and farmhouse looking. Don’t mind the mess in the mirror’s reflection. That’s the dog’s toy corner!

pallet mirror view

My husband doesn’t usually have much time to work on extra projects, so this was a great! I love how it turned out and can’t wait to try it in different areas of the house.

pallet wood mirror styled

Be sure to come back on Friday to celebrate our One Year Blogiversary!  See you then!

Sunshine and Blessings

Creating Your Own Sweater Stockings

The stockings were hung by the chimney in care…okay, we don’t have a chimney, but we do have a fireplace now! But I still didn’t hang the stockings there. Instead I used an old ladder for some and a new one for the others! I love how they look on the ladders with some cozy blankets thrown over. I showed you the stockings I was making for my pooches and kitties, but I thought I would give you a little more of a tutorial for them.

I started out with a pile of sweaters from a thrift store. They have a deal where you fill a handheld shopping basket and get the whole thing for $7.00. Pretty good deal! I found 7 sweaters in colors that I liked and thought would work for this project. Only 1 buck each! I looked for sweaters with a design, or pockets or buttons that I thought would add something extra to the stocking. (only 6 made it in the picture :))Sweater Stocking Tutorial Pile

Here is the stocking I used for the pattern. As you can tell, not really my style. After sewing this one, I realized I should have put the top of the stocking at the bottom of the sweater. The tops didn’t stretch out so much when I used the binding at the bottom or the neckline at the top of the sweater.

Sweater Stocking Tutorial Traceing

I’m going to be using a different sweater for the rest of the tutorial, because it was an oops. I traced the pattern on the outside of the sweater instead of the inside. 😦 But it still ended up working out! I actually got 2 stockings from the sweater. I think it was actually a dress. Notice how the top of the stocking will be on the neck of the sweater.

Sweater Stocking Tutorial Outline

After tracing the pattern it was time to sew. My favorite thing! NOT! But I did it anyway! I sewed right along the line I had drawn. Just don’t sew the top! That is your opening to put the gifts in!

Sweater Stocking Tutorial Seam

Once the sewing is done, cut around the edge. I cut just to the outside of the stitching.

Sweater Stocking Tutorial Cut

Here is the stocking all cut out.

Sweater Stocking Tutorial Inside Out

I turned the stocking right side out, which was actually inside out, but whatever! Then I took a piece of the binding from the neck that was left over and cut a little strip off.

Sweater Stocking Tutorial Ribbing

This will make my loop for hanging. I sewed it on with the machine, but it could easily be hand-stitched too.

Sweater Stocking Tutorial Loop

The collar of the sweater had some buttons on it so I cut them off and added them to the front of the stocking where the diamonds of the argyle met.

sweater stocking tutorial buttons

And there it is! It doesn’t looks to bad being inside out! I hung this one in my bedroom.

sweater stocking tutorial finished

Here are a couple of the others hanging by the dining room tree. I finished 8 of them in all! If I can make these, anybody can! I love how they look warm and cozy plus you can make them to match any decor,

sweater christmas stockings

Thanks for following along! Hope you have a wonderful week!

Sunshine and Blessings


Corner News-December 4, 2015

You better watch out! Christmas is only a 3 weeks away! Are you ready!? I am ready for a break from preschoolers and to just be able to relax at home. This time of year at school is just so crazy!! The children’s heads are filled with Santa, Elves, presents, parties and not school!! It’s fun to see the season and excitement through their eyes.

One project I worked on last weekend was making some stockings for our furry friends. All we had were some cheap ones in red and green. They so didn’t go with my Rustic Glam decor!! 🙂 I bought some sweaters at a thrift store in colors or designs that I liked. I turned them inside out and traced one of the old stockings with a pen. Then I sewed around the stitching, except for the top opening. After it was sewed, I cut it out. I sewed it first so it wouldn’t fray. I used some of the trim from the sweater to decorate the stocking, such as buttons and pockets. I love how they look! I will add a monogram as soon as we can decide who gets which one!

sweater stockings

sweater christmas stockings

This tree is in my dining room. It’s hard to see, but it is decorated with Shiny Brite ornaments and the colors start with silver at the top, down to gold, and then to turquoise. I love it! I keep finding these ornaments at the thrift stores and I snatch them up. I have found a bunch of pink ones for Lauren too.

sweater stockings and tree

Here is my new addition to my fireplace! Oohh! I am so excited to curl up by the fire!sweater stockings fireplace

Have a wonderful weekend! See you on Monday!

Sunshine and Blessings

We are Co-Hosting a Link Party!!

Merry-Monday-Link-Party-300x300

Welcome to the Merry Monday Link Party #76

Hello and welcome to the first time we are cohosting a link party! Hooray! We are excited to be working with all of these fellow hostesses and hope that you will head over to their blogs to support them. Thank you for stopping by and I hope that you enjoy the party!

Announcements:

  • Blogger Opportunity! If you like to bake, have awesome dessert recipes, and want to help host a party….sign up for the 2015 Ultimate Cookies & Goodies Party. 2015 Ultimate Cookies & Goodies Virtual Party Sidebar Blogger Opp pic
  • It’s the week of the Halloween Spooktacular Link Party! Have a Halloween craft, DIY project, costume tutorial, fun party recipe? Share it on the 2015 Halloween Spooktacular Link Party! Open until October 29th.

Halloween Spooktacular Link Party

  • Party Theme Features (not everyone will be featured) –
    • Share Fall Desserts on the October 25 party to be featured on the Nov 1st party.
  • Two new guest hosts for the next two weeks! You’ll be seen on 13 blogs!

Meet the hosts of Merry MondayMerry Monday Hosts

Welcome our Co-Host

Meet Ruthie of Refashionably Late, one of our new Co-Hosts for the next two weeks.

Ruthie & Lucy

My name is Ruthie, I was born and raised in the Midwest.  I met the man of my dreams in Nashville, TN and decided to follow him back home to California.  First came love, then came marriage, then came the baby in the baby carriage.  We have a beautiful little girl named Lucy.  My husband got a new job when Lucy was 2 months old and we packed up and moved half way across the country to Minnesota, back to my homeland.  We bought a house that needed a little TLC, so here I am!  I created this blog to share my journey of home ownership and my passion for furniture restoration.  While creating my dream home I also love to spend time with my family, sing barbershop and teach littles about music!

Welcome our Co-Host

 Meet Lauren & Pamela of Home on the Corner, two of our new Co-Hosts for the next two weeks.

homeonthecorner4

Hello! We are Lauren and Pam Smith, a mother/daughter blogger duo who love to create together. Pamela is a wife, mom, teacher, organizer,and crafter.  I love to decorate my home in a beachy, but neutral style, finding things at thrift stores and garage sales, and then making them my own.  I like creating and scrap-booking.  Our family is dog crazy (we have three) and likes to travel, especially to the beach where I can collect more seashells!  My style is always evolving and I enjoying trying new things in my home.   Lauren is a college student whose dream is to be an animal physical therapist.  I enjoy sipping on Carmel Apple Spice drinks from Starbucks or Pink Star smoothies from Jamba Juice.  Pink paint always seems to stay on my hands and the Eiffel Tower continues to decorate my bedroom.  I have too much fabric in my closet and not enough time to use all of it.  We hope you will come by and pay us a visit!

MOST POPULAR

How-to-Write-3

How to Correctly Write Recipes for your Blog ~Mama’s High Strung

 HOST PICKS

MM 77 Features 1

MM 77 features 2

MM 77 features 3

Special Fall Side Dishes & Dessert Recipes

It’s time to start thinking about Thanksgiving!!! The most wonderful food holiday of the year!!We are celebrating with a few of our fantastic recipe Posts!

Untitled design

Follow our Merry Monday Link Party Board and find the best of the party!

Follow My Pinterventures’s board Merry Monday Linky Party on Pinterest.//assets.pinterest.com/js/pinit.js


Help grow this party by displaying this button on your sidebar or party page!

My Pinterventures
<br><br>
My Pinterventures

<br>

If you were featured, grab a STAR button and place it on your blog!

My Pinterventures
My Pinterventures

[bctt tweet=”Link up to the #MerryMonday party @pinterventures”]

Party Rules – Please read!

Party Rules New Edited (2)

Let’s get the Merry Monday party started!

//static.inlinkz.com/cs2.js?v=116

Thanks for joining us!

sparkle

Sunshine and Blessings

Homemade Disney Subway Sign

Sorry for the delay in this blog post.  This project took just a tiny bit longer than I had intended.  But, without further ado, here is the project.

I wanted to make something for my coworker Kelli, who is a major Disney fanatic.  Without her, I wouldn’t be in the position that I am in and I wouldn’t enjoy going to work as much as I do.  So because of this, I wanted to make something for her as a thank you.

Do you remember the pillow that mom bought from Disneyland?  If you don’t, you can click here to see the post.  Well, I like the design of it, so I decided to put it on a sign for Kelli.

The first thing that I did was I found some scrap wood that dad had left over from building some cat huts for our friends shelter.  They were all about the same length, so I placed 8 pieces next to each other for the width of the sign.  I then took a 9th piece and cut it to fit on the back of the sign.  I then took the two pieces for the back and nailed all the pieces together.

Subway Art Sign

Next came the fun part, painting!  Yeah!

Subway Art Sign

I knew that I wanted the sign to be white and have black writing on it.  So, I painted the wood white…and of course the spray paint just soaked in.  Urgh!  So, I had to spray a few coats on the sign and then it was ready to be drawn on.

Subway Art Sign

Once the paint had dried, I brought the sign inside and was ready to start the fun part.  I found a picture of the pillow online and with some maneuvering in Microsoft word, I was able to take the picture and make it fit on my sign.  I covered the back of the paper with pencil so that I could draw on the front to have my design come out on the wood.

Subway Art Sign

pencil

This was harder than I thought it would be for a few reasons.  1: I had to put the pencil on really thick so that I could see it on the wood. 2: some pieces of the wood was rough and I could hardly see the pencil marks. 3: some of the pieces of wood were so rough that I had to free hand that part.

But with all of this bad, I was able to get a design that I absolutely fell in love with on the  sign.  I used a sharpie to draw on the sign and used a fine point sharpie to add detail.  The final things to add were varnish and picture hangers.  I added two on the back because I wasn’t sure how heavy it would be.

And here it is!  The finished product is beautiful!

Subway Art Sign

Subway Art Sign

Subway Art Sign

Subway Art Sign

I love how it turned out and it didn’t take that long to make.  I hope that Kelli loves it as much as I do.  And hopefully, I can make more because they turned out amazing!

sparkle