Friday’s Corner News-August 14, 2015

Happy Friday everyone! Hope everyone had a great week ! We are getting away this weekend for one last camping trip before all the school activities take over.

I have been busy with painting projects around the house. This summer I have painted the hallway, Haley’s room, and the living/dining room. I still have a couple of larger projects to do in these rooms, but then hopefully I can reveal them. Here is the color of the shelves for the living room.

living room shelves

Remember I had these pieces of chalkboard from my preschool?  I used one in my bathroom, and now I painted the other to use in my classroom. I made it a Quote Board. Have you heard the funny things 4 year old say?!

Quote board chalk board

I did a little redecorating on my back patio. I added a few late summer flowers and decorations.

late summer back patio

I also have these wonderful paw-prints that I did with my pets. They actually did pretty well with having their paw put in ink and on the paper. Well I have been wanting to frame them with a picture of each dog. I finally found 4 frames that were all the same at the thrift store, and they were half off! Perfect! I will show you the finished product when I am done with all of them.pawprint collage

Have a wonderful weekend and see you next week!

Sunshine and Blessings

Living Room Corner and Down the Hallway

My time off this summer is going by way too fast! I feel like I still have too much to get done! Remember the scrapbooking I was going to work on. Not happening! But I did manage to work on a couple of places in my house.

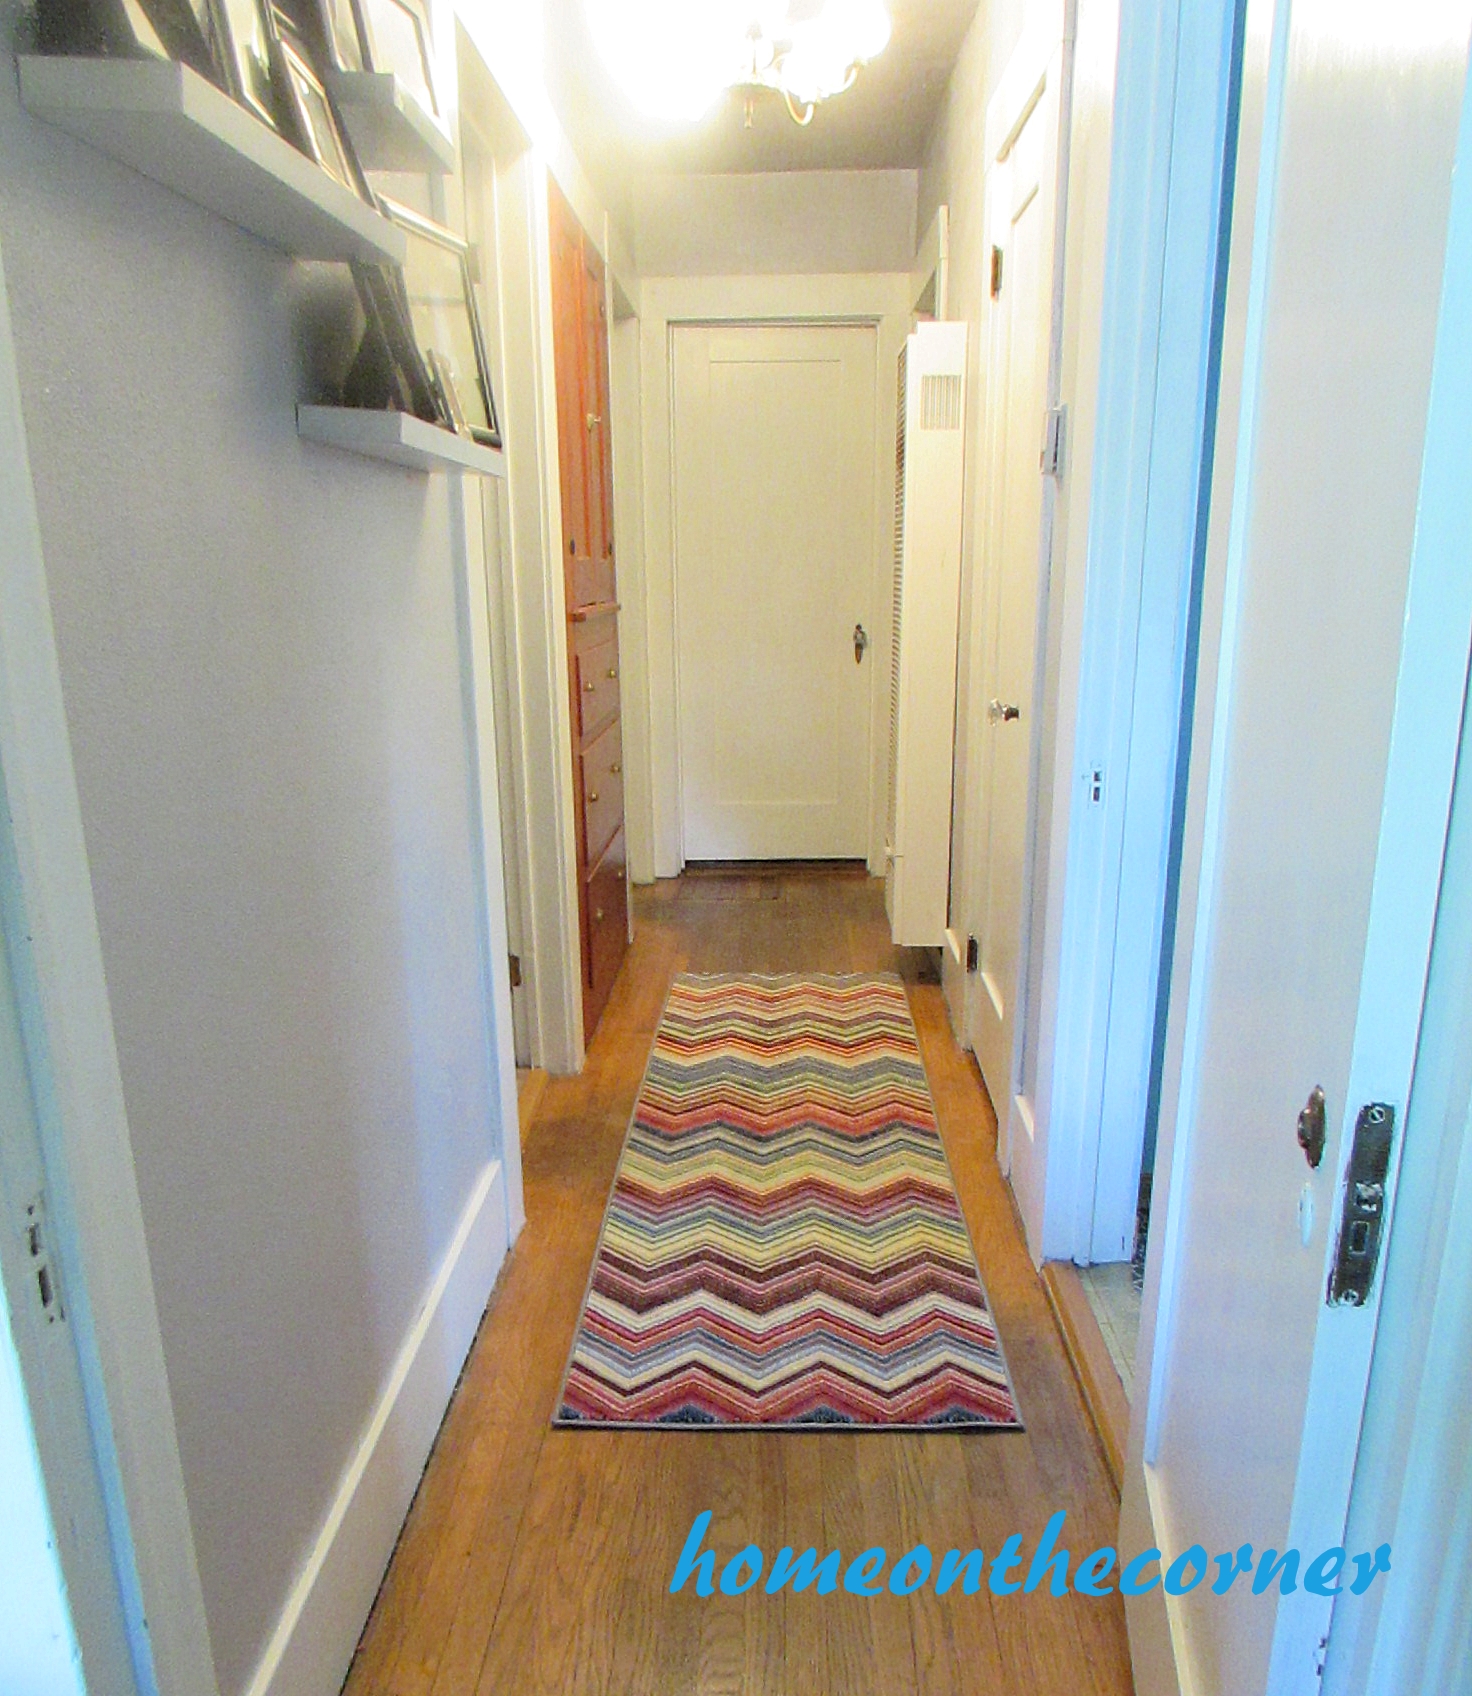
Back in February, I participated in a Finish-It-Up Challenge. One of the projects I worked on was to paint the trim in my hallway. I painted all the trim, plus 6 doors! Whew! That was a big job! I had hoped to get the walls done soon after, but it just didn’t happen. I finally found some light grey paint on the clearance spot at Walmart. I figured I would make it work. It still took a couple more months before I got the painting done, but it is finished!

hallway update 4

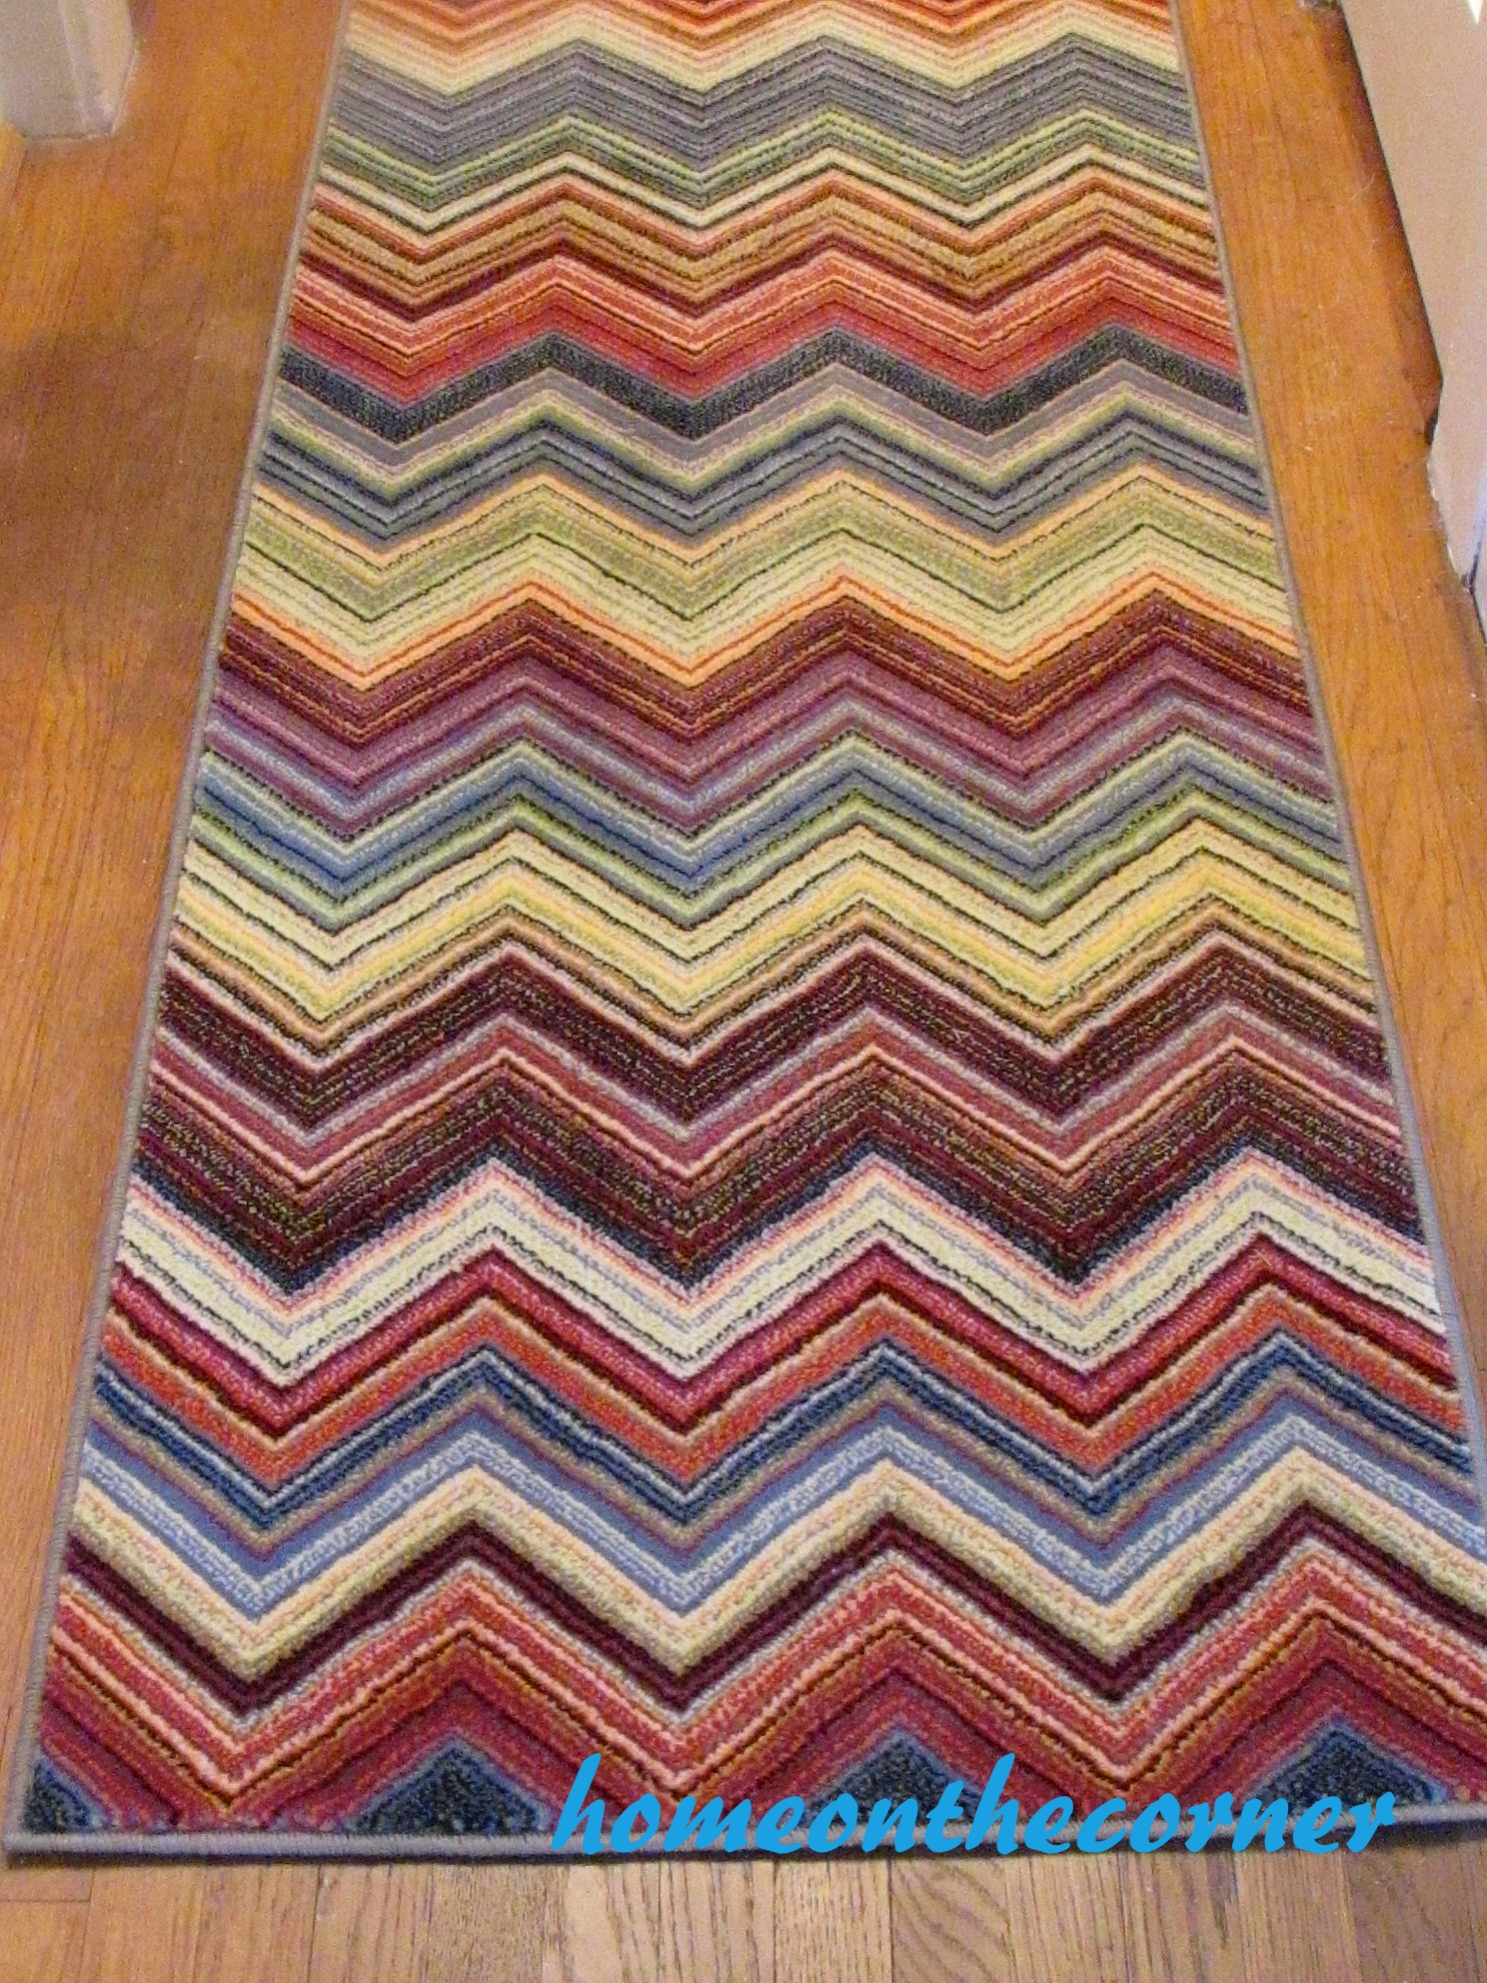
I also got a new rug! I had been thinking about a sisal rug, but then decided I wanted more color since it is pretty dark in the hallway. My mom and I went shopping and found this one. I knew right away this was the one I wanted! Thanks Mom!

hallway update 2

There was a part of the wall that was peeling off. Well, it was scraped and sanded and then sprayed with texture. Then I was finally able to paint over it. It is not anywhere near perfect, but it sure is better!!

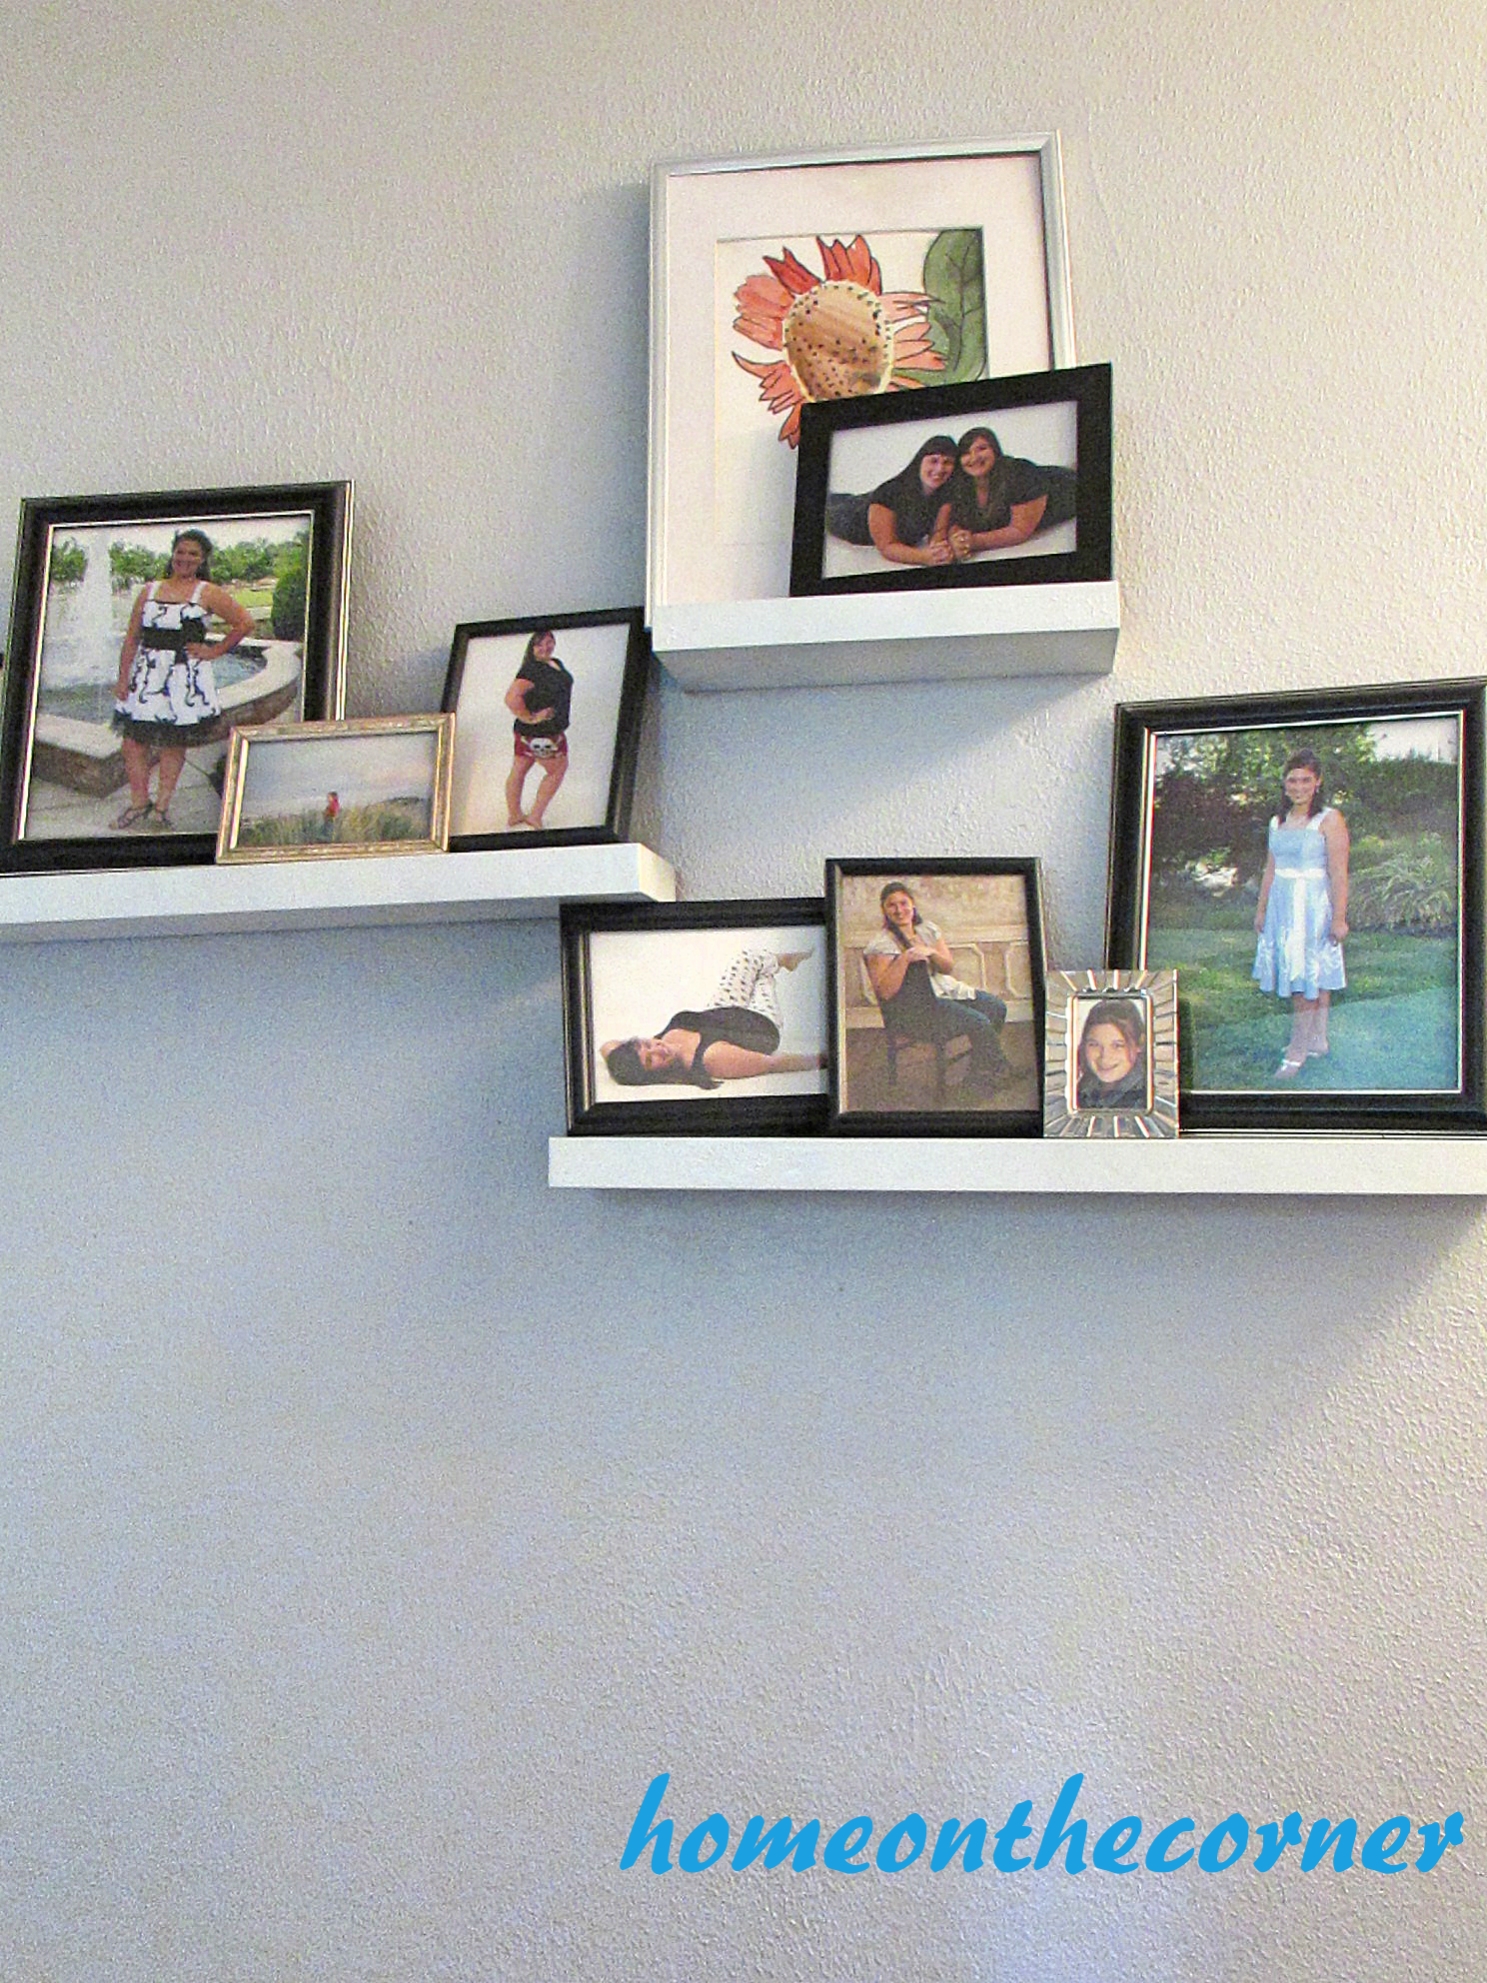
I really like how this space looks!

hallway update 3

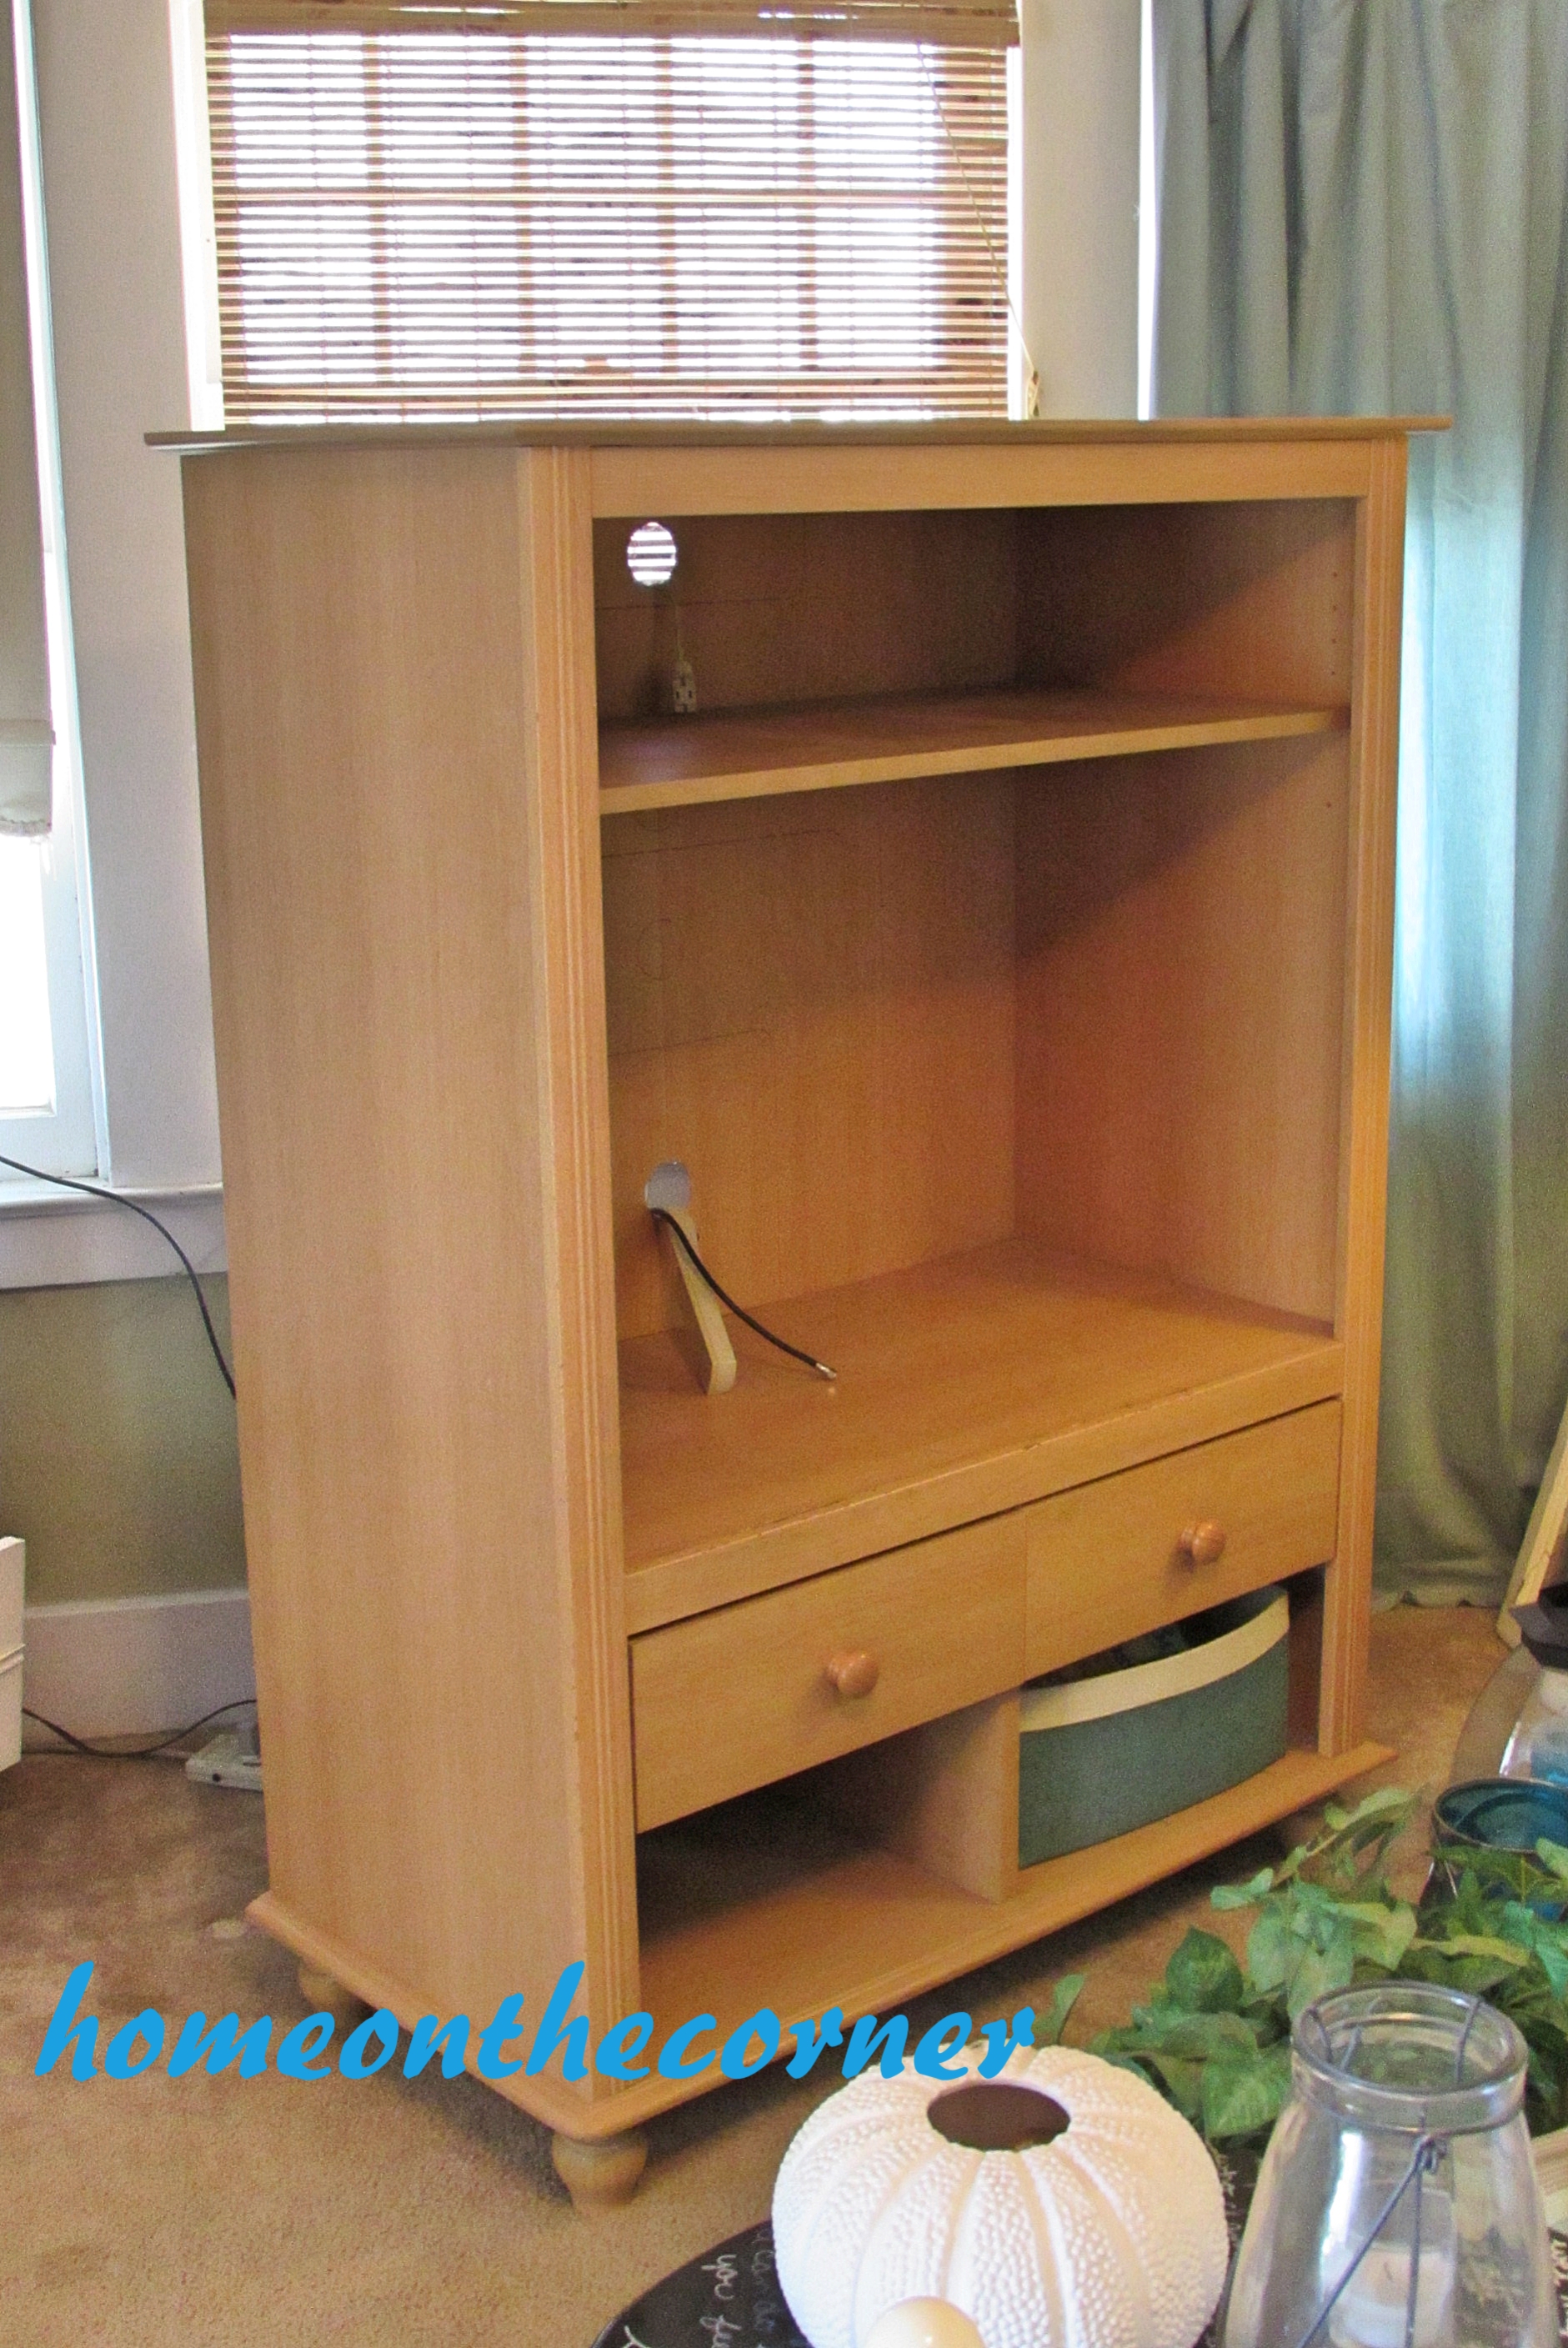
While I was busy painting the hallway, I was chatting with Haley and asked what she thought of taking the dresser we just took out of her room and using it as a tv stand. She said, definately, yes! So in the middle of painting, I took a break and we moved furniture!

Here is the piece we took out! Haley started moving stuff before I could even stop painting and get the camara out! Yeah, this was from back in the day of very big tv’s!

living room 1

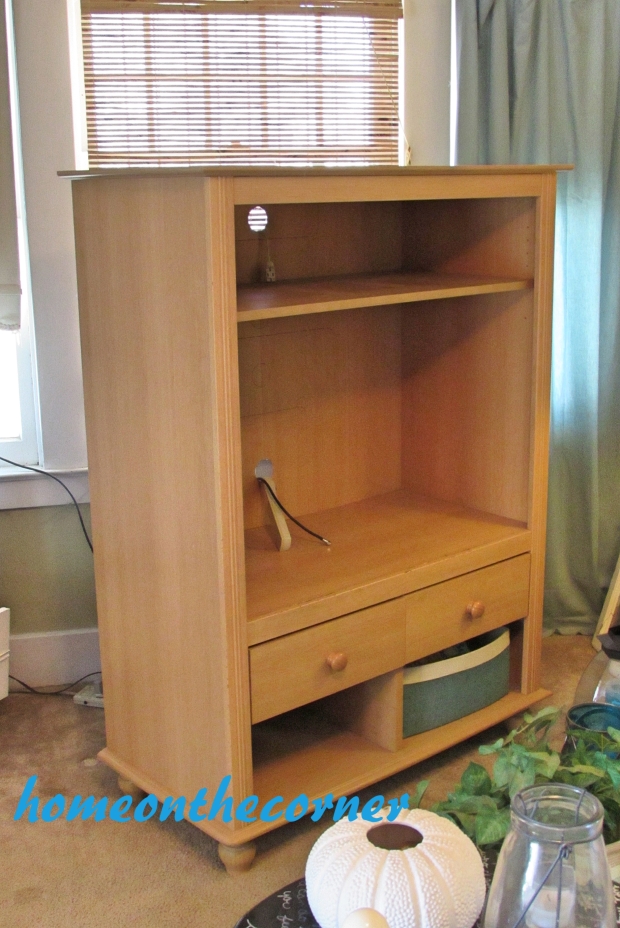
After getting everything disconnected and moved out of the way, we took the old piece out. Boy, was it heavy! We could barely get it out the door! We managed to just get it out of the way and I said, good enough! Leave it there! It was much easier to move the dresser in!

living room 2

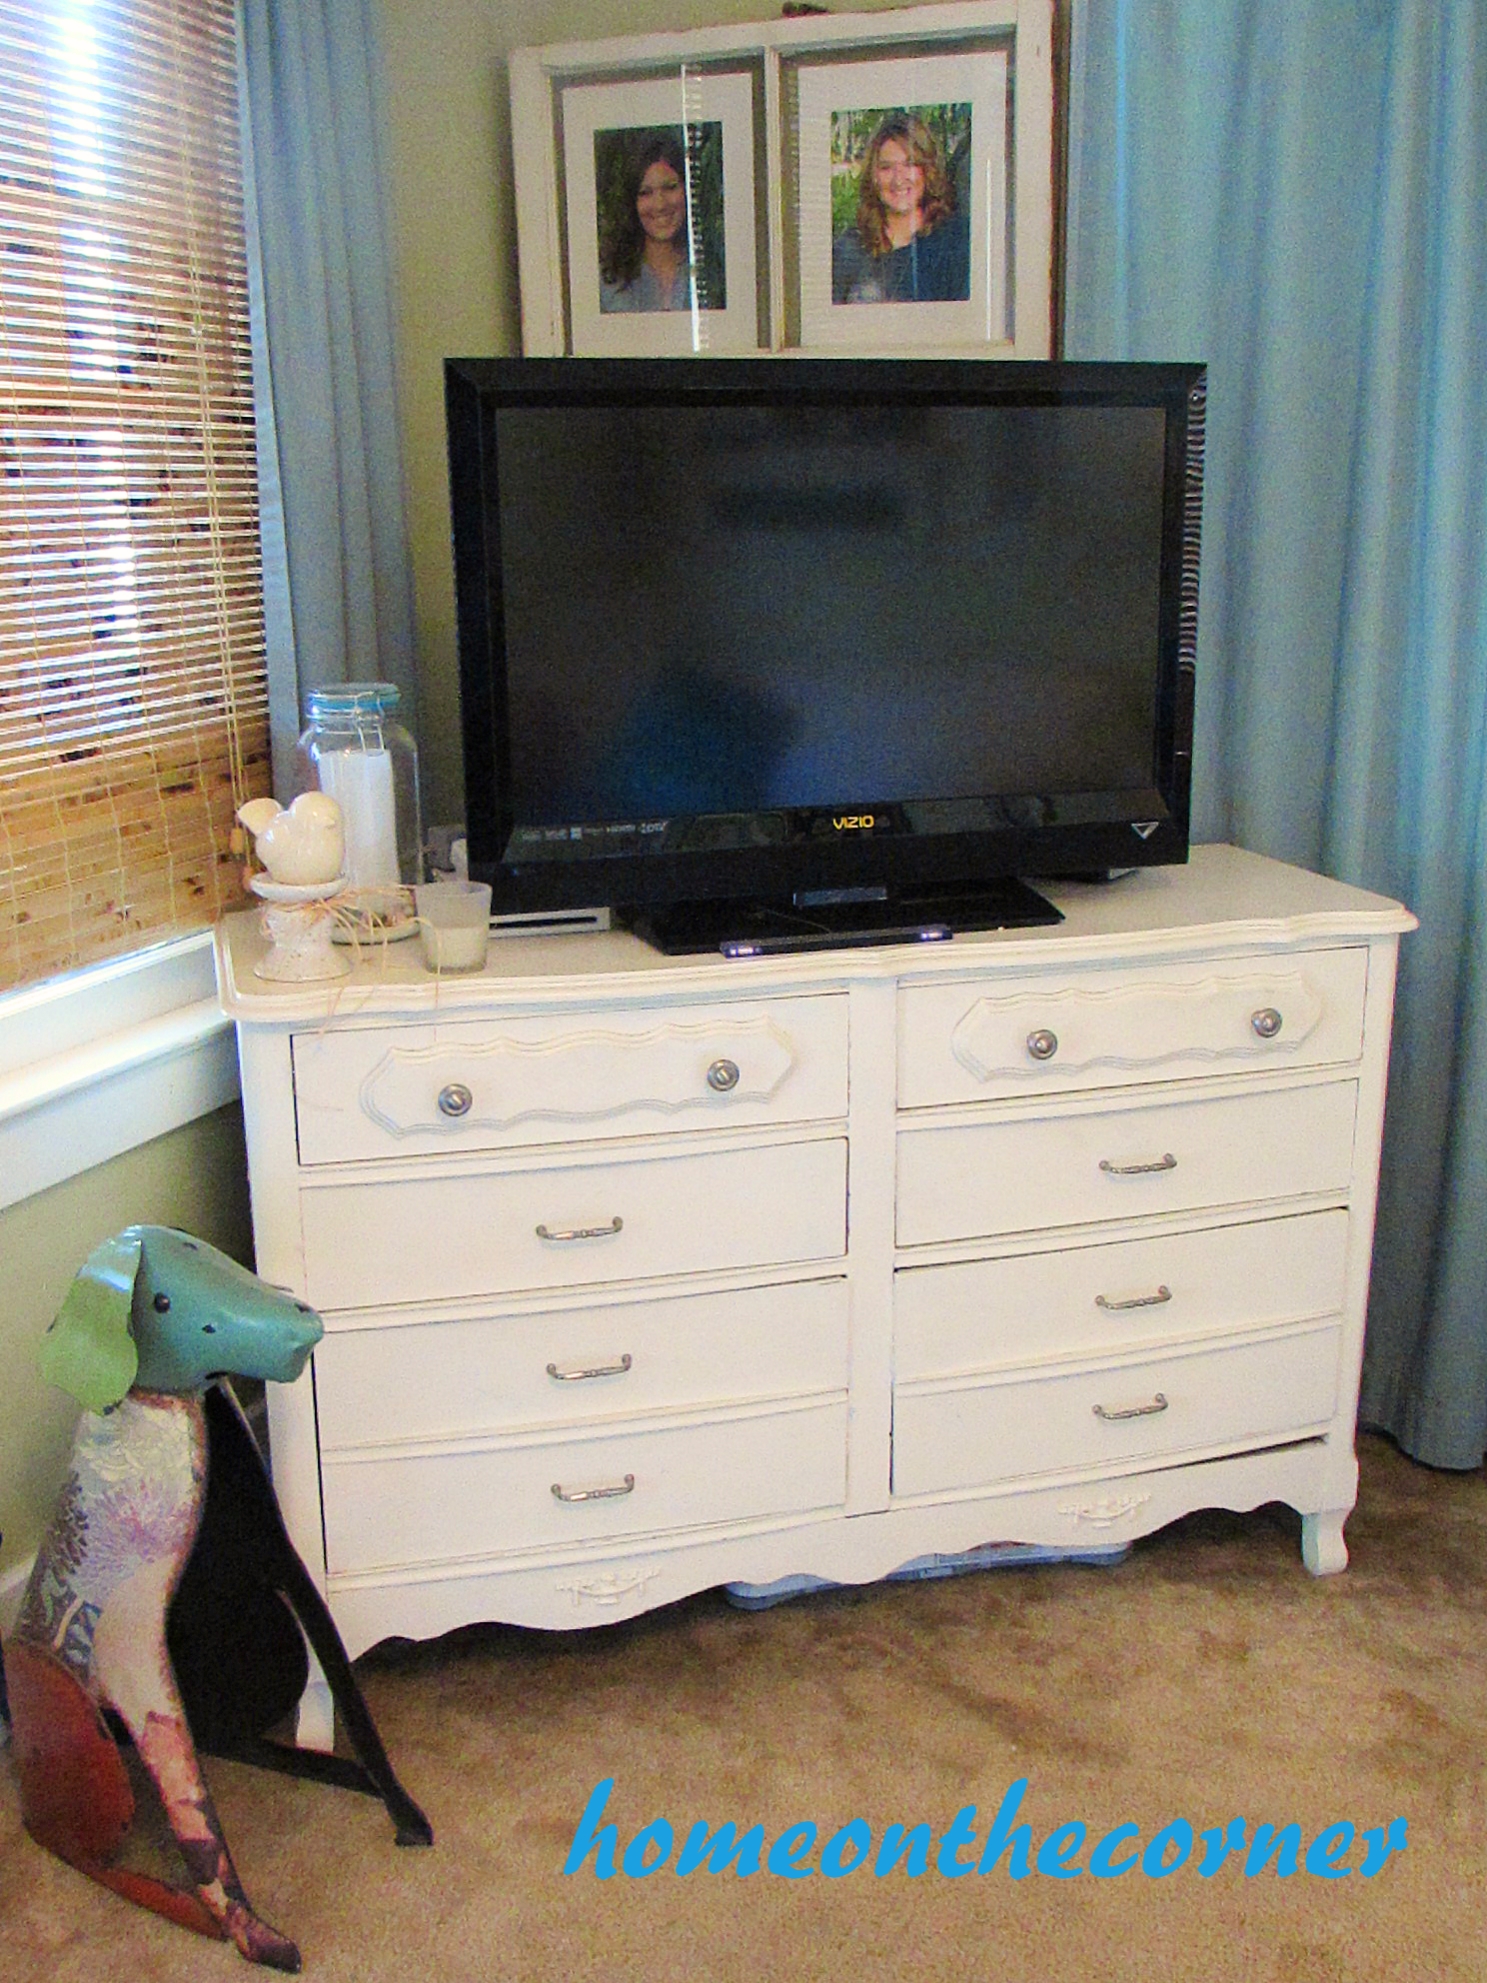
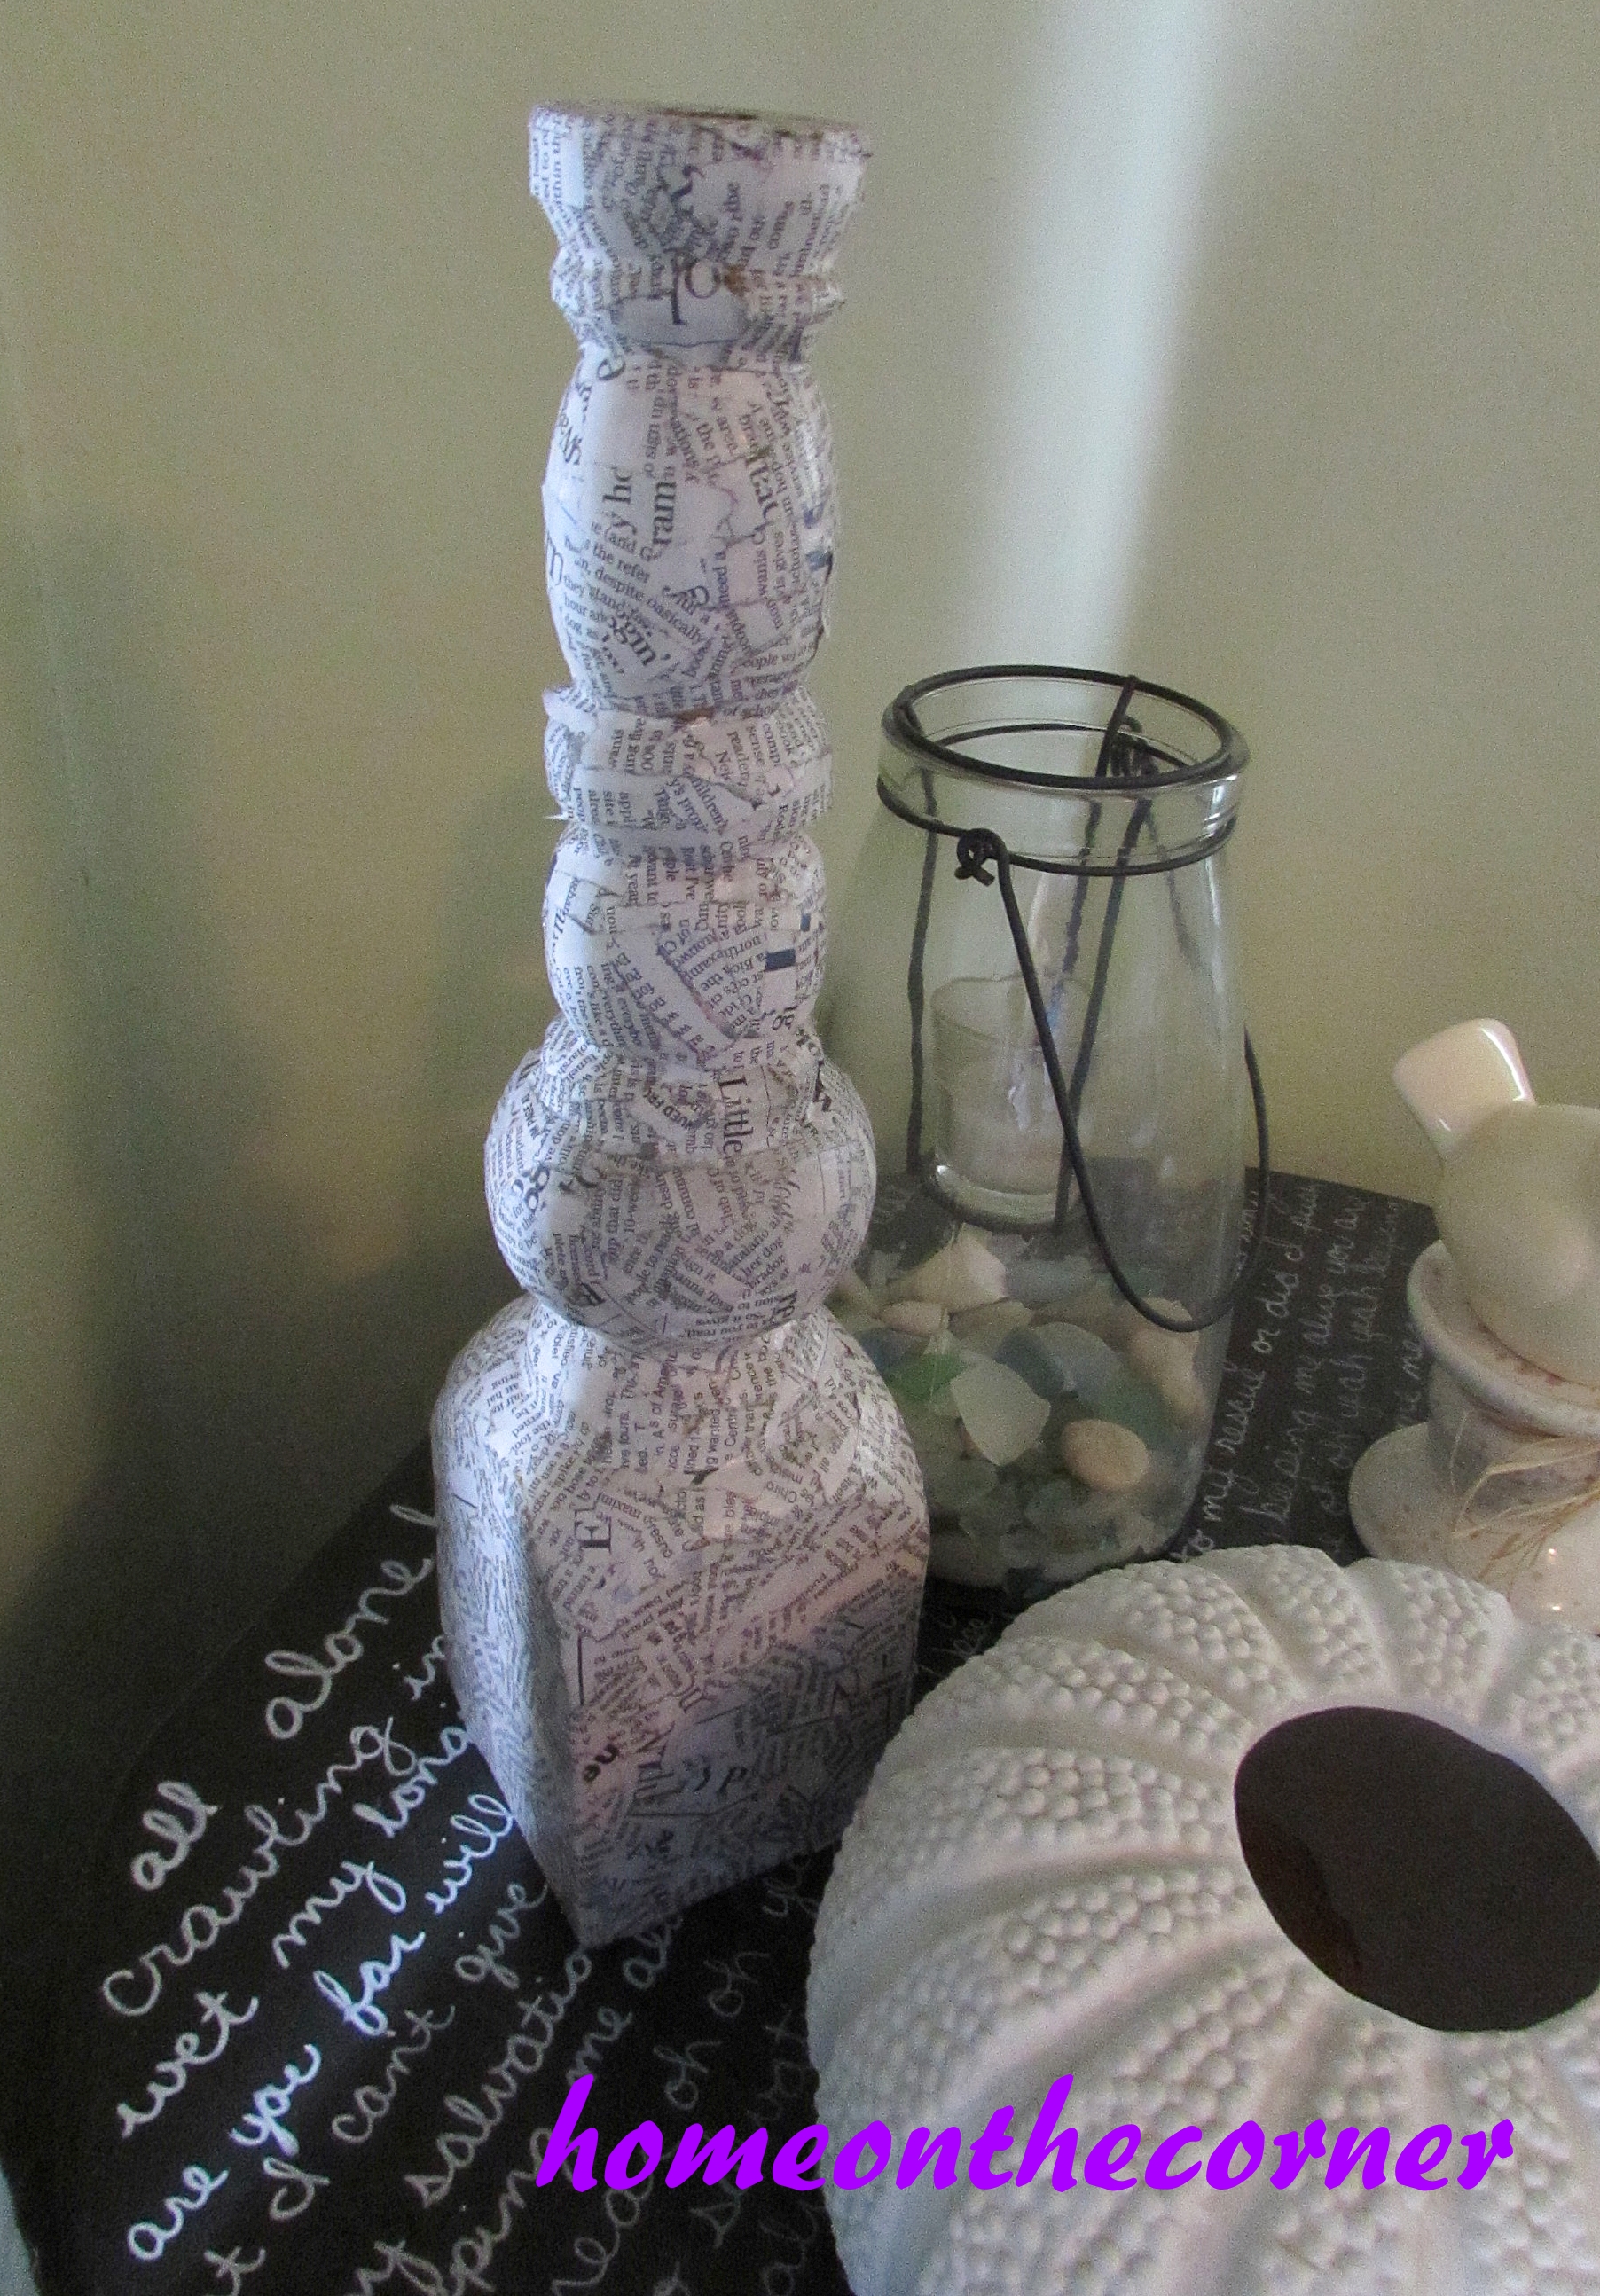
We got this piece from our neighbors (thanks P & G) quite a few years ago. It has lived in both of the girls’ bedrooms and been painted several times too. We had just moved it out of Haley’s room about a month ago, but I really like it in here! We put movies and Wii games in the drawers. I added a bit of my beach decor too!

living room 4

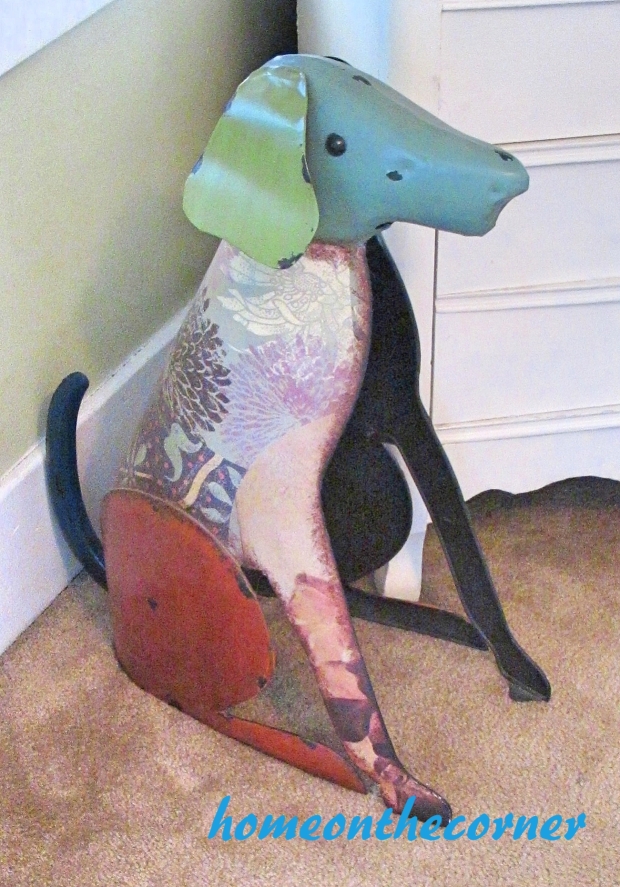
My last piece is this wonderful metal doggy I bought from Hobby Lobby! I have to have my little dog touches in each room!

living room 3

I hope you enjoyed this little update and tour! Next week we will venture a little bit further down the hallway to my bedroom. I think it’s finally done (for now!)!

Sunshine and Blessings

Decoupaged Candlestick

I am deeply sorry that I have not posted my dresser. Unfortunately, it has taken much longer to finish than I had intended.  So, I continue posting blogs about other things that I am working on.

Mom was cleaning her room and found this candlestick.  Now, I have the same candlestick in my bedroom.  I covered it in newspaper by means of decoupage and love how it looks.  So, I decided to do the same thing for this candlestick.  And here is what I used.

candlestick

I had a newspaper that my roommates and I got for free, mod poge from Michaels, sponge brushes, a small bowl to put the mod poge in, paper towels, and tv shows to watch as I was decoupaging.

supplies

I tore the newspaper into small pieces to make it easier to decoupage onto the candlestick.  I then got the sponge brush damp with the mod poge and lightly coated it over the piece of newspaper.  Because newspaper is thin, it doesn’t require that much mod poge to make it stick to the candlestick.  I used only pieces with words on them because I was afraid of the color from pictures bleeding through.

candlestick 1

Almost Done!

Almost Done!

So after two nights of mod poging, approximately 4 hours of work, the candlestick was complete!

candlestick 3

candlestick 4

candlestick 5

Currently it is sitting on my Salvation Table, which you can see here, along with some of mom’s decorations.  I might be taking this to my apartment to decorate in the living room area.  I like the look of the newspaper, something that could be modern or vintage looking.  This project was fun and something that I know I will be doing more of this summer!

sparkle

Bejeweled Bottle

Haley’s graduation was almost two weeks ago, but I have now decided to post what I made for her.  I wanted to make a gift that was personal but still was fun.

I bought a Starbucks frappuccino, you know the frappuccinos that come in the bottles, and wanted to make something cute from the bottle.  And, that is where the bejeweled bottle idea came from.

Bottle

After washing the bottle out as many times as possible to get the coffee smell out of it, I was ready to get working on it.  I used the bottle, sticky jewels that you can buy in the scrapbooking section at Michaels, and scissors.  I thought that the easiest way to put the jewels on the bottle was to cut them in rows and stick them on.

Jewels

And then I ran into a small problem.  The jewels didn’t wrap all the way around the bottle like I thought that they would.  They covered about 80% of the bottle, and then had to use other pieces to fill in the rest of the 20%.

bejeweled bottle

After using about six rows of the turquoise color jewels, I decided I wanted to make a ‘H’ out of the white jewels.  I cut out a piece of the white that was 8 jewels across by 16 tall.  I then cut the top and bottom to make a ‘H’ and placed it on the front of the bottle.

H for Haley

H for Haley

My next problem came when I got to the neck of the bottle.  I had to cut the jewels in  single strips to make sure that it didn’t look funny.  But, because the jewels are square and the bottle is round, the jewels stuck up a little.  But from far away, it is hard to tell what the jewels look like on the bottle.

I finally covered the lid of the bottle to complete the bejeweled bottle.  I made a smaller version of the white ‘H’ to place on the top of the lid.

bejeweled bottle 1

And voila!  A bejeweled bottle!

bejeweled bottle

This was very simple and only took me about an hour to complete.  Since the jewels are sticky, it didn’t take long for them to stick to the bottle.  And if you mess up, it is easy to take off and restick.  Let me know if you have tried to use these sticky jewels on a project and how it worked out for you!

sparkle

How To Make Pull Tab Bracelets

Did you ever do this when you were younger?  Pull the tab off of a soda can for no good reason.  Honestly, the only reason these tabs exist is because they open the soda cans. Well…maybe they exist for other reasons as well. If you drink soda or energy drinks or really anything that comes in a can, you know that they have a tab that helps to open the drink.  If you drink Monster energy drinks, and take the tabs off, you can send them in and get Monster gear in return. But for me, I like to craft things! Some of you may have seen celebrities wearing these bracelets or maybe even seen these in stores like Michaels.  And I tried making them…and had issues.  My biggest issue was the elastic used to hook the tabs together.  I couldn’t get it to stay tied or the hot glue wouldn’t stick.  So…I tried something new. I bought paracord to use on the bracelets.  Because it is stronger than the elastic, I thought that would be better for the bracelets.  The only problem with this was the the paracord stretched out, causing the bracelets to be stretched and not look good. So…I thought that I would try something else. That’s when I bought 5 millimeter buckles to put on the ends.  And, now I am going to tell you how to make these bracelets. pull tab bracelet 1.  Measure your wrist and determine how much cord you will need.  I have an eight inch wrist and I cut my string 24 inches.  I laid the cord out to twelve inches then doubled it, so that I have some extra cord to work with. pull tab bracelet 2. Make a slip knot on one end of the buckle.  It doesn’t really matter which end of the buckle, you just need to have one end secured. pull tab bracelet 3. Next, you take the first tab and put one string in the top hole and one in the bottom.  So the strings will be going down from the top of the tab.  See the picture to understand. pull tab bracelet 4.  Take another tab and put the back of the tabs together.  You will now take the string and put it through the holes of both tabs.  This will keep the tabs attached and not fall apart.  You will repeat this process until you make a bracelet long enough to fit your wrist. pull tab bracelet pull tab bracelet 5.  When your bracelet is long enough, you will be able to attach the other end of the buckle.  All I do is thread the string through the buckle and tie a knot under the buckle.  If you want to hot glue the knot to make sure that it doesn’t come undone, feel free to. And then the bracelet ends up like this!

Thanks to my roommate Hannah for being my hand/arm model.

Thanks to my roommate Hannah for being my hand/arm model.

Now, I have also made bracelets with energy drink tabs.  These are a little harder because there is only one hole in these tabs.  So here are the steps for this bracelet. 1. Repeat steps 1 and 2. pull tab bracelet 2. Instead of starting like the original bracelet, have the tab upside down and thread the string up. pull tab braclet pull tab braclet 3. Take your energy drink pull tab, I’m using Monster, and put the back of it to the back of the tab.  Put both strings through the single hole on the tab and then back through the two holes in the soda tab.  This will secure the tabs together. 4. Repeat the final steps and have yourself a bracelet!

Thanks again Hannah for being my model!

Thanks again Hannah for being my model!

These are cute bracelet that are easy to make.  And now, you have something to use your old soda tabs on that you have been collecting.  Now if only I could find something for bottle caps… sparkle