Home Depot Pumpkin Box Do-It-Herself Workshop

Can you believe we are already more than halfway through October? Wow! It just doesn’t seem possible! I have some good news to share before moving on to my project. We have been asked to co-host Merry Monday Link Party over at Kolb Korner! Yeah! We will co-host on October 25 and Nov. 1. I’m sure you will be hearing much more about it in future posts!! Now on to this project!

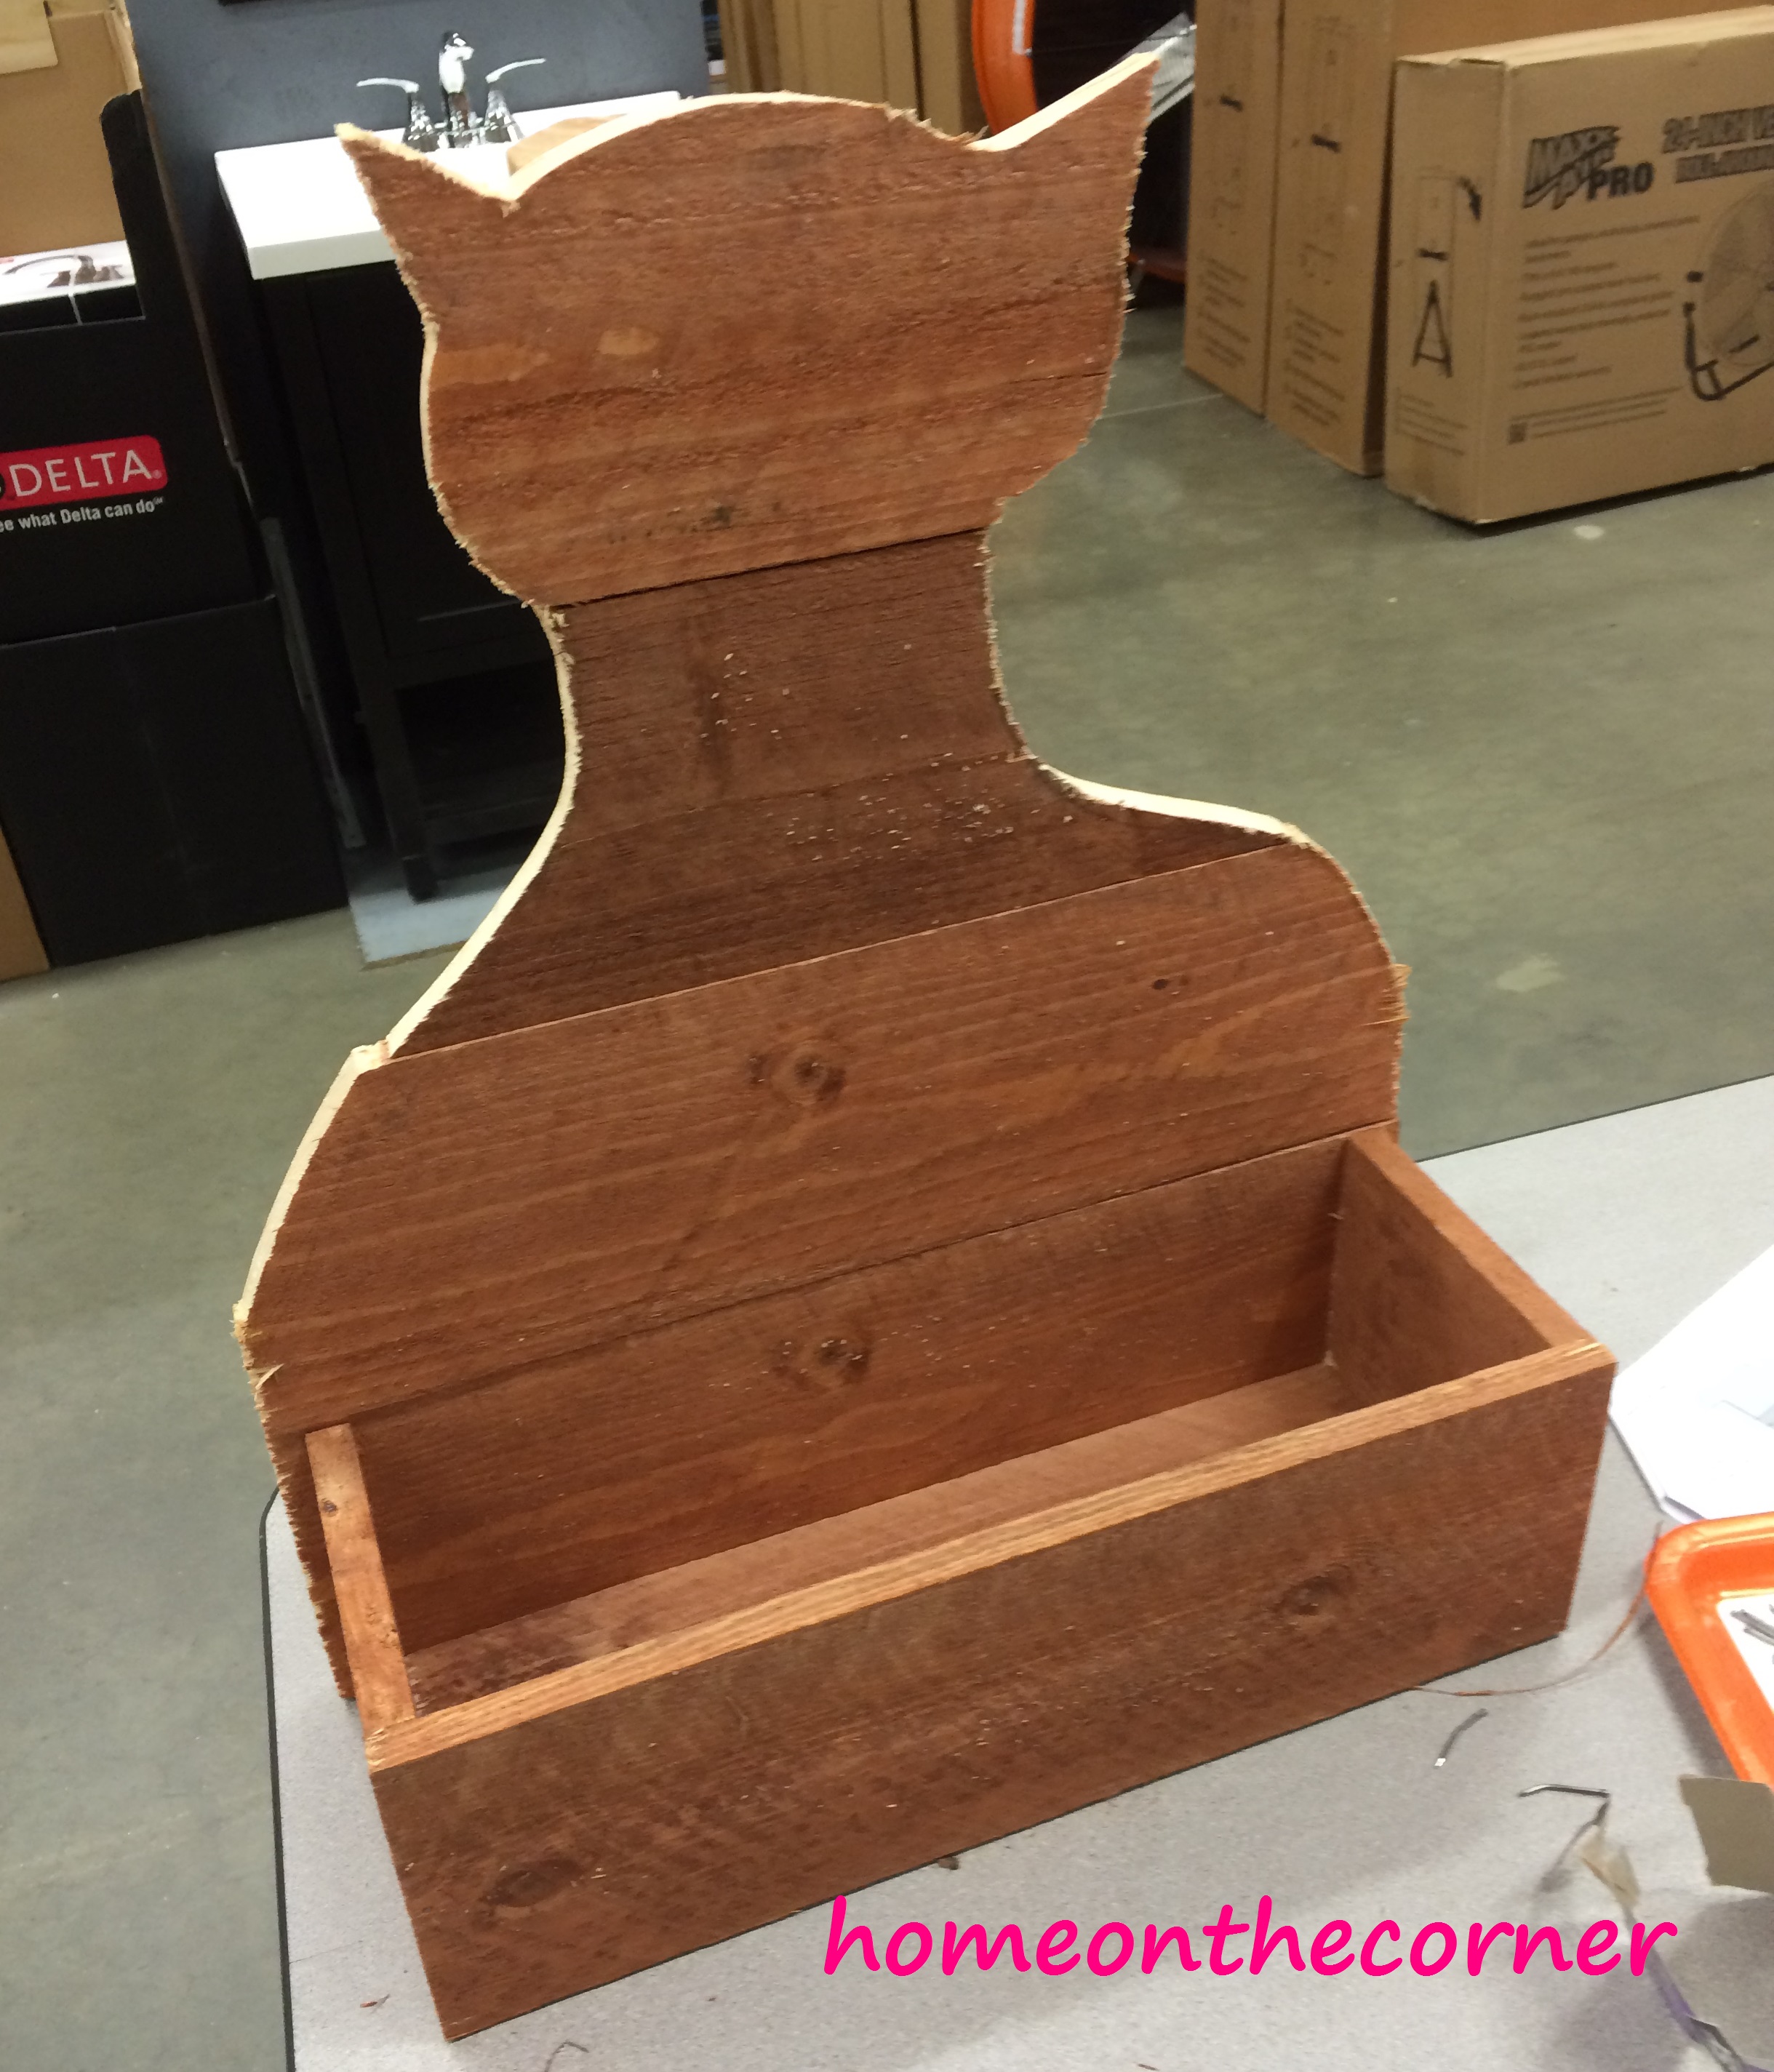
Lauren showed you her black cat last week, so I figured I better show you my pumpkin too. It did sit for a little while until I figured out what to do with it. Here it is the night we worked on it at Home Depot.
pumpkin box

And Lauren’s cat.

cat box

I finally had the time to finish mine! First I painted it a dark grey. This was the paint from Haley’s room. I am trying to use some of the stuff I already have, rather than going out to buy more.

Home Depot Pumpkin Painting

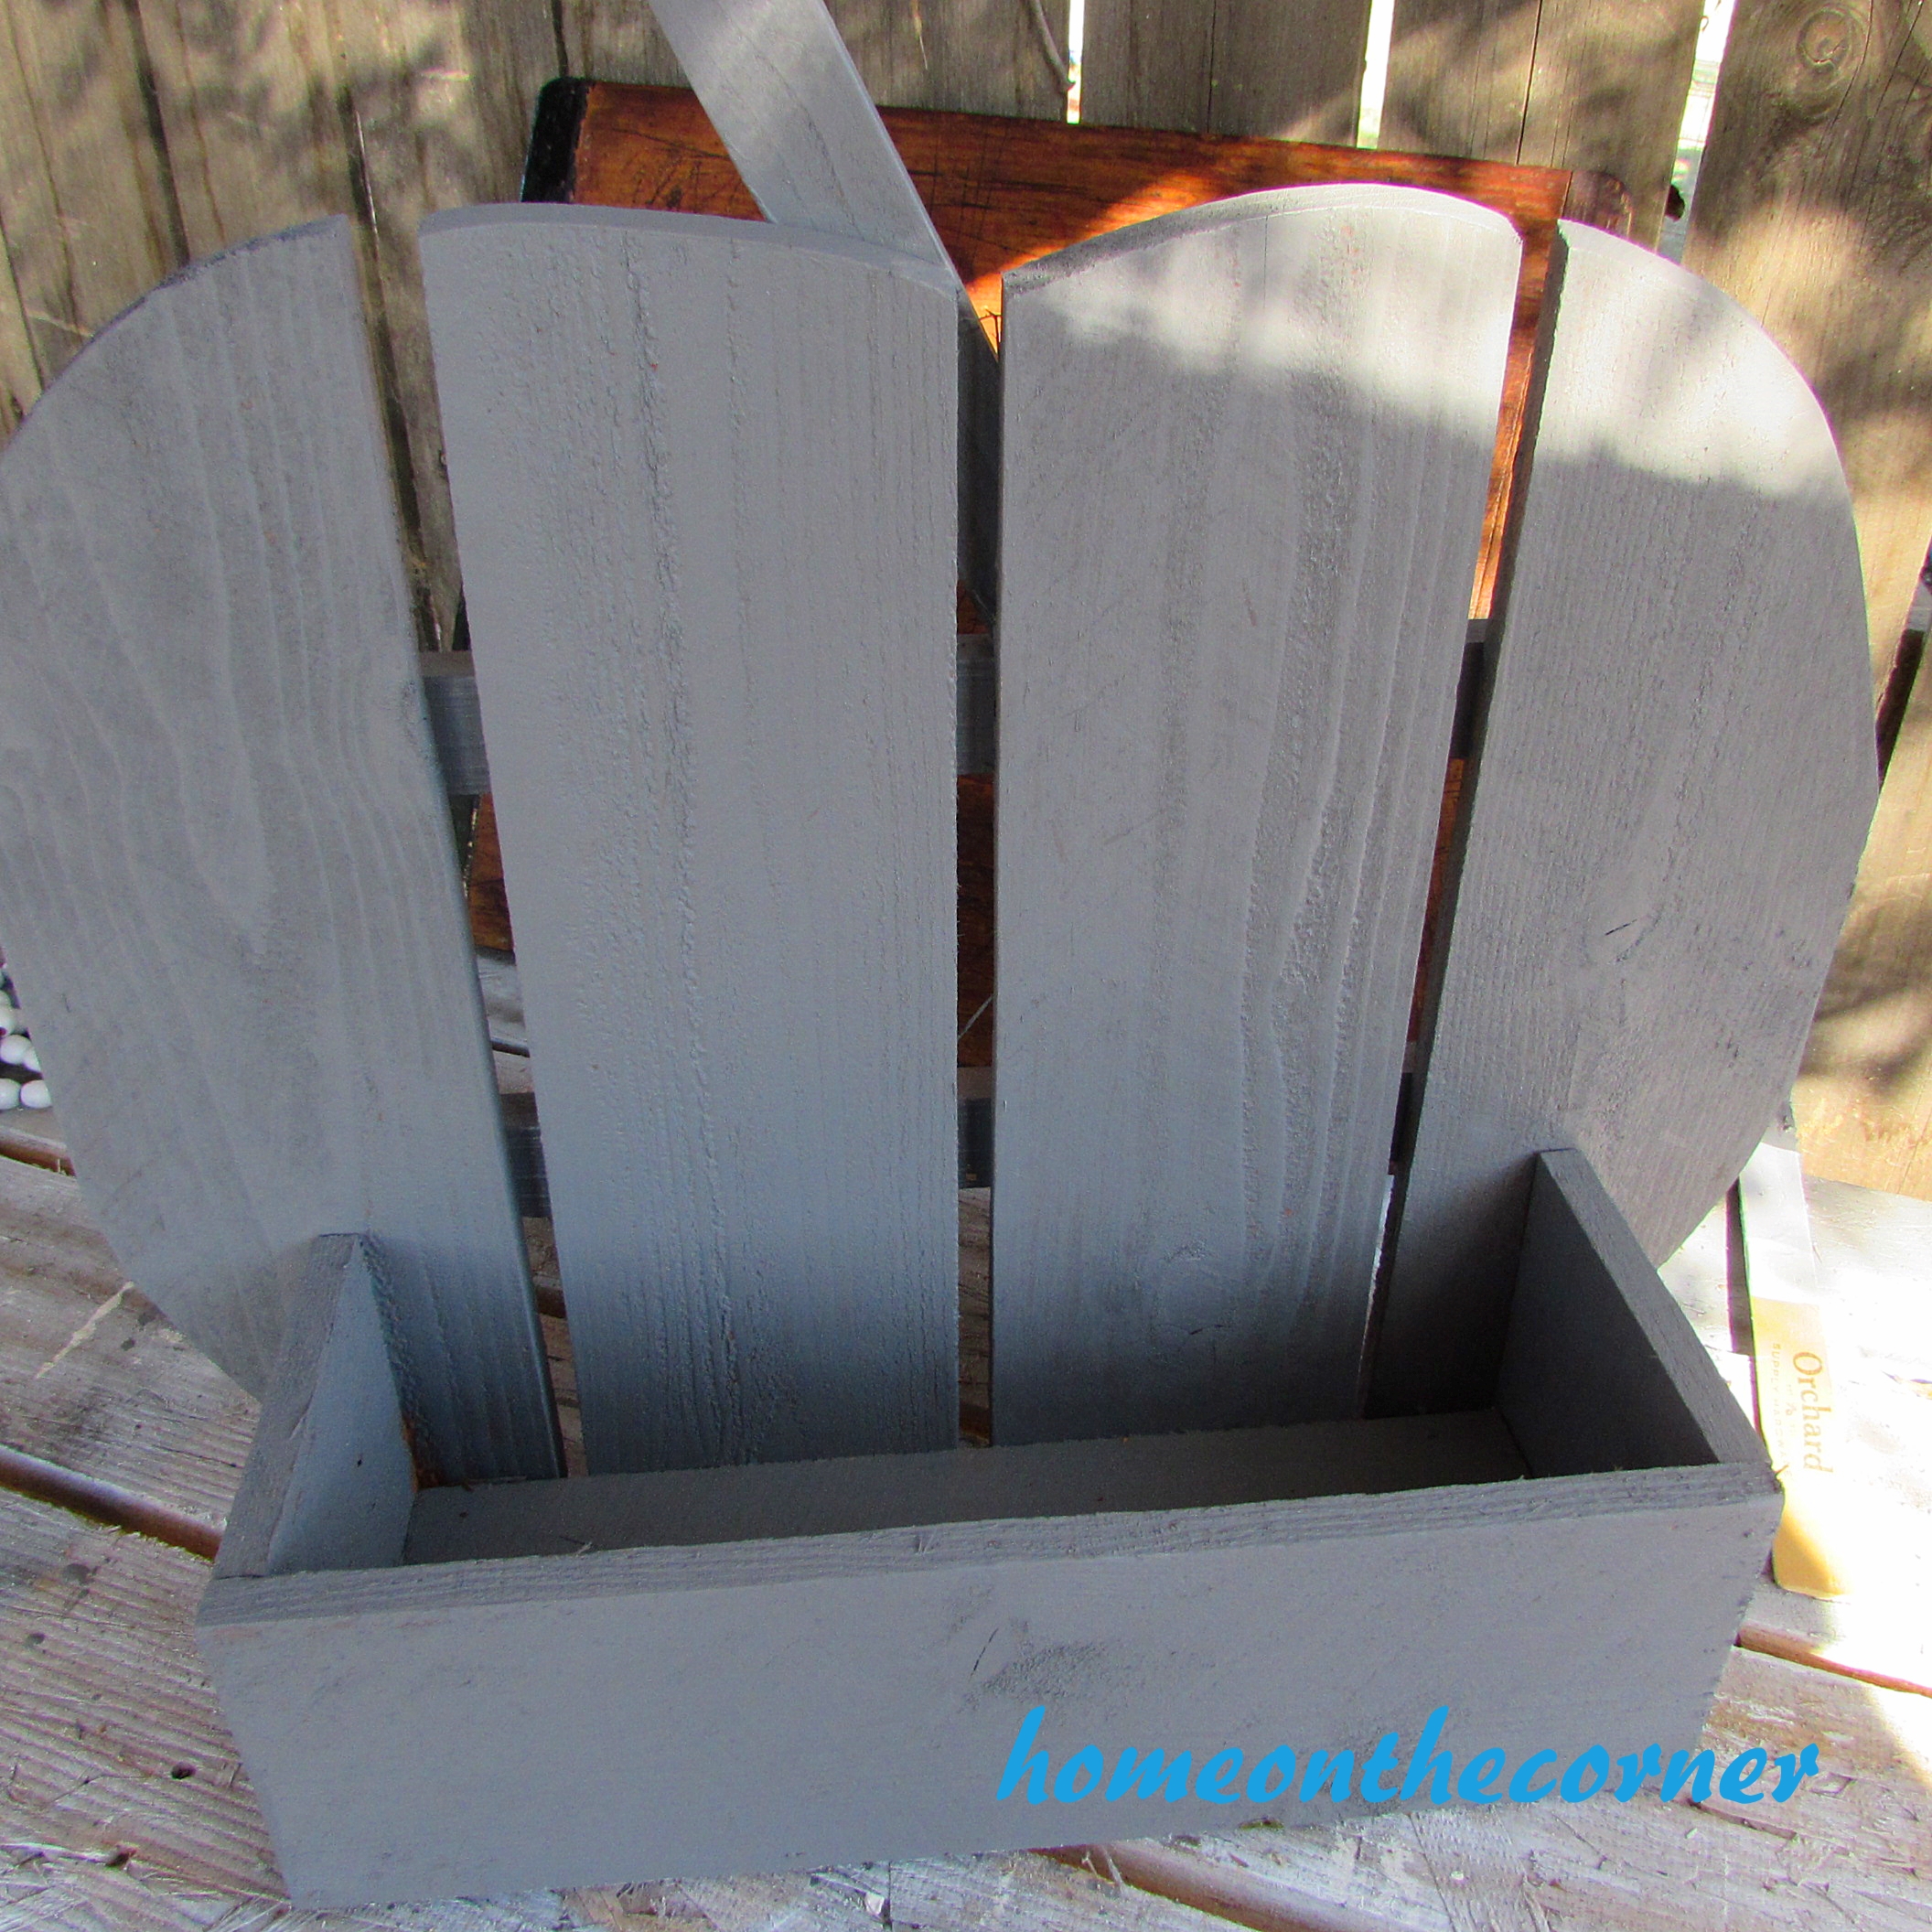
Here it is finished with the grey.

Home Depot Pumpkin Grey Paint

Next, I painted a lighter grey over the top using a technique called dry painting. I put just a little bit of light grey on my brush and lightly go over the dark grey. I even brush some off on newspaper before applying to the project.

Home Depot Pumpkin Dry Brush Paint Brush

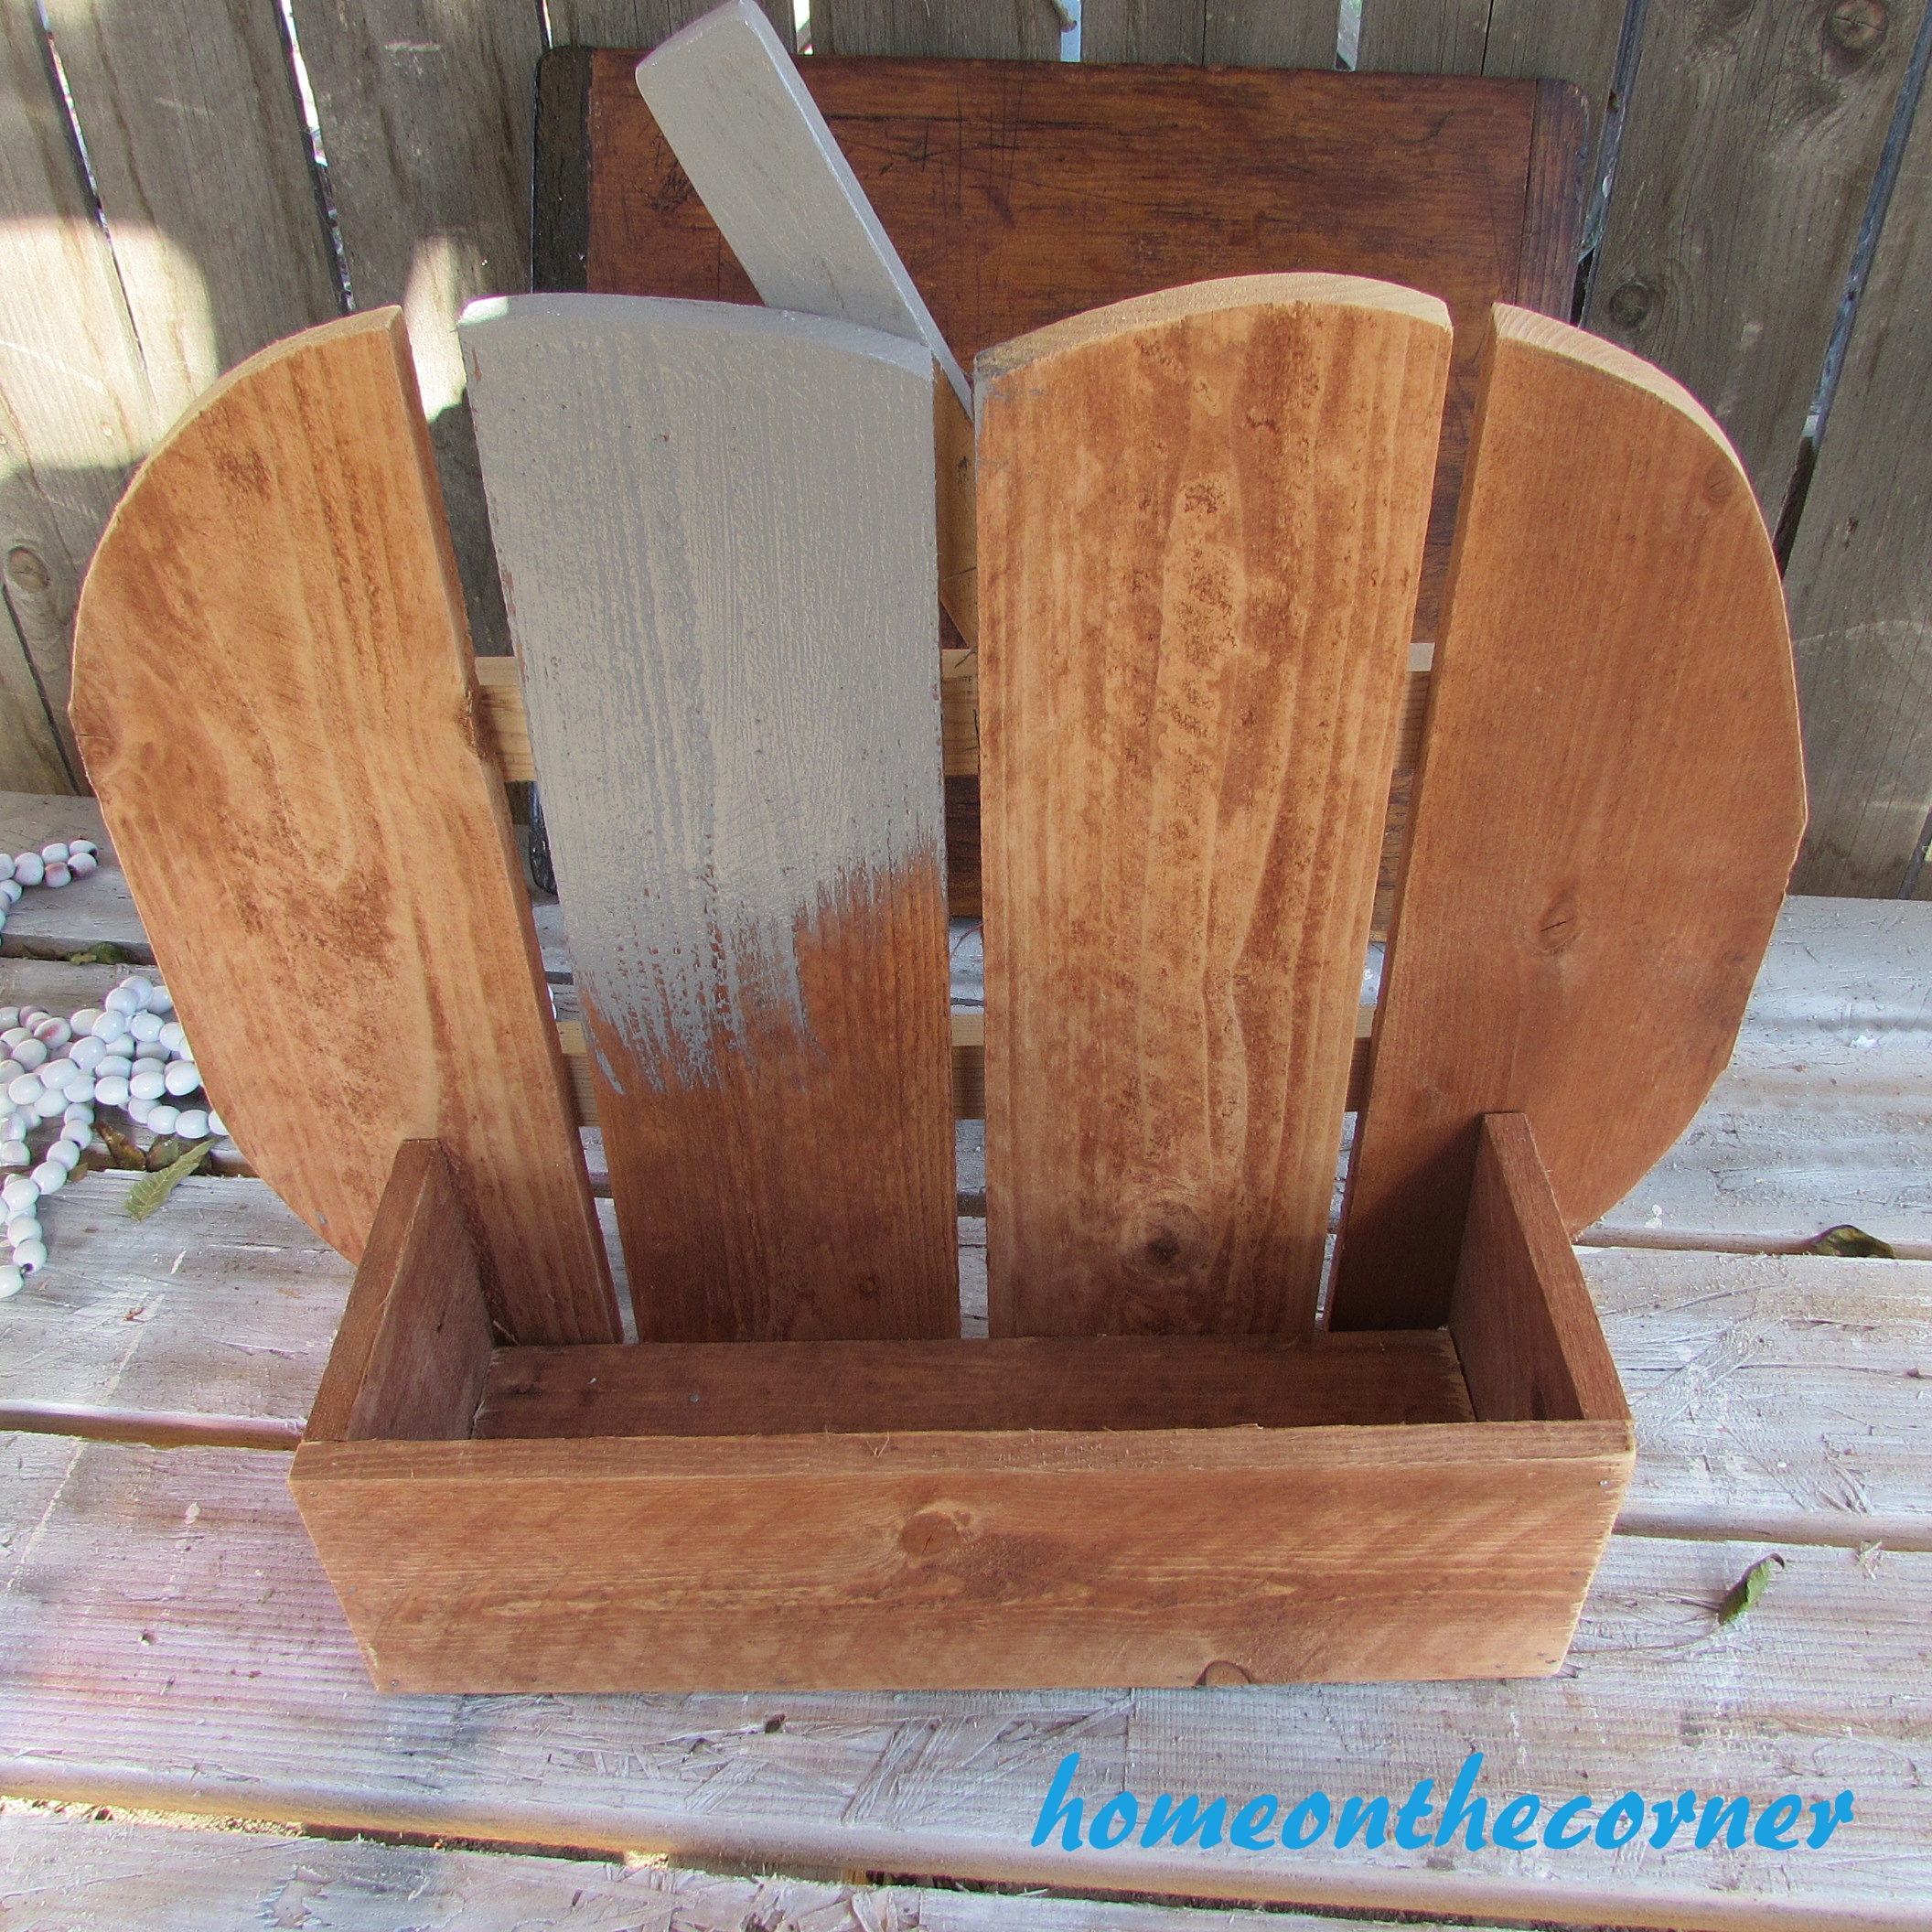
Here is the first bit of dry brushing done on the box part of the pumpkin.

Home Depot Pumpkin Dry Brushed

It’s all painted! I sanded over it a bit after it was dry to rough it up a little.

Home Depot Pumpkin Finished

I am going to keep it in the house for now and I was able to add a few items to it for display. If I had it outside, I would add some wax or varnish to protect it.

Home Depot Pumpkin Display

Home Depot Pumpkin Blanket and Books

This workshop was really fun! I had never been to one before and it was a great way to learn some basic skills. I am not compensated by Home Depot, I just thought this was a great girls night out. You can check the Home Depot website for workshops happening in your area. If you get a chance to go, have fun!

Sunshine and Blessings

WOOD SLICE VALENTINE HEART

I have another Valentine post for you all today!  This idea I got from a couple of wonderful bloggers I follow. I just love their posts! They have the greatest ideas and wonderful homes. Please take time to check them out!

The first post is from Laura at FindingHomeonline.com. Here is the link to one of her ideas: http://findinghomeonline.com/christmas-table-ideas-mini-wood-slice-wreath-place-setting/

Here is another: http://findinghomeonline.com/wood-burlap-natural-fall-wreath/

Wood and Burlap Fall Wreath

Here is my version. I also made the small ones for my table settings, but I already have those packed away :(.

woodslicewreath

Then Karianne from ThistlewoodFarms came up with this one for Christmas: http://www.thistlewoodfarms.com/wood-slice-christmas-tree

Wood Slice Christmas Tree

So I made a similar one!

 I started out with some of the wood slices.  My husband cut mine from some tree branches he had pruned from some of our trees. You can also buy them already cut at Michaels or Hobby Lobby. He cut several different sizes.

IMG_2387

While Karianne used an old chalkboard, I use a bulletin board I had taken out of Lauren’s room when she moved into her apartment. I stained the frame a little darker brown, using Minwax Wood Finish in Red Oak. Then I spray-painted the cork with black chalk paint. Since I was using a cork board, I glued a tack to the back of the wood slice and just stuck it into the cork. Here is my Christmas version. I added chalk for the trunk of the tree and the star.

pic

So, since my wood pieces are movable, I decided to change it up for Valentines Day! I took the pieces off and then rearranged them into a heart. I wrote ‘Love’ in chalk across the top. Super easy!!

New Image

loveheart

 This project was easy and something that is very versatile for any occasion.

Love, Pam