Valentine’s Day Round-up

Good morning! It’s been a couple of weeks since I have been here! Life has been a little crazy since the new year started. Not just in world news, but in our little family too. We are all okay, but we have had some stressful times. And now, Valentine’s Day is right around the corner! It’s the perfect time to show a little extra love to those we care about.

I thought I would share some of the past ideas from the blog. If I can get some things together, I will show you next week, what I will be sharing with my friends for Valentine’s Day.

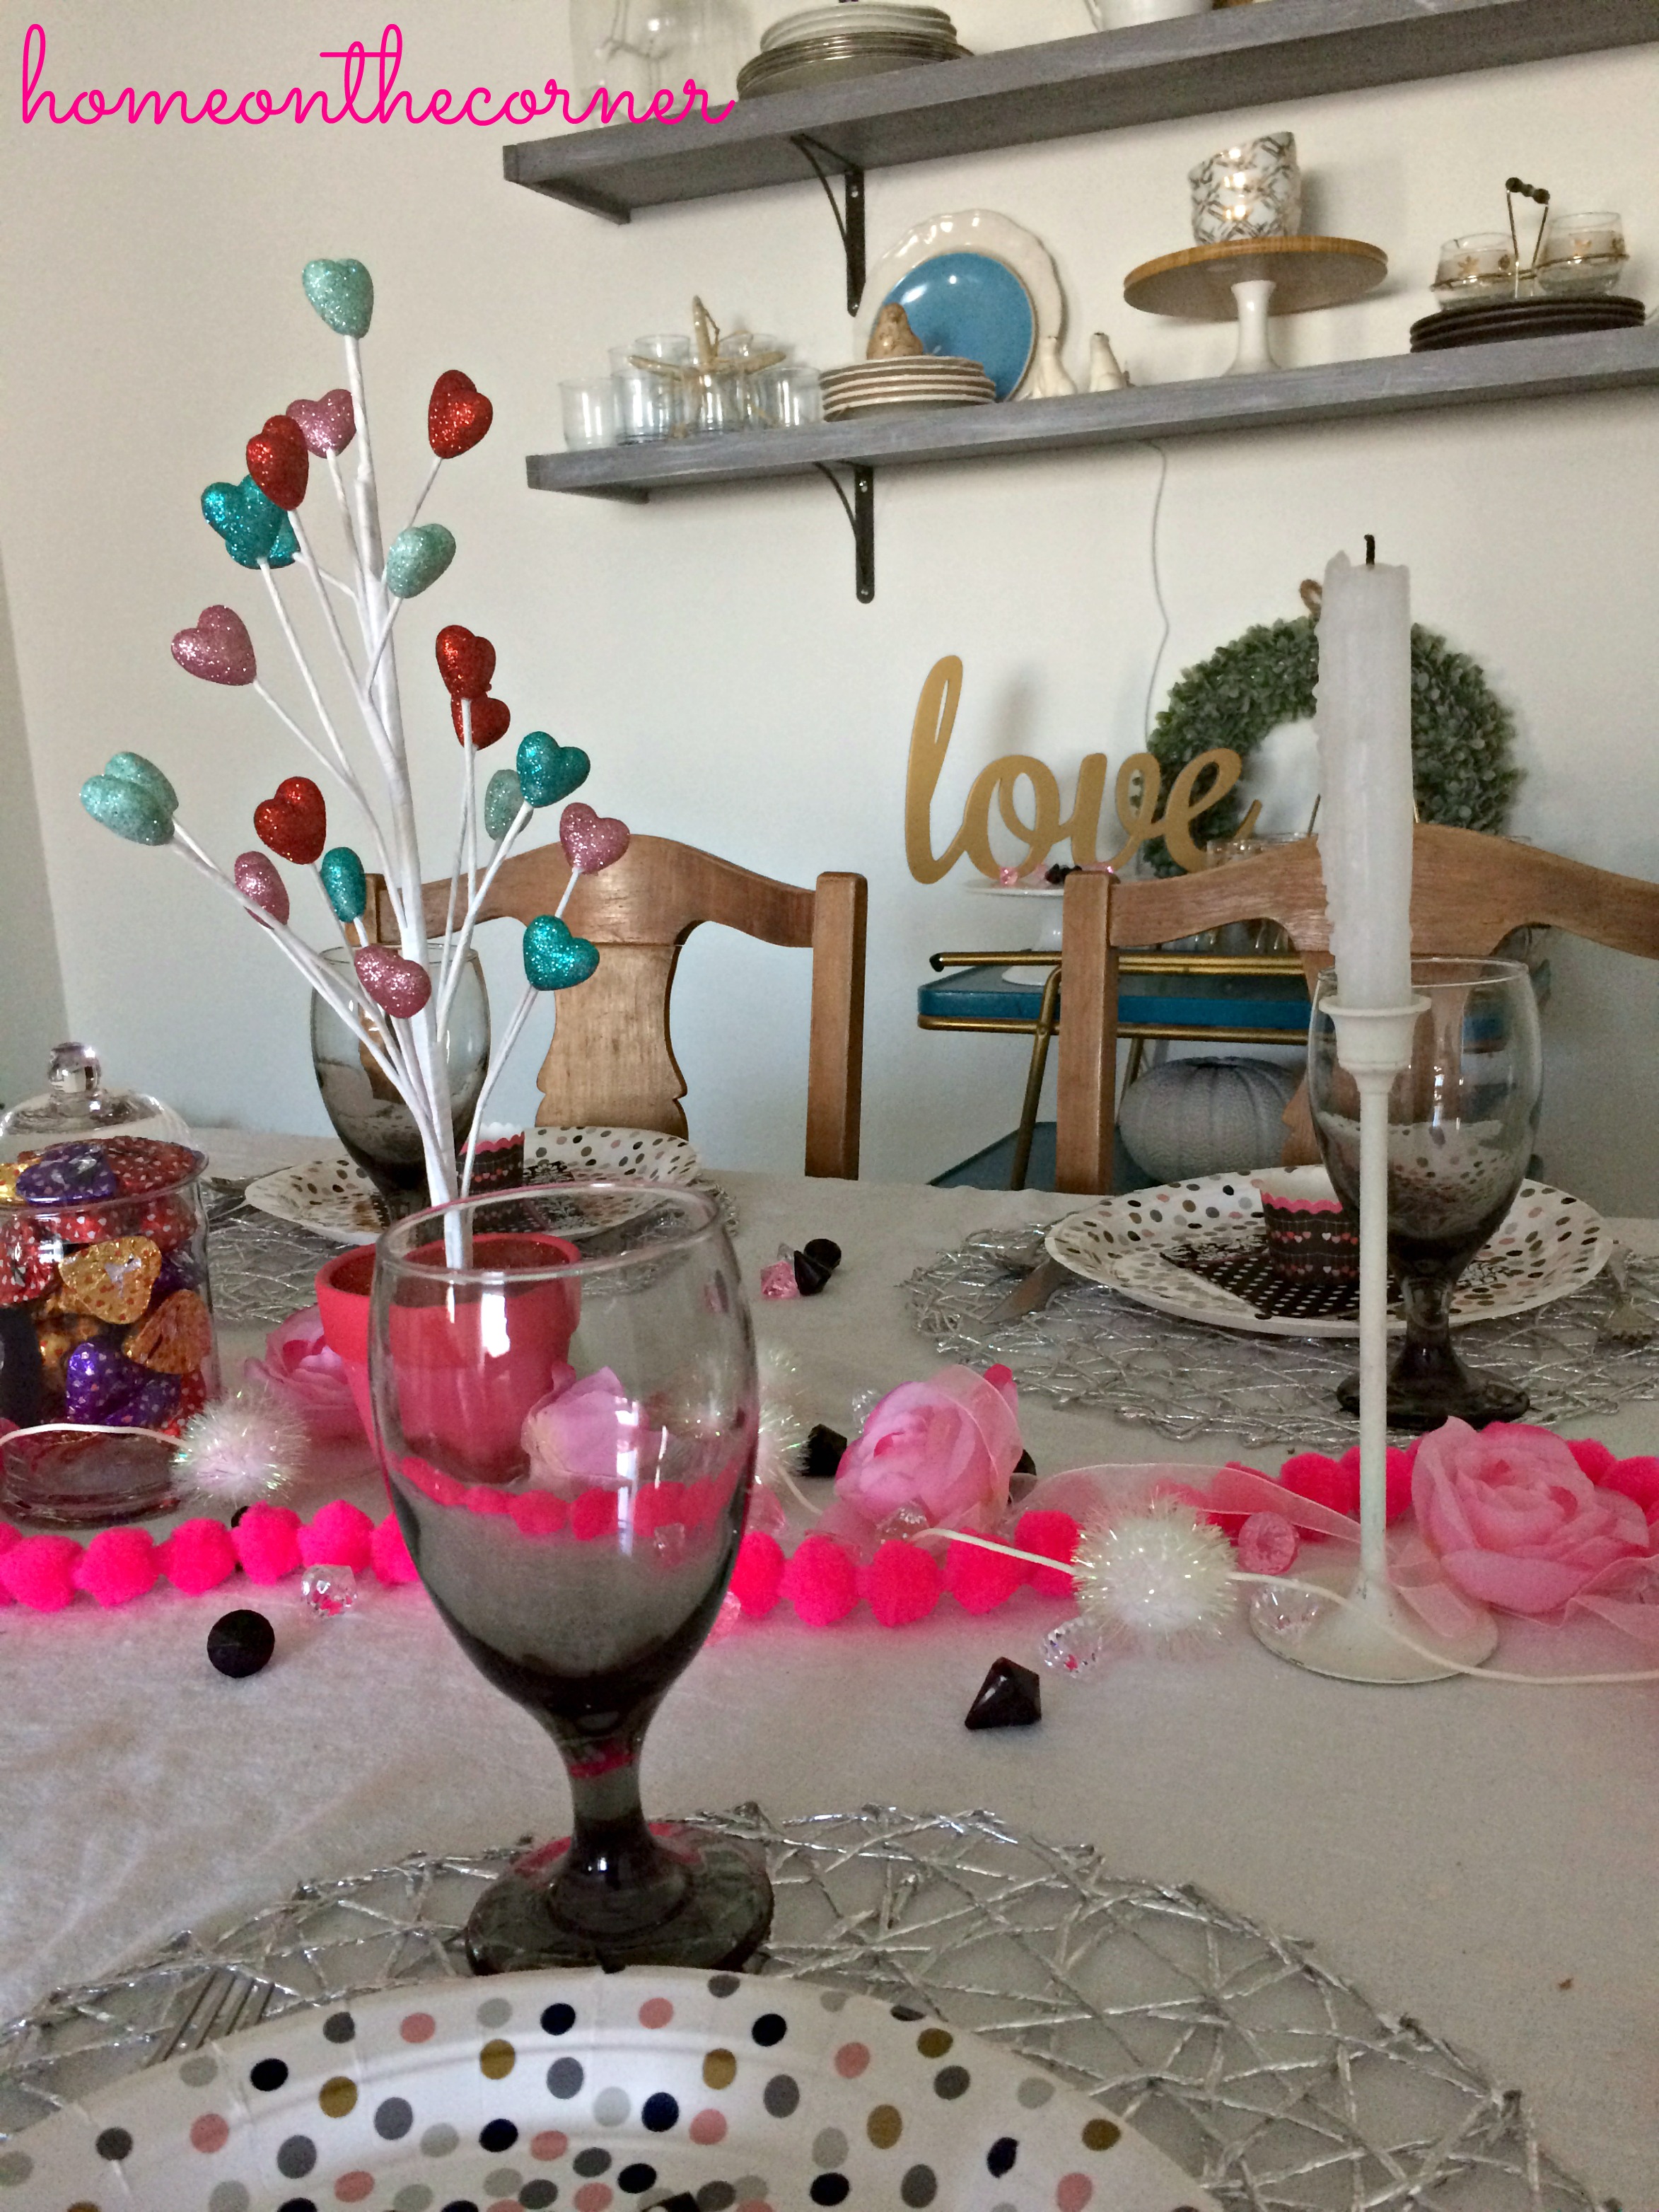
It’s A Valentine Tablescape-Set a pretty table to celebrate with your family.

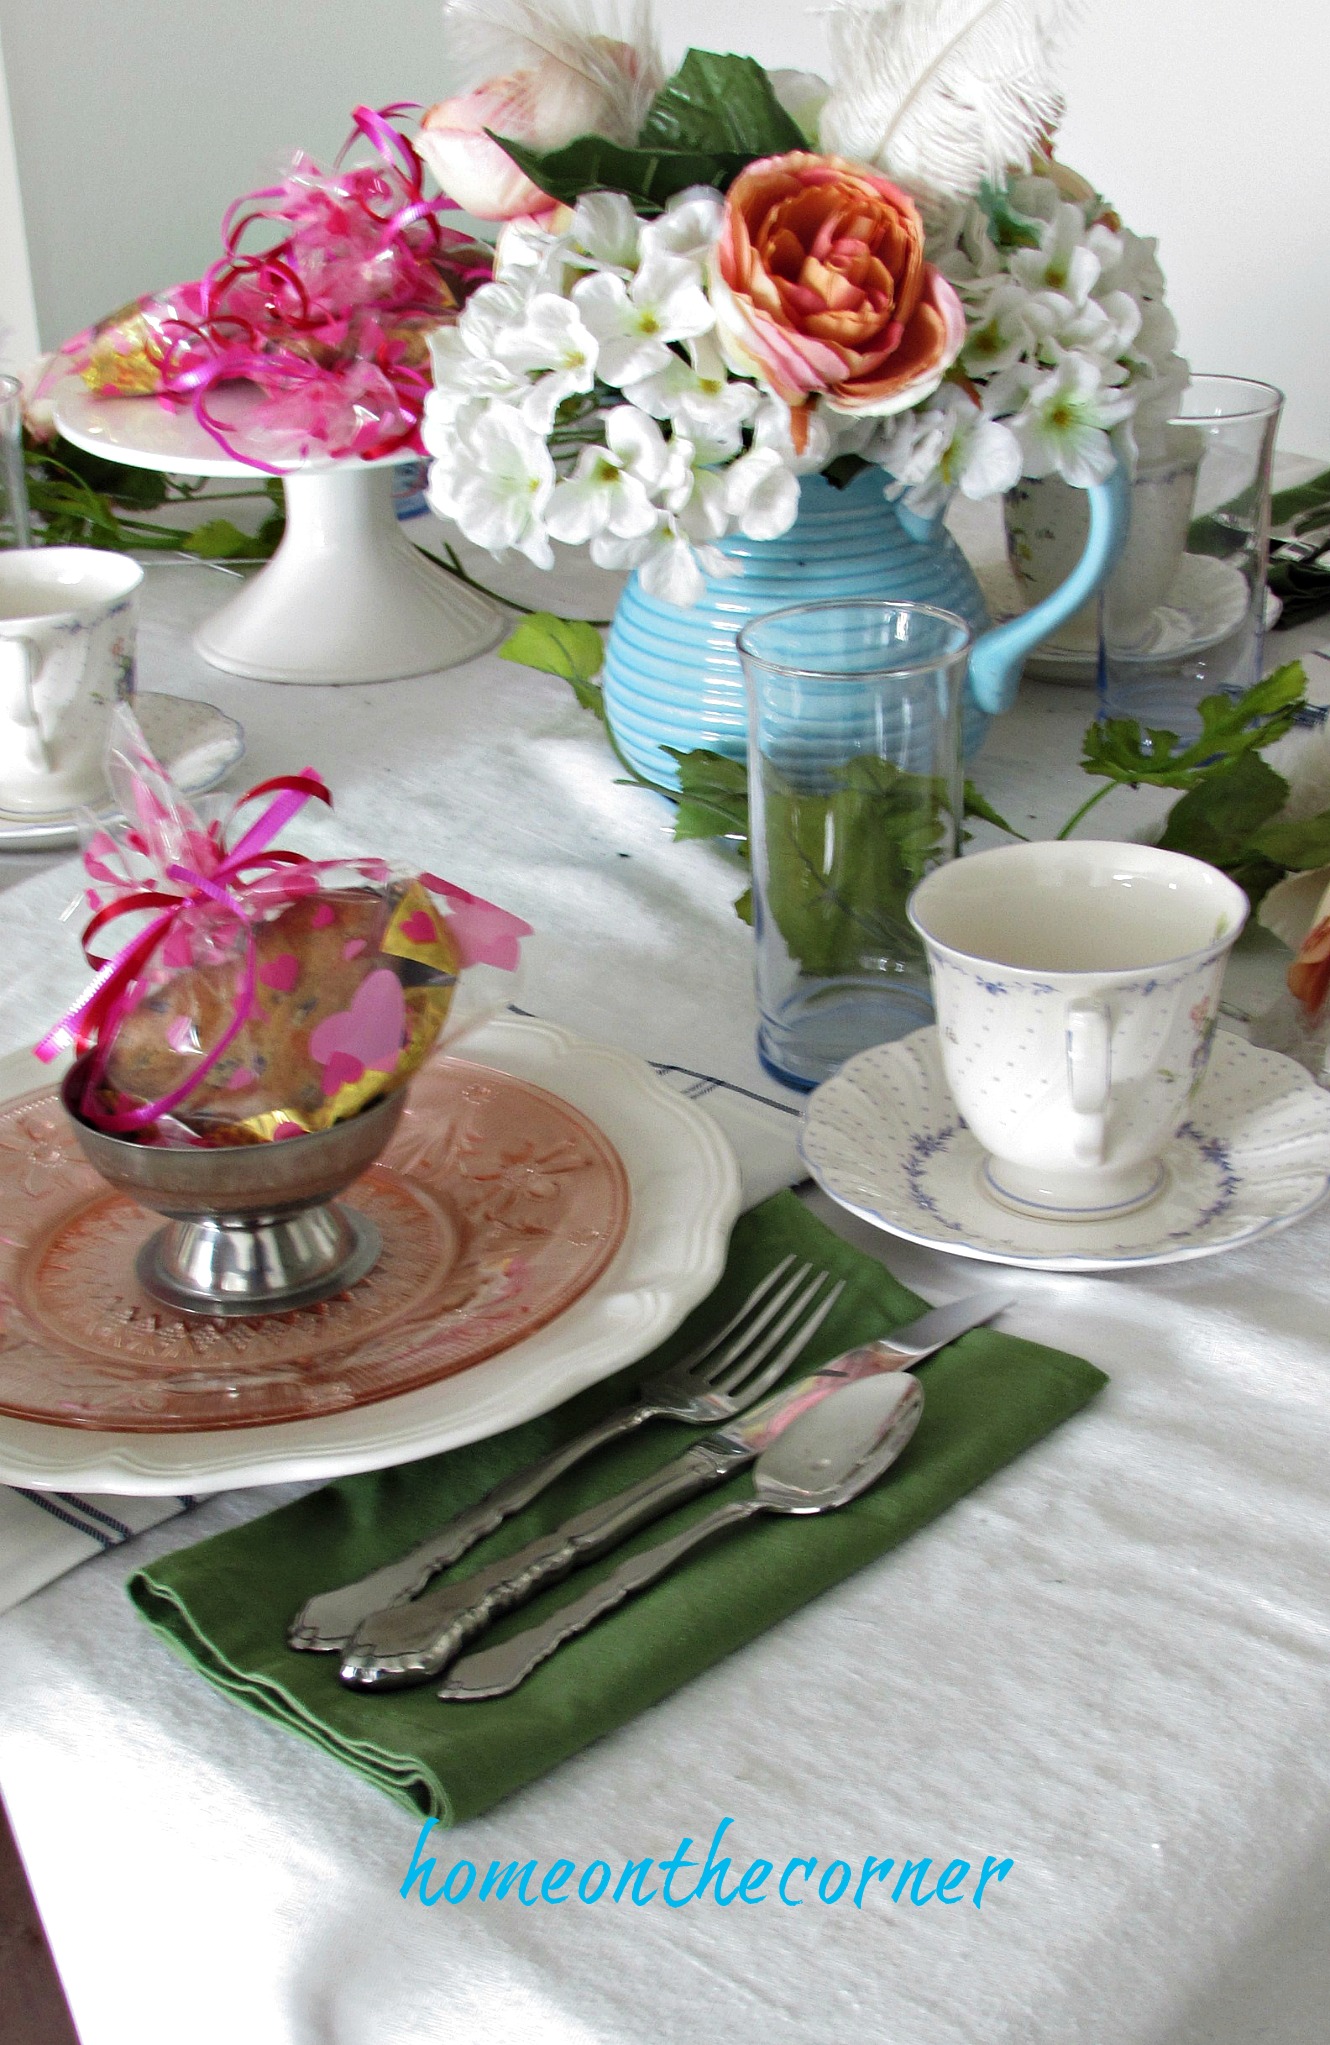
Vintage Valentine Tablescape– Here is another tablescape using some vintage pieces.

Cute Valentine Printable– This is a cute little printable card to pass out to your friends…or pets!

Recycled Hardware Heart– Looking for a craft project? Go through your stash or hit the thrift store and see what you can create!

Faux Flower Heart- Here is a craft using Dollar Tree flowers!

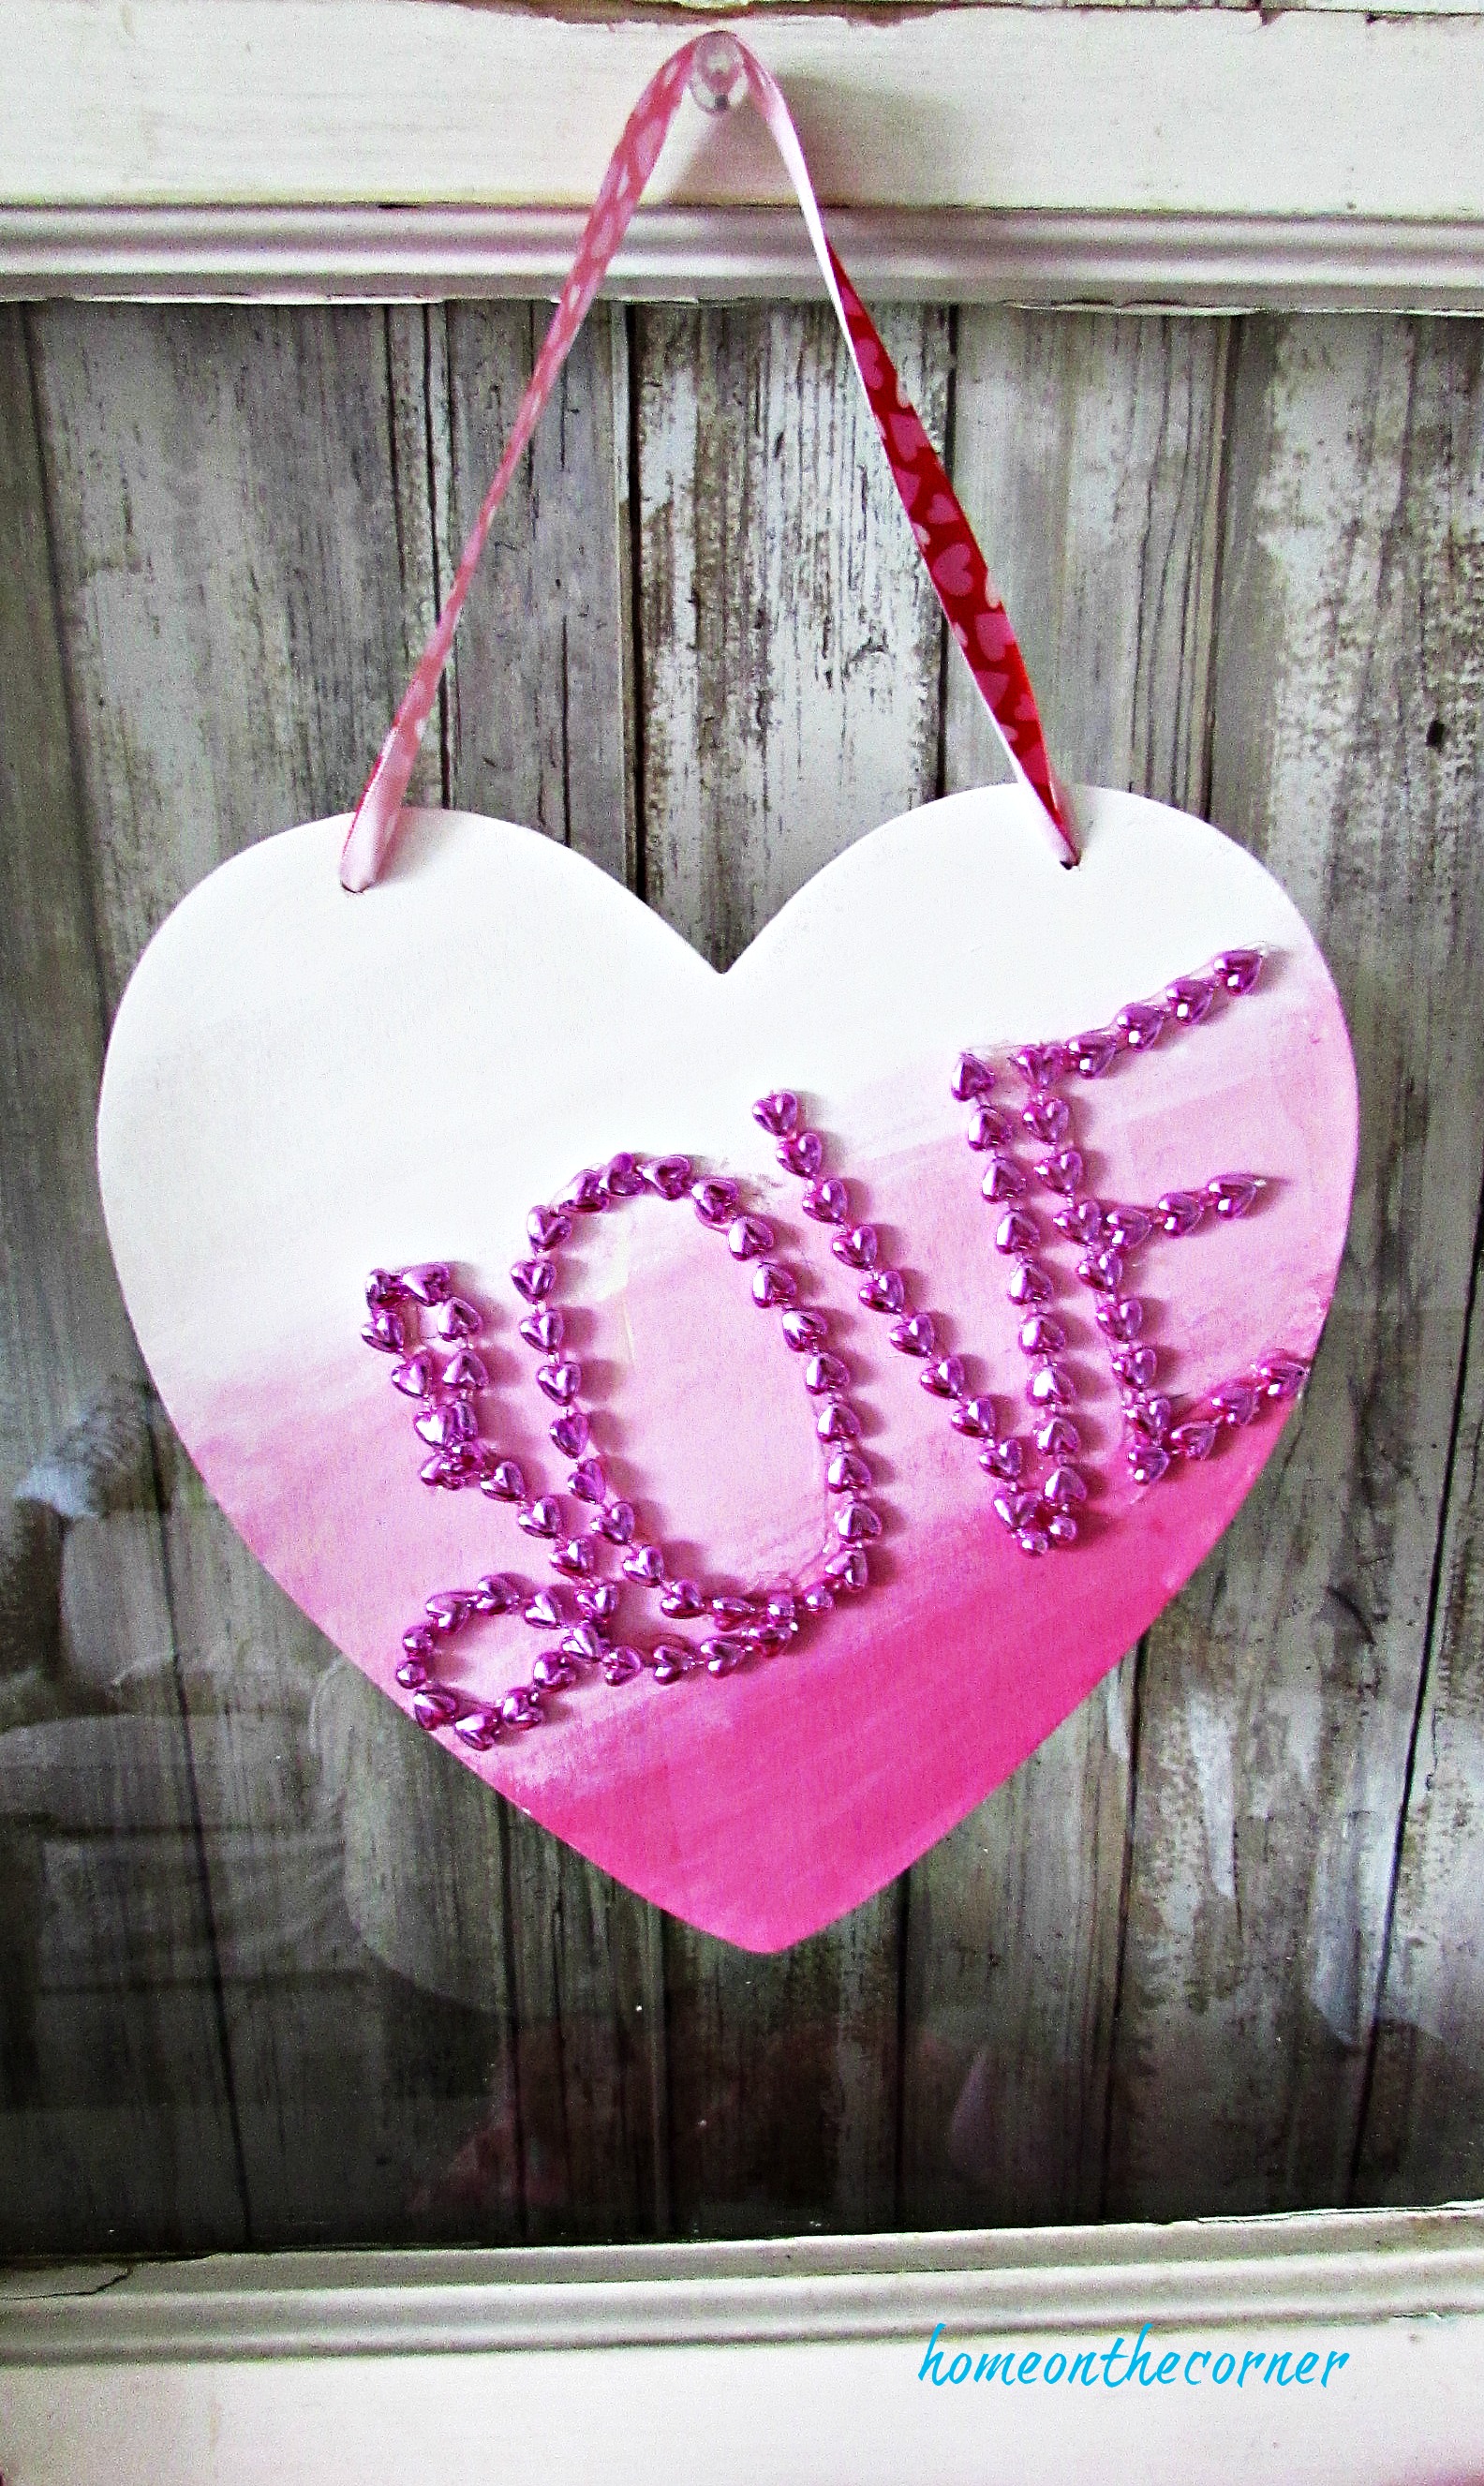
Ombre’ Wooden Heart– Another craft idea with Dollar Tree items.

Gum and Candy Basket- Here’s a cute way to give some special treats to your special someone!

Valentine Pixi-Stix Flower Vase– Or maybe you want a special vase to give some flowers to someone!

I Love You Wooden Blocks– Another easy craft project for you!

Stamped Heart Treat Bag– One last idea for a goodie bag! (Scroll to the end of the post for the how-to)

I hope you enjoyed this round-up and found some ideas! I would love to hear about what you do for Valentine’s Day!

Wooden Buoy Ornament

Good morning! We are in December! Can you believe it? This time of year goes by so fast! Do you have parties to go to, or family get-togethers? Or maybe your hosting this year. There is so much to do! I love to create some new ornaments this time of year too. I came up with a simple beach/ocean ornament for my tree. I made bigger ones of these earlier this year, and I thought little ones would be so cute!

ocean wooden buoys

I had my husband cut out some little pieces from some scrap wood we had. The tallest one is 4 1/2 inches tall and the smallest is 1 3/4 inches tall. The tops were cut in on each side and then a small hole drilled in it.  I used some Waverly chalk paint to paint 2 of them ‘Mineral’ and 2 of them ‘White.’

wooden buoy ornament unfinishedwooden buoy ornaments painted

I taped off different areas of the buoy to add the colored stripes. I used orange, turquoise and black. After the paint was dry, I added a piece of twine through the top.

wooden buoy ornament taped and stripes

Here are the finished pieces! I hung them on a little faux tree I have on my front porch.

Christmas Wooden Buoy OrnamentWooden Christmas Buoy Ornament Orange and White

I found the wooden bobbers this past summer at an estate sale and freshened them up with some turquoise paint.

Christmas Wooden Buoy Ornament Turquoise, orange, greyChristmas Wooden Buoy Ornament Black and White

I love the mixture of the ornaments, the rope garland and the starfish on top.

Christmas Wooden Buoy Ornament Faux Tree

I have been busy decorating the other room in my house and hope to have tours up real soon! Have a great week!

sunshine-and-blessings-picmonkey

Here are some other posts you might enjoy:

ornament exchange 2017 sparkly sea urchin jellyfish

strawberry silver snowflake

star wire ornament on tree

Sequin Ornament on the tree

Wooden Halloween Cat Box

Hey everyone!  This blog was posted last October when I first made this.  And when I moved to this new apartment, I found it again.  So, why not repost about it because, it is super cute!

Fall is not quite in full swing but Halloween is almost here.

And what is something that goes with Halloween besides witches hats, pumpkins, and ghosts?  Well…black cats of course!

Do you remember when mom and I went to Home Depot a few weeks ago (last year lol) and made wooden boxes?  She shaped hers like a pumpkin and I shaped mine like a cat.  Guess what?  I finished mine!  Here it is!

cat box

So I painted the cat black and painted the front of the box in chalkboard.  I added the word BOO for the season of Halloween.

BOO

I also added flowers and a red bow to make the cat more festive and more like a cat.  cat box

I love how this turned out!  It turned out cute and I am able to change it for the different seasons.  I can’t wait to see what I make the next time I do a Home Depot project…which is tonight!

sparkle

DIY Wooden Ocean Buoys

ocean wooden buoys title

Good morning! Today is my first day back at school with students! Eek! I’m a little nervous because some I have never met before. But I know I have good help in my room and hopefully everything will go smoothly.

I know most people are getting ready for fall, but it is still over 100 degrees here! It’s hard to think about cooler weather projects when it is still so hot! So today is another summer post! It’s pretty simple though.  I actually had everything on hand already. I have been wanting to make these for awhile and I finally got it done.

I had some 4 x 4’s (actually 3.25 x 3.25!) in my wood stash and had my husband cut them in various heights. The tallest one is about 13″ tall and the shortest one is about 8″ tall.  I also had him taper in the tops on each side. They don’t quite come to a point, but are flat on top. I also drilled a hole, large enough to get some rope through. The diameter of the hole would depend on the type of rope you are using. I picked up some more Waverly Chalk Paint at Walmart, this time in ‘Ocean’, ‘Pumpkin’, and ‘Lagoon.’

ocean beach buoys

I first painted each piece with either Waverly ‘Plaster’ or ‘Mineral.’ 2 of each! I didn’t cover the wood too well, because a real buoy would be worn by the sea and sun.

ocean buoys painted grey and white

After the paint dried, I used painter’s tape to mark off where I wanted to put the colored stripes. Make sure to really seal the edges of the tape so the paint doesn’t go under and bleed into other areas. Take off the tape soon after the paint starts to dry. I started with the smallest one and decided to paint just one color around the whole thing. This one will be ‘Lagoon.’

ocean wooden buoy painting stripes

I did a variation of the 3 colors on each buoy. This one will be ‘Pumpkin’ and ‘Lagoon.’

ocean buoy grey painting stripes

After the paint was dry, I sanded the piece all over to give it a rough and worn look. Here is the small one. I love it!!

ocean buoy turquoise and white

I took a length of rope, ran it through the hole and tied it at the top. I should have rolled it in the dirt first, so it wasn’t so new looking! I’m sure it will look more worn before long.

ocean wooden buoys

I am so pleased with how these turned out!!

ocean wooden buoys orange, turquoise, blue

I can’t wait to really display them next summer!!

ocean buoys wooden blue and turquoiseocean wooden striped painted buoys

I hope you all have a great week and I will let you know how my first day of school went!!


ps. Redbubble is having another deal! On Monday only, 8/29, you get 15% off the whole site. Use the code CIRCUS15. 

Sunshine and Blessings