We all know that little princess who has too many dress up clothes. And they have too many boxes of dress up clothes, causing some of them to get wrinkled and ruined. This is an easy project that will help to organize the dress up clothes and not cause them to get wrinkled and ruined.
I started with a piece of plywood that I cut 10 inches by 8 inches. This is big enough to place two hooks on the board to hang more clothes. I then primed the board so it was easier to paint later.
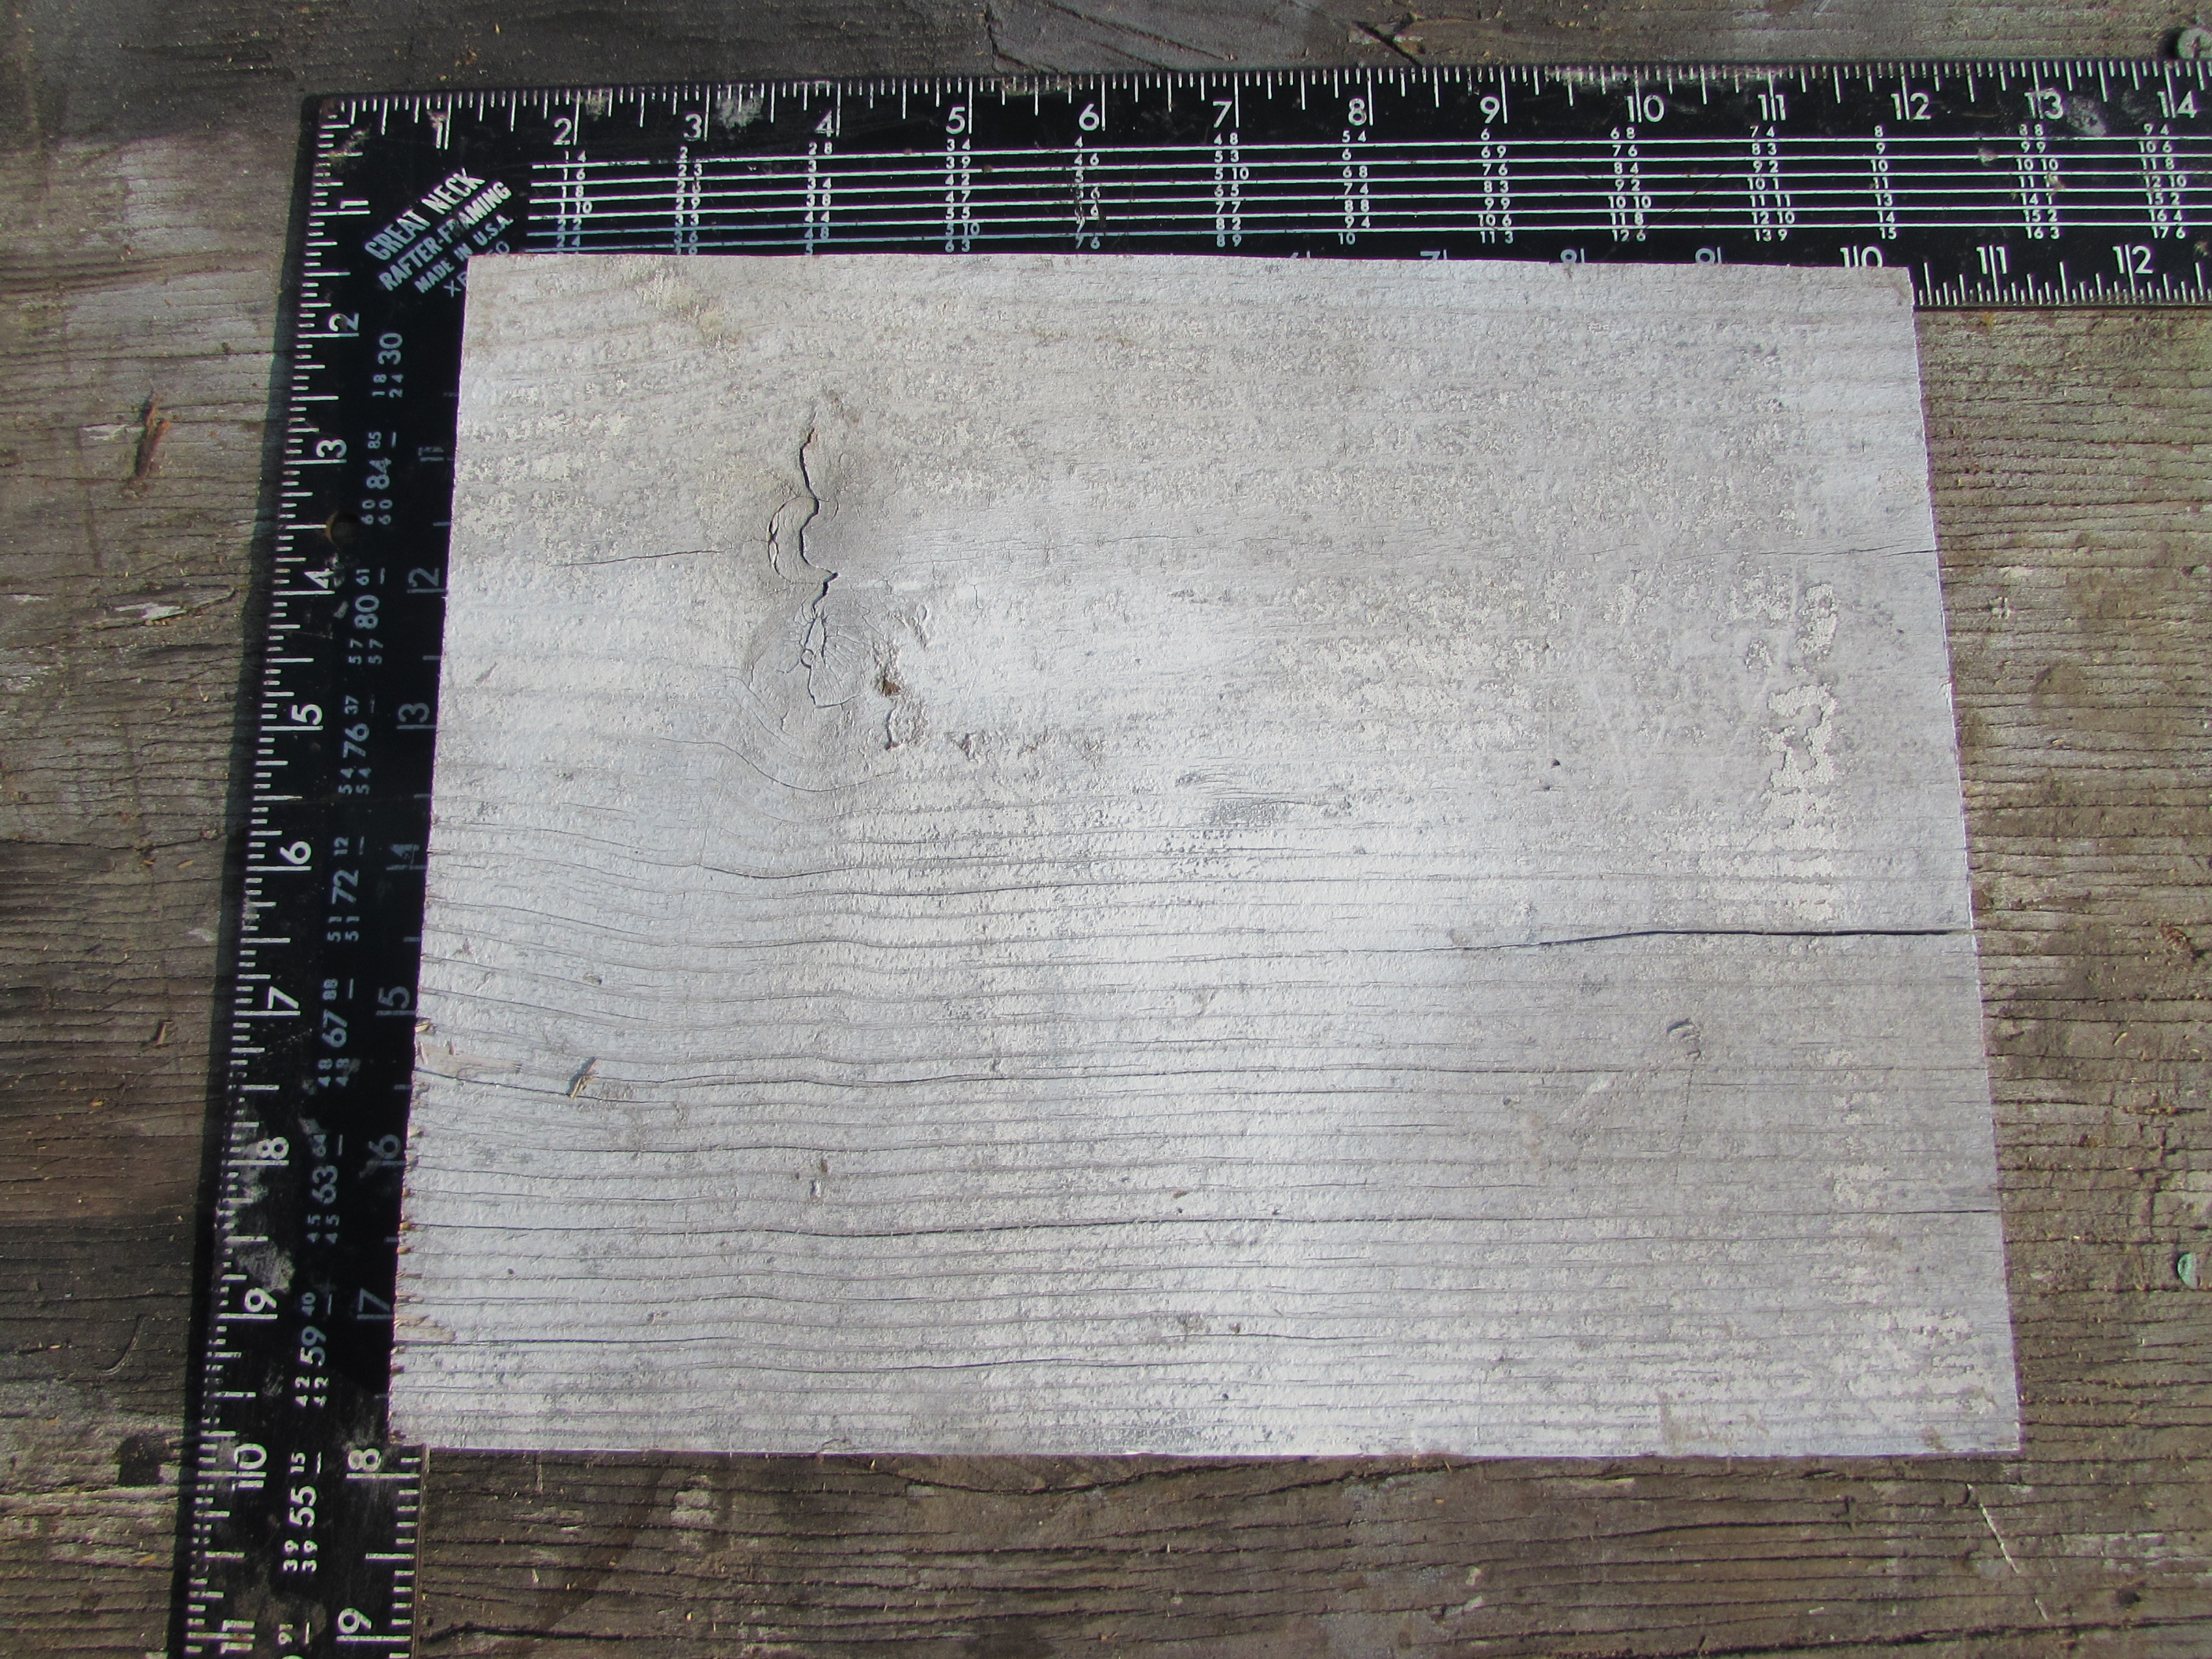
The dimensions of the wall hanger
I decided that since this hanger was going to be for little girls, it should be painted pink. I chose a berry pink spray paint to use as the main coat of the hanger. It is a vibrant pink that I could cover in other colors to make it colorful and cute.
The color is Berry Pink!
The design I decided to make on the wall hanger was circles of different sizes. I found these two plastic lids to use as my two circles. So I traced my design on the pink plywood before I started to paint the circles.
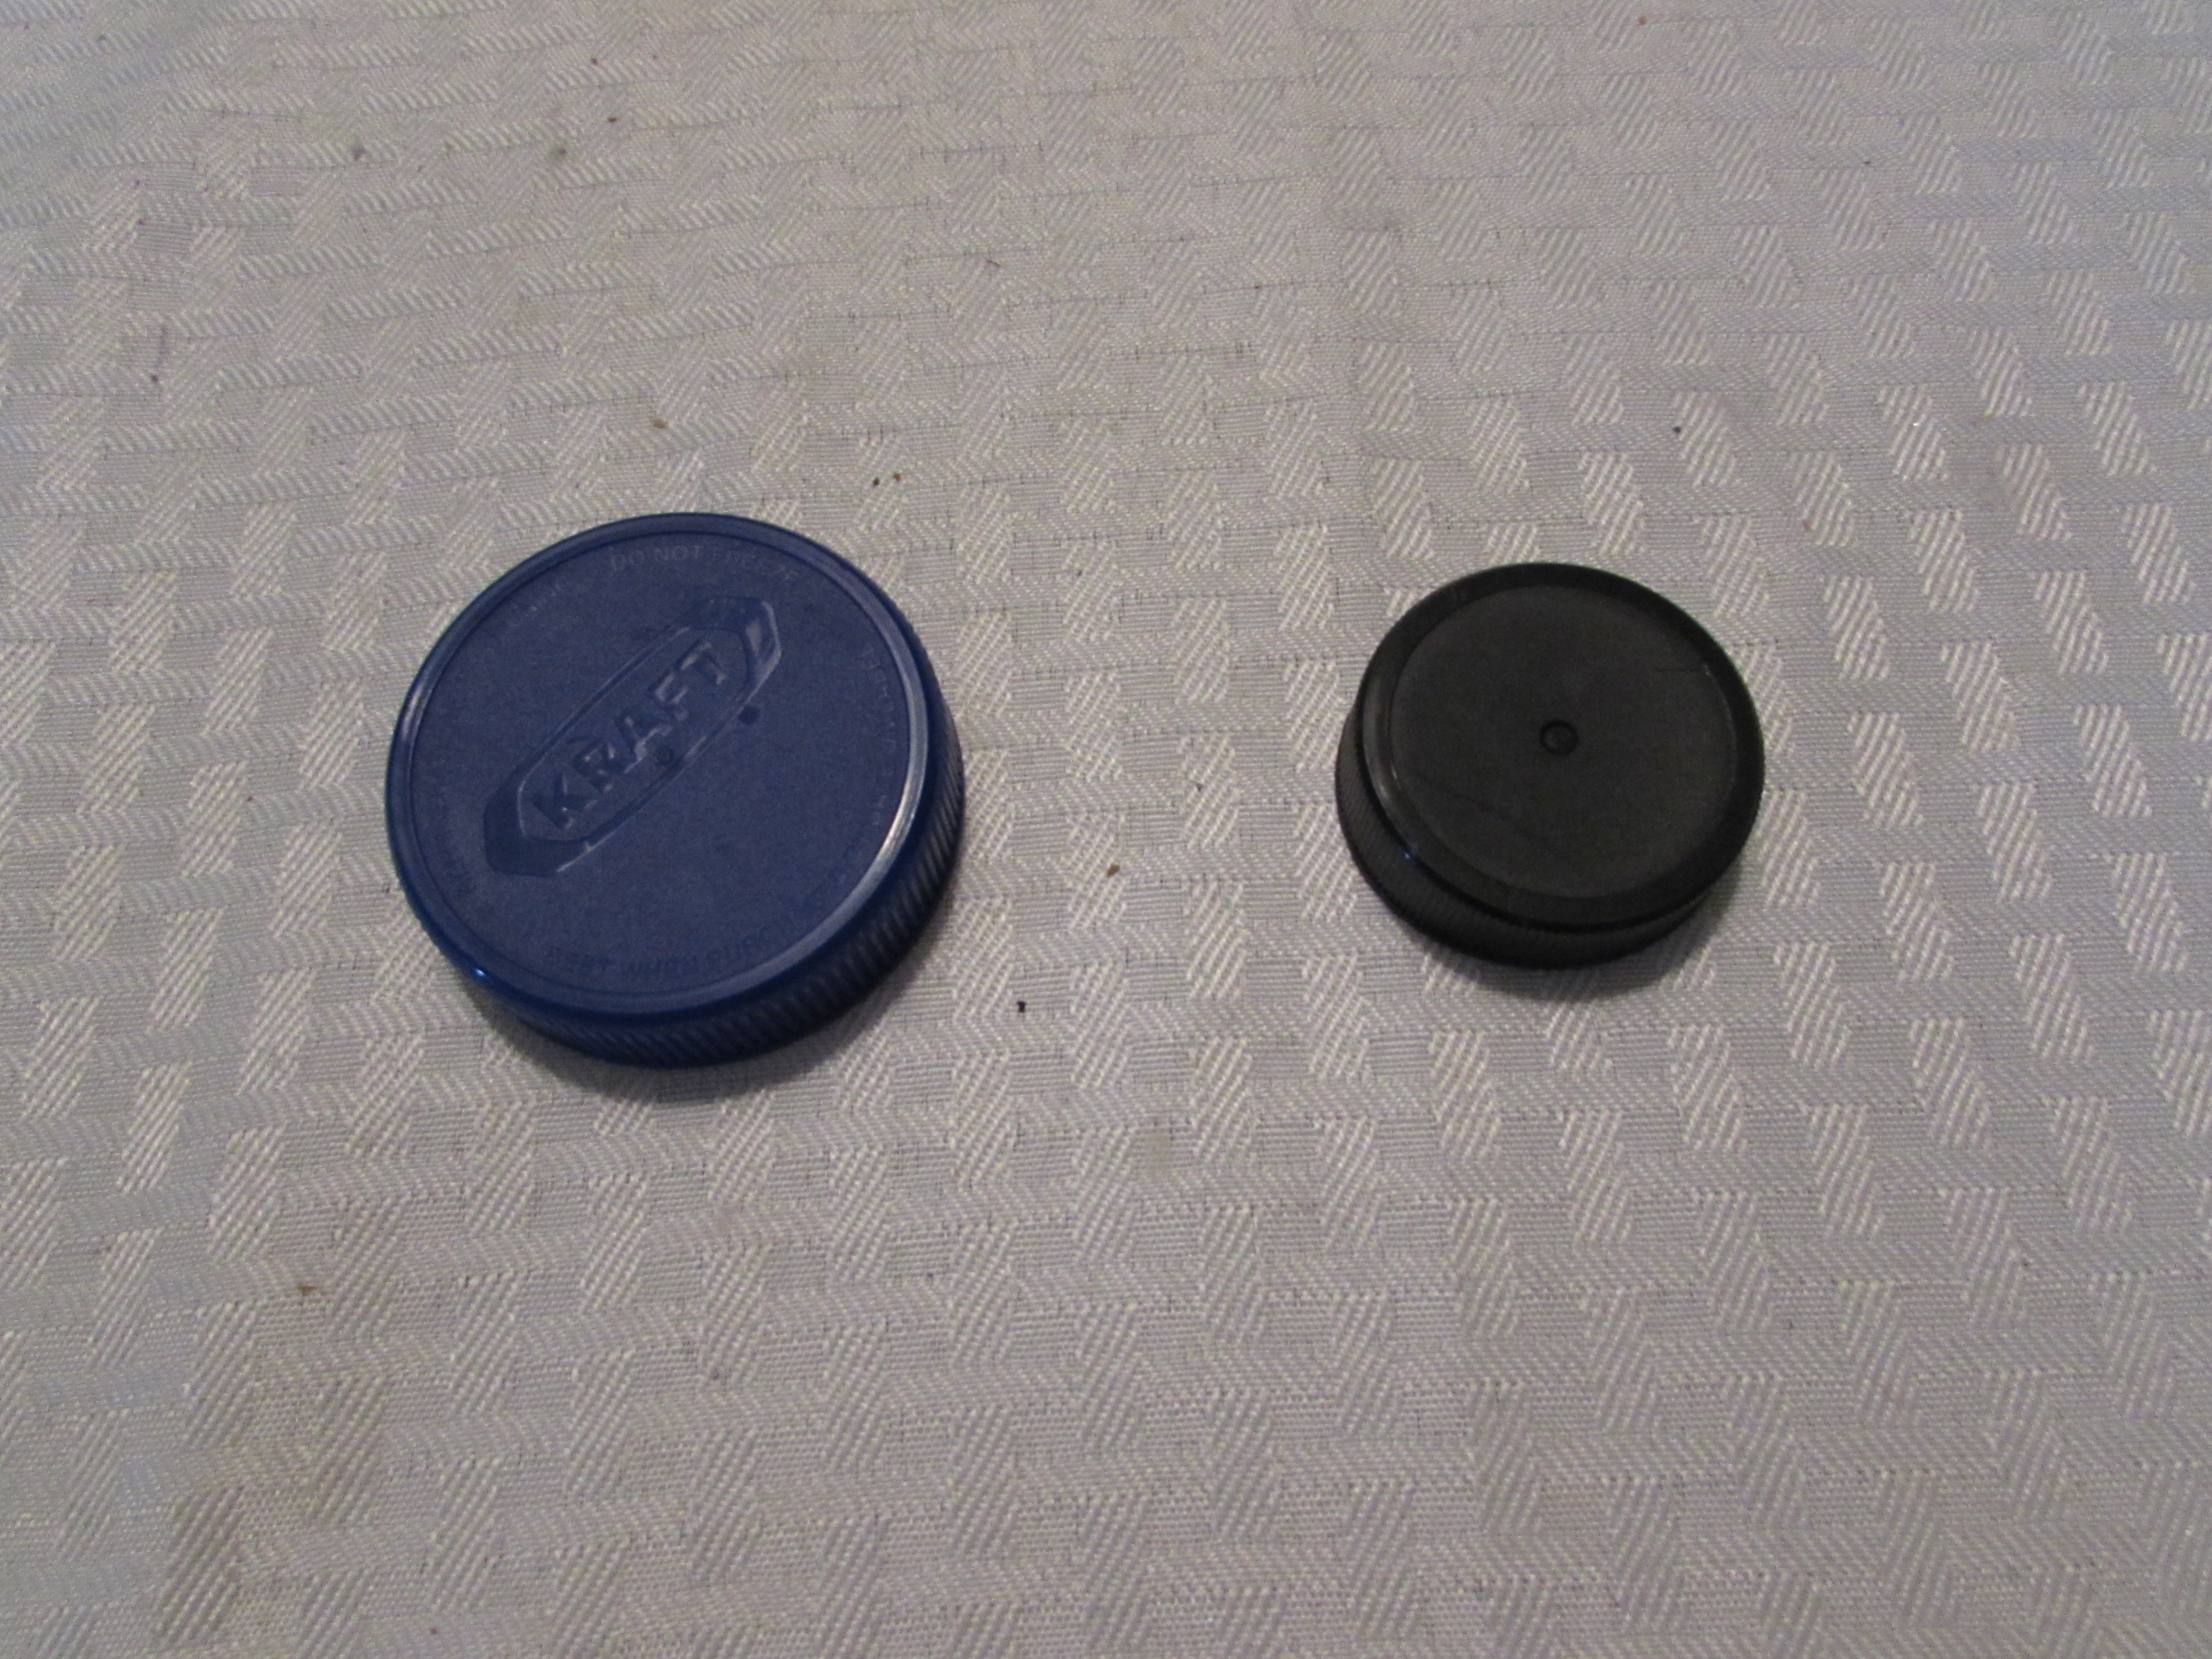
I used these lids for my circle design
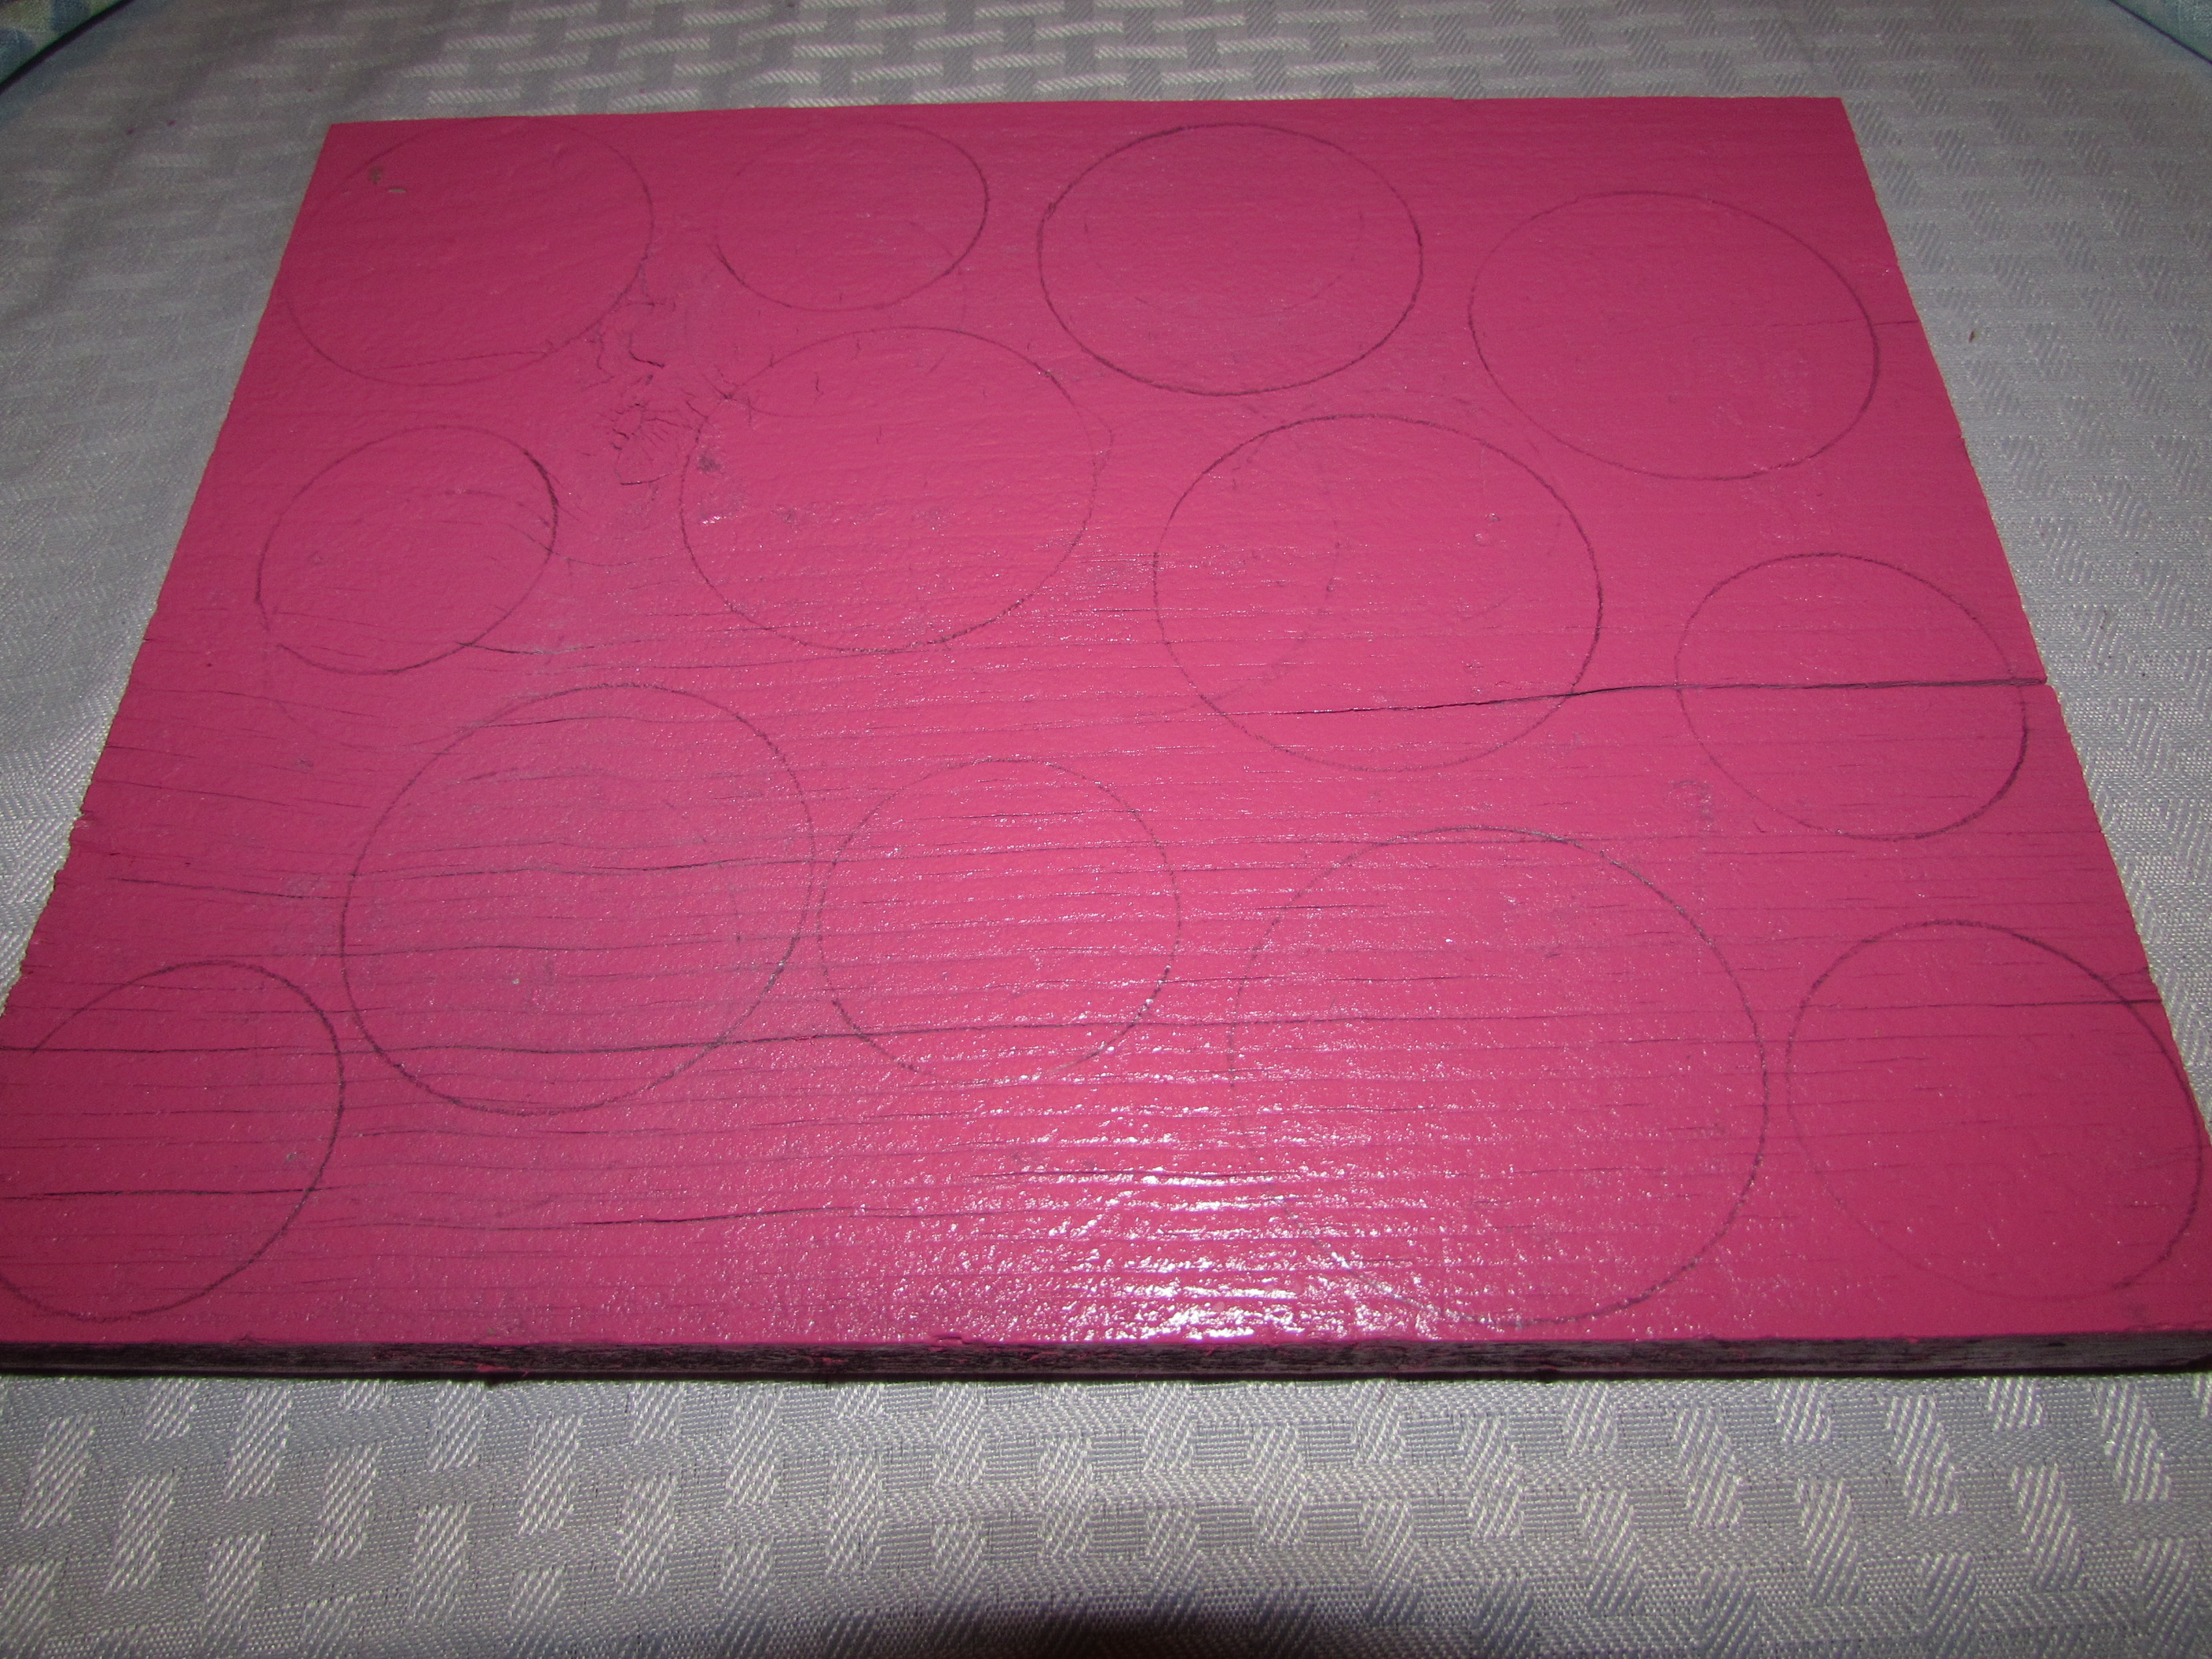
Here are my circles before the paint
I wanted to go girly, so I went with black and white. I did a little bit of a random black and white circles so it didn’t look like a real pattern. I also took a small paint brush and added black and white dots on the plywood, putting white dots next to black circles and black dots next to white circles. I wanted it to keep this fun and cute for the little girls.

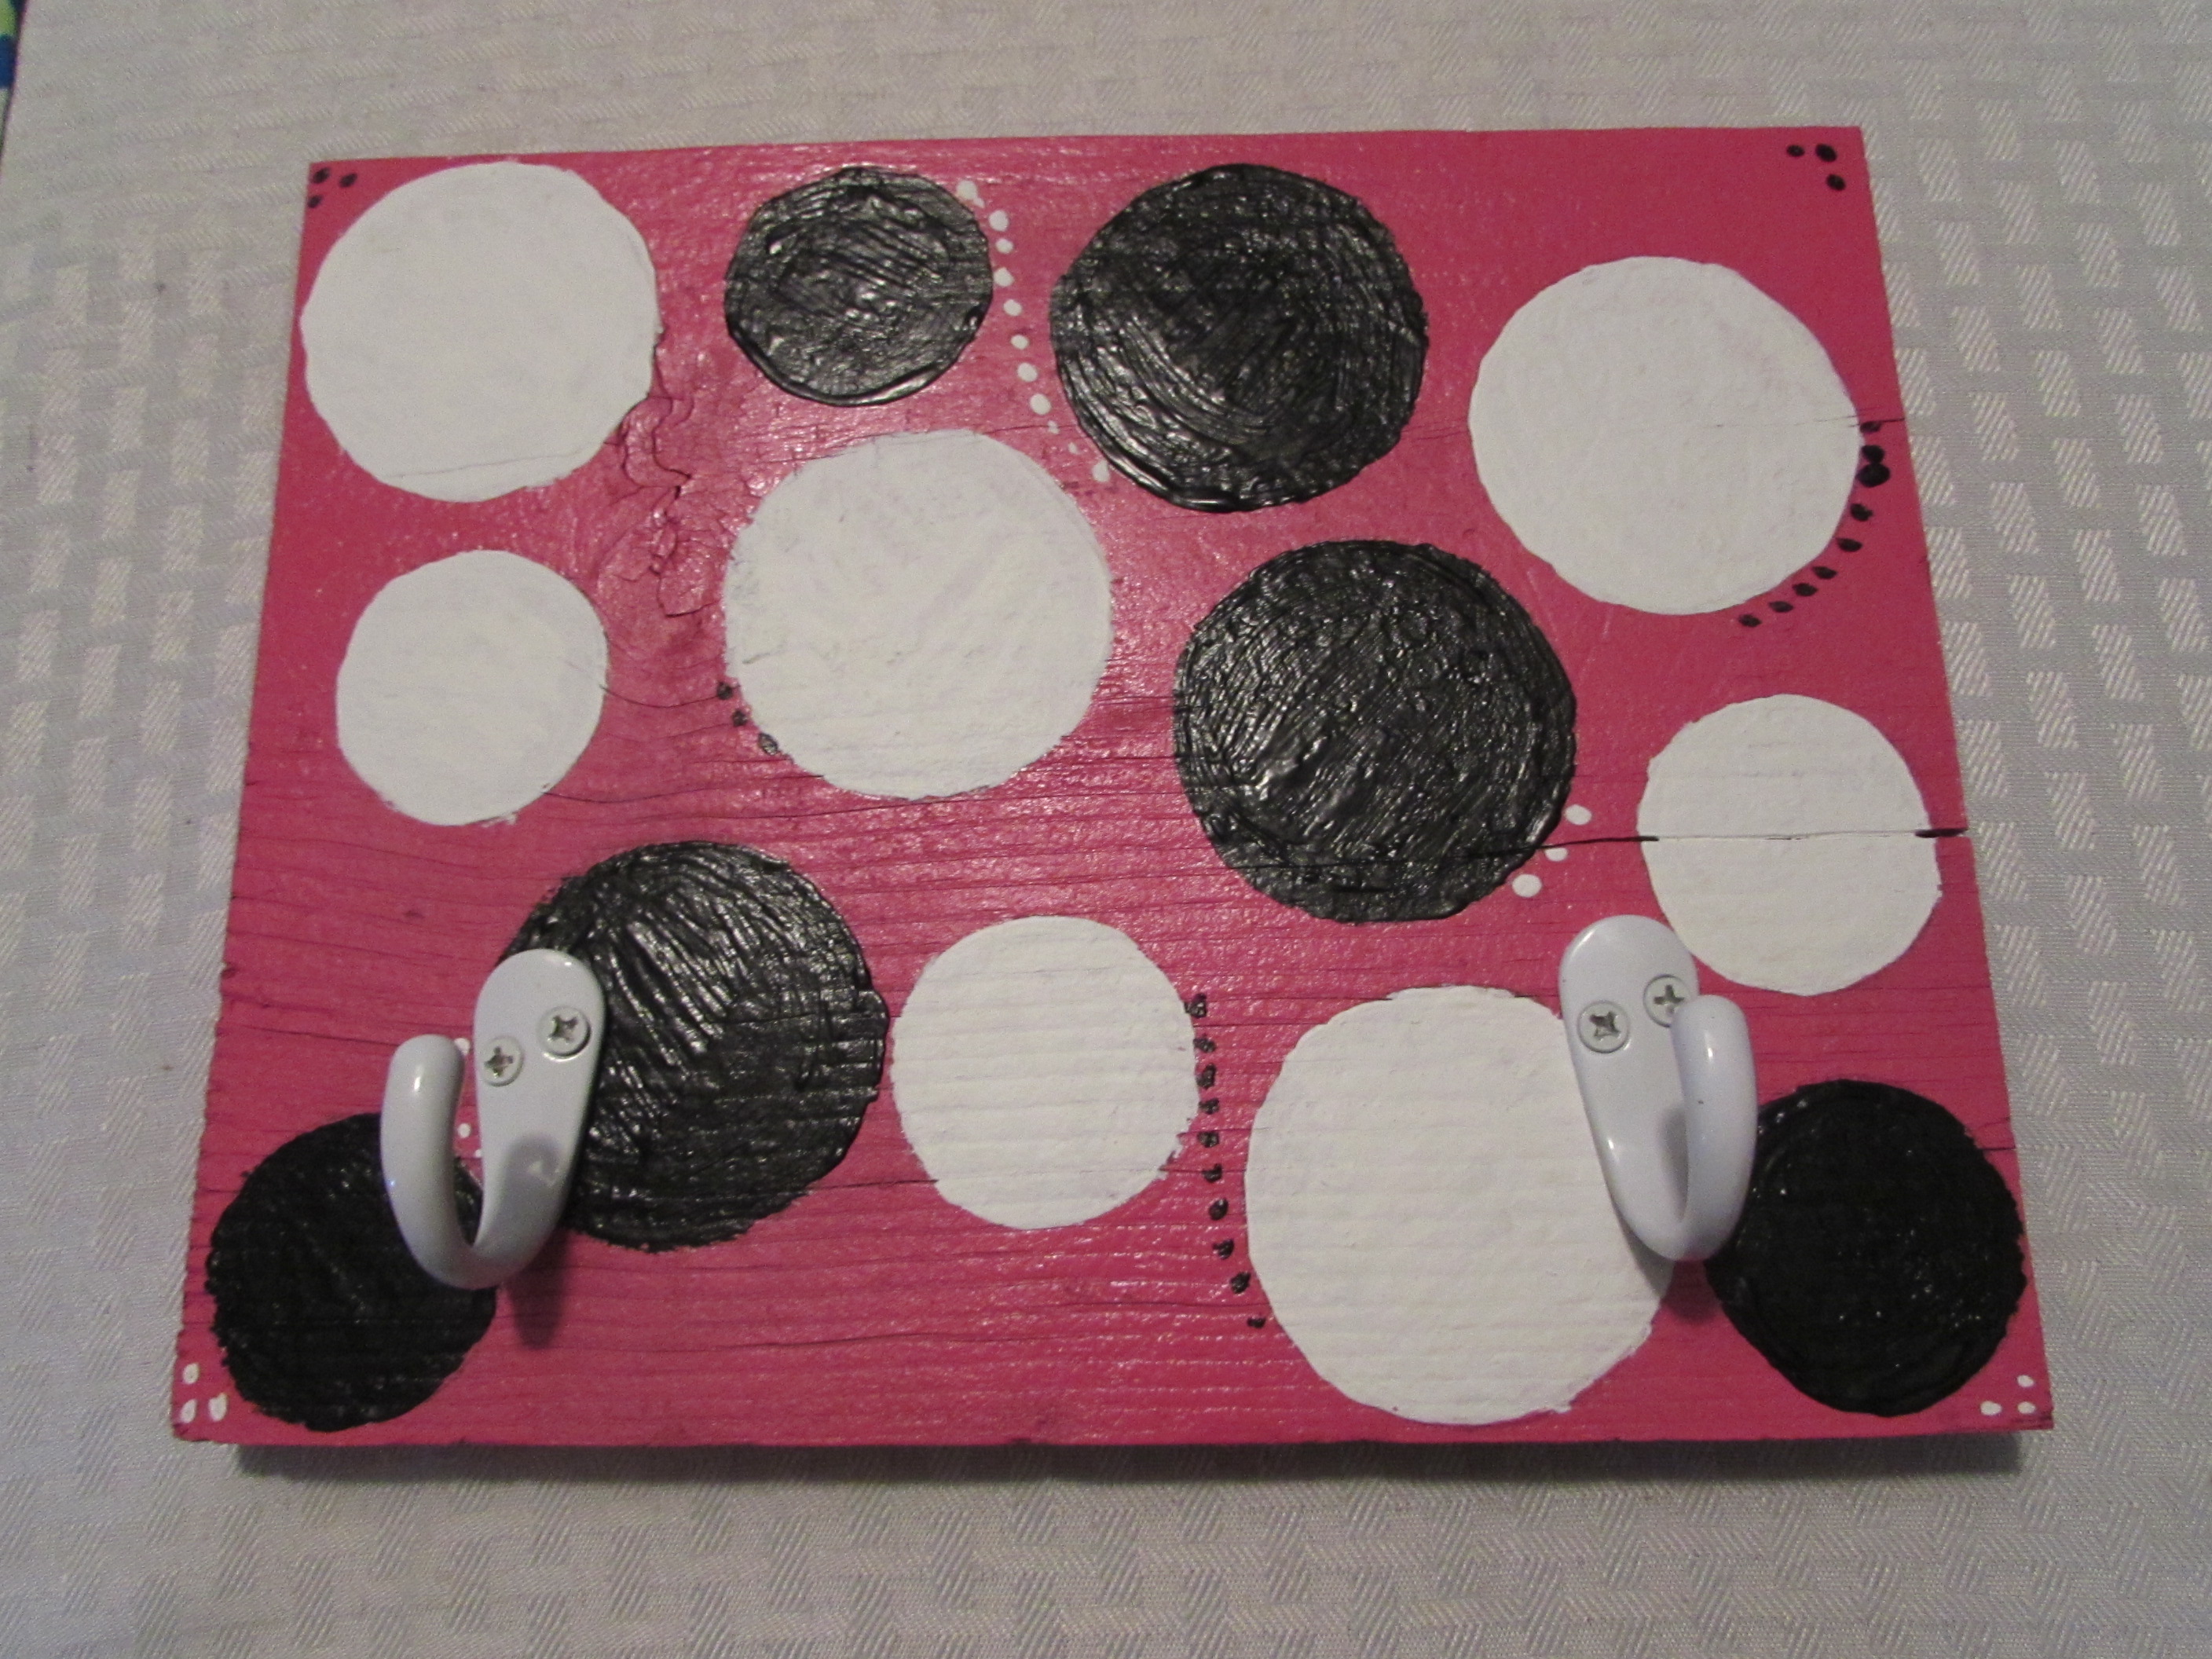
Almost done! Just the hooks to go!
I then added two white hooks to the bottom of the board. I placed them about 2.5 inches up from the bottom and about 1.5 inches from the edge of the board. With the help of my dad, we were able to screw these two hooks on the front of the board. We also placed a hanger on the back of the board so we could hang it on the wall.
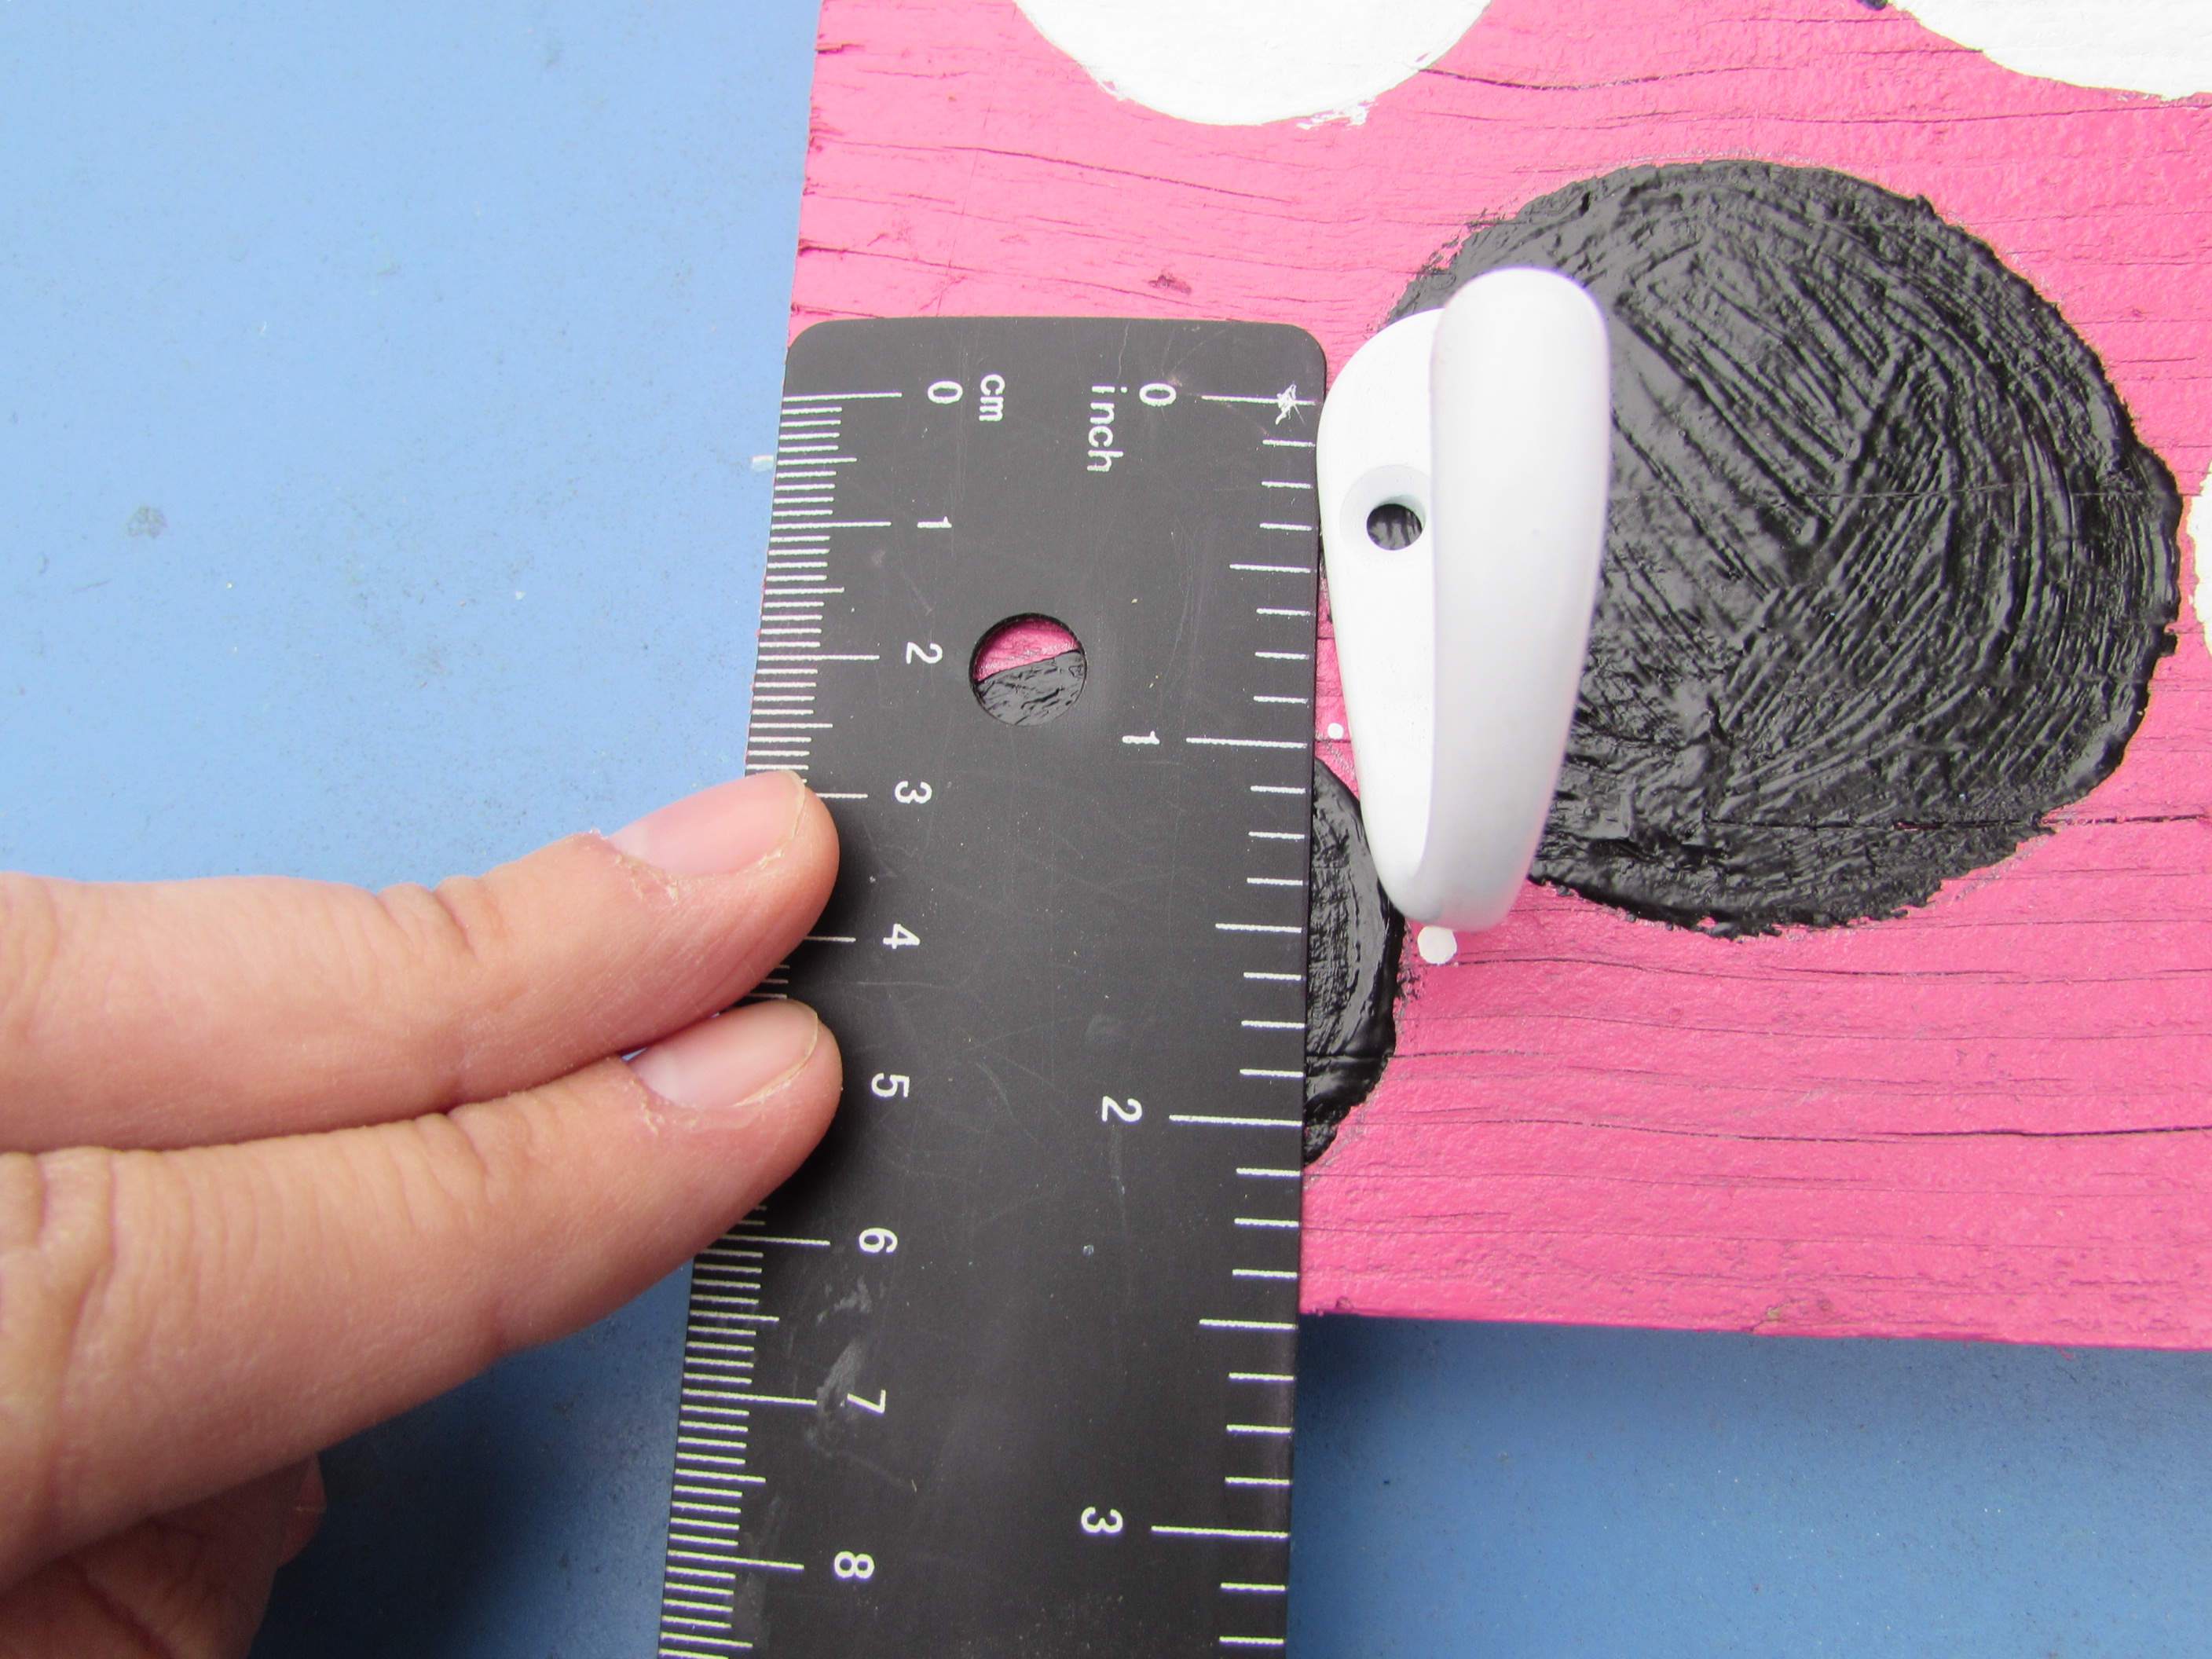
The placement of the hooks on the board
And here is the finished product!
It’s all finished and ready to have clothes hung on it!
This project was really easy and really fun to work on. It is something simple to help organize the dress up clothes and not have so many boxes to have clothes in.
Love, Lauren