Corner News-January 16, 2016

Welcome to another edition of the Corner News!  This weeks edition is very short and sweet, but it is all worth it in the end.

Last night, my mom and I were creating burlap tablecloths for an Open House at Valley Animal Haven, the shelter we volunteer with.  We decided that we wanted to stamp some paw prints onto the burlap to make them more personal for the shelter.  So, taking two different stamps and lots of black paint, we got started on our project.

And here is what our dining room looked like when we were done!

burlap paw print

They turned out super cute!  The randomness of the paw prints makes the design even cuter!


And why not just look at the handy work of one of the beautiful paw prints.  Isn’t it splendid?

single paw print

So this is the big excitement of what happened this week.  Hope you all have a great weekend!


Let’s Get Crafty!

It was the week before school started and all through the apartment, not a student was happy, not one single one.  But Lauren came up with an idea to share with her friends, that involved so much crafting until the days end.

Okay, enough with the bad poetry (if you read that as the ‘Twas the Night Before Christmas poem, brownie points to you!).  Seriously, I hosted a crafting party!

One of my coworkers explained that she had wanted to complete a craft project but she didn’t want to work on it alone.  So, I decided to create a party where we could work on crafts, alone with some of our other friends and coworkers.

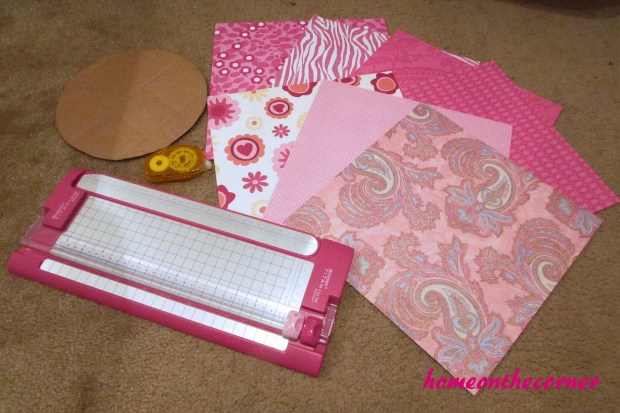
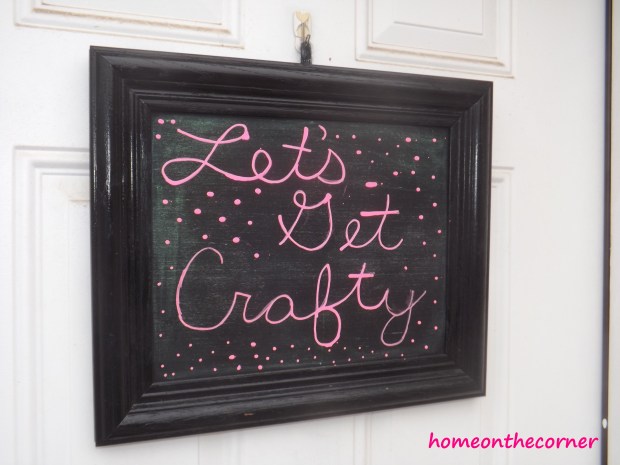
It started with an invitation that I created through an app and text/Facebook messaged all the people who I wanted to come.  It was a great invitation that I spent hours (sarcasm much? LOL) creating, so I must share it with you.

Invitation

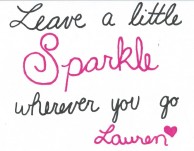
So, I know my apartment can be somewhat hard to find, so I decided to add this beautiful sign on the door for people to see find the party!

Let's Get Crafty

I decided to be nice and added some items that people could use if they wanted to.  You know, just in case someone didn’t bring anything.  So, I had things like game pieces, bottles, sharpies, hot glue, etc., that people could use.

Craft Counter

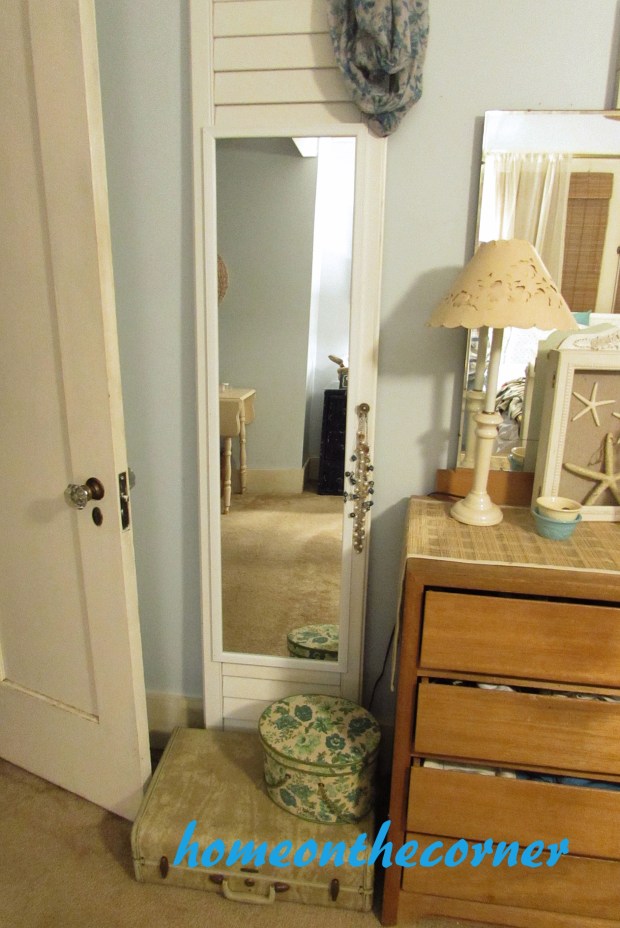
Now, do you remember this Banksy box that I had in my bedroom?

Banksy Case

Well, I have been filling it with yarn that I had left after I finished a scarf.  And…the box was full.  Like, the zipper has broken because I have tried to squeeze so much yarn into the box.  So, I had the box out for people to use any of the yarn.  Unfortunately, it was only me who used it.

Too Much Yarn

And now, the guests started to arrive.  Food was set out and crafting began.  My coworker and close friend Elise wanted to paint some letters that she would later decoupage.

Elise Pic

The beginning of the painting
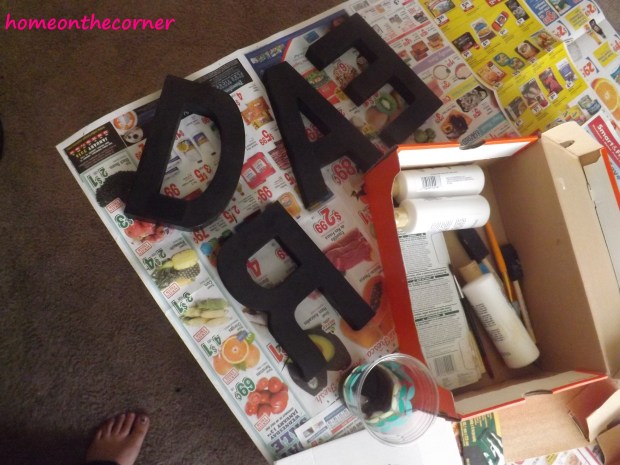
Elise Pic 2

All black now!

Another friend Crystal, who I have had classes with at college, wanted to make a bracelet.  You know those friendship bracelets that kids made back in middle school?  Yeah, that kind.  But a complex design.

Crystal Pic

Just the beginning

Crystal Pic 2

Almost done

My roommate Hannah decided to bring all of her crafting stuff to the party.  She brought a lot of stuff.

Hannah Pic

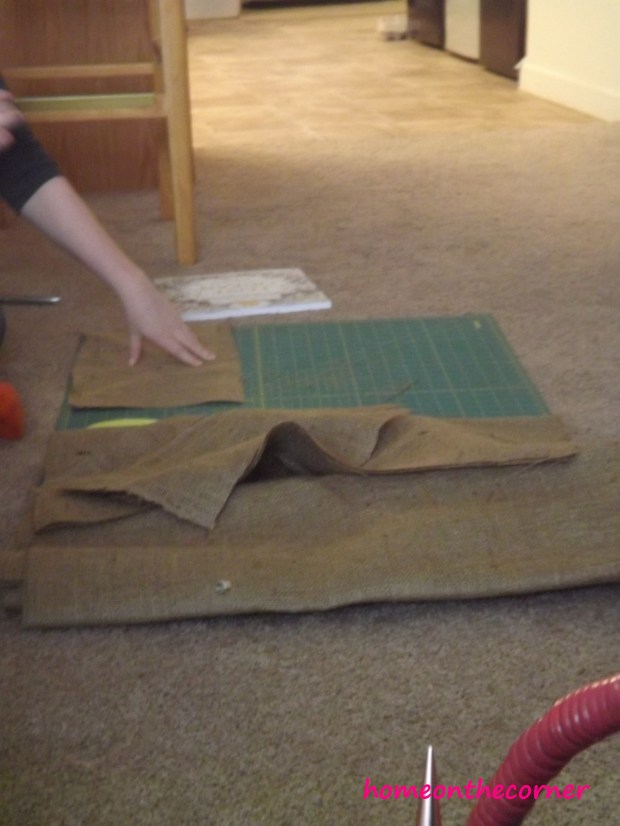
Hannah’s sister Sarah was also at the party.  She wanted to make burlap wine bags, so she had a lot of burlap to cut the bags out.

Sarah Pic

So what did I work on?  I was actually knitting a blanket.  I was taking some yarn that was in the Banksy yarn box and making a blanket.  I wasn’t expecting it to turn out this cute.

Blanket

I actually think that it looks pretty cool!

And now all of the guests have left, the party needs to be cleaned up.  Anyone want to help?

sparkle

The Easy Way to Make a Shutter into a Mirror

Time seems to go so quickly. We will be celebrating our 1 Year Blogiversary in just a couple of weeks. Amazing!

Do you ever feel kind of overwhelmed by all there is to see on the internet, places like Pinterest and Facebook? I know I do. There are so many ideas out there and so many pretty designs, it is hard to know where to begin or even decide what you like! There is so much out there that I like. I like the neutrals, but I also like the turquoise seaside look.  Do I want farmhouse or coastal? So then I have to decide if I want every room to have that look or just some of them. When I see other houses where they use neutrals, I love how they can move things from room to room and it still works. I don’t know. I guess my look is always evolving. But I do know right now, I am liking white. I have always liked shades of white, but when my kids were younger, I had lots of color. Now I am trying to go with more white and then add different colors with accents, such as pillows, blankets and decorations. Now you get to join me on this crazy ride!!

My first project this year is a full length mirror for my room. I had one on the inside of my closet door, but when I went through and decluttered, I hung jewelry there instead. Then the mirror broke when it got moved. After Haley repainted her room, I inherited her mirror. I had it just standing on the floor in the corner and would move it when I needed it. It’s actually the mirror in the first pictures, but guess what? It broke too! 2 mirrors broken! Does that mean bad luck for me? They were both in 2015, so will 2016 be okay? Anyways, I knew I wanted to do something nicer with mirror and I had either a door or a shutter to work with.

door to mirror pieces

I ended up using the shutter because the size fit better with the mirror. I’m sure the door will show up sometime here on the blog! I took the frame off the mirror and as much of the cardboard as I could. This is probably what caused it to break. It didn’t have enough support.

door to mirror back side

The shutter I had was missing a couple of the slats at the bottom. My husband took the whole slat piece off the bottom and turned it over so the missing ones were in the middle and will be covered by the mirror. Smart thinking!

door to mirror shutter

The next thing to do was clean the shutter and buy a new mirror!

door to mirror missing shutter pieces

Alrighty, I’m back. The shutter is clean and the mirror I found had a white frame, so I didn’t have to frame it myself. I’m all about making it easy!

door to mirror shutter painted

After lining everything up, we got to use my new Ryobi Airstrike gun. I actually won this from another blogger! I was so excited about this! Sure makes it easier than hammering nails! We nailed it near the edge so it wouldn’t crack the mirror. We don’t want to break 3 of them!

Door to Mirror Shutter Nailgun the edges

Here it is! I’m so glad to finally have a full-length mirror in my room. I’ve been moving the old one all over, trying to prop it up and other various moves to see what I am wearing!

door to mirror full view

Hi Ezzy!

door to mirror ezzy in the mirror

I really like how this looks in my room.

door to mirror top half

And it could be used in any room!

Thanks for joining me today! See you next time!

Sunshine and Blessings

Pink Paper Flower

Valentine’s Day and springtime are approaching us.  That means all of the pretty colors are coming in and the flowers are starting to bloom.  The scenery is becoming more vibrant and it is time to start spending more time outside rather than in.

So, why not welcome spring by starting to decorate with some flowers and bright colors?

I found this easy DIY paper flower on HGTV.com.  I was excited because it looked really pretty and the instructions seemed simple.  So…here is my trial of making a pretty paper flower.

Items needed are:

Pink Paper Wall Flower Tutorial


A cardboard circle-the online instructions said to use a cake circle which would work, but I didn’t have one, so I just used a piece of cardboard and cut it into a circle.

Scrapbook paper-the online instructions said to use 7 pieces of scrapbook paper.  I ended up only using 5 1/2.  Granted, I used different designs where the original design used all the same color.

Double sided tape-I didn’t have any, so I used a hot glue gun and regular tape.

A paper cutter or scissors

Step 1: Cut all of your paper into 4 inch by 4 inch squares.  (I found it easier to cut the pieces that I wanted to use first instead of all of it because I didn’t end up using all of the pieces that I cut).

Pink Paper Wall Flower Squares

Step 2: Make all of your squares into a cone shape.  I had to use a little trial and error to make my cones look the way I wanted it to.  If you are using designed paper, fold the plain sides together for the inside of the cone.  If the design in on the inside, the flower is going to be a majority white.  Make sure to tape or glue the edges together.

Pink Paper Flower Cones

Step 3: Start gluing the cones onto the cardboard.  I had to use hot glue to get the cones to stick to the cardboard.  Also, the cones need to be a small distance apart so they don’t get too crowded and not make a circle.

Pink Paper Flower Close Up


Step 4: Keep adding cones to the cardboard to make the layers of the flower.  Just flatten the end of the cone and put glue on that end to stick to the cardboard.  Keep filling in until you have a flower!

Pink Paper Flower Final 2

Now, this flower can be hung from a wall or just placed on a table like I have done.  I love how it turned out with all the different designs of the paper in the different layers.  It is great with Valentine’s Day decorations or just to hang on the wall.

Pink Paper Wall Flower Final 1

We’ll be back with  more ideas in the next few weeks!

sparkle

Recap of 2015-Our First Year of Blogging

I can hardly believe it’s been almost a year since Lauren and I started this blog! There have been many days of frustration when we can’t figure out how something works, but there have also been many exciting days along the way. Thank you so much to all our followers! It’s always great to hear from so many of you and make new friends along the way! We look forward to some new and exciting stuff in 2016!

Today is Recap Day! Let’s see what were the 10 top posts of 2015!

10. Thrift Store Medallion Makeover

This was the first time I used Antique Wax on a project and I love how it turned out.

metal medallion fall decor

 9.  The Drama In Our Backyard

Spring Time! This was quite an adventure!

Daddy is watching!

8. Old Door Beverage/Candy Station

We have used this Door Beverage station quite a lot. It’s a great way to add a little vintage charm to your backyard or patio!

old door beverage staion-homeonthecorner

7. Recycled Pallet Table

Love, love, love this table! It really wasn’t something planned, but it turned out great!

deck pallet coffee table 2

6. Corner News-December 11, 2015

Awww! I don’t have to say anything else!

IMG_0095

5. Fabulous Vintage Beverage Cart Makeover

This was a great garage sale find! It’s fun to use outdoors in the summer, but also indoors. Right now I am using it for a hot chocolate station.

Retro Beverage Cart

4. We Went Junking (and some other shopping too)

This was a fun day! Just love this truck!!

I want this!!!

3. My Beachy Spring Decorating

Funny how things change in my house so quickly! I don’t even have this shelf anymore! This spring decorating will look quite different.

IMG_2592

2. Paper Pinecone Christmas Ornament

I joined an ornament exchange this past year and it was so fun! I loved seeing what everyone else was doing and coming up with something special for my fellow blogger.

Christmas Ornament Exchange

1. Recovering My Outdoor Swing Cushions (I Cheated a Little)

Wow! Number one! Is it because I admitted I had cheated? Anyways, I love how the swing turned out and love that I didn’t have to use a sewing machine!!

swinging chair 21

Wow! That’s a great list and we will have to stay very busy this year to keep up!

The most popular post?

No surprise here! Not with this cute little face! She will be coming home very soon!

IMG_0095

Thank you so much for a wonderful 2015 and we can’t wait to see what 2016 has for us!

sparkle                                      Sunshine and Blessings