My Living Room Update

Good morning! Oh my goodness! This summer has been busy! I continued working midway through July, we had Haley’s graduation party, went camping at the beach, held a yard sale, celebrated both girls’ birthdays, and now we are headed to Disneyland! I know I haven’t been here much this summer, but I did want to update you on my living room progress. Just a reminder: we have a Canvas Factory giveaway going on until Wednesday, July 24. Here’s the link.

*This is not a sponsored post. These are just the products I used.*

Here was my Idea Board I posted a couple of months ago. Some things have changed from this plan. I ended up getting to matching Ikea loveseats rather than one loveseat and 2 chairs and I have a temporary coffee table. I haven’t found a floor lamp yet, but I will keep on looking!

living room idea board

These are the pictures before we moved in. I can’t believe how different it looks! Those vertical blinds were torn down and thrown away before we moved in and the popcorn ceiling was scraped off by my husband. We had it re-textured and also had all the walls painted. You can barely see the half wall in the bottom right corner of the picture on the right. That is gone now too.

living room before

The biggest change we made now was to the floor! We finally put on our laminate wood look floor! I love it! It is just the right look for my room!

new living room summer coastal decor

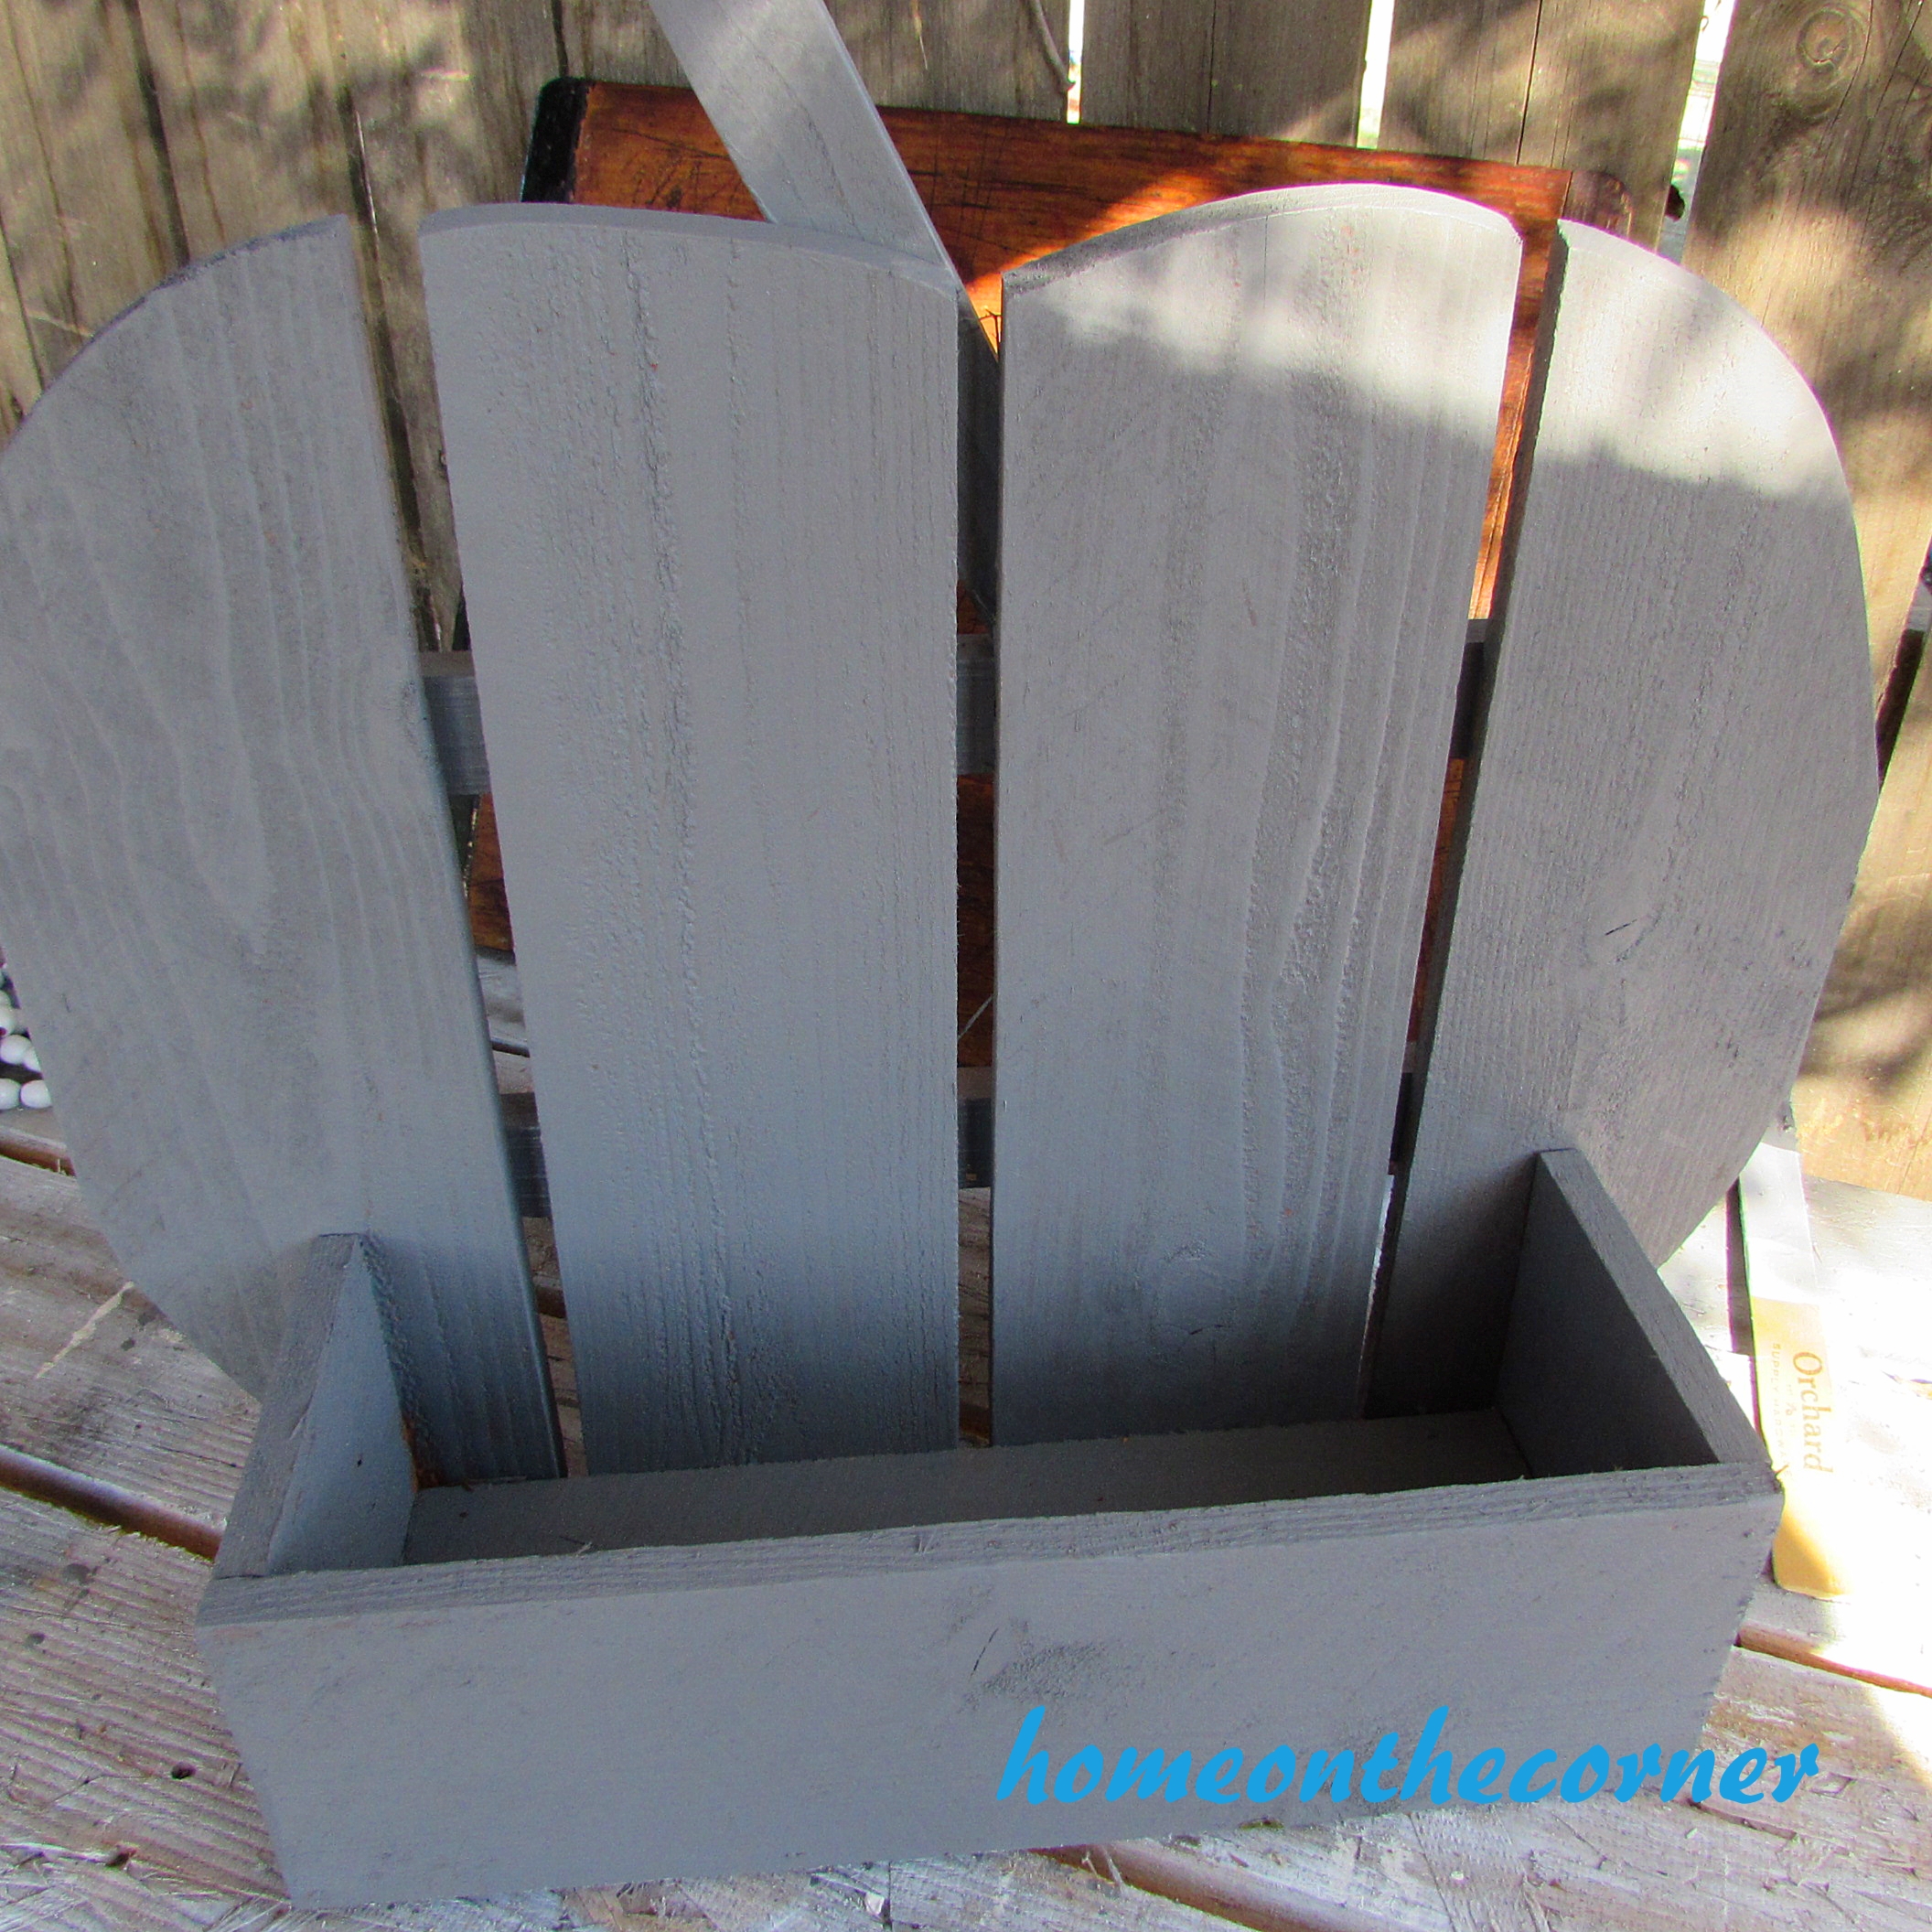
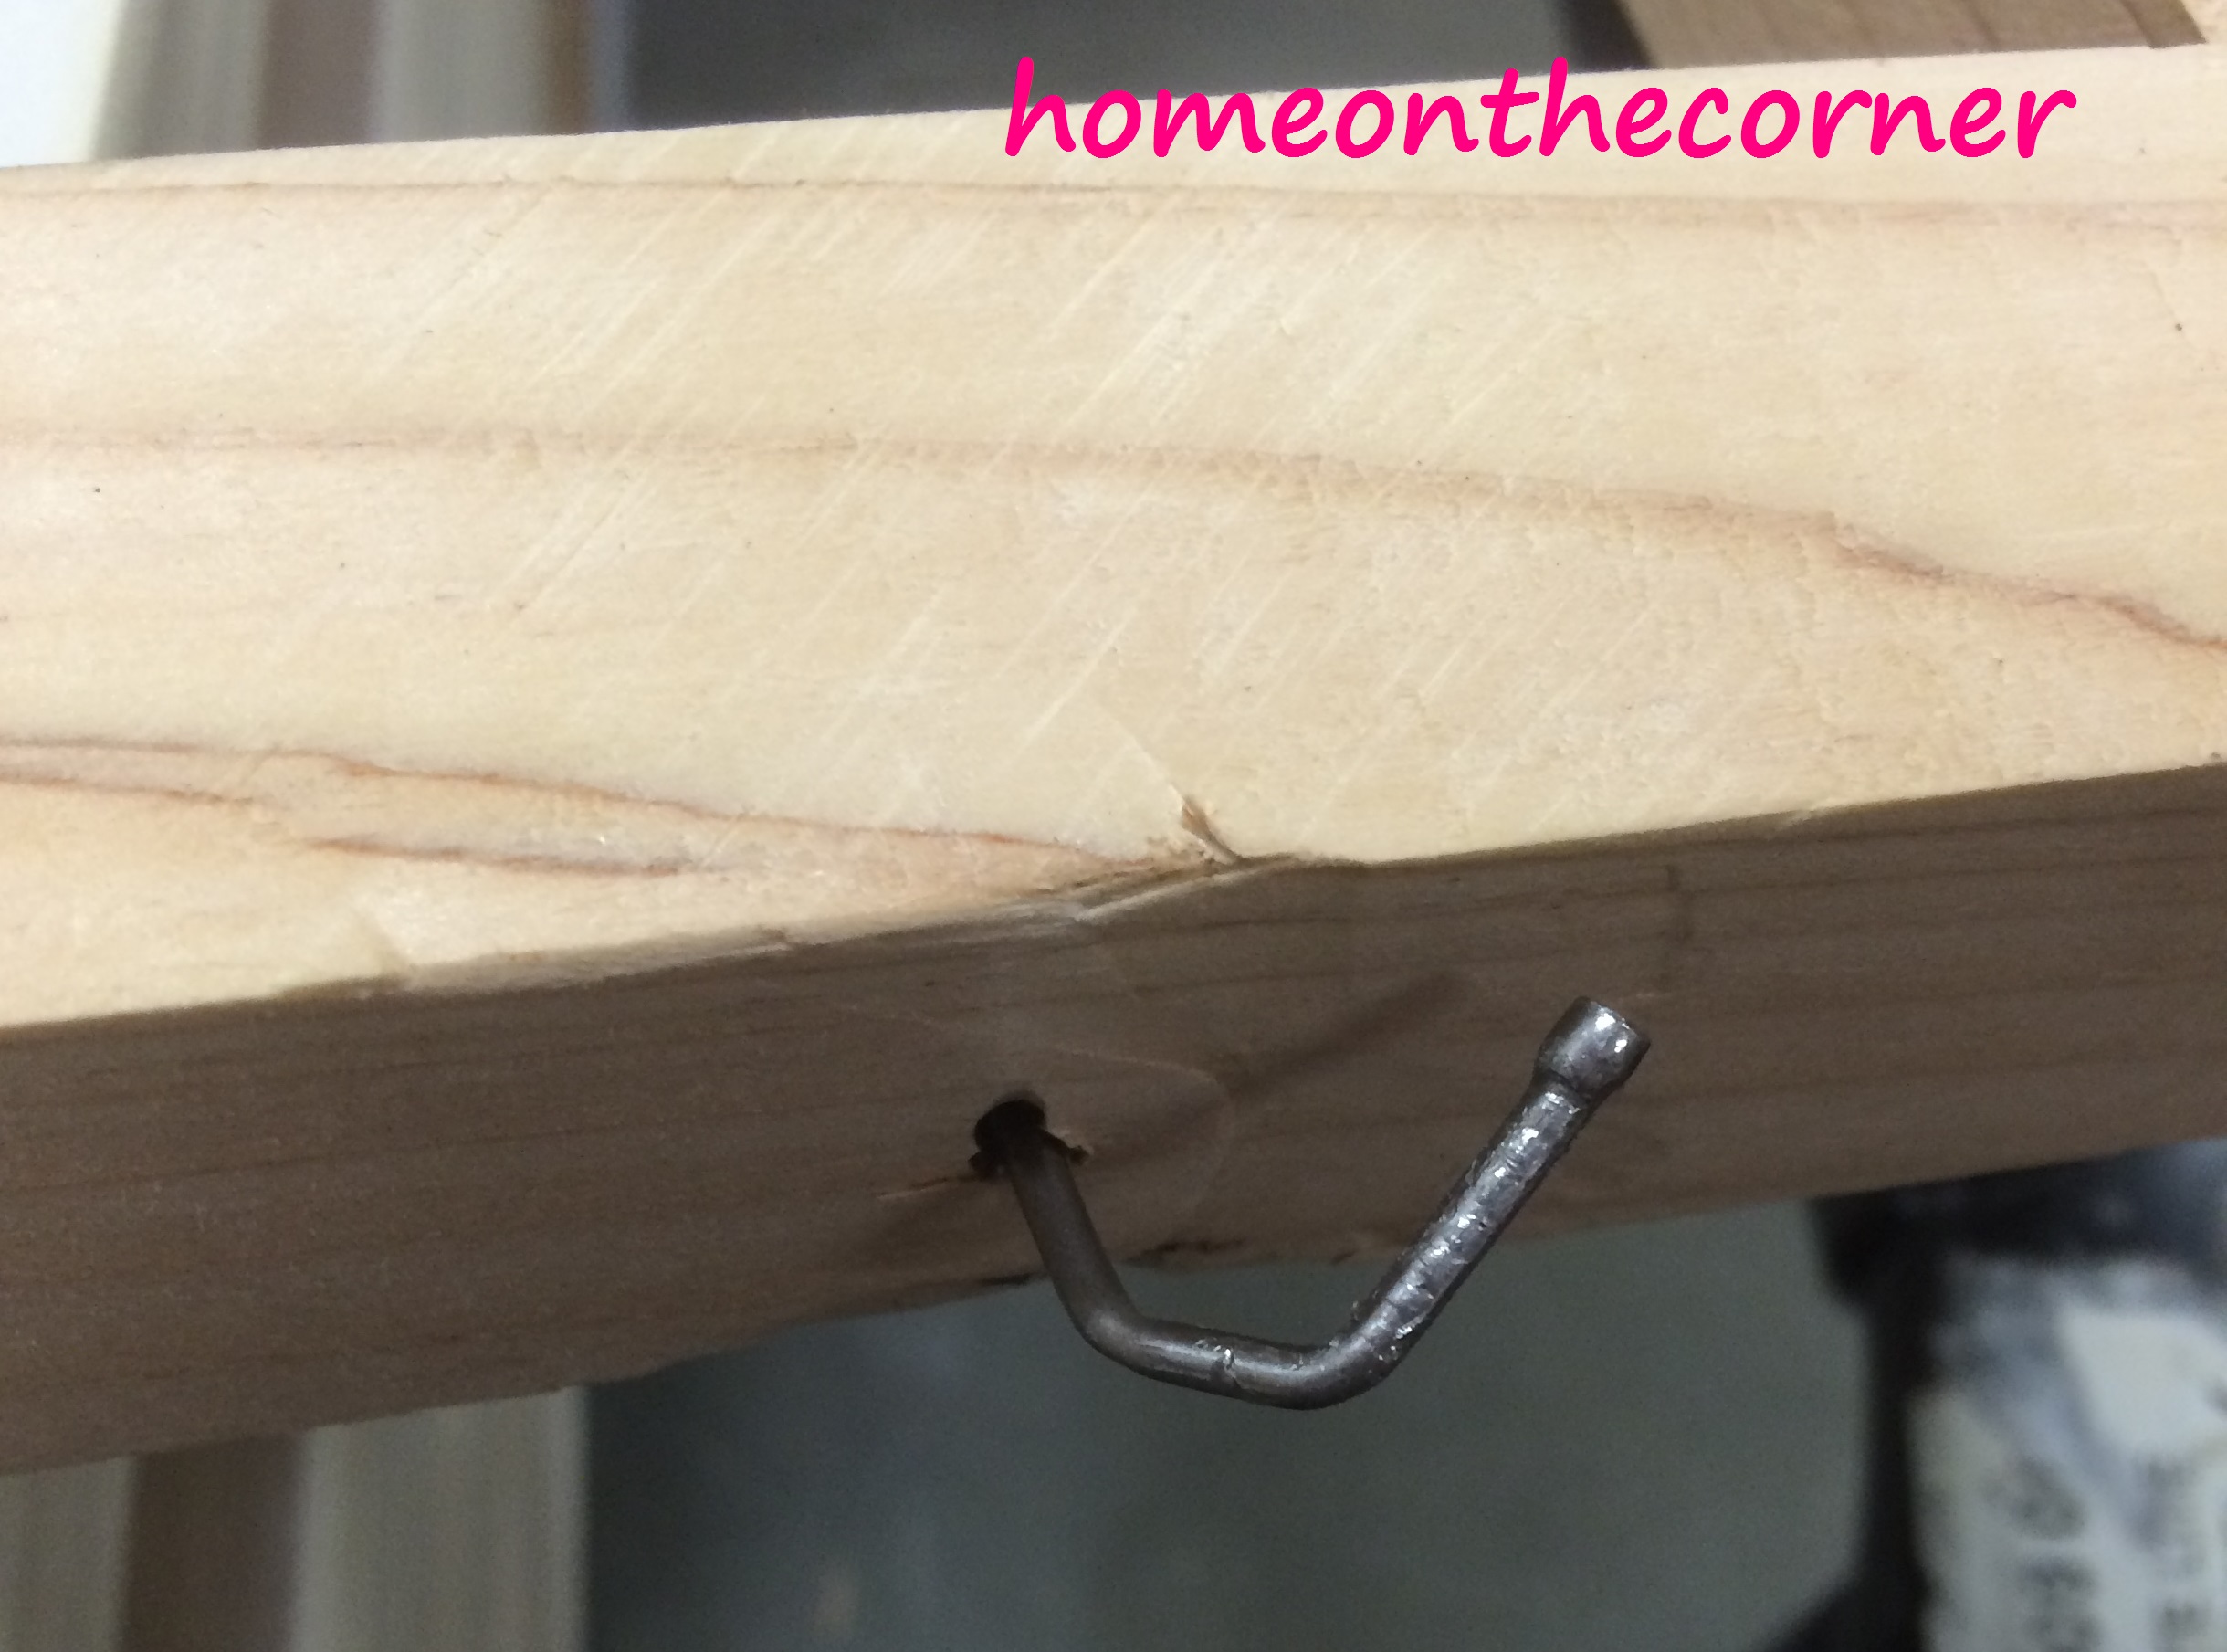
My husband put the coffee table together for me using the posts from the half wall. It’s fine for now, but I am looking for something else. He also made the shutter lantern and the buoys on the table.

new living room ikea ektorp loveseatnew living room white coastal decor

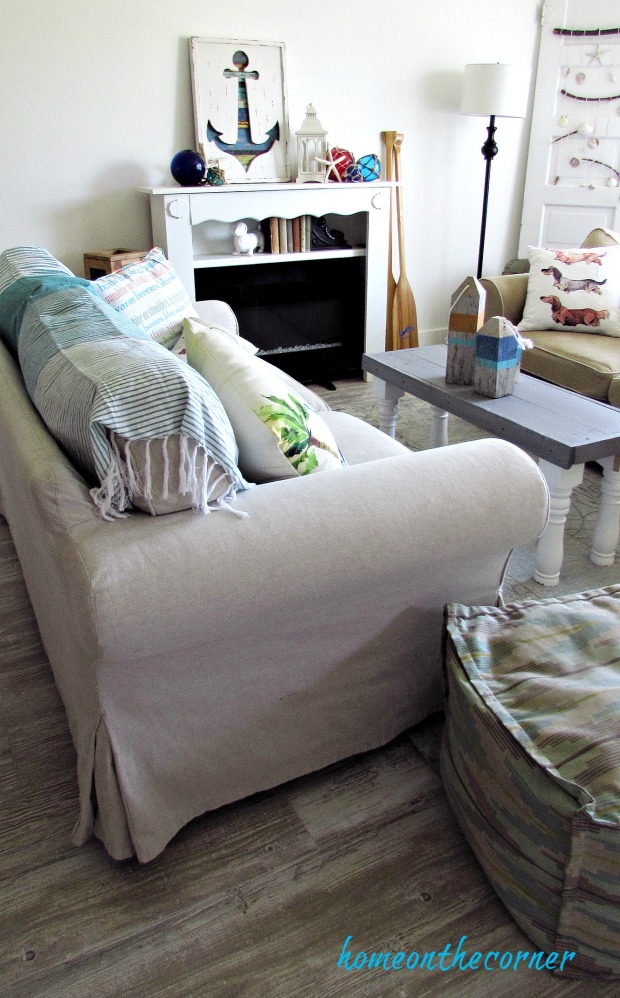
I love how this room turned out! We have a few more things to finish up, such as crown molding at the ceiling and over the window. My seashell mobile adds more coastal feel to the room.

new living room old door with seashellsnew living room coastal mantle

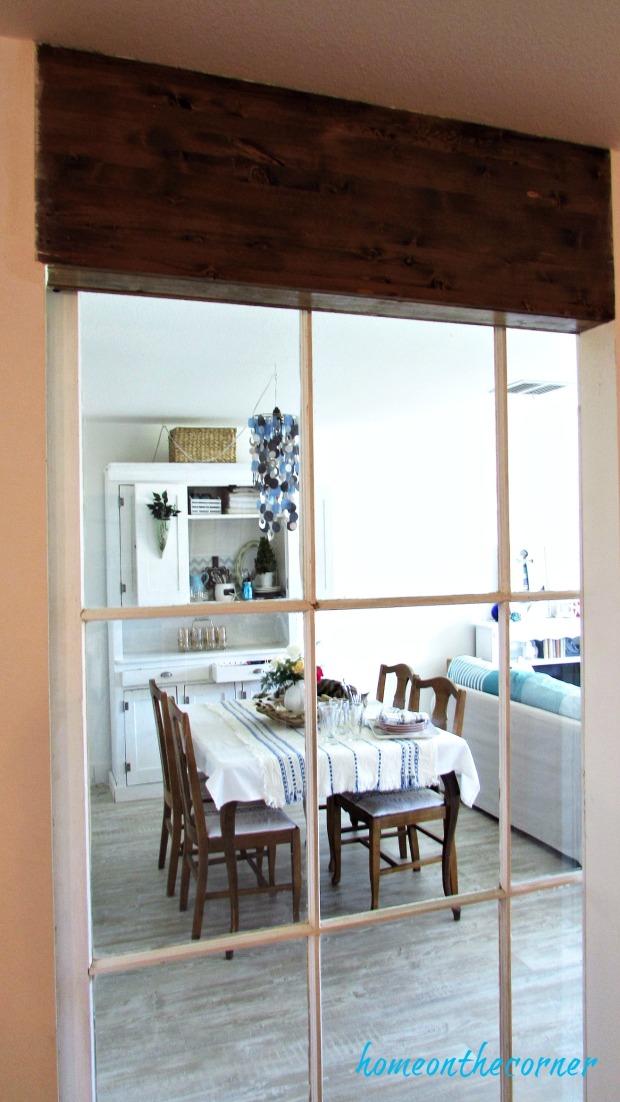
This area had been a header. My husband cut through the drywall and some of the boards and we made it into a beam. My husband framed it out and I varnished it with MInwax, I would have left it completely open, but we had to mount the barn door on the other side.

new living room ceiling beam

We also added wide baseboards around the room and framed out the door. I painted everything Benjamin Moore Simply White.

new living room home depot laminate floor and baseboardsnew living room summer breeze chalkboard

We also added the same flooring in the entryway to tie the two rooms together.

new living room coastal entryway

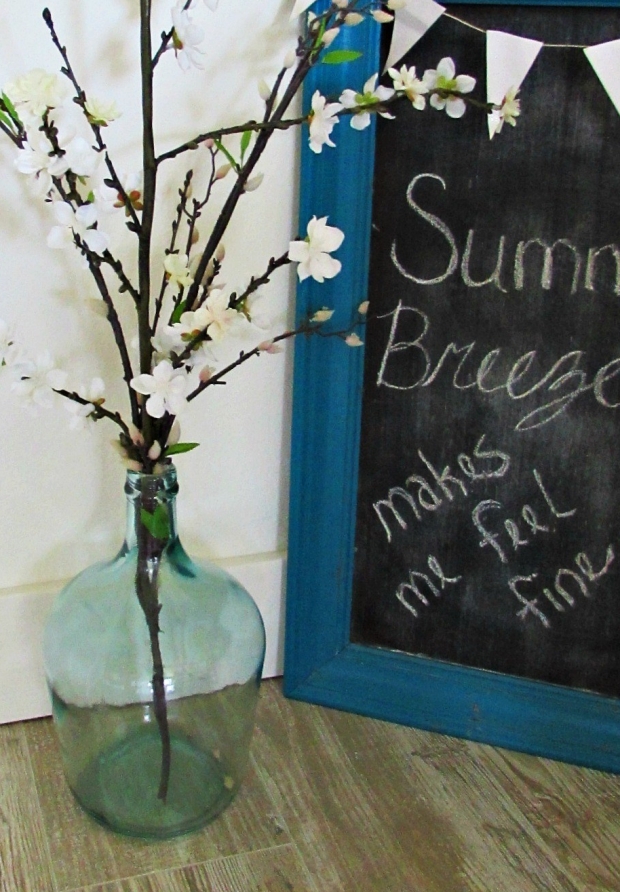
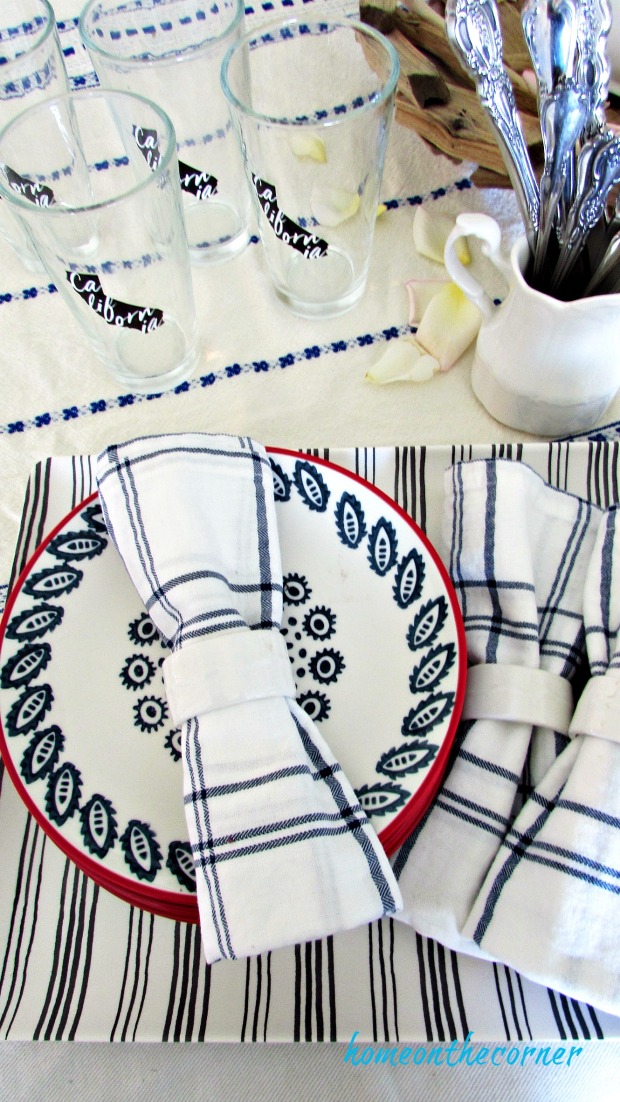
I set my dining table for a casual summer dinner, being sure to use my California glasses.

new living room summer diningnew living room summer dining rose petalsnew living room summer dining table

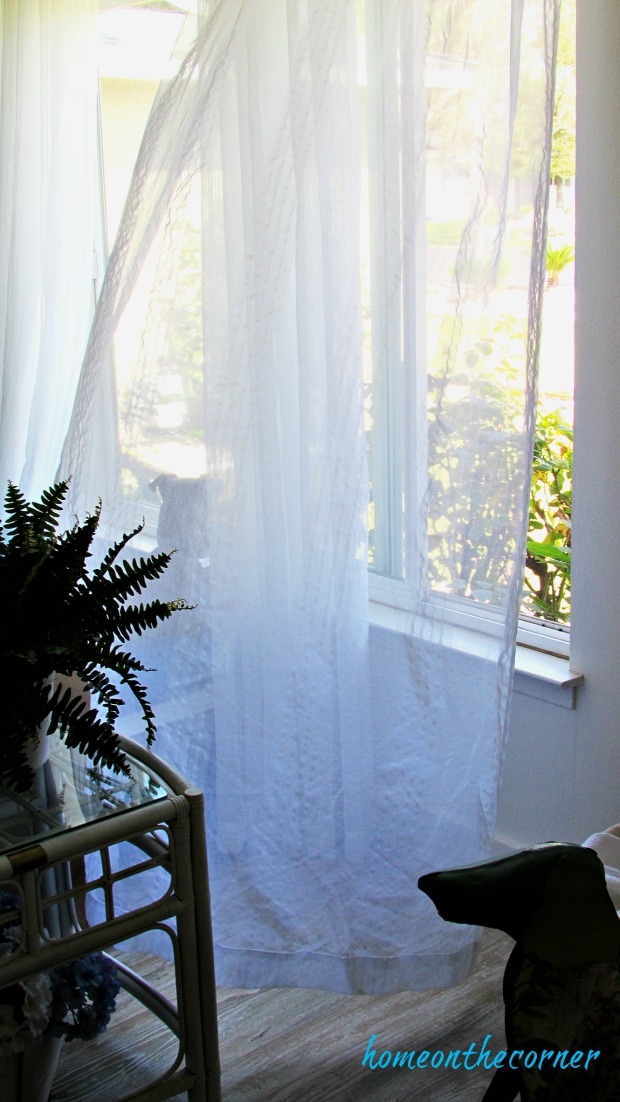
I love when the breeze blows the white sheer curtains! If only I could smell the ocean air too!

new living room sheer curtains with metal dognew living room white sheer curtains

And of course, my helpers are always close by. They love this room too!

new living room dogs helpers

Is your summer crazy too? Or are you able to just sit, relax and enjoy the summer days? I’m glad you took time to stop by today!

sunshine-and-blessings-picmonkey

Ikea Ektorp Loveseats

Ektorp Cover

Home Depot Home Decorators Denali Pine Floor

Benjamin Moore Simply White Paint


Wooden Halloween Cat Box

Hey everyone!  This blog was posted last October when I first made this.  And when I moved to this new apartment, I found it again.  So, why not repost about it because, it is super cute!

Fall is not quite in full swing but Halloween is almost here.

And what is something that goes with Halloween besides witches hats, pumpkins, and ghosts?  Well…black cats of course!

Do you remember when mom and I went to Home Depot a few weeks ago (last year lol) and made wooden boxes?  She shaped hers like a pumpkin and I shaped mine like a cat.  Guess what?  I finished mine!  Here it is!

cat box

So I painted the cat black and painted the front of the box in chalkboard.  I added the word BOO for the season of Halloween.

BOO

I also added flowers and a red bow to make the cat more festive and more like a cat.  cat box

I love how this turned out!  It turned out cute and I am able to change it for the different seasons.  I can’t wait to see what I make the next time I do a Home Depot project…which is tonight!

sparkle

Addiction to Yarn Organization

Everyone, I have a confession to make.  Now, it may come as a surprise, but I have an addiction.  I know, I know…shocking.  But, it has finally come time to admit to my addiction.

I am addicted to buying yarn.

I know!  I know!  It’s horrible.  But, it is time to come clean and admit to my mistake.

But, I like the feeling of knitting a scarf and finishing it and feeling good about it.  Feeling a sense of accomplishment and pride as I have a scarf finished.

But it has come to this.

Yarn Before

It has become very disorganized to the point where I didn’t know which scarves are done and what type of yarn it is.  The scarves were becoming tangled together and I wasn’t too happy with it.

Before Scarves

I also kept all of the tags from the yarn and just kept them in a bag.  Unfortunately, it was hard to know which brand and color belong to which yarn when they are all just laying in a pile.

Yarn Tags

Also, you know the Banksy box that I have with all of my extra yarn?  Yeah…the zipper is breaking…

Broken Zipper

So, I got started by using this crate that I made at the Do It Herself workshop at Home Depot.  It should probably be used as a wine crate or something more useful, but I decided that it is perfect for yarn.  Here is the before I fill it with yarn.

Organization Box

And here it is the after I have filled it with yarn.

Top Yarn

Much more organized than the yarn just hanging out in the plastic tote.  I can now see what yarn I have and what brand and style it is.  It’s so perfect!

I also decided to create a yarn book.  I wrote down all the brands, style, and color of each yarn.  I also cut a small piece of each yarn so that way I knew which yarn went with each brand.  So, here is my yarn book!

Yarn Book

It is so perfect.  I can now see what I have and which yarns I have knitted into scarves.  Hooray!

I also took all of my scarves and put their tags with them.  I had to go back and look up some of the names to see if I could find which color went with which style.  But in the end, I was able to put them back in the plastic tote to store them.

Organized Scarves

And not only are they organize, but the box is now labeled as well.

Scarf Box

So now it is all organized!

All OrganizedFinished Yarn

It looks so much better!  I am so happy with how this got so organized and how it looks.  I now know where all my yarn is and what scarves are done.  Hooray!

Well…I am so glad that I was able to open up about my addiction.  Now, how many people think I should be on ‘My Strange Addiction’?

sparkle

Home Depot Pumpkin Box Do-It-Herself Workshop

Can you believe we are already more than halfway through October? Wow! It just doesn’t seem possible! I have some good news to share before moving on to my project. We have been asked to co-host Merry Monday Link Party over at Kolb Korner! Yeah! We will co-host on October 25 and Nov. 1. I’m sure you will be hearing much more about it in future posts!! Now on to this project!

Lauren showed you her black cat last week, so I figured I better show you my pumpkin too. It did sit for a little while until I figured out what to do with it. Here it is the night we worked on it at Home Depot.
pumpkin box

And Lauren’s cat.

cat box

I finally had the time to finish mine! First I painted it a dark grey. This was the paint from Haley’s room. I am trying to use some of the stuff I already have, rather than going out to buy more.

Home Depot Pumpkin Painting

Here it is finished with the grey.

Home Depot Pumpkin Grey Paint

Next, I painted a lighter grey over the top using a technique called dry painting. I put just a little bit of light grey on my brush and lightly go over the dark grey. I even brush some off on newspaper before applying to the project.

Home Depot Pumpkin Dry Brush Paint Brush

Here is the first bit of dry brushing done on the box part of the pumpkin.

Home Depot Pumpkin Dry Brushed

It’s all painted! I sanded over it a bit after it was dry to rough it up a little.

Home Depot Pumpkin Finished

I am going to keep it in the house for now and I was able to add a few items to it for display. If I had it outside, I would add some wax or varnish to protect it.

Home Depot Pumpkin Display

Home Depot Pumpkin Blanket and Books

This workshop was really fun! I had never been to one before and it was a great way to learn some basic skills. I am not compensated by Home Depot, I just thought this was a great girls night out. You can check the Home Depot website for workshops happening in your area. If you get a chance to go, have fun!

Sunshine and Blessings

Corner News-October 16, 2015

Welcome to the Corner News!  In the past two weeks, I have been working, going to school, and working…yeah!

But, mom and I did do something fun last night.  It was another Do-It-Herself at Home Depot.  So…we took a pre-project selfie.

home depot selfie

Then, we found out that we weren’t going to be making the mosaic mirror that we thought we would be making…DISAPPOINTED!  I was really looking forward to making a mirror and making it my own.  But alas, we had to settle with a blanket ladder.  It was extremely simple and something that I didn’t need (not like I needed the mirror either).  But nonetheless, we stayed for the project.

There were quite a few problems.  First, there were only two drills that people could use.  Second, said drills stripped the screws that we were given.  Third, we were given nails.  And fourth, most of my nails ended up like this.

bent nail

URGH!  But, with a lot of help from my mom, and a few other friends who joined us, we were able to complete the blanket ladder.  Mine is the one of the left, mom’s is on the right.

blanket ladders

They still need to be painted, but they are done essentially.  I don’t know what I will paint mine…maybe pink?  Hopefully next month, it is a better project and it is more organized.

So that was the most exciting thing that happened these past two weeks.  Hope you have a great weekend and we will see you on Monday!

sparkle