Little Vintage Jewelry Box

Good morning! Are you enjoying a 3 day weekend or are you working today? We have President’s Day today to celebrate President Washington and Lincoln’s birthday. I even talk about it with my preschoolers. They actually have a pretty good memory for it all. It’s always great to see what they actually retain.

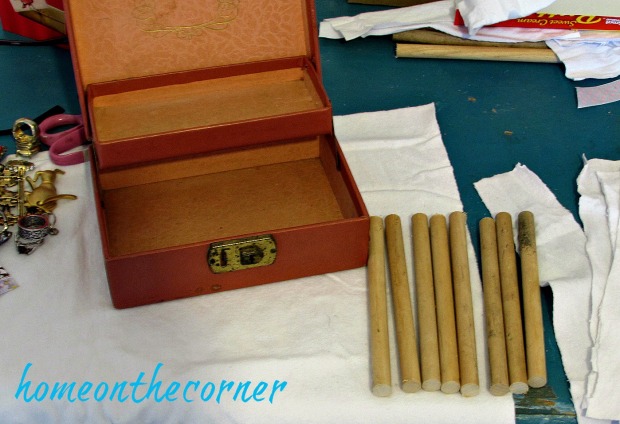
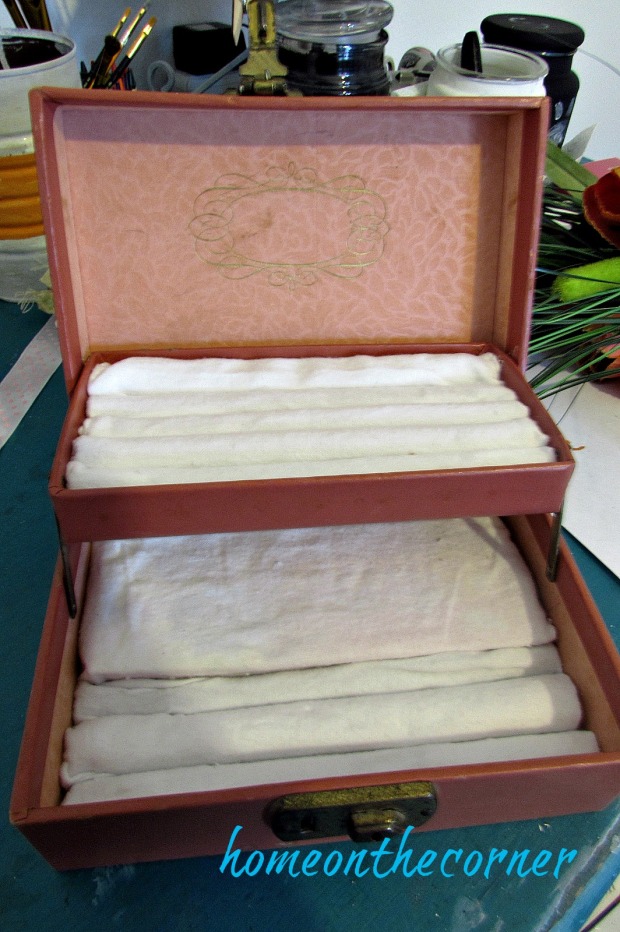
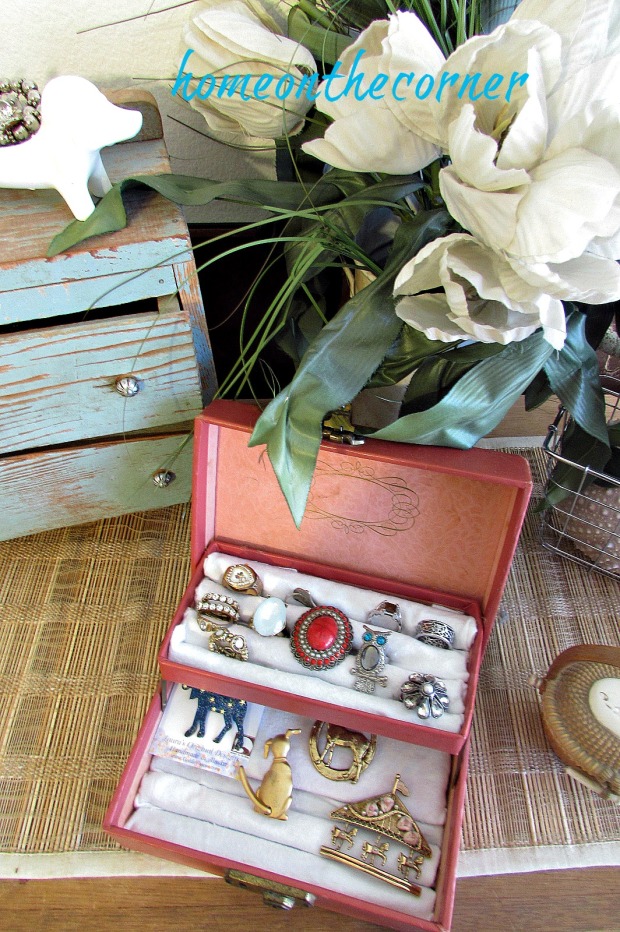
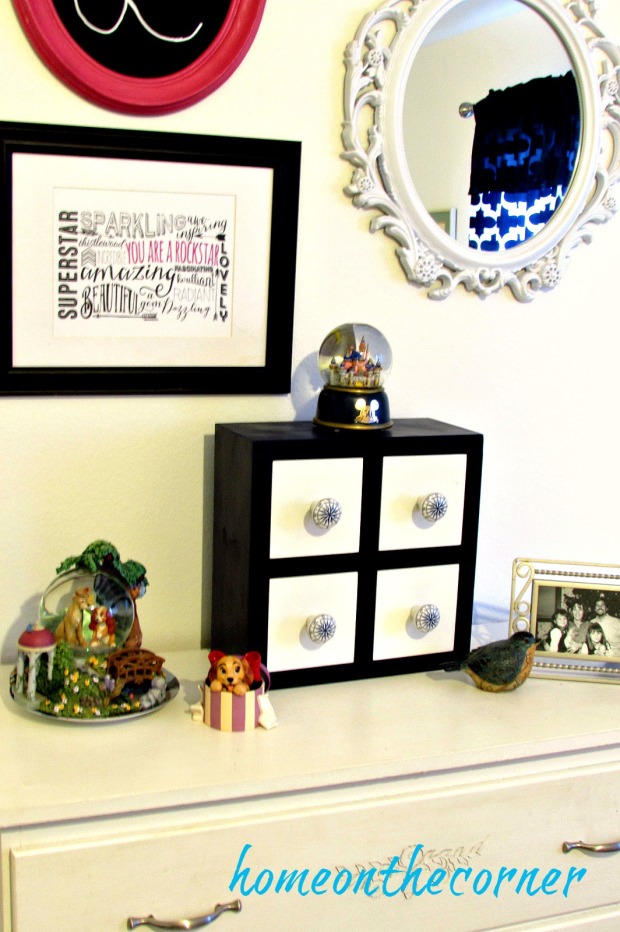
I received this jewelry box from my mom. It had been hers. I have had it for quite a while and finally decided what I was going to do with it. It always takes me the longest time to decide. There are just too many choices! But as I was going through my jewelry, I realized I had quite a few costume jewelry rings. I had them all in a small bowl, but it was hard to see what I had, so I decided to make this box a ring holder.

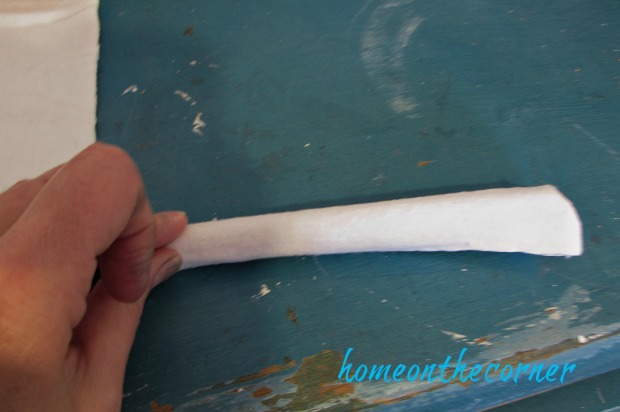
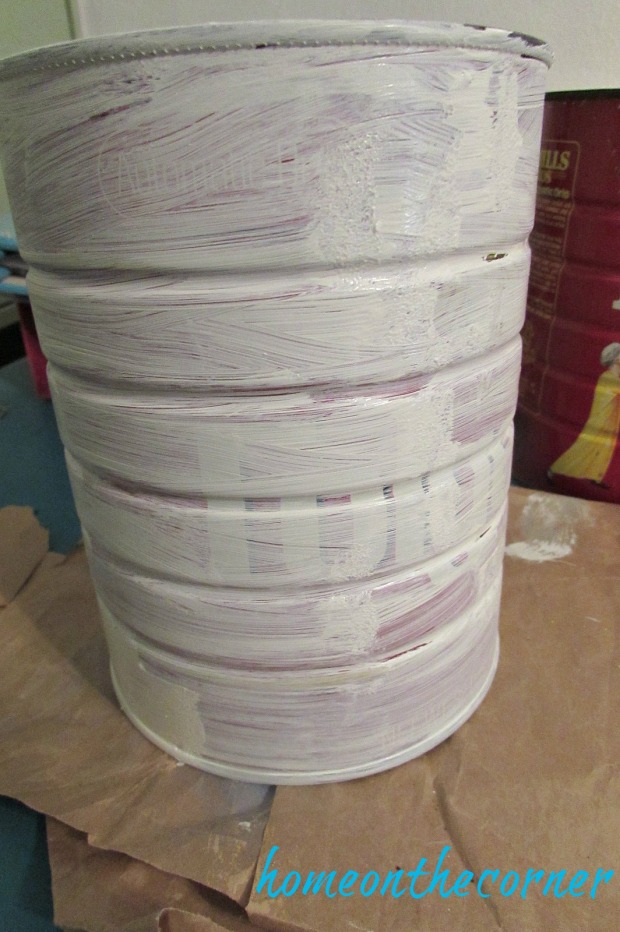
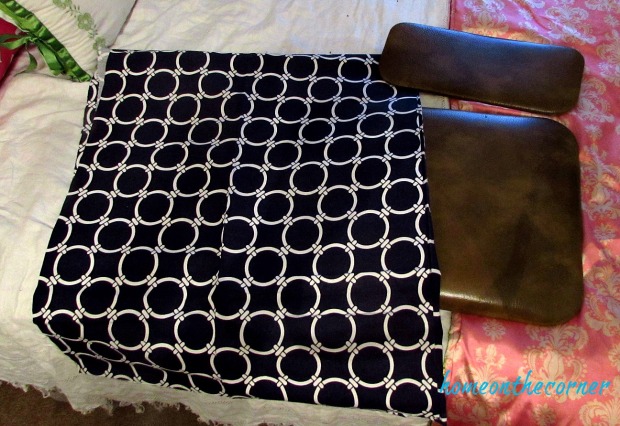
I started by cutting dowels the length of the top and bottom shelf. The fabric I used is white flannel, but I think a vintage material would look really nice. I just didn’t have any on hand when I started this project.

vintage-jewelry-box-makeover

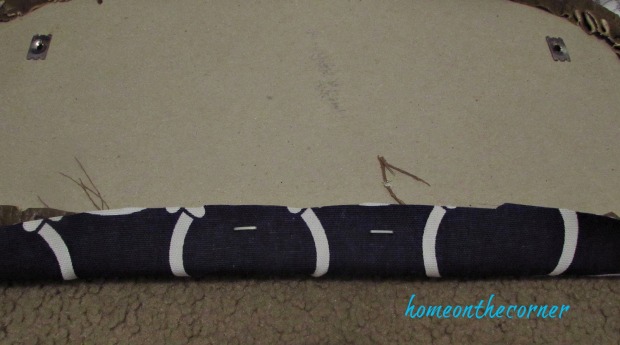
I cut strips of flannel long and wide enough to roll the dowel up in.

vintage-jewelry-box-dowel

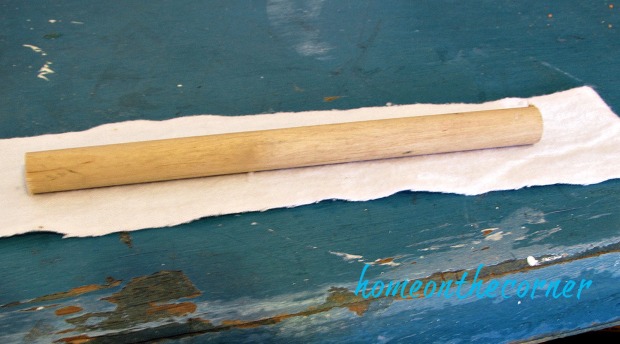
I folded in the ends and then rolled the dowel up in the flannel.

vintage-jewelry-box-dowel-with-flannel

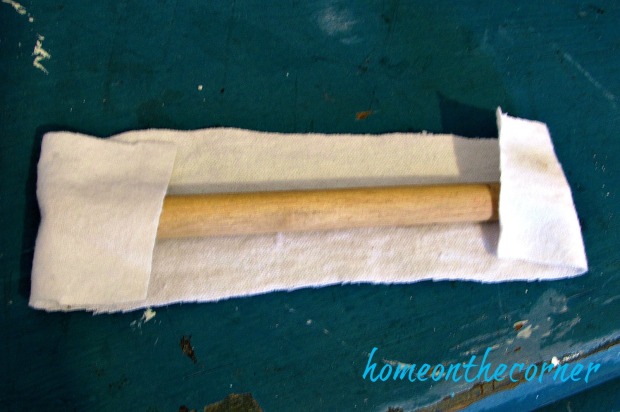
I didn’t glue mine, but you certainly could. Mine ended up having a tight enough fit that I didn’t need any glue to keep them in place.

vintage-jewelry-box-rolled-up-dowel

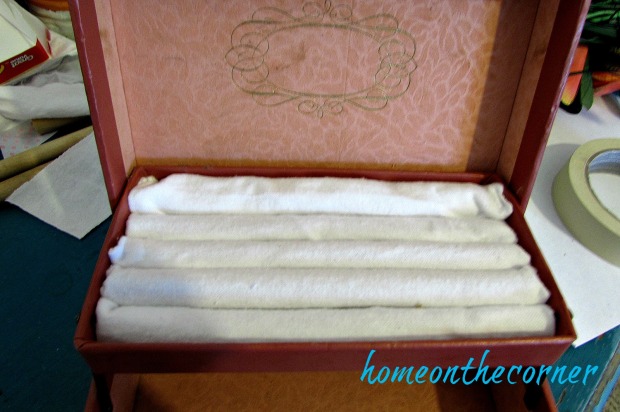
Once your pieces are rolled up, place them in your box.

vintage-jewelry-box-flannel-rolls

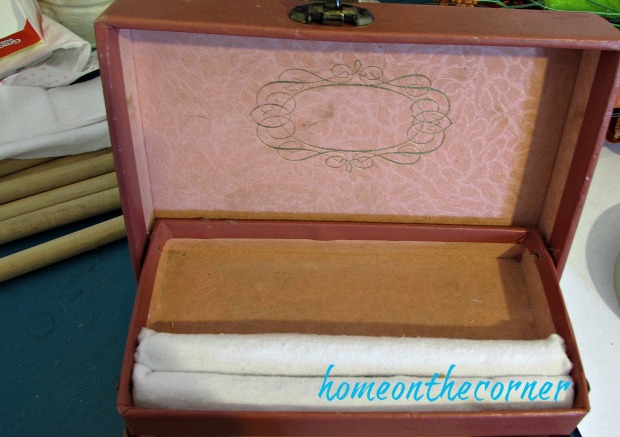
I used the edge of a scissor to tuck the edges in.

vintage-jewelry-box-flannel-rolls-for-rings

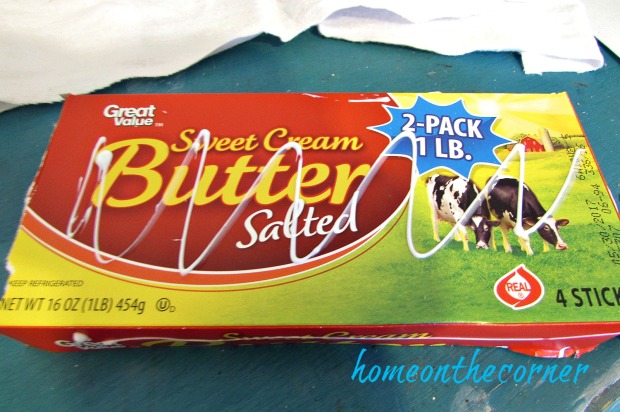
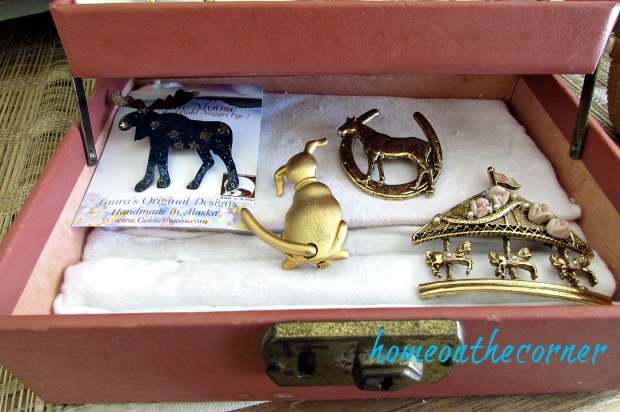
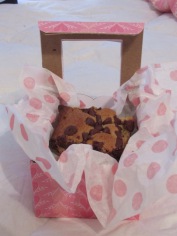
For the bottom, I wanted a small shelf to lay some of my brooches on. I found that a butter box was the perfect fit! I ran some glue on it and covered it with the same white flannel.

vintage-jewelry-box-butter-box

I place the butter box in the back and then added 3 more rolls in the front.

vintage-jewelry-box-flannel-lined

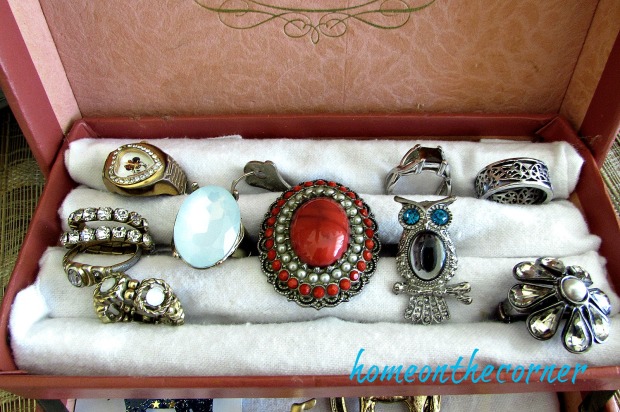
Now it was time to add the bling!

vintage-jewelry-box-ring-and-pins

I love being able to see all my rings at the same time and not have to dig through a bowl to find the one I want.

vintage-jewelry-box-rings

I don’t wear brooches very often, but these are some of my favorites.

vintage-jewelry-box-pinsvintage-jewelry-box-organizationvintage-jewelry-box-makeover-2

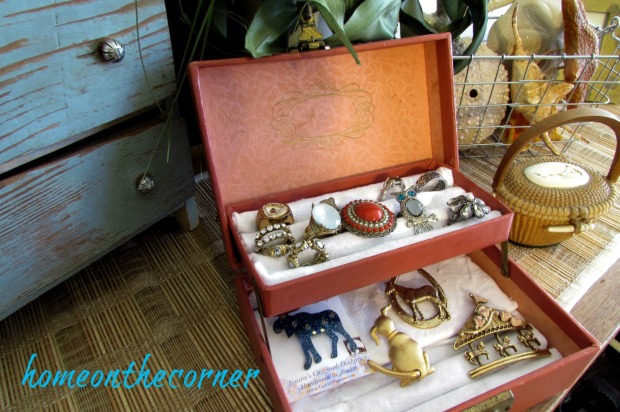
I’m glad I got this project done. One more thing accomplished and a little more organized! We are still plugging along on the house updates. We have flooring in the main bathroom now and I painted the inside of the front door this weekend. I will be sharing soon!

sunshine-and-blessings-picmonkey

Here are some links to similar products. If you purchase one of these, a little bit comes back to homeonthecorner with no extra expense to you. Thank you so much!


Guest Room Complete & Canvas Giveaway

Good morning! Hope you all had a good weekend! We had lots and lots of rain, which we do need so badly. Thankfully, it stops for awhile in between storms so the water has time to drain. And guess what!? It’s our 2 Year Blogiversary!!! I can hardly believe it! Thank you to all our wonderful followers and supporters! Obviously we couldn’t keep going if it wasn’t for all of you! You are so appreciated and we really have enjoyed getting to know you and reading all your sweet comments.

Since I couldn’t get out much, I was able to get a little more done in my house. I mostly worked on the guest room/craft room/Lauren’s room. It’s basically the same as it was at the other house, but this room is much larger. So nice! I actually have room to stretch out a bit!

*The contents of this blog are sponsored by CanvasFactory.com.*

Before we moved to our new house, I was contacted by CanvasFactory.com. They offered to send me a 16 X 20 canvas of my choice. I could either upload my own picture to be placed on a canvas or use one of their 20 million wall art prints. There are so many sizes and styles to choose from! There are canvas, acrylic glass, aluminum or collages. You can order a single print, like I did, a split canvas, or a do a whole canvas display. Plus, CanvasFactory is giving away a 16 X 20 canvas of your choice! Just enter the Rafflecopter at the end of the post. Good luck!

It took me awhile to go through the different prints they offered, but I finally decided on an old-fashioned bicycle. Even then, I had to choose between what color bicycle and what style. I finally chose black and white.

canvas-factory-old-fashioned-bicycle

The quality of this canvas is so great! The background is very white, so the black bicycle really stands out. There is even a bit of a sparkle to it!

canvas-factory-bicycle-canvas-plates-decor

Here you can see some of the great detail.

canvas-factory-detail-close-up-bicycle

Even the back is finished nicely. There is black velvet all around the back edge to protect your walls and a sturdy hanger too.

canvas-factory-black-velvet-backing

I would love to have a few more of these around! They really look nice and add a great element to your room.  Continue reading to find out how you can win a canvas of your own from Canvas Factory!

canvas-factory-craft-room-bicycle-bulletin-board

Okay, on to the guest room! Obviously, I hung this CanvasFactory.com print in the guest room, so now I will show you the rest of it. It started out as quite a mess! I really hadn’t done anything to it since we had the painting (Benjamin Moore, Simply White)done. So I unloaded everything from the desk and put it onto the bed.

canvas-factory-guest-room-makeover

Then I started with my ribbon basket. I took everything out and gave it a good dusting. I did get rid of a few rolls and then secured all my other rolls with straight pins so I wouldn’t have pieces of ribbon hanging all over.

canvas-factory-ribbon-mess-before

Much better!

canvas-factory-craft-room-ribbon-organization

What a difference a good cleaning can make!

canvas-factory-guest-roomcraft-room-makeover

canvas-factory-craft-room-desk-thread-bottles

I used the same bedding and curtains I had before.

canvas-factory-guest-bedroom-makeover-pink-blue-green

I did change up the dresser a bit though. I used a lot of the same things, just rearranged them a bit.

canvas-factory-guest-bedroom-white-dresser-mirror

I really like how fresh and clean the room is now. It feels ready to take on a new craft project! Slowly, but surely, the house is coming together. We have several big projects to tackle, and several little ones, but it’s nice to see some progress.

I have added some links to some items similar to what I have in my guest room if you are interested. I earn a little bit from each sale, but there is no extra charge for you. Thanks for taking a look!

Azar 300703 3 Tiered Round Wire Dump Bins, White

Catalina Printed Cork Board

Ball Mason Jar-32 oz. Aqua Blue Glass Ball Collection Elite Color Series Wide Mouth

Howard Elliott 2146W Dorsiere Oval Mirror, Glossy White

Best Home Fashion Room Darkening Morrocan Print Curtains – Antique Bronze Grommet Top – Navy- 52″W X 63″L – (1 Panel)

Finally, the fun stuff!  Canvas Factory was kind enough to give us a second coupon code to give out to one lucky person!  This will get you a free 16 X 20 canvas.  There are thousands to choose from and as you can tell from our experience, they are awesome!  Click on the link below to enter!  Good luck!

a Rafflecopter giveaway

sunshine-and-blessings-picmonkey

Here are some other posts you might want to look at!

Laurens Room 4     IMG_2322    IMG_2379

Upcycled Coffee Cans for Bridal Shower Centerpieces

Hello! How was everybody’s weekend? Was it busy or relaxing? I pretty much stayed at home, getting things ready for the bridal shower I am hosting. I did get to enjoy a frosty on Saturday and a competitive game of Pirates of the Caribbean Life on Sunday. Such an exciting life I lead! LOL!

I did get these cans done over the weekend for the bridal shower. This is such a simple project! I had a couple of coffee cans, my mom had a few and she also found one at a yard sale, which she was given for free. I had received the burlap this summer and my husband had cut the wood slices for me a couple of years ago. You can see my other wood slice projects here. I used the Waverly chalk paint in Mineral and Plaster. These paints can be found at Walmart.

coffee can makeover

I started with the Plaster color and just brushed it all over the can. As you can see, you can still see the red color through the paint.

coffee can makeover chalk paint

I painted a second coat of Plaster and then added touches of Mineral all over the can. I dry-brushed it on and just kept brushing till it was blended in. Chalk paint dries quickly, so painting several coats doesn’t take too long.

coffee can makeover chalk paint grey

I cut pieces of the burlap ribbon long enough to fit around the can with just a little overlap in the back. I hot glued it into place.

coffee can makeover with burlap

All wrapped up! I then added a wood slice to the front of each with hot glue.

coffee can makeover burlap wrap

I added the initials and names of the bride and groom onto the wood slice with brown sharpie so it looks like it is woodburned into it.

coffee can makeover bridal shower with burlap

I added pomegranate branches into each can, simply because I have 2 trees full of them. I placed a smaller jar inside the can to help hold the branches upright.

coffee can makeover bridal shower centerpieces burlap and pommegranites

I think these will look really nice on the tables as centerpieces for the bridal shower. I can reuse them later just by removing the wood slice. So you will probably see them reappear again sometime!

coffee can makeover bridal party centerpieces

This is such a simple and quick project. It’s also a great way to upcycle some of those tin cans you might have in your recycle bin. They could be painted any color that fits your color scheme and any kind of ribbon could be added to it. Let your creativity flow!!

Sunshine and Blessings

Blue and White Folding Chair Makeover

HI everyone! Hope you are all well! School is about ready to start around here, although I have a couple of more weeks before I go back. It will all be here very soon!

I have a simple project for you today. You’ve probably already seen it done on Pinterest, but it is something I have been wanting to do for awhile and kept putting it off. But I will be hosting a bridal shower for Lauren’s best friend in a couple of week, so I figured I better get going on this! I had also found some fabric I liked at a yard sale this summer, so now I had no excuse.

folding chair makeover blue and white completed chair Title

I had these old brown folding chairs that really needed an update. They are definitely passed their era! First I unscrewed the back and the seat from the frame of the chair.

folding chair makeover

I found this tag on the bottom of the seat. I know it says model number is 1953, but I wonder if that was the date. And the price! $10.95! What a bargain!

folding chair makeover tag

Once the back and the seat were removed, I took the frame outside and gave it a couple coats of white spray paint and a coat of clear coat.

folding chair makeover chair frame

I love this fabric! It’s heavier than just cotton, and the colors are so much better than the brown.

folding chair makeover fabric

I laid the fabric on the floor, with the help of Chica, and cut out the shape, about 2 inches from the edge of the chair back. This will give me enough to wrap around and staple. I also did this for the seat.

folding chair makeover covering the chair back

I laid the chair back on the wrong side of the fabric and made sure it was centered. I start in the middle of each side and put in one staple, then continue around.

folding chair makeover staple cover
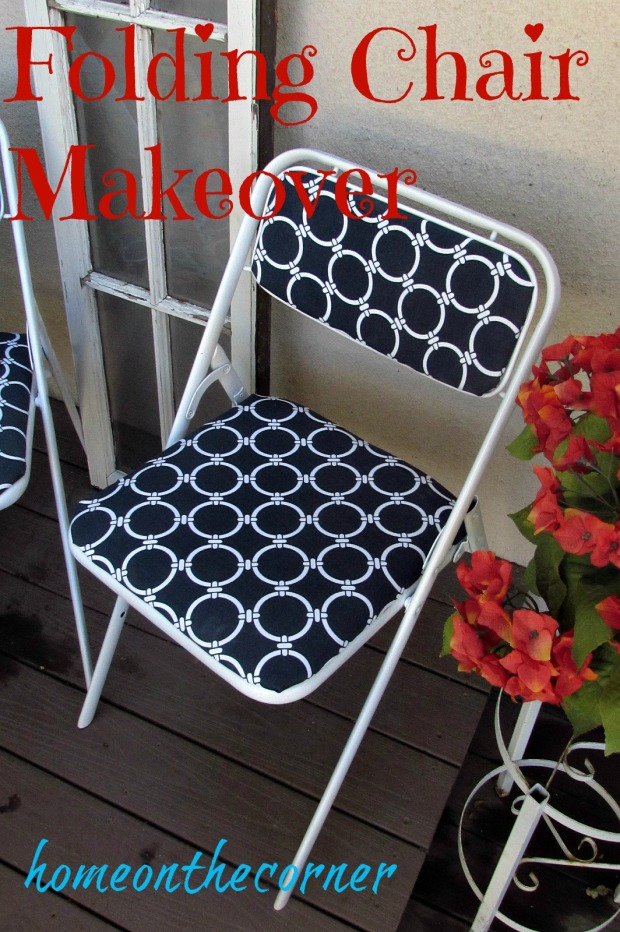
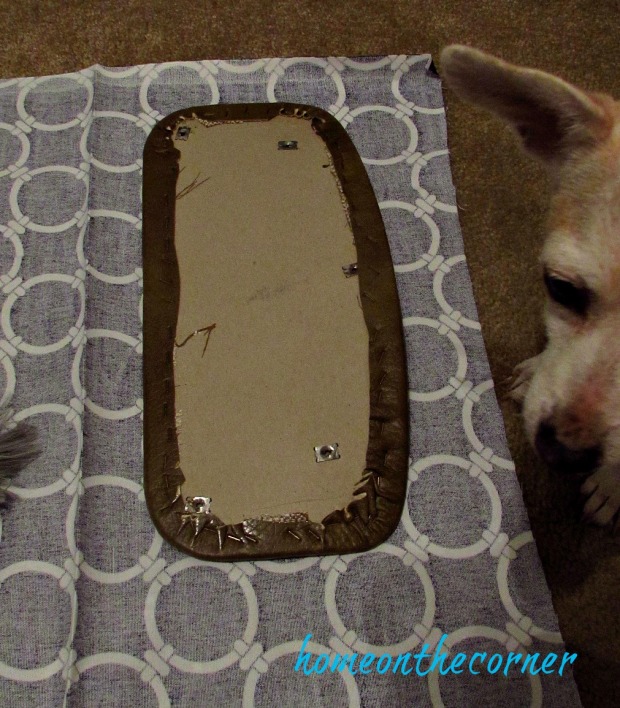
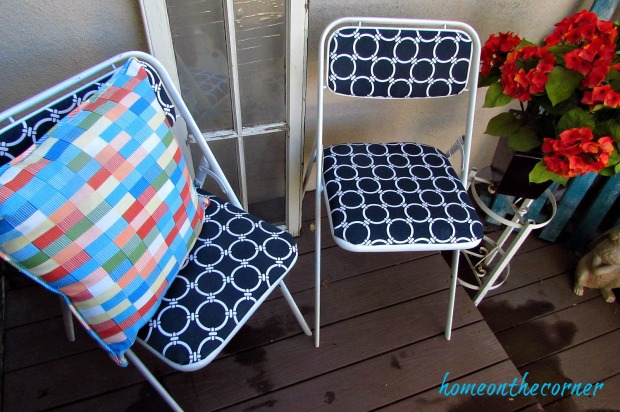
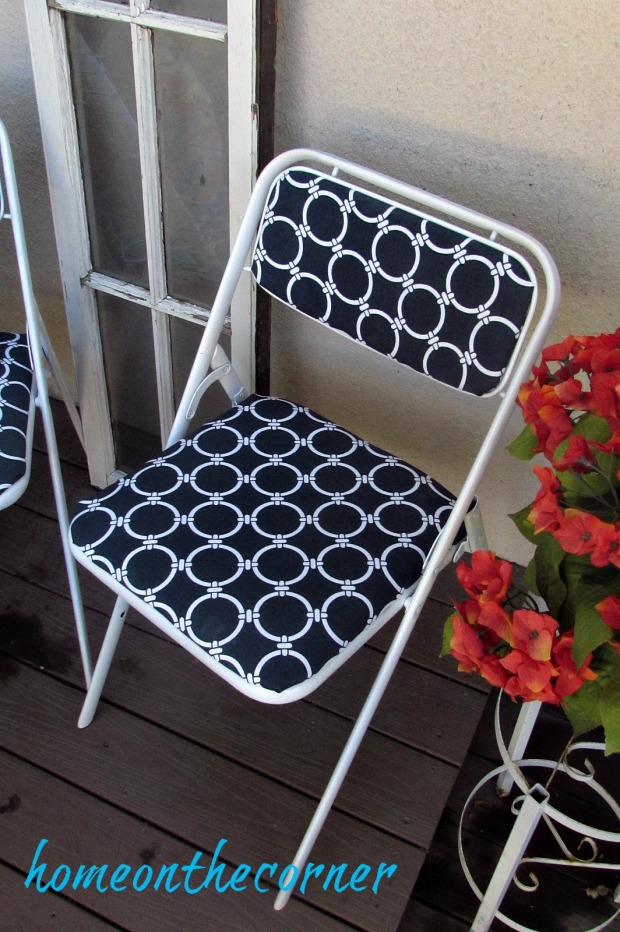
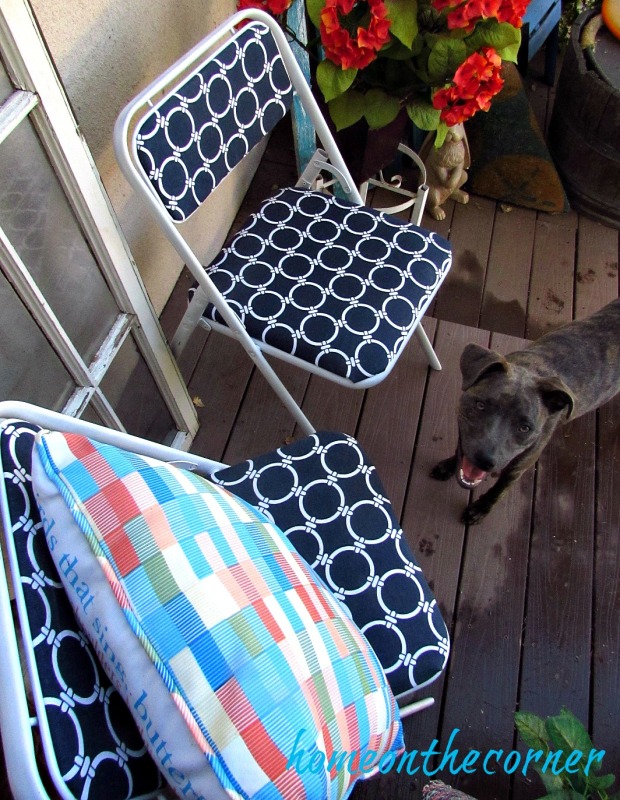
After covering the seat, it is time to reattach them to the chair frame. Pretty easy, right! Now we are ready to party!

folding chair makeover 2 chairs

I love the blue and white. It looks so crisp and clean!

folding chair makeover blue and white completed chair

Rozy says she hopes you all have a great day!

folding chair makeover with Rozy

See you on Wednesday!

Sunshine and Blessings

Here are a few other projects you might want to look at:

Sunny Days!Pink Binder Spine

Steps to Painting Farmhouse Chairs with a Brush

Happy summer! I have so many projects to do!  Eeekkk! One at a time, right?

So I started with my kitchen chairs. I have the chairs that actually belong to my grandma’s table, but they were getting so much use, I didn’t want them to get too worn out. So when the girls were young, we bought 6 oak ones at a liquidation store. Nothing fancy, just something to have around the table. But by now, they were pretty worn too. Paint time!

Kitchen chair makeover

I know there are lots of different ways to paint and products to use, but I thought I would share what works for me. This time I used just a good old brush and can of paint. I am going to try chalk paint next time and I would like to try a sprayer too, just sayin’!

I cleaned up the chairs, removing dust and any leftover food. I find it easiest to turn the chairs upside down so I can make sure all the underneath is primered and painted well. I didn’t sand this time, and the primer seemed to hold pretty well.

kitchen chair makeover paint underside

There are hundreds of different primers out there, but Kilz is the one I like the best. It goes on thick and covers really well. I have never had any problems with it not adhering or peeling off.

kitchen chair makeover Kilz pimer

After the underside of the chairs was dry, I turned them over and primered the top. Be sure to let all the coats dry before starting a new one. I painted just one coat of primer on all the chairs.

kitchen chair makeover primered

As you can see, I had a very curious kitty come by to see what I was doing! I debated about leaving the pawprints because they looked so cute, but I did end up painting over them. The kitty does still have paint on her ear though!

kitchen chair makeover kitty pawprints

Once all the primer was dry, it was time for the paint! I followed the some pattern as with the primer. Turn the chairs over and start underneath. When it’s dry, paint the top. I used Orchard Supply brand paint, Benjamin Moore’s Cloud White. I did paint a second coat of the paint, but I purposely did not do complete coverage.

kitchen chair makeover painted cloud white

I wanted the chairs to have more of a farmhouse look to them. A little worn. Plus I don’t have to worry if the dogs or cats do a little scratching on them.

kitchen chair makeover farmhouse

Again, wait for everything to dry and then add a protective finish over the whole chair. I used Minwax Water Based Polycrylic Finish. It goes on very smoothly and dries quickly. It’s not tacky to the touch and it cleans up great.

kitchen chair makeover minwax polycrylic finish

They are all ready to sit at the table again! I love the white! What a difference! I have 2 more to paint and then the farmhouse table. I am going to do the table with chalk paint. I will let you know how that goes!

collage

So fresh and clean! I think Ezzy likes them too!

kitchen chair makeover white farmhouse

I will see you next time with the table! Have a great week!

Sunshine and Blessings