Valentine’s Day Craft Round Up

Hello!  How’s everyone?  Ready for the weekend?

So on this weeks round up we are talking about Valentine’s Crafts.  Now…some are simpler than others.  They are more to do with your kids, or nieces and nephews, or grandkids, or whatever kid you have in your life.  They are fun and meant to help you have a good time!

And finally…there aren’t 10 this week.  Sorry for the disappointment.  Enjoy!

Heart mobile

Cute Heart Mobile from Buggy and Buddy

Yarn-Wrapped-Hearts.jpg

Yarn Wrapped Heats from Easy Peasy and Fun

heart-windchimes-for-valentines-day

Melted Pony Bead Wind Chime from No Time for Flash Cards

Hot Air Balloon

Adorable Hot Air Balloon from Glued to my Crafts Blog

Lil Cute Monsters

Little Cute Monsters from Eighteen 25

Peacock Heart Craft.png

Peacock Heart Craft from I Heart Arts n Crafts

rainbow-heart-paper-pom-pom-wreath

Rainbow Heart Wreath from Hello Wonderful

Sparkle

Paper Pinecone Christmas Ornament-Ornament Exchange

Hi everyone! I have something special to share with you today! I know it’s a little early to be sharing Christmas ideas, but Erlene at My Pinterventures is hosting a 2015 Ornament Exchange. She has partnered 80+ bloggers to exchange ornaments and we want to share our creations or special finds with you! So, if you’re looking for some holiday ornament craft tutorials or ornament inspiration, you’ve come to the right place!

2015 Ornament Exchange

Today is Day 10. If you want to go back and start at the beginning and see all the great ideas, click here.  I was so excited to receive an email from Erlene about who my ornament exchange partner would be. I was even more excited to learn it would be Erlene herself!  She wrote to me that this year her tree will be a deep rich red, gold, and white.  There isn’t a theme, just a variety of ornaments in those colors and she likes unusual ornaments. Well, I love the white and gold idea, so I went with that. Lauren picked out the idea for the ornament and then I went shopping for the supplies. Here are the papers I chose: a gold glitter, golden stripes, clear vellum with gold hexagons, and I had white sparkly on hand.
christmas ornament paper pinecone scrapbook paper
I also bought the egg shaped styrofoam ball. I had the circle punch already and of course, my glue gun. I started out by punching out the circles from each of the papers. I needed quite a bit, more than I thought I would. I kept running out!
christmas ornament paper pinecone supplies
I started at the narrow end of the egg. I glued on each circle, overlapping them as I went around. Then I added the next layer, overlapping the first layer too.
christmas ornament paper pinecone beginning
Here it is about half way done. I love how it is turning out!
christmas ornament paper pinecone sparkles
After all the circles were attached, I added gold twine to the top for hanging. I think this looks so pretty! It will look even better when the lights from the tree make it sparkle and shine!
Christmas Ornament Exchange
Christmas PInecone Ornament
I tried it out on white branches too.
Christmas Ornament exchange Pinecone
Christmas Pinecone Ornament on White
 Today, I’m excited to be kicking off day 10 of the Ornament Exchange, along with these other great ladies. Just click on their link to go see what they have made!
Displaying 2015-ornament-exchange-day-10.jpg
I’m so glad I was able to make this for Erlene! Thank you, Erlene, for the opportunity to join in with all these talented bloggers. I have really enjoyed being a part of this exchange.
This will be just the beginning of the Christmas posts you will be seeing! I’m so excited to share some of my decorating, crafts and tablescapes ideas with you!
Sunshine and Blessings

Scrapbook Paper Signs

Do you ever go shopping in an arts and crafts store and see something that you absolutely didn’t need and you bought it anyway?

Yep…all the time…

Well, on a certain trip to a certain Hobby Lobby with a certain mother of mine (you know who you are), my certain mother HAD to stop in the scrapbooking aisle.  Not that I didn’t want to stop in the aisle, but it’s for the purpose of the story.  So as we looked down the aisle, we both realized that some of the 12 by 12 paper was really cute.

And that’s when I realized that I was going to purchase some of these cute pieces of paper.

I bought 2 turquoise and 2 white papers to use.  I wanted to hang them on a wall in the living room at the apartment, so I had to find something to hang them with.  So, continuing thought the certain Hobby Lobby with a certain mother of mine, we found cork board that I could put the paper on.

So the cork board came with stickers to put on the back that would attach to the wall.  I liked this because then I didn’t need any other hangers.  I then hung the paper on the cork board with gold tacks that I had left over from my push pin art.  So, with one pin on each corner, the pictures were hung on the wall.

And here’s the finished product!

Scrapbook Paper Signs

I love how the pictures look.  I know that deer and arrows are all in right now, so it worked perfectly, along with the words Love and Hello.  It looked great on the wall and I love the pop of color.  Now…if only I can get them to stay on the wall…

sparkle

Pin Art

Well…I’m bringing you another craft that I found on Pinterest.  Today, I’m bringing you some pin art.

And I don’t mean using pens, I used push pins.  I’m going to give you a brief description of how I did it and what I made from my pin art.

Items Needed

Black Poster board

Push Pins (they can be gold or silver depending on what you want)

A Pencil

An Exacto Knife

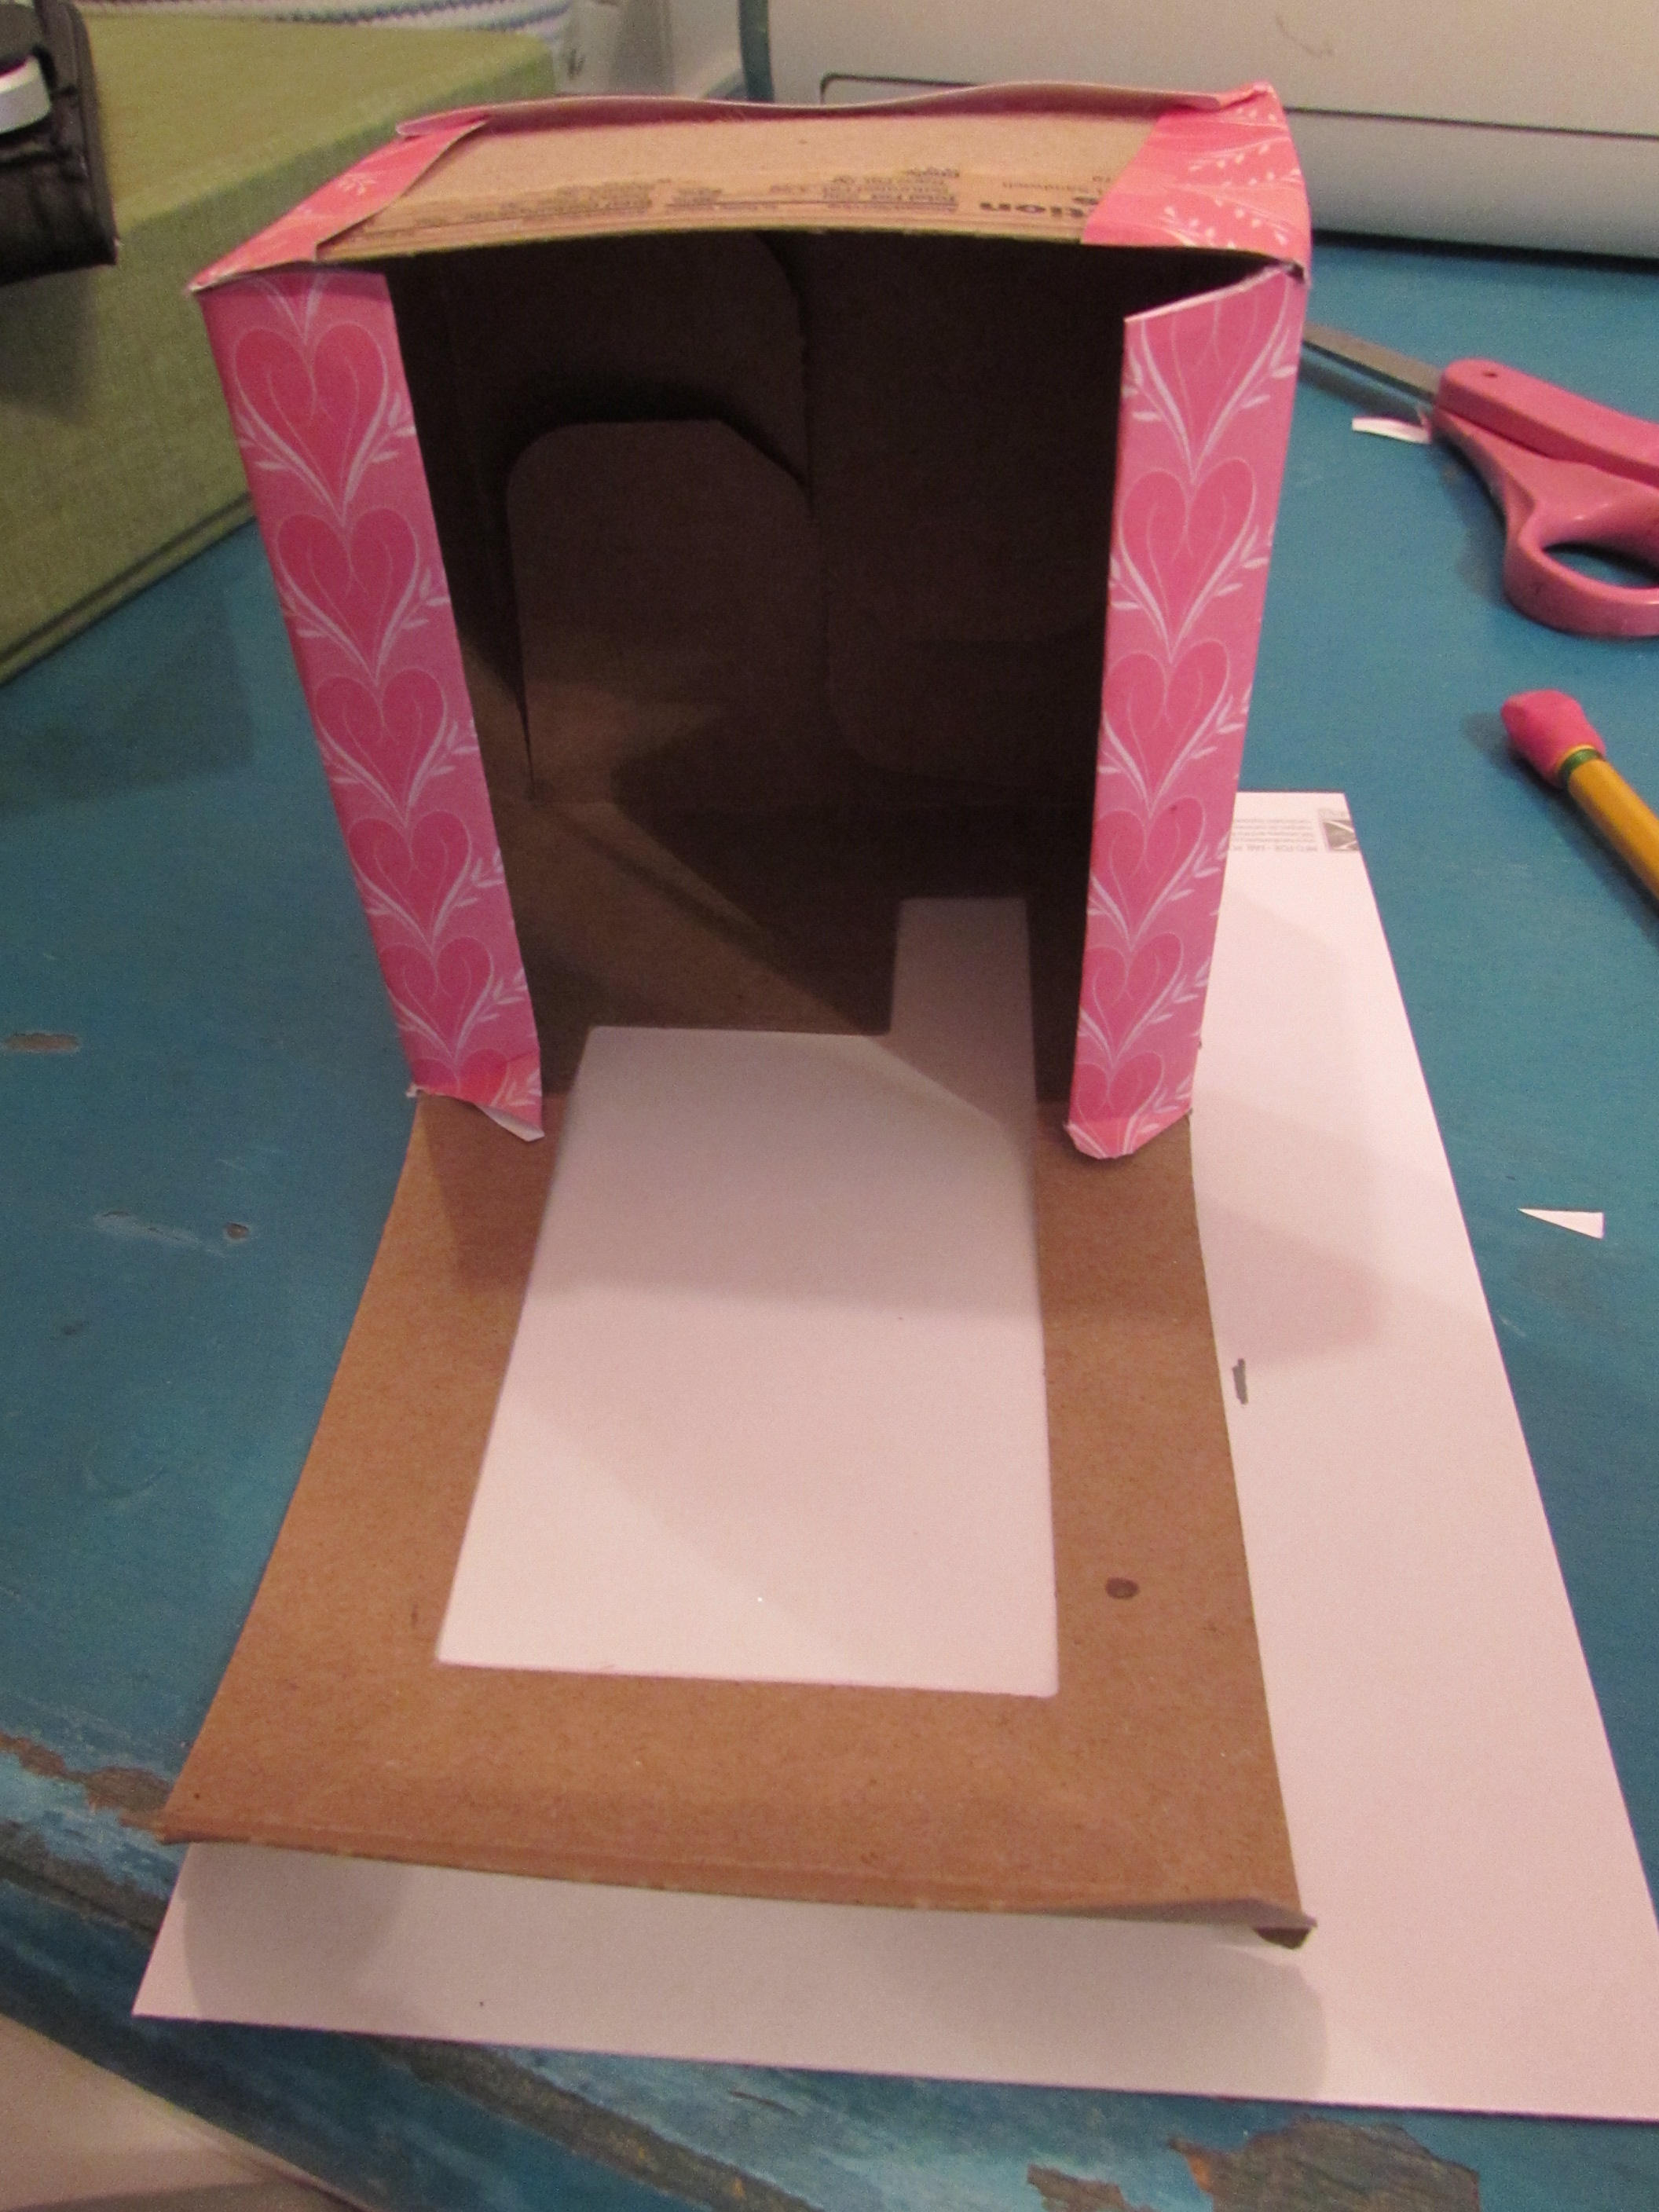
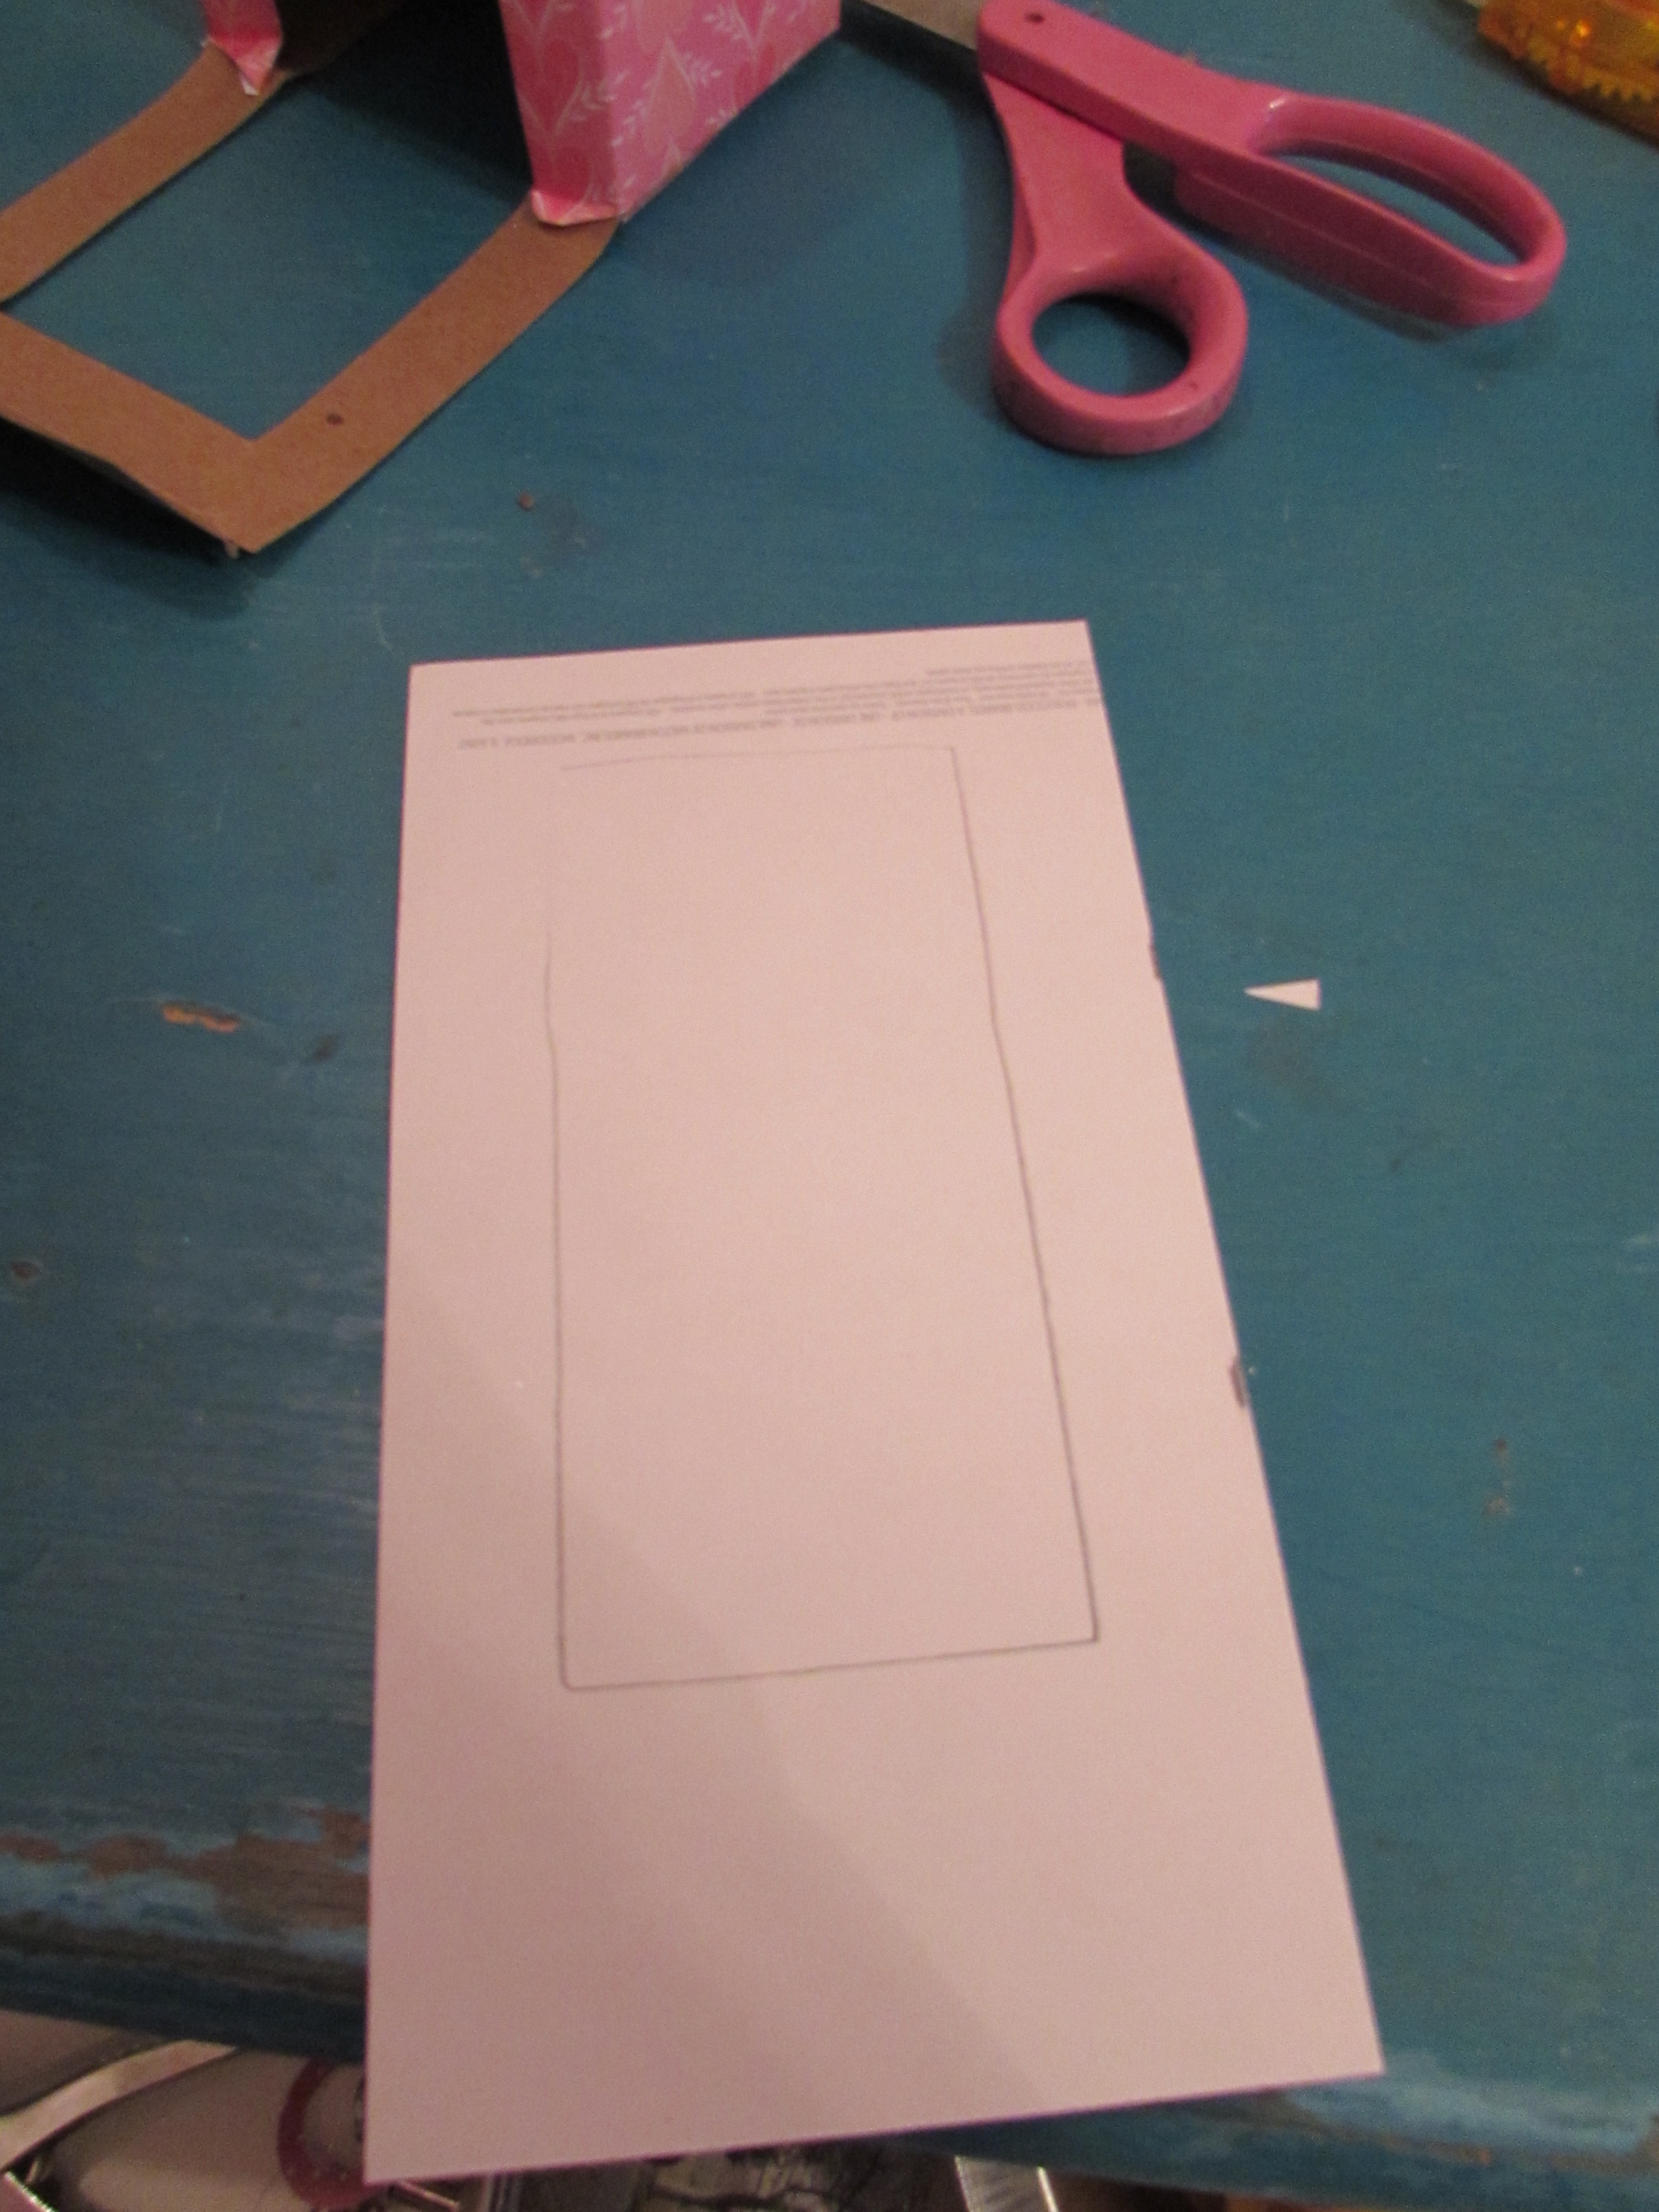
I started by cutting the poster board to the size I wanted.  Originally I wanted my board to be certain size to fit inside a frame.  But, because of the absence of an exacto  knife in my apartment, I had to use scissors…Not the best choice for trying to cut a poster board.  So, in my failed attempt, I tried something else.

A wonderful kitchen knife!

I decided to change my plans for the size of the board.  I measured the poster board and cut it into three equal 10 inch by 20 inch pieces.  And using my handy dandy kitchen knife, I cut the boards to use for my projects.

I then text some friends to ask them for a word or phrase that was inspirational to them. I got some responses and was then able to actually start the project.

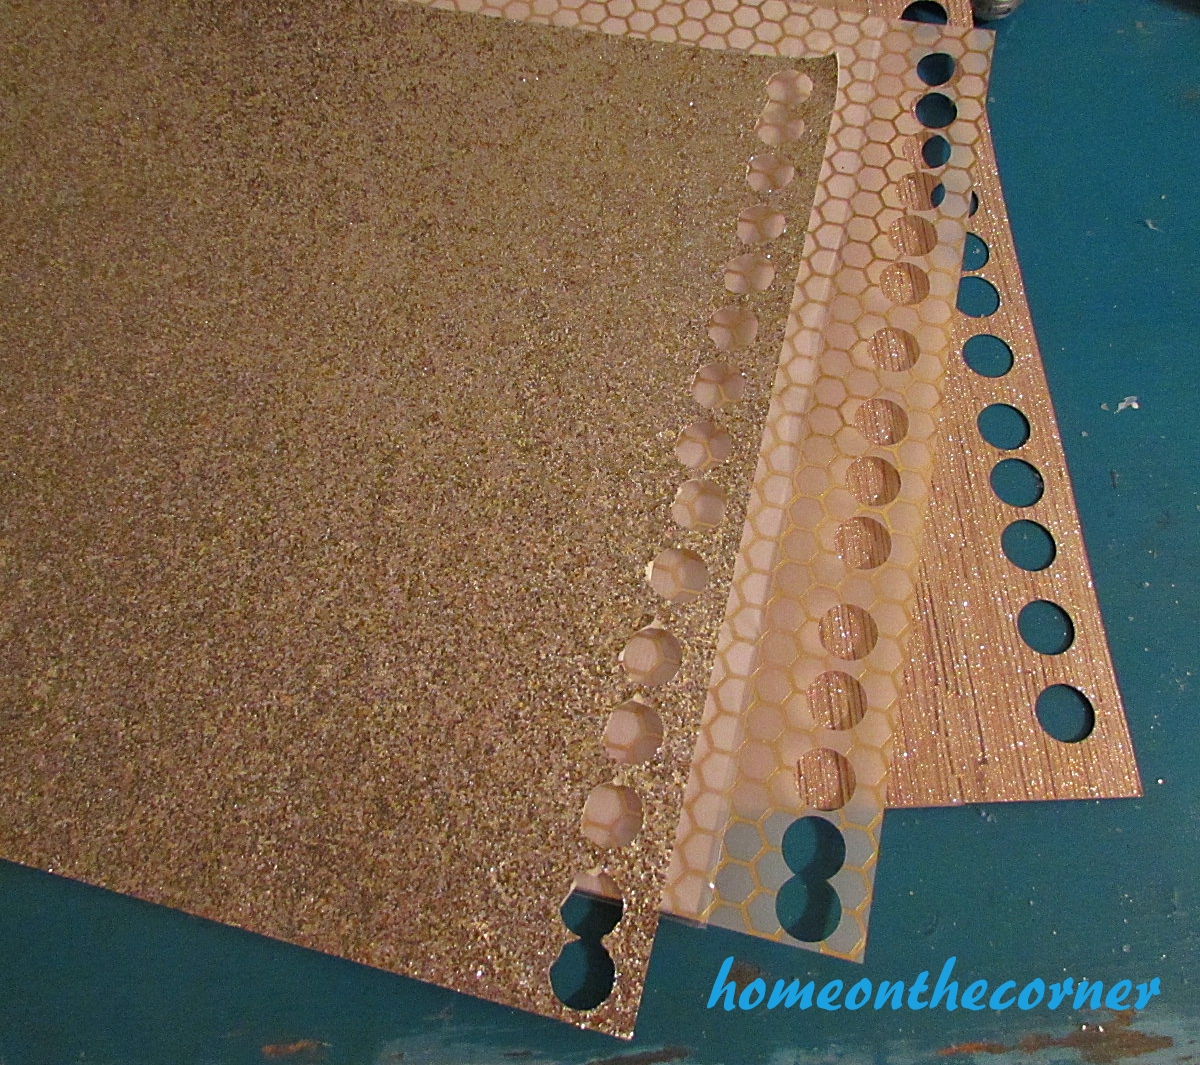
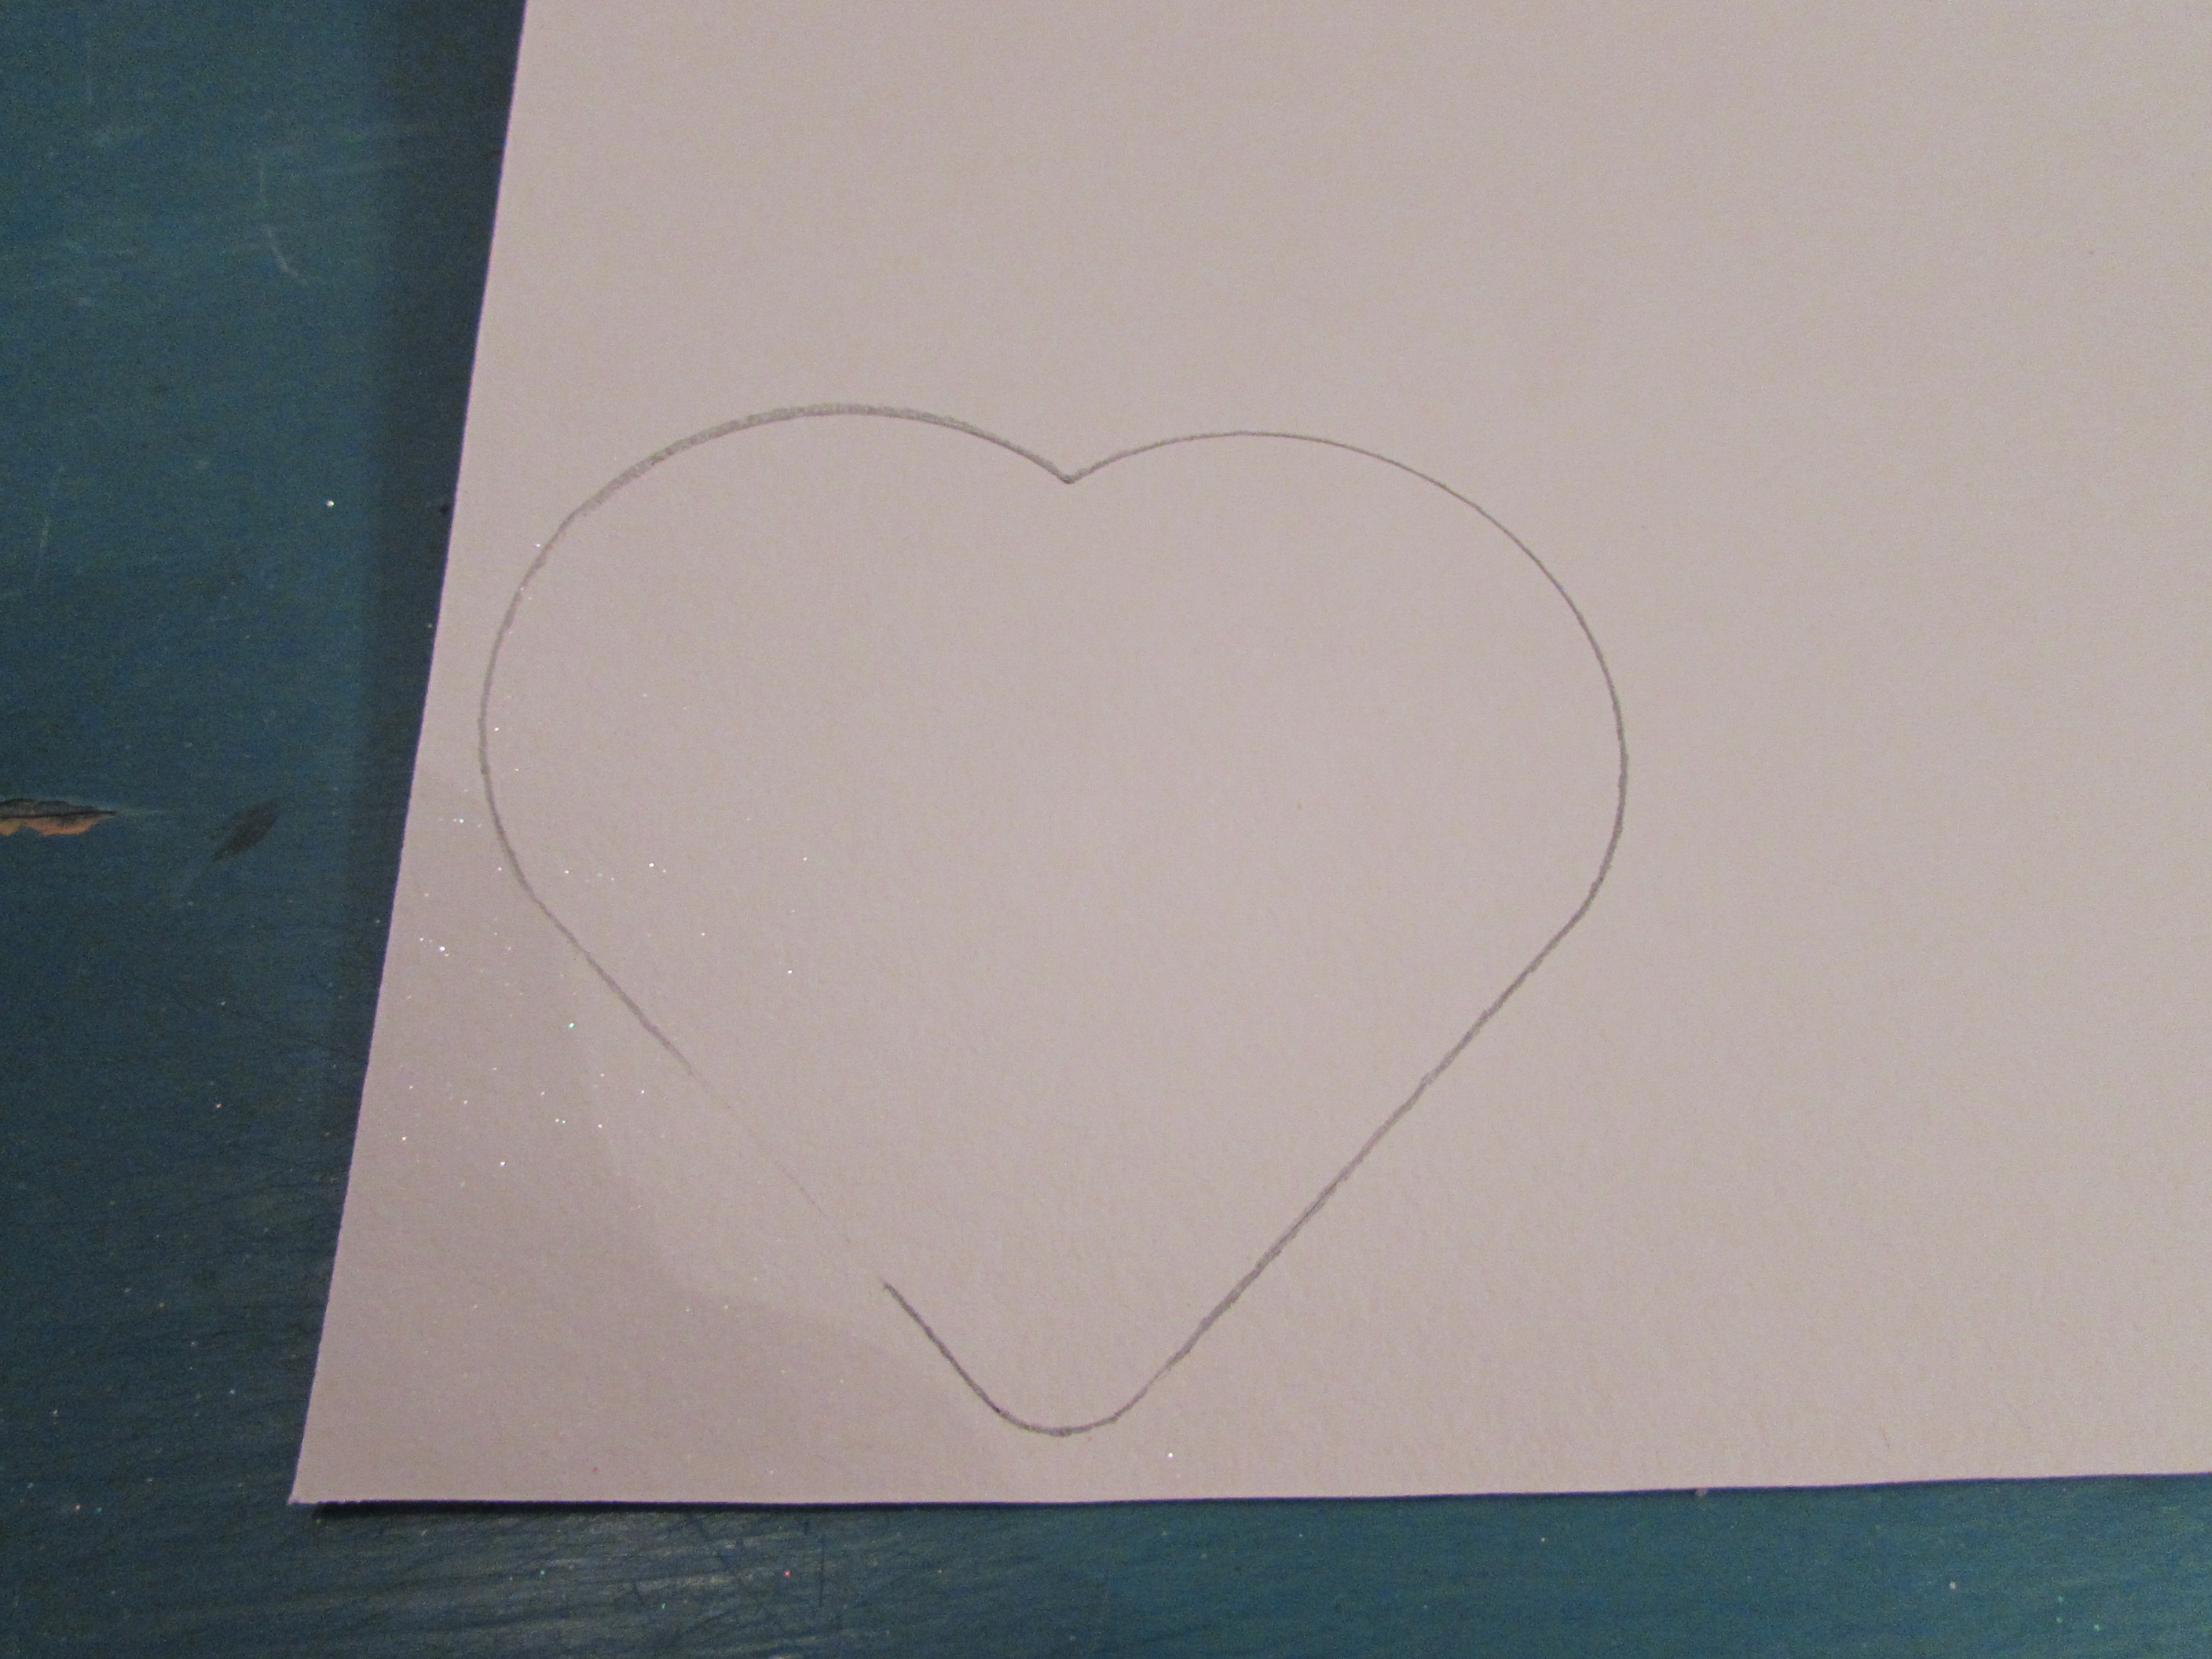
To start the next part, I drew on the poster board with a pencil to get my design on the board.  Don’t be afraid to erase and try again if you don’t like how it looked.  I also wrote in cursive to make the word or phrase more elegant.

20150304_113208

And now the pinning begins!  I bought a box of 300 gold tacks from the Dollar Tree to get started.  I slowly put the pins along the pencil lines that I drew to get the pins where I wanted.  Also, if you don’t like where the pins are placed, take them out carefully and replace them where you can’t see the hole you first made.

20150304_121650

Now, inevitably, you will run out of tacks.  Fortunately, 300 tacks only cost $1, so it wasn’t too expensive.

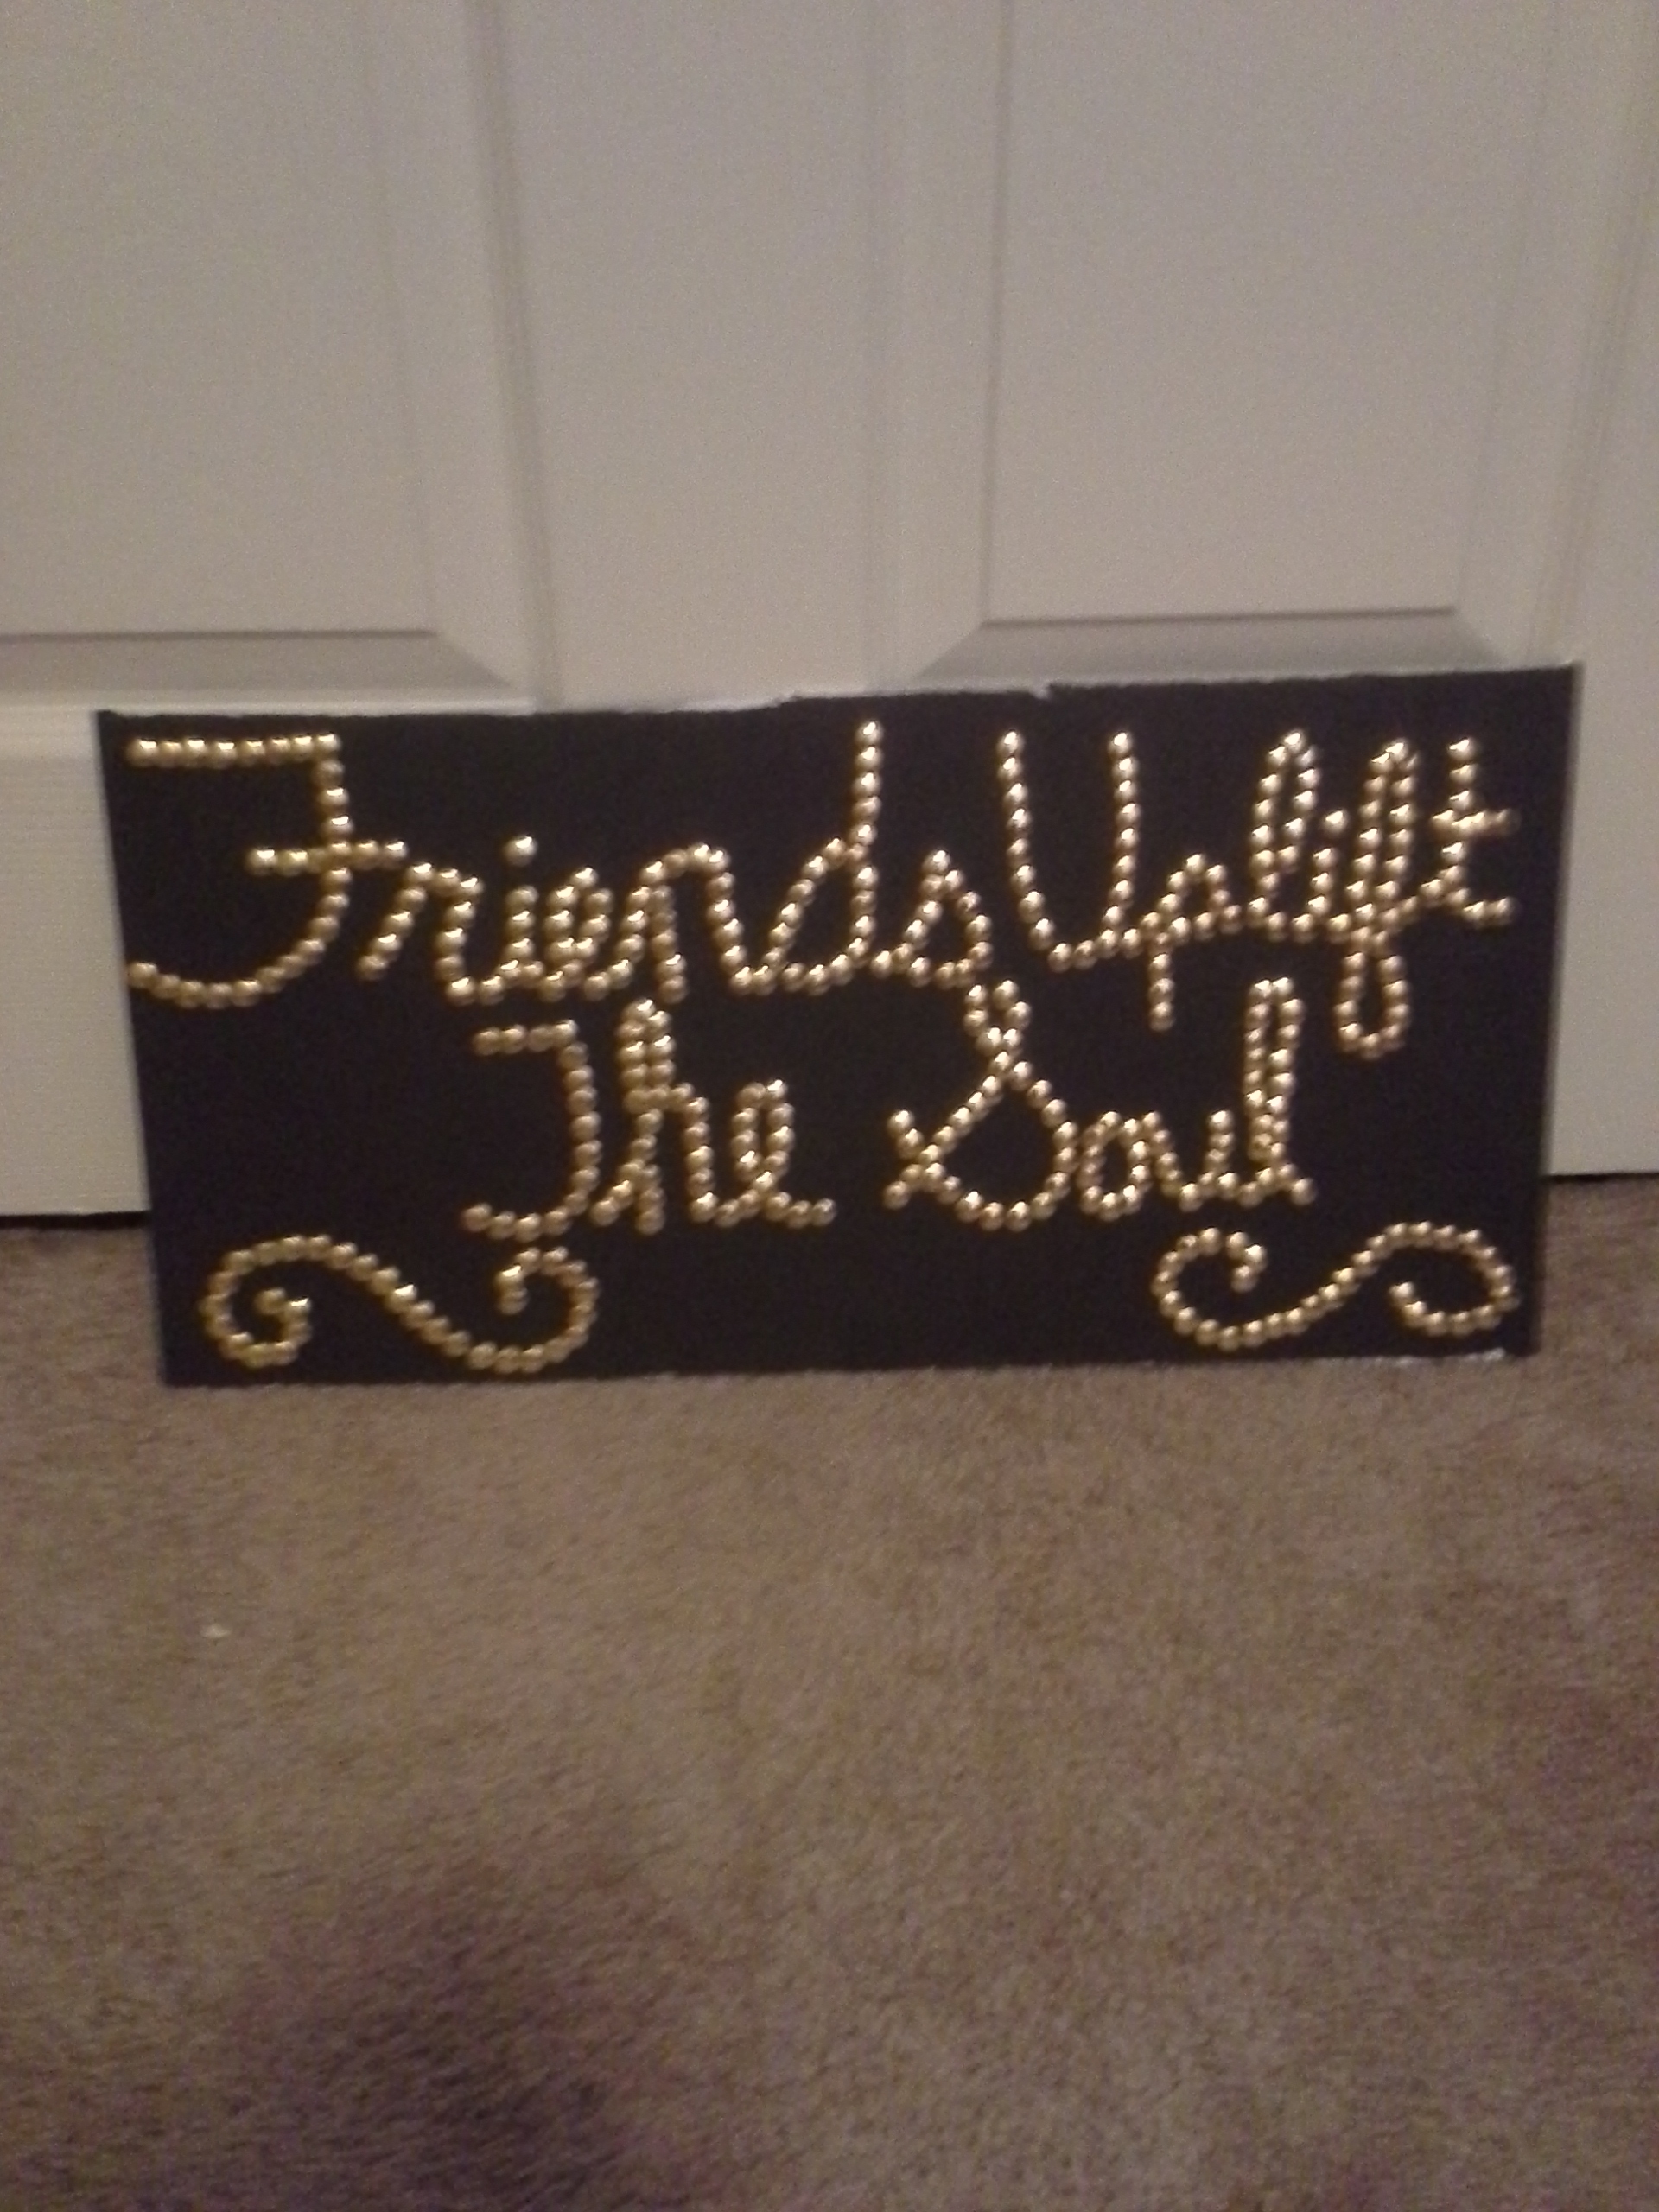
And…here are some of the finished products!

pin art  dream big

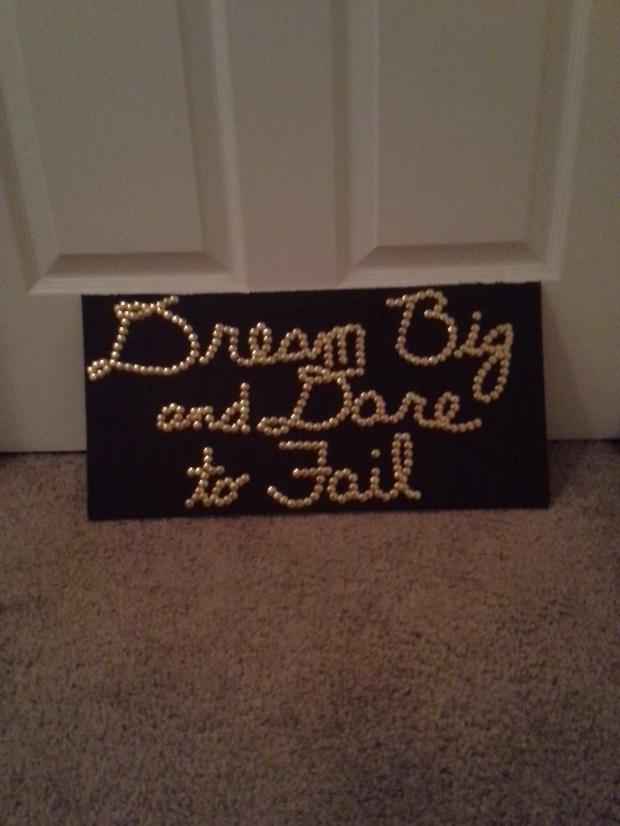
This was created for my friend and co-worker Jessica who found inspiration in this Norman Vaughan quote.

pin art just go

This one was for one of my roommates, Bailey. It is now hanging above her window.

pin art hope

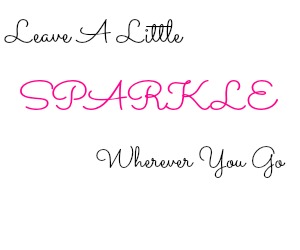
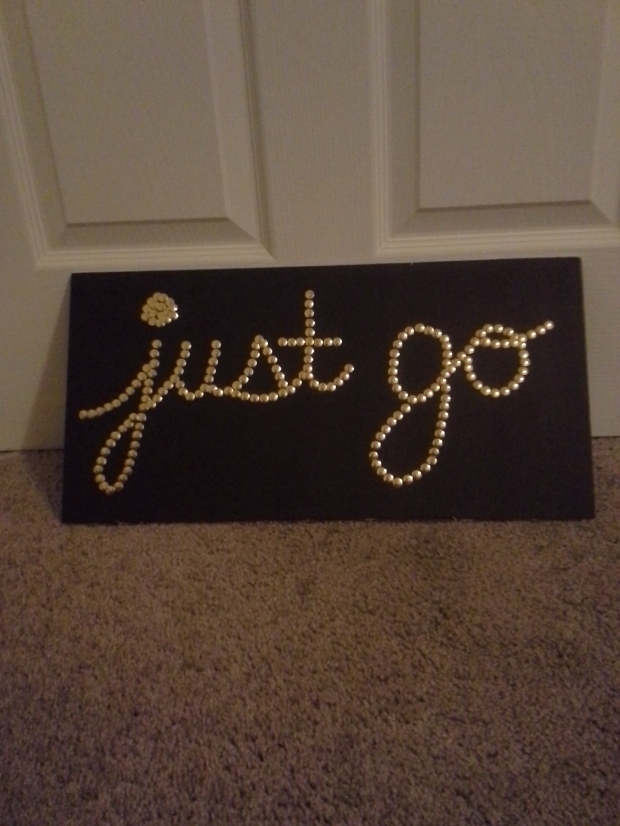
My roommate Lydia loved this simple word that inspires her everyday.

pin art friends

I had pins left over, so I found this quote in Google about friendship and decided to make this for my apartment living room.

Now…you may notice that I didn’t make one for myself…and my last roommate still hasn’t told me her word or phrase.  But I had more fun making these for other people and not myself.  Now if only my roommate Hannah will tell me her word or phrase so I can create some artwork for her!

Do you have a word or phrase that is inspirational to you that you would make artwork out of?  Let us know in the comments below!

sparkle

Sweets for the Sweeties

Hi everyone! February is almost here and hearts are everywhere! My co-workers and I have a Secret Sister exchange every year for the week of Valentines. It’s a lot of fun and a great way to get to know someone a little better and create a nice work environment.  We fill out little forms about our likes and interests, then pick names and the week before Valentines Day, we secretly leave little gifts for them.  So, I always try to come up with something special and homemade, at least for one of the days.

My girls and I went to Starbucks this past week and Haley bought a sandwich that came in this cute little box.  I asked her to keep it so I could try to make it pretty! The first step was picking out some Valentine paper. I had these on hand, but you can find lots of different prints and styles at craft stores. I also used a paper cutter, since I can’t cut a straight line at all!

IMG_2363

I cut the paper long enough to fit around the sides of the box and overlap the front and back a little, plus go into the inside of the box.

IMG_2366

I glued the sides on and then cut a slit in each corner, diagonally from the corner of the paper to the corner of the box, so I could fold the paper around and into the inside of the box.

IMG_2367

Cut off the triangle that is left after folding. Glue down all your edges.

IMG_2368

IMG_2370

Now measure out another piece of your paper to fit over the back, front and lid of your box. I laid mine on the paper and marked with a pencil how wide the piece needed to be. Cut this out.

IMG_2371

I cut off the little square that was on the bottom corner of the box opening and then traced the opening on the back side of the paper I just cut.  Cut the rectangle out so it will match the opening on the box.

IMG_2373

Once the opening is cut out, wrap the paper around the box, gluing in place.

IMG_2374

All nice and pretty! Now to add an embellishment.

IMG_2375

I cut out one large heart in white glitter paper and a smaller heart in pink glitter. I glued the small one on top of the larger one and then glued them over the opening on the front of the box.

IMG_2376

Ta da! All pretty and ready to add something sweet! I added a little bit of pink and white polka-dot tissue and a yummy chocolate chip bar is nestled inside.

IMG_2377

IMG_2378

IMG_2379

I will make some decorated heart shaped sugar cookies to give to my Secret Sister when the time comes, but this sure looks delicious!!

I tried to explain the cutting as well as I could, but it does sound a little confusing so please email me if you have any questions about the directions. Have fun!

Sunshine and Blessings,  Pam