Decorate Your Home for Free-or Almost Free

This post was from a couple of years ago, but it all still applies! It’s a new season, so it’s time for a refresh!

Good morning! I just had to show you pictures of our new floor in the living and dining rooms of our home. I’m so pleased with how it looks!! It’s exactly how I envisioned it! We still have the trim work to do and other small details, but it its moving along!

living room floorliving room flooring

Today I thought I would share some ideas on how to decorate for little or no cost. When my girls were younger, we didn’t have much money for extras, so I had to get pretty creative. I loved making things to make my house feel homey. I still do a lot of the same things. There is no reason to spend  lot of money when you can decorate for less!

  • Garage sales, yard sales, thrift stores

    I still shop these sales!! This is such a great way to find new items for your home. Since you don’t spend a lot, it’s not so bad if you only use it for a little while. Thrift stores are my favorite. Goodwill gets new, returned merchandise from Target and have found some amazing pieces for half of the regular price. I think for me it’s the thrill of the hunt! You never know what you might find! I’ve been able to find home decor, dishes, throw blankets, quilts and so much more.

Finds and Fashions

Salvation Table

  • Craigslist, Facebook BuySellTrade, Auctions

    I’ve been able to find some great items on these sites too. Craigslist, in my area, seems to be a little more expensive, but there are still plenty of items to choose from.  We have a local online auction house and it’s so interesting to look through the items for sale. You never know what you might find. I always seem to find something I ‘need!’

    A New Dresser…Finally

  • Paint

    Never shy away from something just because the color is wrong for your home! Paint to the rescue! I can’t even tell you how many items I have painted-furniture, dishes, frames, file cabinets, baskets, and on and on. You do have to spend a little money on paint, but it can transform a piece of furniture into a showpiece! And don’t forget about spray paint. My mom always laughs when I say, “Just spray paint it!”

 Steps to Painting Farmhouse Chairs With a Brush

Robin Egg Blue Beachy File Cabinet

Blue and White Folding Chair Makeover

Springtime Concrete Painted Planter

Rattan Plate Holders

  • Shop Your Own House 

    It’s amazing what we already have in our own homes! Think of new ways to use things. Books are a great way to add interest. You can either use the colorful spines or turn them backwards if you want a more neutral look. Baskets look good and work hard to corral little stuff. Painting different baskets the same color will give them a more cohesive look. Pitchers, jars, bottles, and pretty glasses all make nice vases.

How to Style Your Bookshelves

Pink, Blue, and Gold Party Tablescape

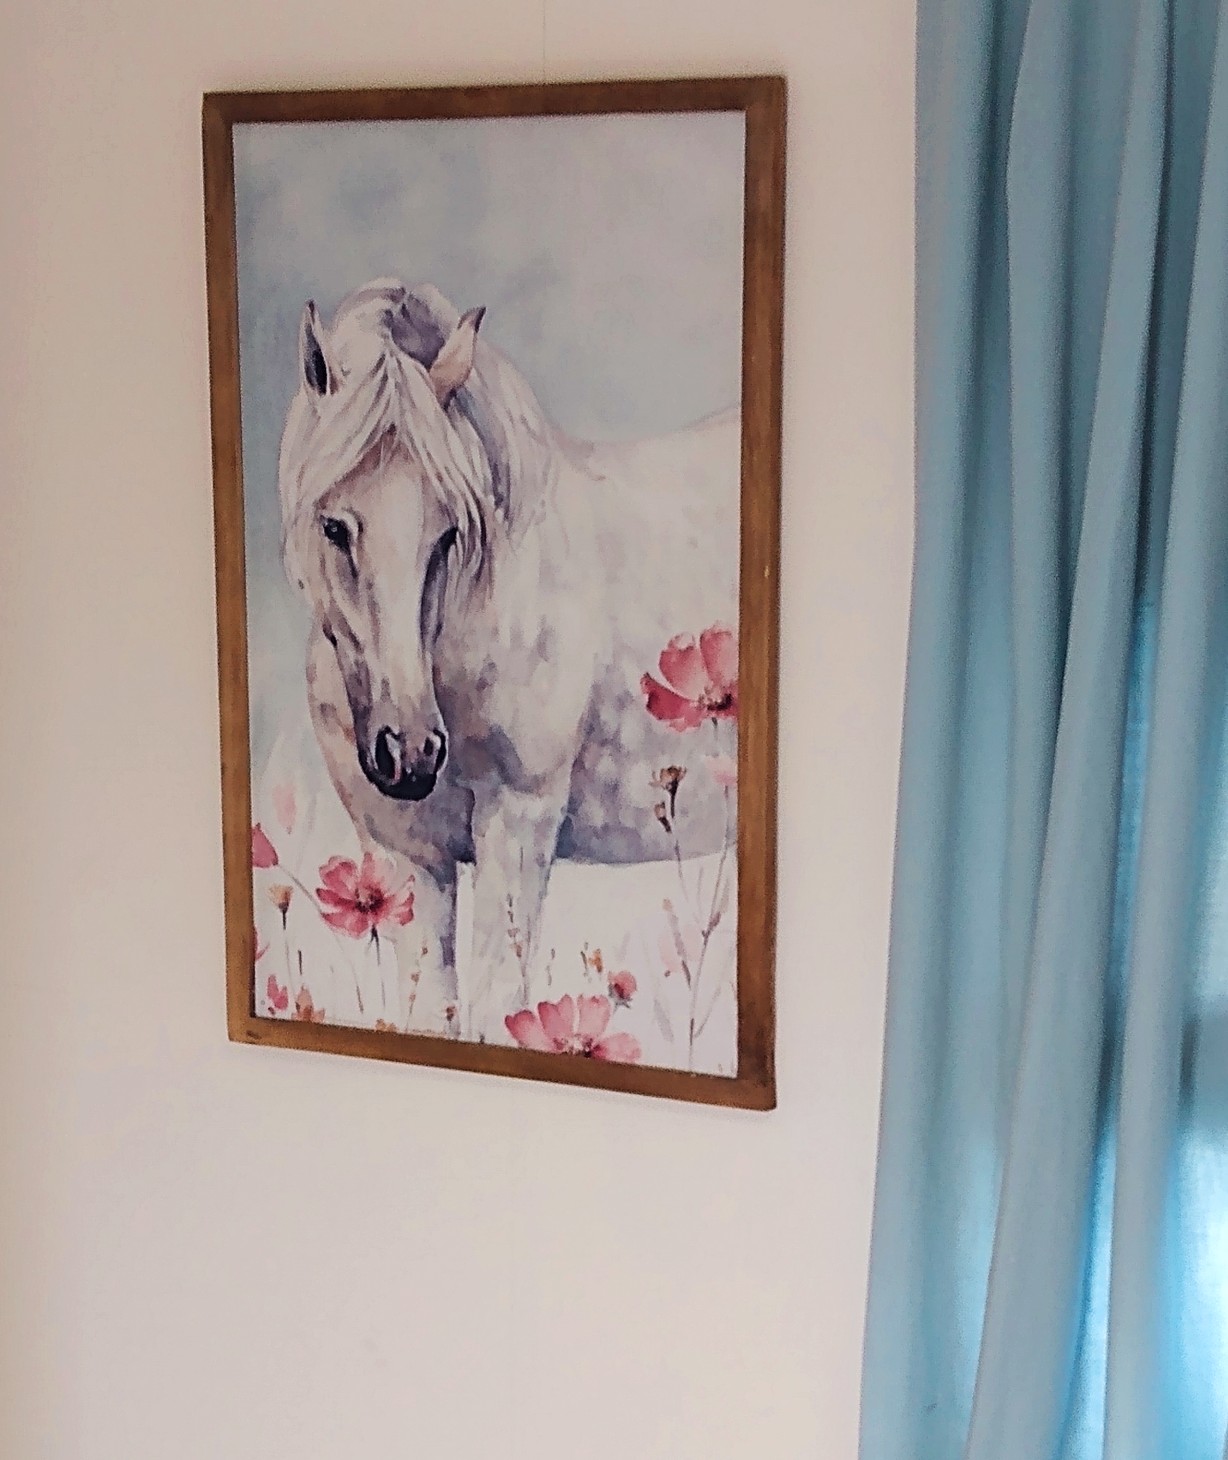
  • Bring the Outdoors In

    Use plants in your yard to place in those pitchers, jars, bottles and pretty glasses. This is a great way to bring a touch of the different seasons into your home. You can use budding branches or fresh flowers in the spring, greenery in the summer, fall leaves and branches in the fall, and berries and pine in the winter. Fruits and vegetables can work grea

    Beachy Dining Room Refresh 

         Green Black and White in the Dining Room

  • Printables

    You can find free printables all over the internet, especially on Pinterest. There are so many out there, for every season, occasion, decorating style and holiday. I have a couple of clipboards I use with gallery walls and then I can just change out the printable for different times of year. I have used many from The Cottage Market over the years. Please go take a look!

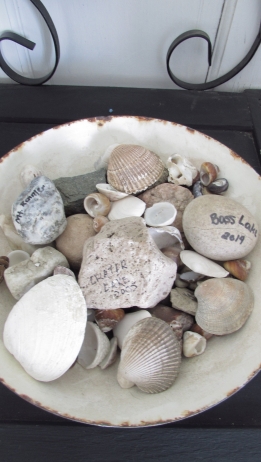
  • Use mementos and family heirlooms

    Don’t forget those items you have picked up on family vacations or that just have a wonderful memory attached. I have a bowl full of rocks and shells we picked up at different places over the years. I wrote on each one where it was picked up and what year. What a great way to relive some of those great moments! Don’t forget family pictures! Pick up some simple frames and put them out on display. Keep frames in the same color for a clean look. if you have something special from a grandma or great aunt or other relative, find a way to get it out of your closet and display it!
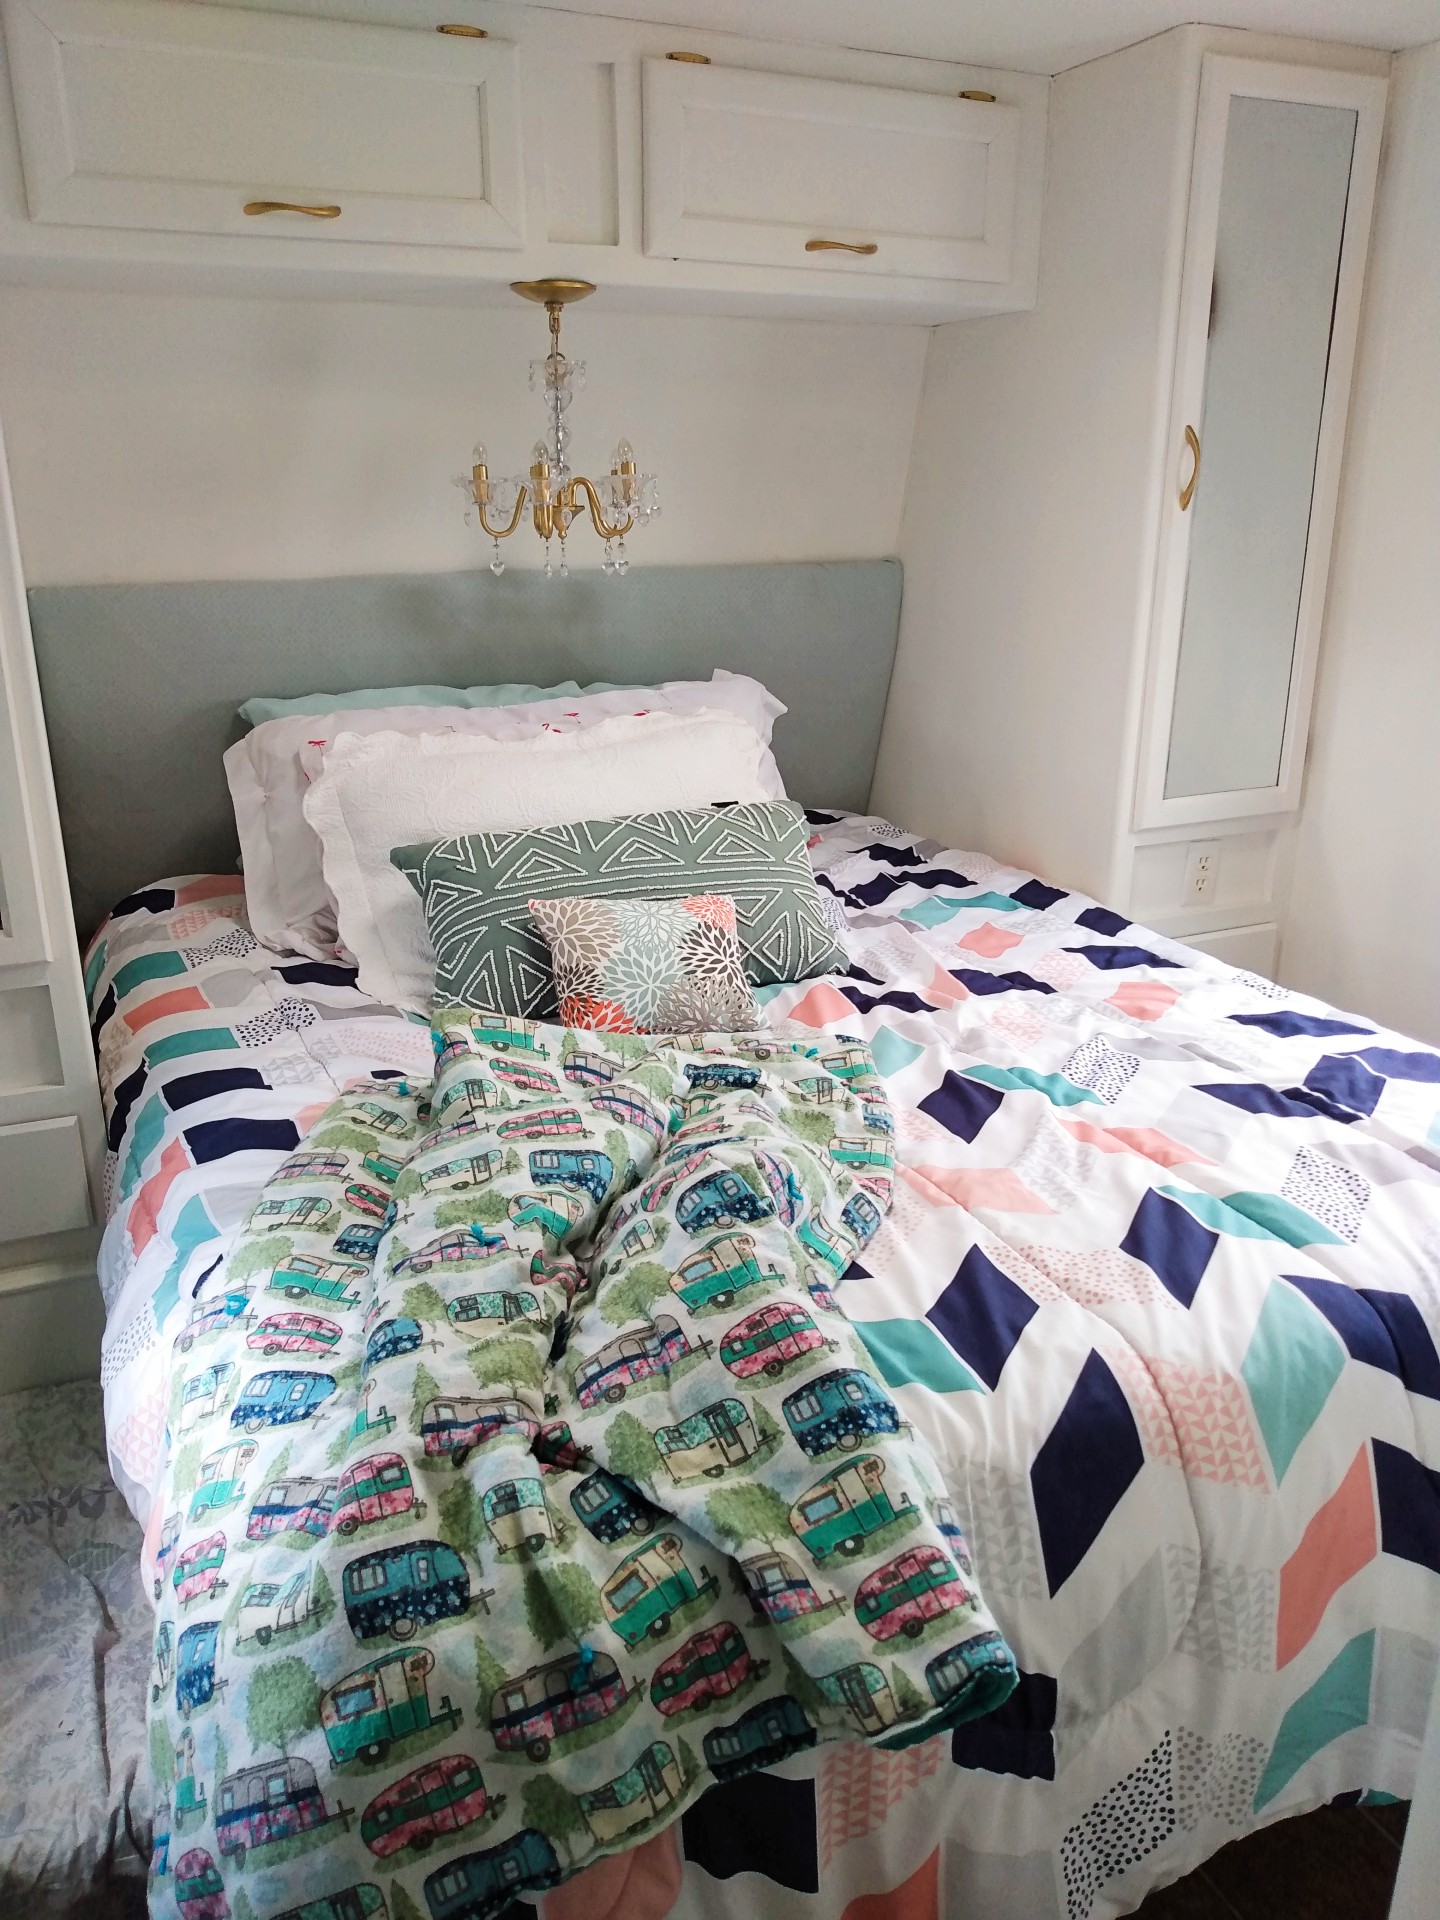
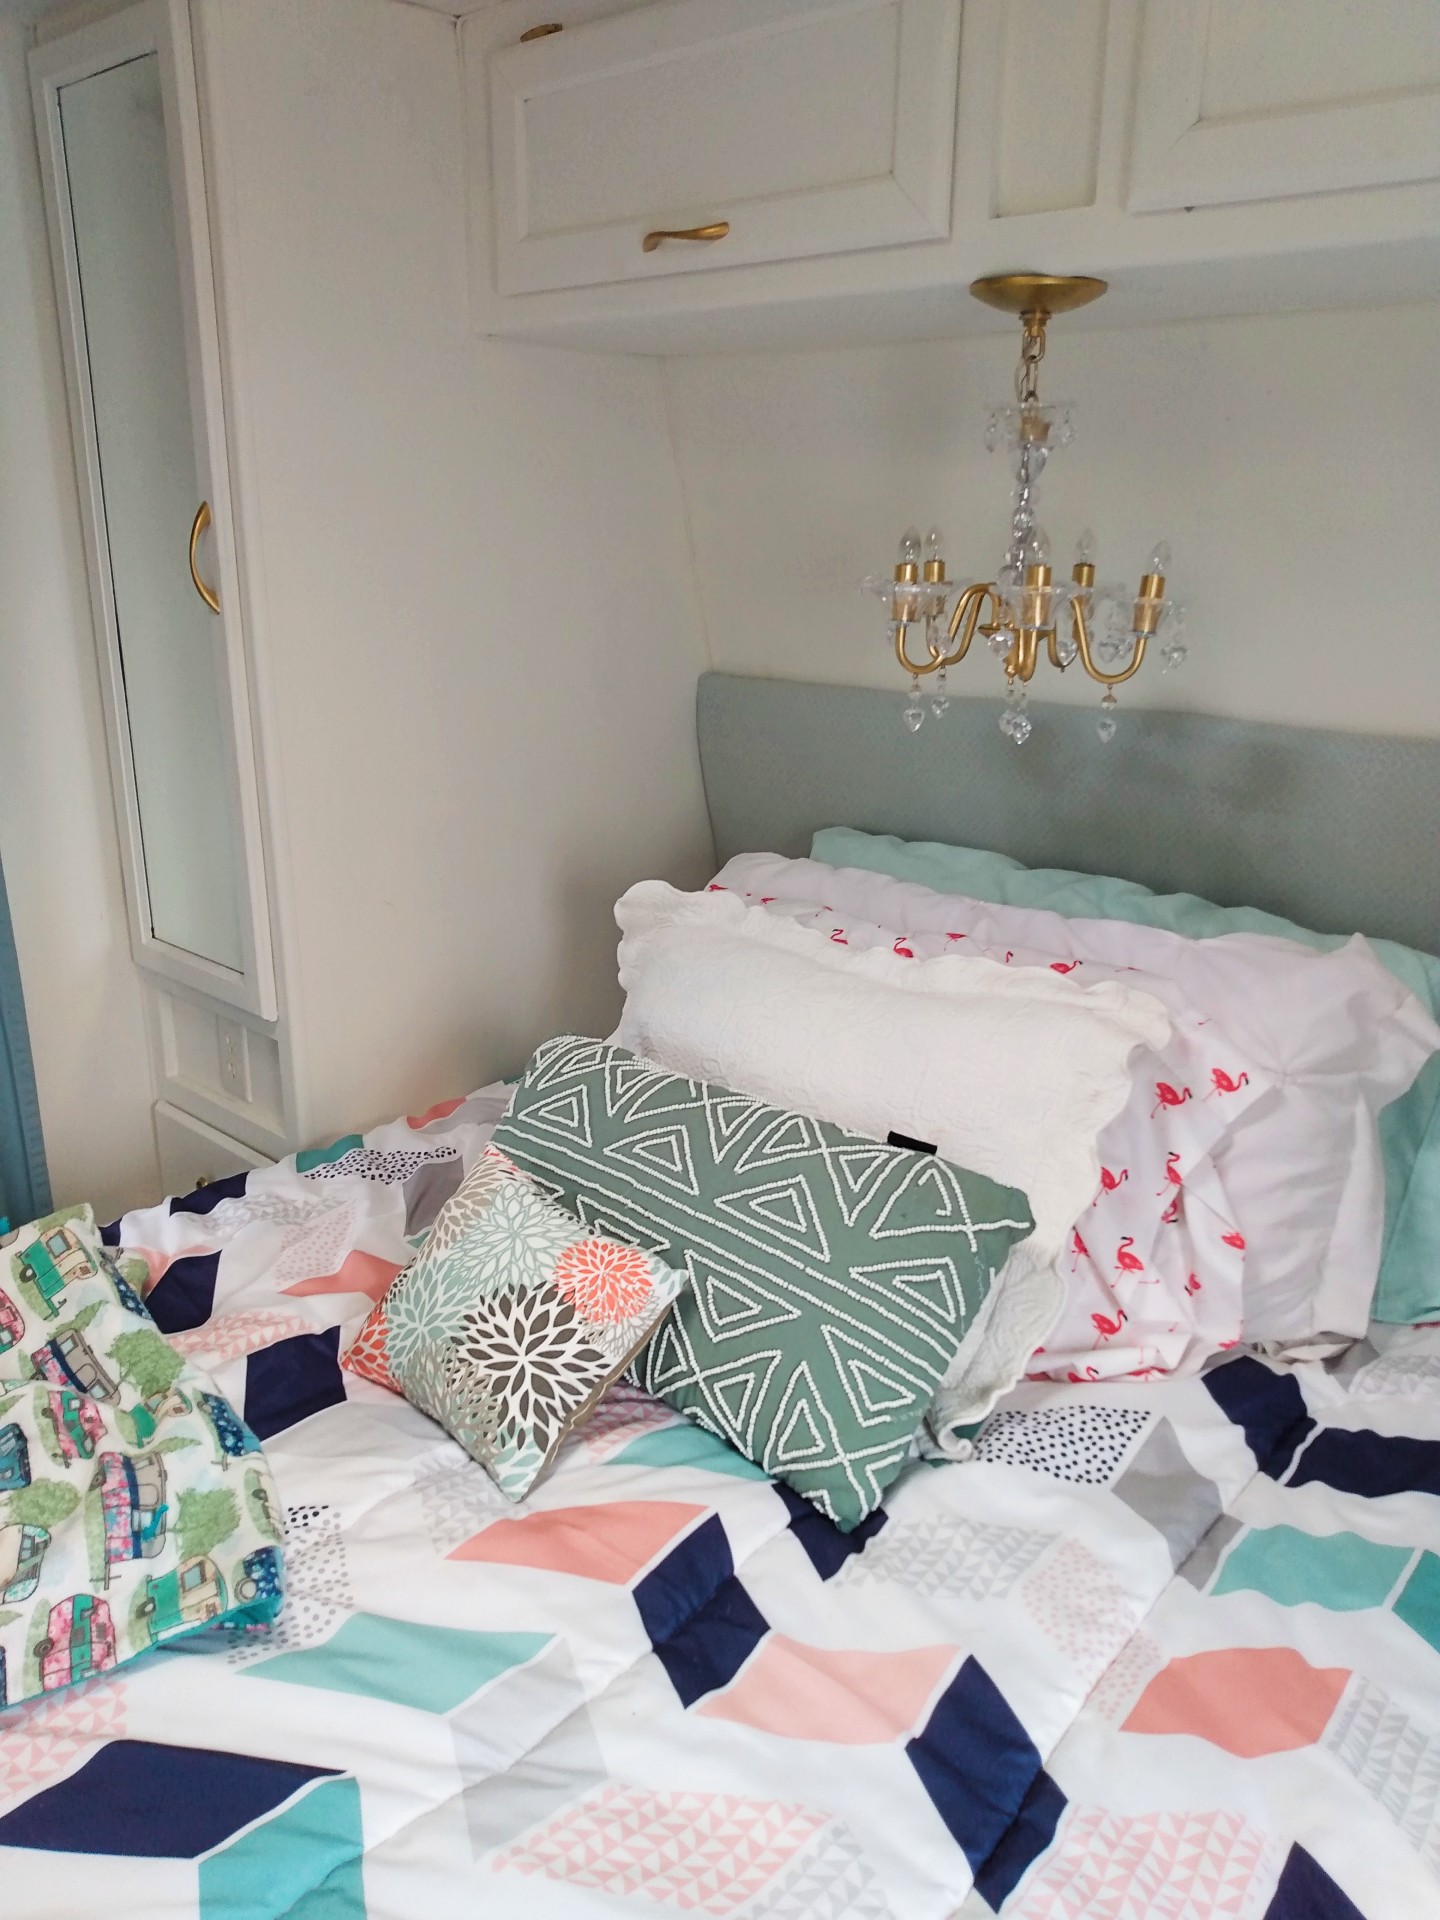
img_85231.jpg

  • Pillows and throws

    Pillows and throws are another great way to decorate for the seasons. Like I mentioned above, Goodwill usually have quite a few items from Target. You might find them in the wrong season, but hang onto them and you will be ready to decorate when that season comes again. I really love pillows, but they do take up quite a bit of space. I have found lots of pillow covers on Amazon at really good prices and they are much easier to store. You only need a few pillows and then slip on a new cover when you are ready for a new look!

Green, Black and White in the Living Room

Christmas in the Guest Room

  • Rearrange Furniture

    Try moving a small piece of furniture to another space! Maybe it will work better there and if not, you can always put it back. You can completely change the look of a space by switching out a chair, small table, or maybe artwork. You will feel like you have a whole new room!

Desk Chair Makeover

Dining Room Refresh

  • Have a Yard Sale

    Need some extra money to buy some new decor pieces? Have your own yard sale to get rid of the stuff you no longer want or don’t work with your decor. Other people are looking for those items just like you are! Try Craigslist or Facebook to sell some of the larger items. I have some great tips here for holding your yard sale.

Image result for yard sale sign

Well, I hope that gave you some new ideas to use around your home! I enjoy changing things up once in awhile, but don’t have a lot of money to spend, and these ideas really help to keep things fresh! I would love to hear what you do in your home to keep it fresh without spending a lot of money!

sunshine-and-blessings-picmonkey

Five Easy Valentine Ideas to DIY

Good morning! This is a post from a few years ago, but I still think these are all cute projects to make for your special Valentine!

I’ve enjoyed seeing some of the Valentine ideas I have been seeing, so I thought I would share a few of my own. I am even adding a new DIY for you!

  1. Valentine Gum and Candy Basket


Get your Valentine’s favorite gum and candy and put it all together in this cute little basket! Add some pretty ribbon as an accent.

silver gum and candy valentine box

2. Valentine Pixie Stix and Flower Vase

Here is another candy idea, but with flowers! It’s a great way to up-cycle a tin can too! This would make a great teacher gift!

valentine mantel pixie stix flower vase 2016

3. Faux Flower Heart for Valentine’s

Here is another project with flowers, this time shaping them into a heart! Of course, you could use any color you want!

flower-plaque-pink-heart

4. I Love You Wooden Blocks

This is a little simple project to decorate your home for Valentine’s Day! You could use blocks and letters to spell out whatever you want.

wooden blocks i love you pink heart

5. Stamped Heart Treat Bag

Here is another sweet idea to make for your Valentine! You could fill the little bag with stickers, jewelry or candy!

I started with a plain muslin bag, pink paint, heart shaped cookie cutter and foam dauber. I wanted to use a rubber stamp, but I couldn’t locate one in my stash, so a cookie cutter was my next choice. It worked great! Just make sure to wash it well before you make your Valentine cookies!  🙂   I added a little bit of paint to the foam dauber and added it inside the heart. Be sure to put a piece of paper or cardboard inside the bag so the paint doesn’t go through.

pink painted stencil heart

Once the paint was dry, I got out my letter stamps and some black ink. I picked out the letters I wanted to use. I started with the word ‘love.’

pink painted hearts valentines stamps
pink painted heart bags love

I pressed the stamp into the ink pad and then pressed it onto the bag and the heart. I didn’t worry about keeping the letters straight or even. Obviously!

pink stamped heart be mine

Don’t they look cute! They are perfect for adding just a little something for your special valentine!

pink stamped bags for valentines
pink stamped valentine bags love adore
pink painted valentine bags

Aren’t these fortune cookies the cutest!! I found them at the Dollar Tree and they come with a special fortune inside. I can’t wait to see what the fortunes will be!

pink painted valentine bags fortune cookie
pink painted valentine bags i love you be mine

I hope you all have a wonderful Valentines Day! If you create one of these projects, I would love to know! Have a great week!

sunshine-and-blessings-picmonkey

Our New Project! It’s Done!!

Not only is this project done, but now I have more exciting news!! My daughter, Haley, got engaged this past weekend!!! I’m so excited for her and my soon to be son-in-love! Now I get to help with the wedding planning! I’m not sure how much I will be able to blog about, but I will try to document some of it. But now on to the show!

If you didn’t see the first post of what the trailer originally looked like, you can click here. I will include some of the original pictures here too.

I went for the Bohemian look this time in the trailer. A lot of the pictures and things are from the old trailer and I found new places for them to go. As you walk in the door, you can see our Camping Rules. Most importantly, is Make Memories! You can see in this picture, we outlined the slide out with varnished wood. I love how it turned out! Looks so much better than the plastic pieces that were up there!

Just to the left as you enter the door are 2 swivel chairs by a big picture window. You can see here that all the brown is now painted white. I used Benjamin Moore Swiss Coffee for all the paint in the trailer. I used the original handles, knobs and hinges and painted them all gold. I bought the blinds from Home Depot, and the fabric and pom-poms from the 99 Cent Store. The seat covers came from Amazon.

The little table was a t.v. stand and Steve reconfigured it to fit over some of the hose and electrical hoses and wires that are underneath. I painted it and decoupaged the top. I added some fun little decorations to the top and the shelves.

BEFORE:

AFTER:

Straight in from the door is the couch. I covered it with an old chenille bedspread I already had and some fun pillows. I used the same blinds on the window and fabric for the curtains. I love that I could use all different colors and it all looked good together!

I recovered the cushions at the table. I used velcro on the back to hold them in place. You may have noticed, but we took down all the valances over and around the windows. We added our own curtain rods and the new woven blinds.

I also covered the table with a marble look contact paper from Amazon. I used a regular width paper and I probably should have used a wide width. It would have fit better. I used black spray paint on the poles that hold up the table. You can see one of them a couple pictures above.

This is my favorite picture!! I hung it in the little hallway that leads to the bedroom.

BEFORE:

AFTER:

It’s hard to believe this is even the same room!!! I absolutely love this bedroom! We removed the headboard and recovered it with a sheet. I also added the cute little chandelier above the bed. My good friend, Robin, made me the cute camping blanket at the end of the bed. Doesn’t it match perfectly?

I made this cute little Relax sign out of bits and pieces I had in my garage.

BEFORE:

AFTER:

Isn’t it amazing how much of a difference paint can make?

Loving my flamingos!

There isn’t much storage in the bathroom, so I added this basket holder above the toilet to store a few things in. I found it at Home Goods, but I added the bits of material and pom-poms to give it the Boho look.

We have not changed out the floor yet, but it is something I hope to do in the future.

BEFORE:

AFTER:

Doesn’t this look so much better?! Did you know that the pieces on the front of the fridge are just a thin piece of cardboard? I just slid them out and spray-painted them with chalkboard paint. Such a simple update!

I also used a peel and stick subway tile from Amazon behind the sink and up on the wall. I love how it turned out! It gives such a fresh and clean feel. I reused the blind on the kitchen window and used a bit of sheet to make the curtain.

We’ve collected magnets from all the different places we have visited. It’s fun to talk about the different places we have traveled to.

I would love to hear what you think! I had so much fun planning everything out and I really love how it turned out!

Now that the RV is done, it’s on to other projects!

Our New Project!!

Good morning! How have you all been? I have been good, but so busy with a new project! I’m so excited about this one! My husband and I bought a new travel trailer and are doing renovations on it! I’ve wanted to do this for several years and now I finally get the chance to do it!

I loved our last little trailer, but now that my kids are adults, it was just too small for all of us. You can see a partial makeover I did on that trailer here.

rv makeover full view

As you can see, this trailer is much bigger! It’s actually bigger than what we were looking for, but the timing and the price were right, so we couldn’t pass it up.

I was specifically looking for the separate bedroom so I wouldn’t have to make up the couch or table every day. I love all the storage too! These pictures were from the sales ad. I love the walk around bed!

Can you believe the size of the bathroom? Most trailers with this layout have the bathroom split with the hallway down the middle, but this one is all on one side, so it is quite large. There are two doors into the bathroom, one from the bedroom and one from the hallway.

Are you loving all the brown!? The couch and the table are part of the slide-out, which gives so much space! I really like this type of dinette because it goes room for more people to sit around it. You can see the arm of a chair at the bottom corner. There are two swivel chairs that sit in front of the big window in the back of the trailer.

More brown! It is so depressing! But here is the kitchen, with so much storage and even some real counter space! It has a nice size refrigerator too.

While I love the layout of the trailer and the space we will have, I was not loving all the brown. 🙂 So here is where the makeover comes in! The first step is to clean. Ugh! Prepping is the worst, but so important! Don’t skip this step!!

CLEAN

I washed down all the walls and wood with a mixture of TSP and water. Anything you are going to paint, wallpaper or add peel and stick tile to, needs to be cleaned. Our trailer was pretty dirty, so it needed cleaned anyways.

REMOVE EVERYTHING THAT HAS TO GO

After cleaning, we removed all the cupboard doors, drawers and anything else that had to go. We took down the valances over the windows and doors, a shelf, and took off the outlet covers to get ready to paint.

SAND

But before painting, everything needed sanded. Even the walls! The ‘wallpaper’ isn’t really wallpaper and it’s not worth trying to take it off. You don’t need to sand down to bare wood, but rough up the surface so the primer and paint have something to stick to.

TAPE AND PRIMER

Once everything is sanded, you need to tape around anything that isn’t going to get painted. We didn’t paint the ceiling, so we had to tape around the whole top edge. We also taped around window and door frames. Finally, it is time to use primer. I used my favorite, Kilz. On the walls we did one coat of primer, but for the dark wood, it needed two coats. Be sure to let each coat dry in between. All the cupboards and drawers were taken off, cleaned, sanded and then primered in our garage.

I took off all the knobs and drawer pull and handles and spray painted them gold. I even did the screws! Crazy, I know.

PAINT

Now it was finally time to paint! I had found a big 5 gallon bucket of Oops! paint at Home Depot a few years ago and I had plenty left. It is Behr, Swiss Coffee. It was the perfect color for a big freshen up! Again, we painted 2 coats of paint all over and some of the dark brown even got 3 coats. I went around after everything was dry and used a small paint brush to fill an any areas that were missed.

Yes, this is a ton of work, but so worth it!! The trailer looks so much lighter and now I have the fun of decorating! I’m going to give you a sneak peak, but I will post the whole thing in a couple of weeks. We are going camping in it and I can’t wait to try it out!

Here is the bedroom after primering. The cupboard doors were taken off to be painted in the garage. You can see the tape all around the top edge since we weren’t painting the ceiling.

Eeekk! Doesn’t this look so much better!!! I can hardly believe how much brighter it is!

One more peek! The dining area is all painted but no curtains or many accessories yet!

I can’t wait to show you the finished trailer in a few weeks!! It was so much work, but I am so glad we took the time to do it right and now we can just sit back and relax!

Have you ever redone a trailer? I loved looking at all the ideas on Pinterest! See you in a few weeks!

A Fun Way to Use an Old Frame

Good morning! I have a new project for you today! Lauren and I have been participating in some local vendor fairs and virtual fairs. She has been selling Disney Trading Pins and I am making boards to display the pins on. It’s been fun selecting all the different colors and characters. Of course, this doesn’t have to be done with Disney characters, but anything you like! Let me show you how!

I started with a frame from a thrift store. It doesn’t matter what kind of picture or if the frame is scratched. I like to look for frames that are a little different or have a design in them. I liked this oval one, because the curved ones are a little harder to find. This frame is just a plastic material.

The first step is to take apart the frame. Throw away the glass (unless you have another awesome idea to use it for!). I keep the back. It is good to use for tracing on the cork board and also to give extra support to the whole thing in the end. Make sure to keep any screws too.

Be sure to wipe off and clean your frame before painting. Then decide what color you want to use. I love the Rustoleum 2X Spray Paint. Since this frame is such a smooth surface, I used a primer first to give the paint something to grip. Once the primer was dry, I sprayed 2 light coats of the green.

This is where your back piece come in handy. I bought this corkboard from Hobby Lobby. I laid the back on top of the cork board, traced around it and then cut the cork with scissors. Depending on the thickness of the cork, you might have to use a razor blade. I found that 1/4 to 1/2 inch cork is the best. I really just depends on how thick your frame is and how thick of cork will fit inside and still be able to get the back of the frame back on.

For this board, I picked Tinkerbell. I looked up Tinkerbell silhouette in Google and then picked the one I thought would be easiest to cut out, without to much detail. If the design is too detailed, it’s difficult to be able to cut it out cleanly.

Once the design is cut out, place it on your corkboard. It might help to tape it down if you are afraid the paper might move too much. I used black acrylic paint to fill in the design.

I use a small brush that is pretty flat on the end. I start by daubing around the edge of the design and then I go back and fill in the whole design. Be sure to hold down the edges of the paper as you paint, so the paint doesn’t leak under. You may have to go over some of the edges with a small brush to smooth and even them out.

Doesn’t she look cute?! I love the bright green!

I’ve been making quite a few of these lately. Here are a couple of others. You can see that I used all different size frames and colors.

Princess crown…

and small oval.

These are fun to paint and the designs are endless! What would you put on yours?